- Author Jason Gerald [email protected].
- Public 2023-12-16 10:50.
- Last modified 2025-01-23 12:04.
Creating a PDF file is a great way to share your ideas and to make sure they don't get altered without leaving an electronic trail. There are many ways to create a PDF file and all of them are quite quick and easy. If you want to know how to create a PDF file, just follow these steps.
Step
Method 1 of 5: Creating a PDF from a Word Document on Mac
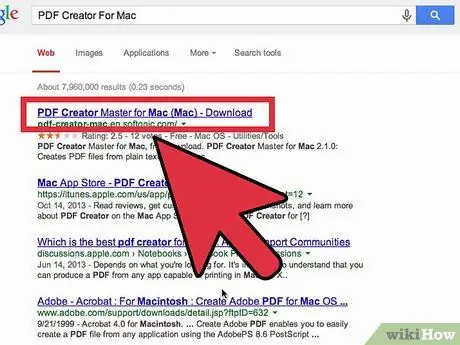
Step 1. Get a PDF creator software
There are many free PDF creation programs, including PDFCreator, PDF factory Pro and PrimoPDF. You can find and download this software online. It's also likely that you already have PDF creation software on your computer, such as Adobe Acrobat (for creating PDFs) and Adobe Reader (for reading PDFs). Look for PDF creation software on your computer before you download anything.
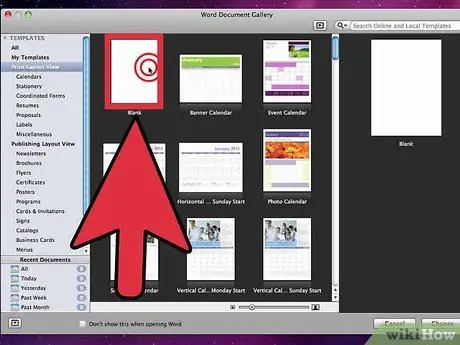
Step 2. Run Microsoft Word
Step 3. Write a document
Use Microsoft Word to write any document, which you ultimately want to turn into a PDF. When you have finished the document you want to convert, you can simply open it.
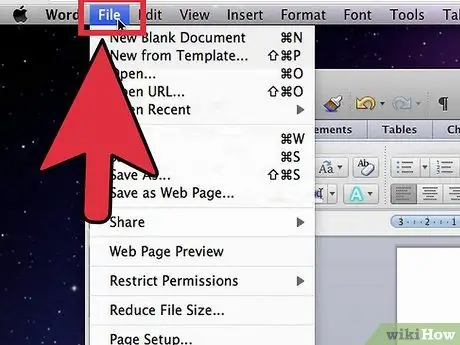
Step 4. Click "File"
This is the second option from the top left of the document.
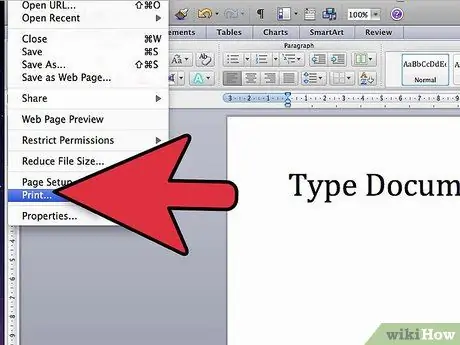
Step 5. Click "Print"
This is the second option from the bottom of the dropdown menu.
Alternatively, you can select "Save As"
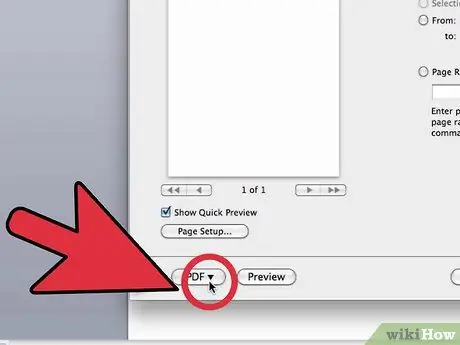
Step 6. Select "PDF"
This is an option at the bottom left of the Print menu. Click on the arrow.
Alternatively, you can select "PDF" from the "Format" menu
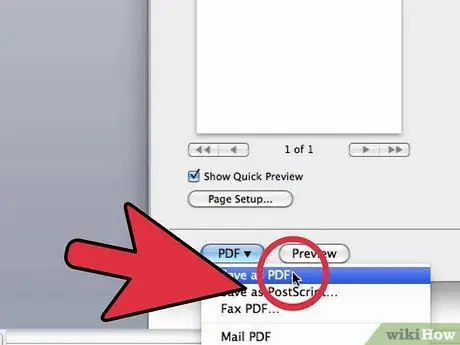
Step 7. Select "Save as PDF"
This will open a new window that will allow you to save the document.
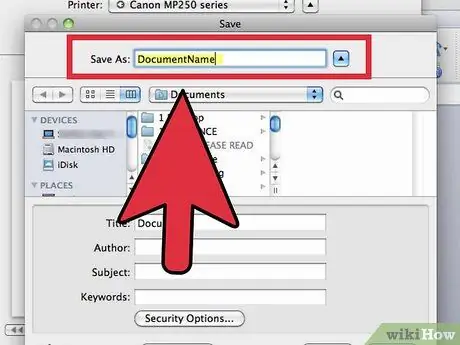
Step 8. Name the document
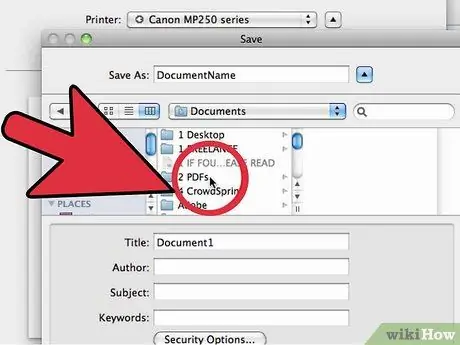
Step 9. Select the folder where you want the document to appear
Select the folder by clicking on the arrow under the file name, to open a list of options.
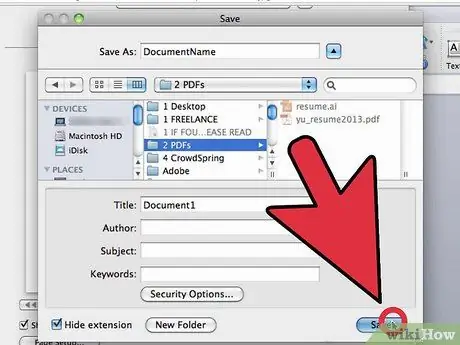
Step 10. Select "Save"
This will convert and save the document as a PDF.
Method 2 of 5: Creating a PDF from a Word Document on PC
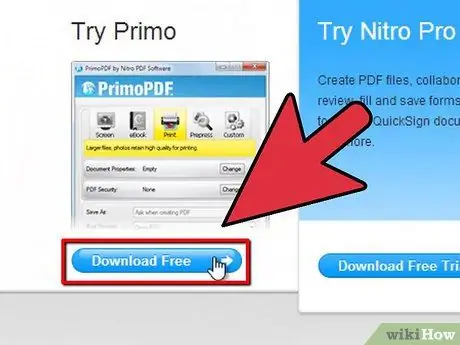
Step 1. Get a PDF creator software
There are many free PDF creation programs, including PDFCreator, PDF factory Pro and PrimoPDF. You can find and download this software online.
It's also likely that you already have PDF creation software on your computer, such as Adobe Acrobat (for creating PDFs) and Adobe Reader (for reading PDFs). Look for PDF creation software on your computer before you download anything
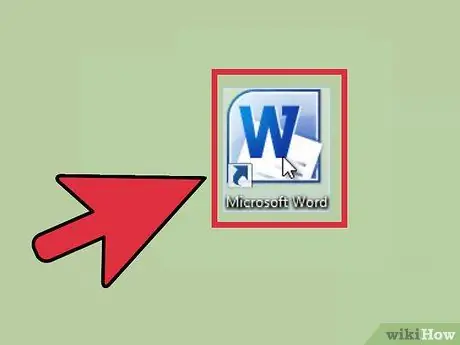
Step 2. Run Microsoft Word
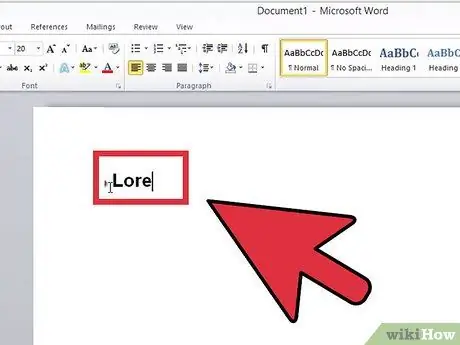
Step 3. Write a document
Use Microsoft Word to write any document that you will eventually turn into a PDF. When you have finished the document you want to convert, you can simply open it.
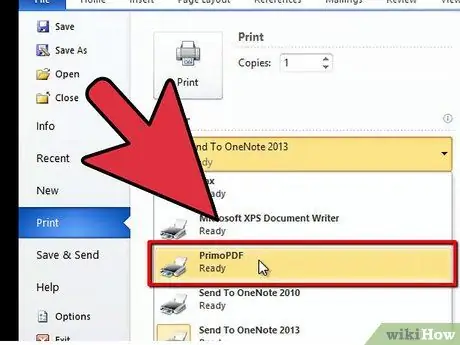
Step 4. Click "File"
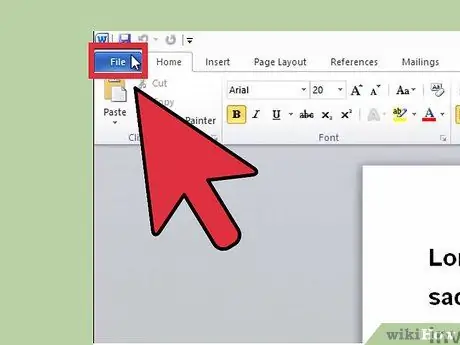
Step 5. Click "Print"
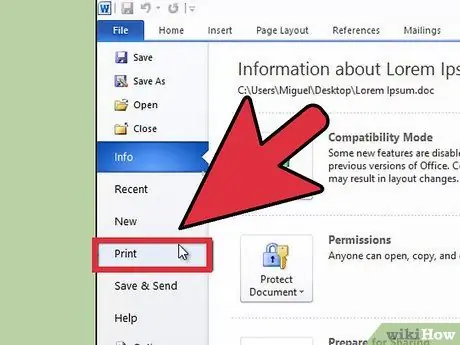
Step 6. Select your own PDF printer
Set the preferences of the PDF you want to create.
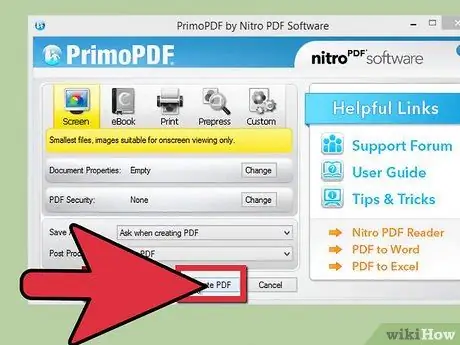
Step 7. Click "Print"
This will not actually print the document, but will convert the document into a PDF.
Method 3 of 5: Using an Online Converter on PC or Mac
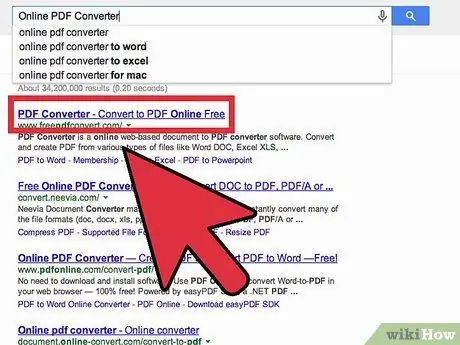
Step 1. Find a reliable online converter
Browse the Internet to find a free and effective PDF converter. One reliable converter is printinpdf.com
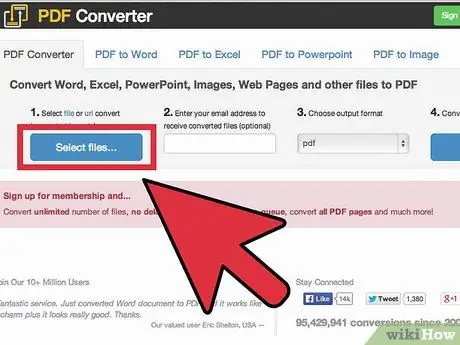
Step 2. Click "Choose file" or "Browse"
Any converter will provide the option to browse through your files, to select the files you want to convert.
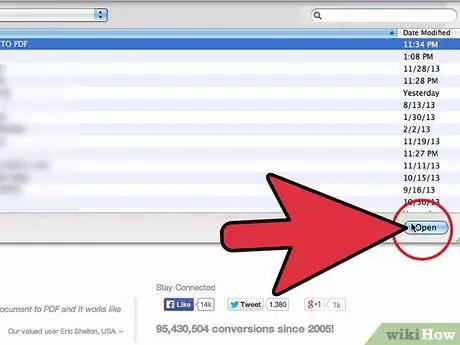
Step 3. Select as many files as you want or allow
Most online converters will limit up to three files at a time.
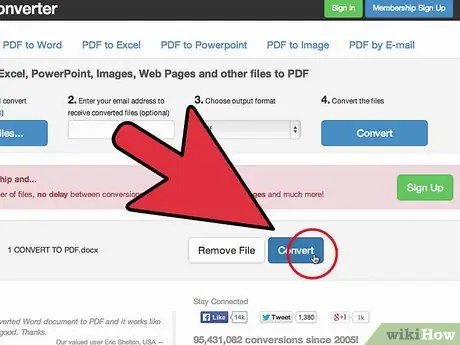
Step 4. Click "Convert to PDF"
Wait for the file to convert to PDF. This can take a few minutes, especially if you have multiple files. When the process is complete, you will be notified that your files are ready to be downloaded.
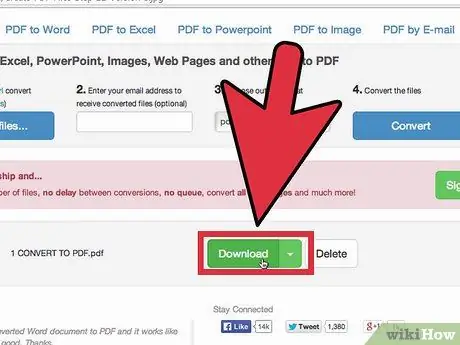
Step 5. Download your modified files
Click on the file and wait for it to download.
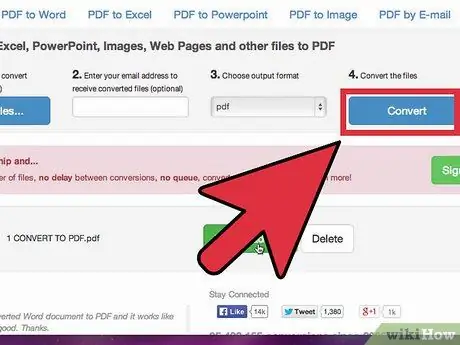
Step 6. Save the file to your computer
You have finished creating the PDF file.
Method 4 of 5: Using Google Chrome browser
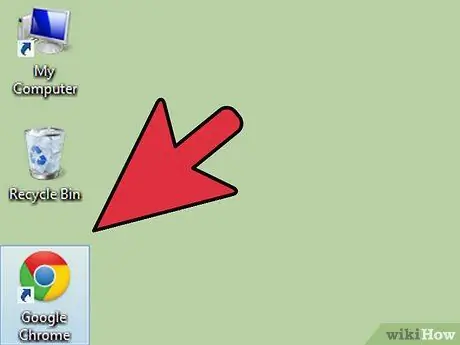
Step 1. Get Google Chrome browser
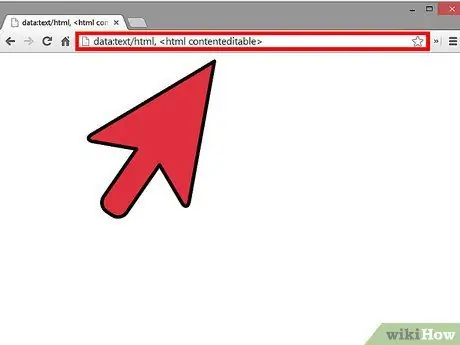
Step 2. Type "data:text/html," without the quotes in the URL bar
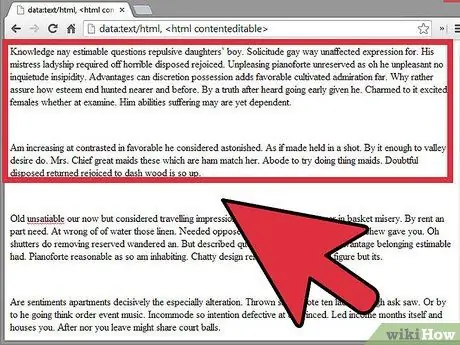
Step 3. Type and insert the image
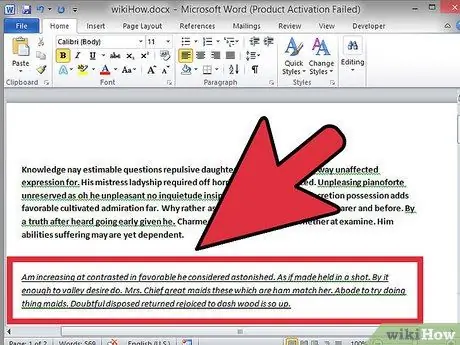
Step 4. Format the text using the following commands:
- Ctrl+U=underline
- Ctrl+I=italics
- Ctrl+B=bold font
- Ctrl+C=copy
- Ctrl+V=insert
- Ctrl+X=cut
- Ctrl+ Z=cancel
- Ctrl+Y=repeat
- Ctrl+A=select all
- Ctrl+Shift+Z=insert as plain text
- Ctrl+F=find
- Ctrl+P=print
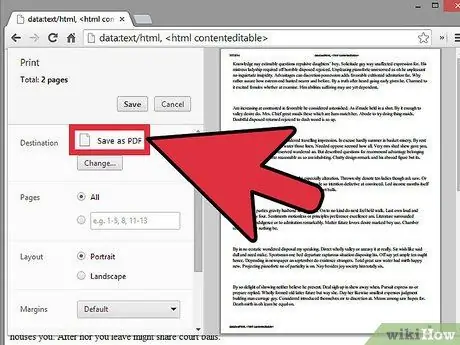
Step 5. Save
Print the file. Select the printer to 'save as PDF'.
Method 5 of 5: Using Soda PDF
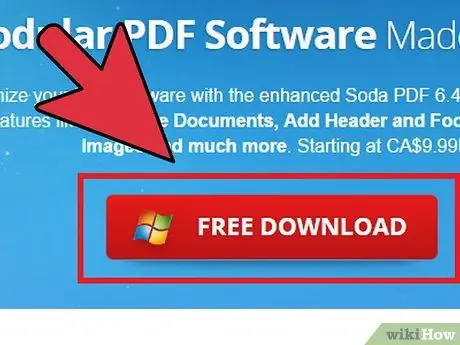
Step 1. Download Soda PDF for free
You can find it at sodapdf.com
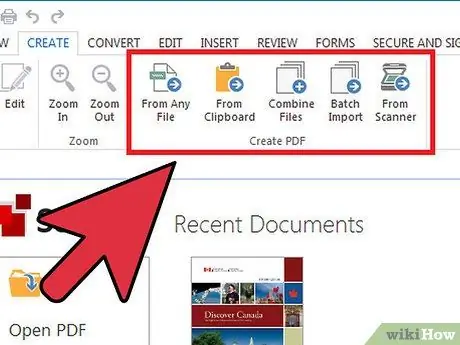
Step 2. Once installed, click on Create and from there you will have five options for creating a PDF
"From Any File", "From Clipboard", "Combine Files", "Batch Import" or "From Scanner"
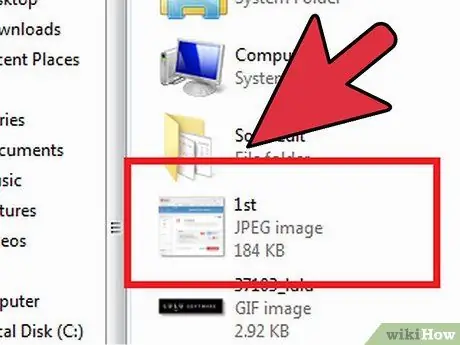
Step 3. From Any Files
Allows you to create a PDF of any file format. For example, "JPEG to PDF". Just click on the file you want to convert and click Open.
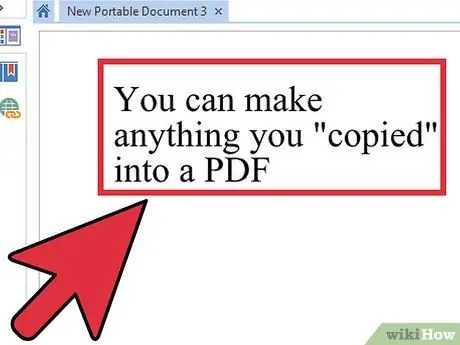
Step 4. From the Clipboard
This will create a PDF of the last thing you copied to the clipboard. It can be based on an image or text. Click on "From Clipboard" and your PDF will be created instantly.
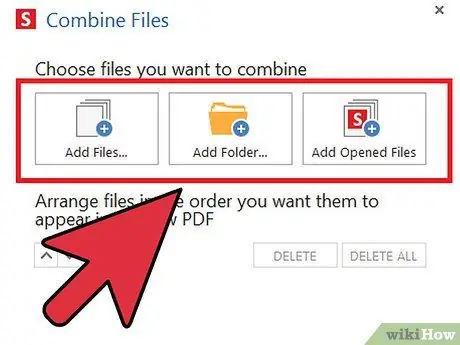
Step 5. Combine Files
This option allows you to take multiple files and combine them into a single PDF. You have the option to select one file at a time, a folder or any PDF you may have open.
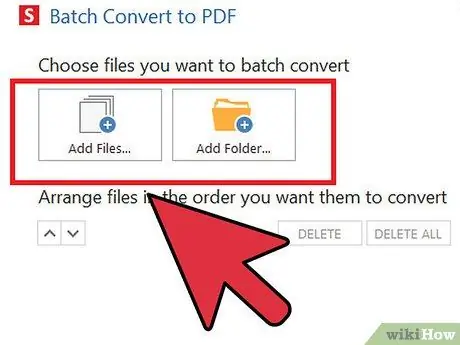
Step 6. Batch Import
This will allow you to create individual PDFs from a set of files. You have the option to add them individually or from a full folder.
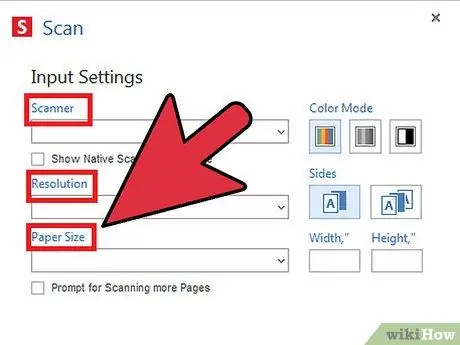
Step 7. From Scanner
Here you have the option to create a PDF directly from scanning a document. The Input options allow you to select the scanner, resolution and paper you want to use. The Output settings allow you to create a PDF as a new document, attach it to an existing document or convert it to an image. You also have the option to split it into multiple files and run OCR if needed.
Tips
- Always keep the original even if you have saved the PDF file. These are usually easier to edit.
- In-text links won't work in PDF format, so make sure to write the entire URL (https://something.com) instead of linking the text (creating a hyperlink).


