- Author Jason Gerald gerald@how-what-advice.com.
- Public 2023-12-16 10:50.
- Last modified 2025-01-23 12:04.
Windows Vista is no longer an operating system that supports iTunes. You will need to use a special installation file from Apple for older operating systems. With this version of iTunes, you can connect the program to your iOS 9 device. The standard installation files from the iTunes website cannot be used on Windows Vista. You will need to remove all remaining iTunes components and install the program from scratch if you experience problems with the installation process.
Step
Part 1 of 2: Installing iTunes
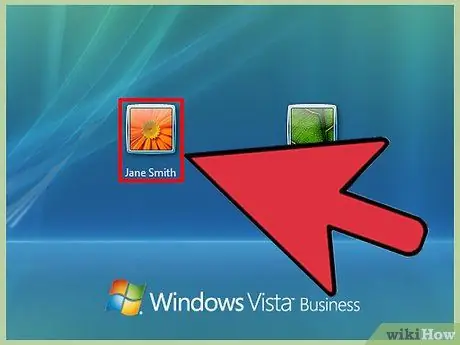
Step 1. Log in to the computer using an administrator account
You need an administrator account in order to install iTunes. If you only have one account on your computer, that account is usually an administrator account.
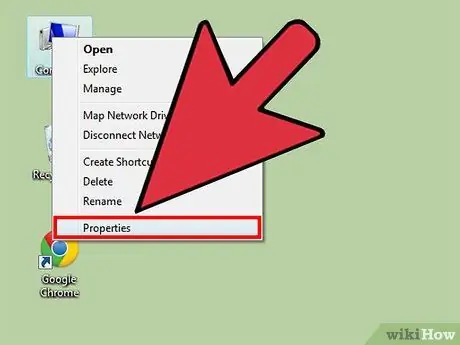
Step 2. Determine whether the computer is running Windows 32 bit or 64 bit
iTunes no longer supports Windows Vista so you will need to download a special version of iTunes. In order to get the correct version, you'll need to know if the operating system you're running is Vista 32 bit or 64 bit.
Open the “Start” menu, right-click the “Computer” option, and select “Properties“. You can also press Win+Pause key. Notice the "System type" entry
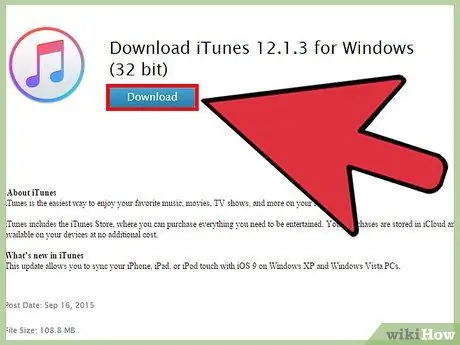
Step 3. Download the right iTunes version
Once you know the operating system bit number, download the appropriate installation file from Apple:
- 32 bit: support.apple.com/kb/DL1614
- 64 bit: support.apple.com/kb/DL1784
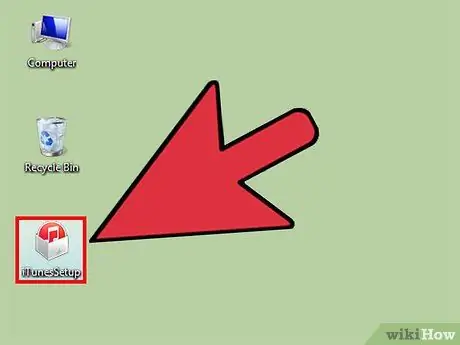
Step 4. Run the installation file once downloaded
Open the downloaded installation file. You can usually find this file in the “Downloads” folder. After that, confirm that you want to run the downloaded program.
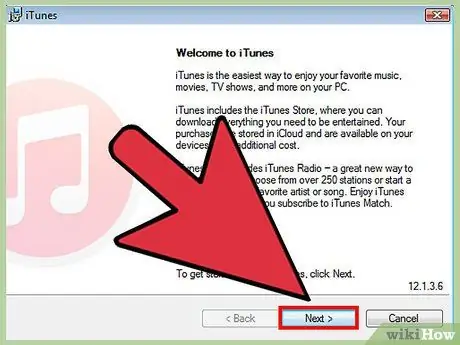
Step 5. Follow the prompts to install iTunes
The User Account Control feature may ask you several times to allow the installation process.
Part 2 of 2: Troubleshooting Installation
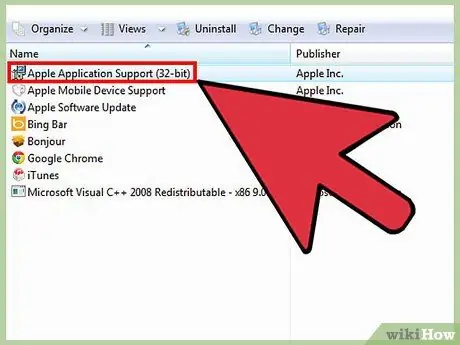
Step 1. Remove all iTunes components
If the installation fails, there may still be some iTunes components installed. You need to remove all components before trying to reinstall the program. However, music or purchased content will not be deleted. Open Control Panel and select "Uninstall a program" or "Programs and Features". Remove the following programs if they are still installed:
- iTunes
- Apple Software Update
- Apple Mobile Device Support
- Bonjour
- Apple Application Support
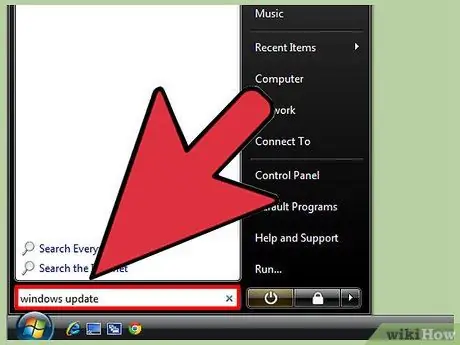
Step 2. Make sure Windows is up to date
If your operating system hasn't been updated, you won't be able to install iTunes smoothly. Use Windows Update to check for and install available updates:
- Click the “Start” menu and type in “windows update”. Select “Windows Update” from the list of search results.
- Click the "Check for updates" button to search for updates. The computer must be connected to the internet.
- Click "Install updates" to install any available updates. This process can take a while if Windows hasn't been updated for a long time.
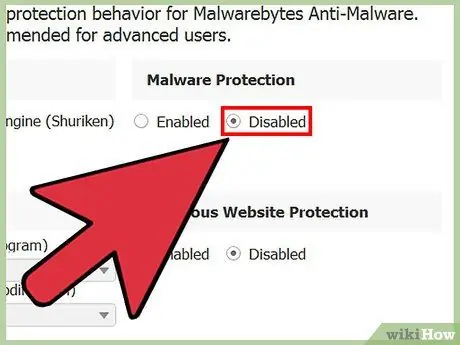
Step 3. Turn off the antivirus program
Antivirus programs may report iTunes files as malicious. This triggers problems in the installation process. Turn off the antivirus program during installation. Usually you can right click the antivirus icon in the system tray and select " Disable ".
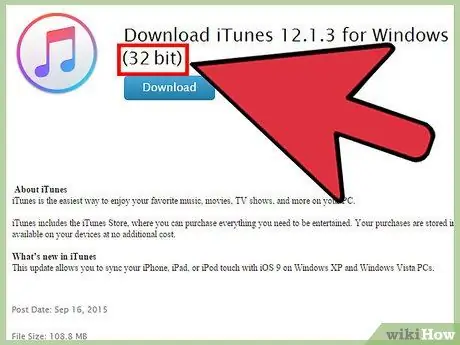
Step 4. Make sure you select the appropriate installation file
You must use one of the installation files mentioned in the first method/segment. Recent installation files from iTunes.com cannot be used on Windows Vista.
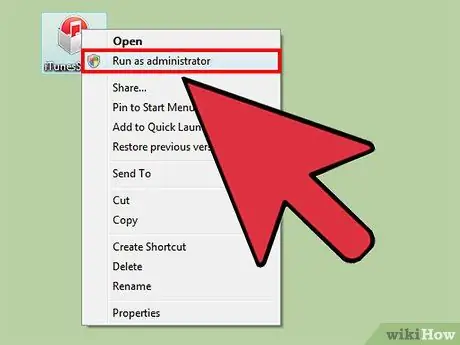
Step 5. Right click the installation file and select " Run as Administrator"
This way, you can run the file as an administrator. Continue to follow these steps, even after you have logged on to the computer as an administrator.


