- Author Jason Gerald [email protected].
- Public 2023-12-16 10:50.
- Last modified 2025-01-23 12:04.
Like some simple scientific projects, planetary props are projects or crafts that are almost always featured in science fairs. Planetary props illustrate the creator's knowledge of the planet, and demonstrate his skill in describing the physical characteristics and size of the planet. Regardless of the purpose of making planetary props, whether the props are made for school purposes or just to be creative, you can start trying to make your own planetary props using papier mâché or styrofoam. Once you have successfully created a planetary body, you can color it or attach the planet to your own homemade solar system prop.
Step
Method 1 of 2: Making Planetary Props From Papier Mâché
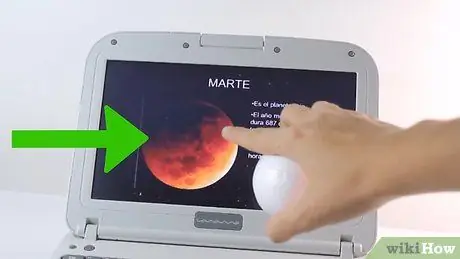
Step 1. Decide what planet you want to create
This can help you figure out the size of the props you are going to make. This may not be so important if you are only going to make one planet, but if you want to make props for the solar system, of course you have to take into account the size scale of the planets that will be created.
For example, props for the planets Mars and Mercury will be smaller than props for the planets Saturn or Jupiter
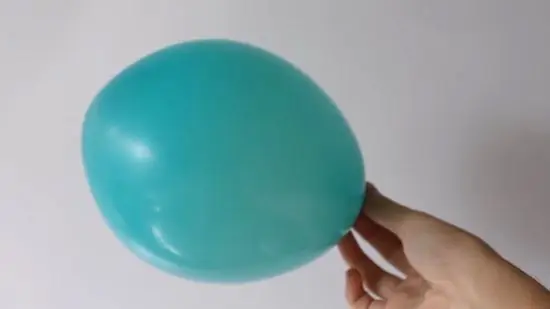
Step 2. Blow up a balloon
Do not blow it too much because later the balloon will become oval. Fill the balloon with enough air to make it round, and adjust its size to the size you want.
Place the balloon with the ends tied with string in a bowl. This can help keep the balloon from moving, making it easier for you to coat the surface of the balloon with papier mâché
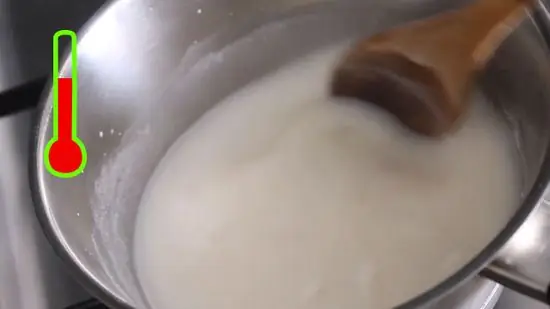
Step 3. Make the adhesive substance
You can use a glue and water mixture, a flour and water mixture, or a flour mixture cooked in water. Each mixture has its own advantages. Glue and water are easy to mix. Flour and water can create a high adhesion, while a mixture of flour cooked in water will not leave a stain (no streaks or color) when it dries.
- For a glue and water mixture, use about 60 grams of plain white glue and add enough water to form a thick paste.
- For a flour and water mixture, add enough water to the flour until the mixture reaches the consistency you want. Keep in mind that the thicker the paste you make, the longer the drying process will take. You may need to dry the pulp on the surface of the balloon overnight.
- For flour boiled in water, mix 120 grams of flour with 600 milliliters of water. Heat over medium heat until it boils. The mixture will thicken and become a gel as the temperature begins to cool.
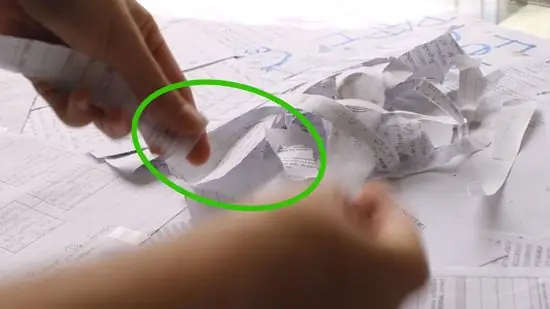
Step 4. Prepare the paper for you to tear
You can use newsprint, craft paper, or construction paper. Use whatever paper you can find easily and make sure you tear it into long strips.
Avoid cutting paper using scissors. Cutting the paper can make the paper strips have straight English lines which, when the pulp dries, can be clearly seen. Paper strips blend well together if made by tearing (the outline is uneven)
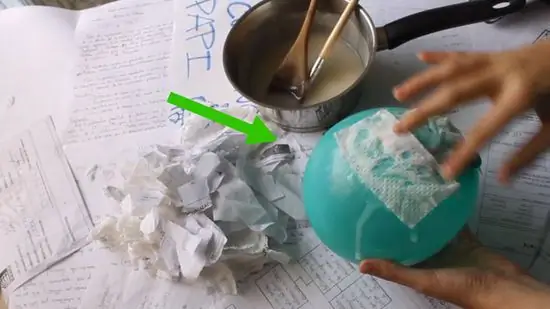
Step 5. Glue the pieces of paper on the surface of the balloon
First, dip the pieces of paper in the adhesive. Make sure all the pieces of paper are covered with adhesive. If there is excess adhesive on the pieces of paper, clean them with your finger. Glue the pieces of paper on the surface of the balloon. Keep adding layers of paper until the entire surface of the balloon is well covered.
Use your hands to smooth out the bumps on the surface of your balloon so your planet doesn't have a bumpy texture later
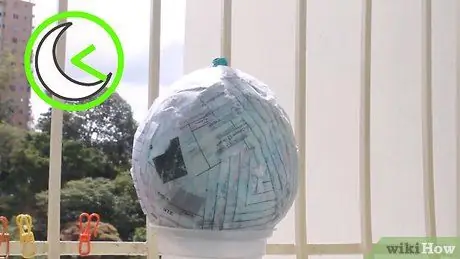
Step 6. Let your papier mâché balloon dry
Store the balloon in a warm place and dry it overnight. Before you start coloring and decorating your planetary props, make sure the paper and adhesive are completely dry. If the papier mâché isn't dry yet, your planetary props may get moldy.
Sometimes, the drying process takes longer. If your balloon is coated with a lot of adhesive or paper coating, the papier mâché drying process may take longer. Therefore, allow the papier mâché to dry for a few days
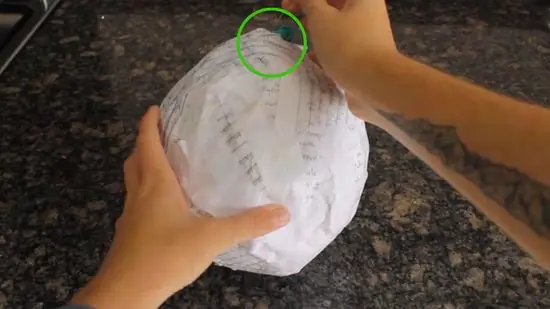
Step 7. Pop the balloons
Once the papier mâché has dried, pop the balloon with a pin or tacks. Discard the balloons and their pieces that may still be in your planetary props.
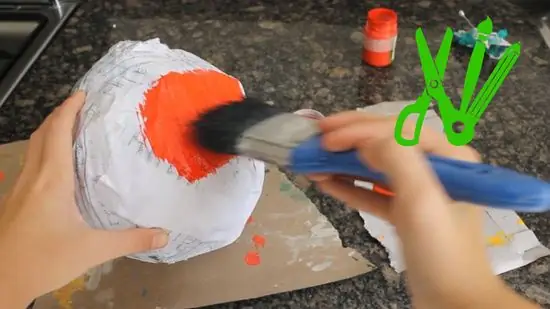
Step 8. Color your planet
For simple props, use acrylic paint to color your planet according to the base color of the created planet.
- For the sun, use yellow.
- For Mercury, use a gray color.
- For Venus, use a yellowish white color.
- For Earth, use a turquoise color.
- For Mars, use red.
- For Jupiter, use an orange color with white streaks.
- For Saturn, use a pale yellow color.
- For Uranus, use a light blue color.
- For Neptune, use blue.
- For Pluto, use a light brown color.
Method 2 of 2: Making Planetary Props From Styrofoam / Thermocol
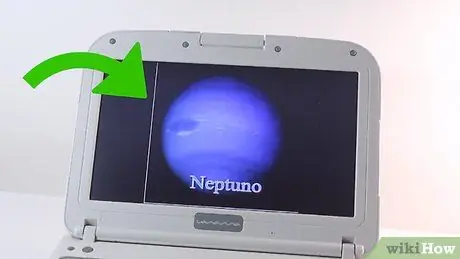
Step 1. Same as in the previous method, decide what planet you want to create
This can help you figure out the size of the props you are going to make. If you're only going to make one planet, maybe you don't need to think about the size of the planet you're going to make. However, if you plan to make props for the solar system, of course you have to take into account the size scale of the planets that will be made.
For example, props for the planets Mars and Mercury will be smaller than props for the planets Saturn or Jupiter
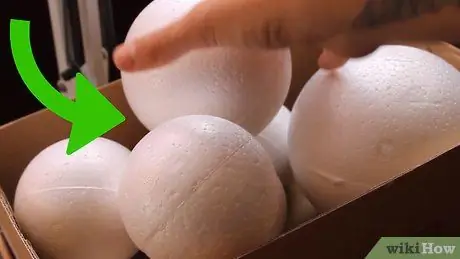
Step 2. Prepare Styrofoam (thermocol) in the form of a ball
If you're only making one planetary prop, you can use a Styrofoam ball of any size. But if you plan to make props for the solar system, use Styrofoam balls of various sizes. The difference in size can help illustrate the scale of the size of the planets in the solar system accurately.
- For the sun, use a ball with a diameter of 13 to 15 cm.
- For Mercury, use a sphere with a diameter of 2.5 cm.
- For Venus, use a ball with a diameter of 4 cm.
- For Earth, use a ball with a diameter of 4 cm.
- For Mars, use a ball with a diameter of 3 cm.
- For Jupiter, use a sphere with a diameter of 10 cm.
- For Saturn, use a sphere with a diameter of 7.5 cm.
- For Uranus, use a sphere with a diameter of 6.35 cm.
- For Neptune, use a ball with a diameter of 5 cm.
- For Pluto, use a sphere with a diameter of 3 cm.
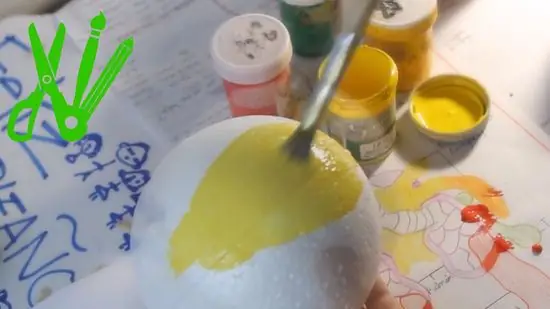
Step 3. Color your planet
For simple props, you can use acrylic paints to color your planet, according to its base color.
- For the sun, use yellow.
- For Mercury, use a gray color.
- For Venus, use a yellowish white color.
- For Earth, use a turquoise color.
- For Mars, use red.
- For Jupiter, use an orange color with white streaks.
- For Saturn, use a pale yellow color.
- For Uranus, use a light blue color.
- For Neptune, use blue.
- For Pluto, use a light brown color.
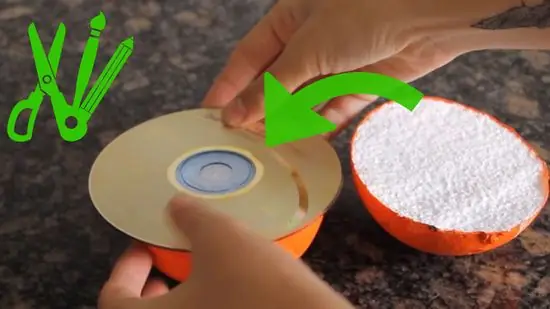
Step 4. Add textures or special characteristics to your props
If your planet has multiple colors (like Earth), give your planet a secondary color after the base paint dries. If your planet has rings, attach wire or Styrofoam rings around your planet.
- For ringed planets (such as Saturn), you can cut a Styrofoam ball into two equal parts, then glue an unused CD onto the flat surface of one of the Styrofoam ball pieces. Glue another piece of Styrofoam ball on the other side of the CD so that the planet ball is formed again, but this time with the 'ring' of the CD in the middle.
- For craters, you can slightly pry the surface of the Styrofoam so that there is a contoured planetary surface. You can also apply paint to these areas.
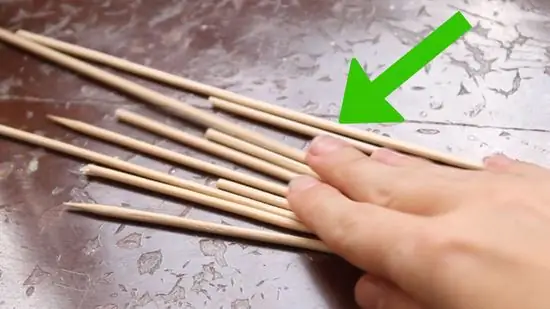
Step 5. If you want to make props for the solar system, prepare some dowel rods
After you have made the planets with their respective sizes, prepare some wooden dowels and cut them to lengths, respectively, according to the distance of each planet from the sun. Make sure each planet is positioned at the right distance.
- You don't need dowels for the sun because the sun will be the centerpiece of your solar system display.
- For Mercury, use a wooden dowel with a length of 5.7 cm.
- For Venus, use a wooden dowel with a length of 10 cm.
- For Earth, use a wooden dowel with a length of 13 cm.
- For Mars, use a wooden dowel with a length of 15.2 cm.
- For Jupiter, use a wooden dowel with a length of 18 cm.
- For Saturn, use dowels 20.5 cm long.
- For Uranus, use a wooden dowel with a length of 25 cm.
- For Neptune, use a wooden dowel with a length of 29 cm.
- For Pluto, use a wooden dowel with a length of 35 cm.
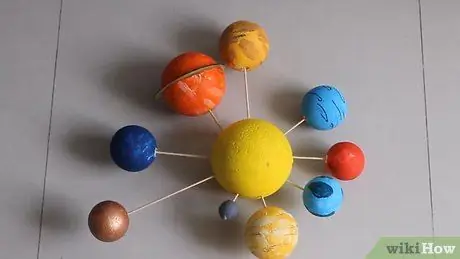
Step 6. Mount the planets on the sun
After each dowel piece is cut based on its relative distance to the sun, attach each piece of wood to the appropriate planet, then attach the other end of the piece of wood to the sun. Make sure each piece of wood is pasted around the sun (not stuck to just one spot).
Match the planets in the correct order. Start by placing the planets closest to the sun (Mercury, Venus, etc.) before you attach the planets that are farthest away (such as Neptune and Pluto)
Tips
- Oil paint can give your props a more realistic look.
- To prevent spilled paint from contaminating the floor or table, cover the surface with newspaper.


