- Author Jason Gerald [email protected].
- Public 2023-12-16 10:50.
- Last modified 2025-01-23 12:04.
This wikiHow teaches you how to use the Photo Booth application on a Mac. This application allows you to take one or more photos in a row, or record a video and apply interesting effects to the resulting photo or recording.
Step
Part 1 of 5: Preparing and Running the Photo Booth
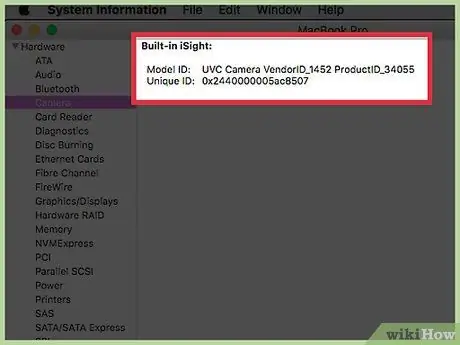
Step 1. Connect the camera to the computer (if necessary)
Most Mac computers come with a built-in webcam, but you can install your own if your computer doesn't have a built-in camera or you want to use a better quality camera.
Usually, webcams only need to be connected to a USB port and can be used immediately after as long as the device is compatible with a computer
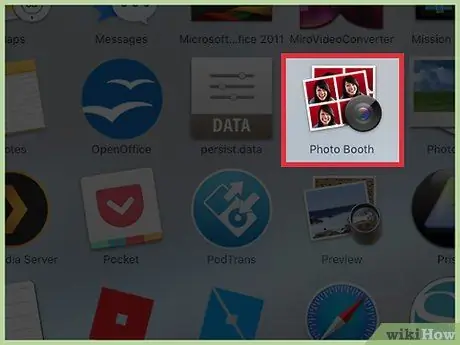
Step 2. Open Photo Booth
There are several ways you can follow to quickly open Photo Booth:
- Click the “Go” menu from the desktop and select “Applications”. Look for the Photo Booth icon in the “Applications” folder after that.
- Click the “Search” button in the menu bar, type in photo booth, and press Return.
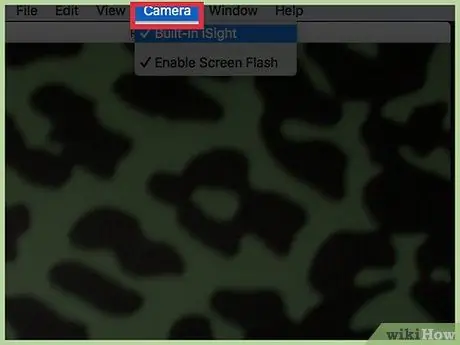
Step 3. Click the Camera menu
If you have multiple cameras installed, you will need to select the camera to use in the Photo Booth.
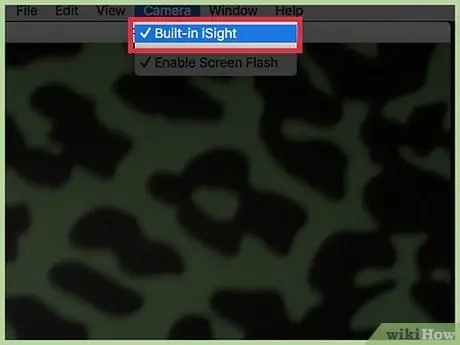
Step 4. Click the camera you want to use
You will see a list of all the cameras connected to the computer. After selecting the camera, you can view the image or camera shot in the Photo Booth window.
Part 2 of 5: Taking One Photo
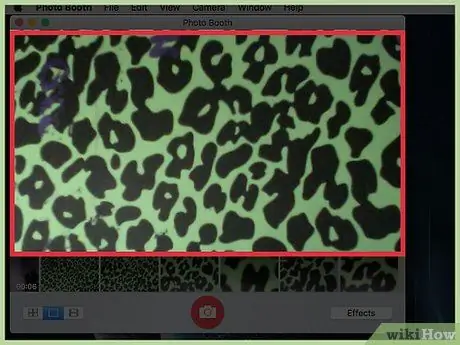
Step 1. Align your position in the Photo Booth window
You will see the webcam shot in the Photo Booth window. Move or reposition the camera until your face and body are displayed in the appropriate positions in the program window.
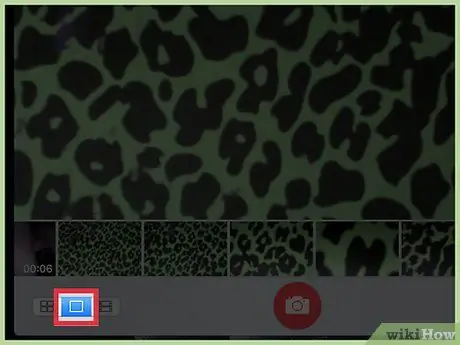
Step 2. Click the “Single Picture” button
It's in the lower-left corner of the Photo Booth window and is usually automatically selected.
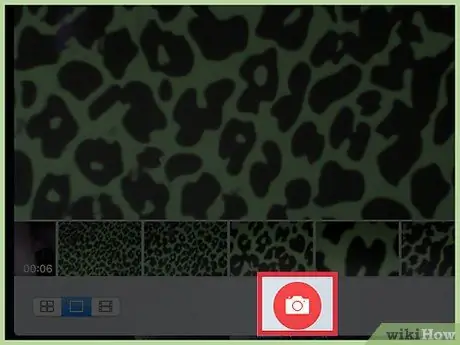
Step 3. Click the “Camera” button
The countdown will start at the bottom of the screen.
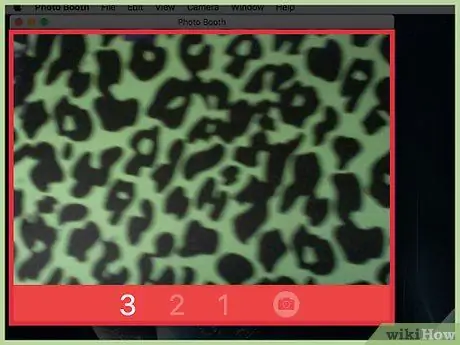
Step 4. Take a photo
After the countdown is complete, the screen will flash and a photo will be taken.
Part 3 of 5: Taking Snapshots
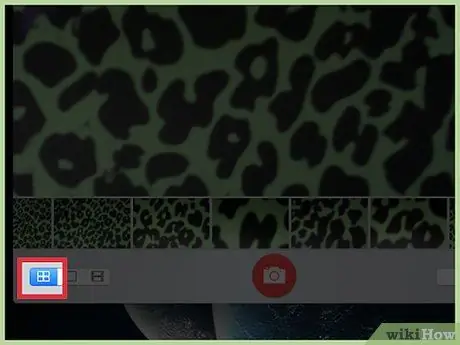
Step 1. Click the “Four Pictures” button
It's in the lower-left corner of the Photo Booth window. The icon looks like four small squares arranged in a grid.
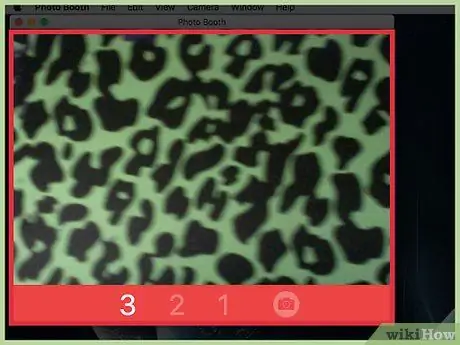
Step 2. Align your position
In this method, you'll take four photos in quick succession with a few seconds of pause between each shot to change poses. Make sure you've positioned the camera properly so that your face and body look snug in the Photo Booth window.
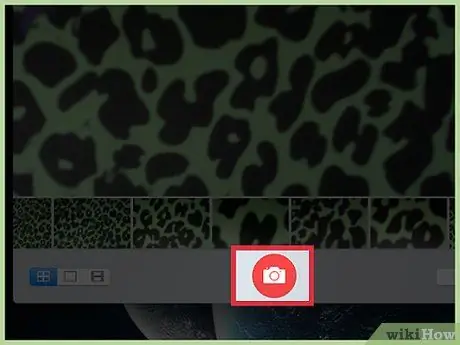
Step 3. Click the “Camera” button
It's in the bottom center of the window.
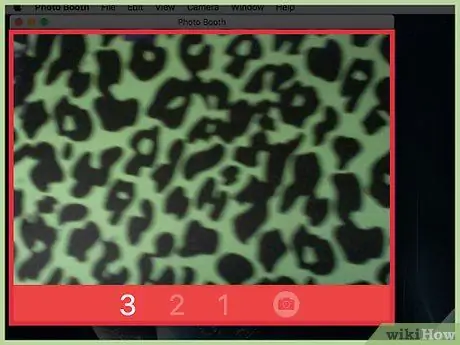
Step 4. Pose and wait for the countdown
You can see the countdown at the bottom of the screen.
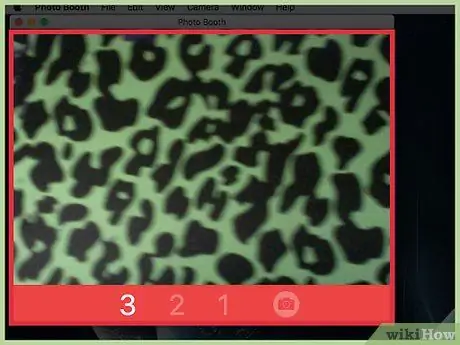
Step 5. Change the pose for each photo
The screen will flash every time a photo is taken. The computer will take 4 photos.
Part 4 of 5: Applying Effects
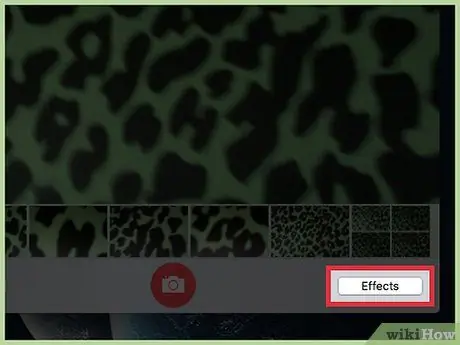
Step 1. Click the Effects button
You can apply effects to photos you have already taken, or select effects first before taking photos.
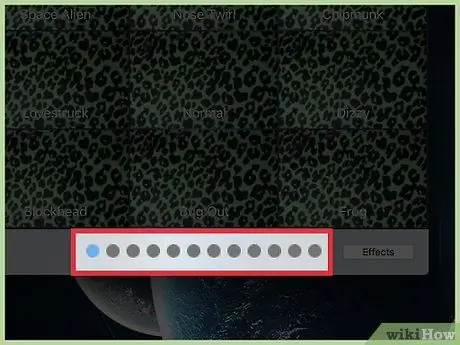
Step 2. Click the and buttons to see more options
These two buttons are at the bottom of the screen. When clicked, the page will change and show more effect options.
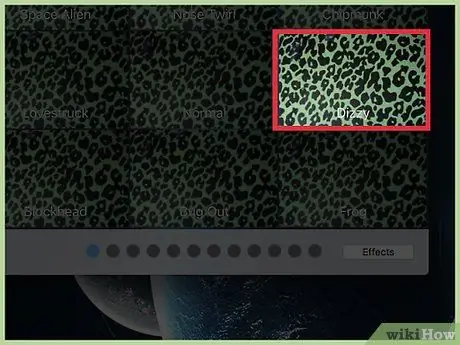
Step 3. Click the effect you want to apply
You will see a preview of each effect in the menu.
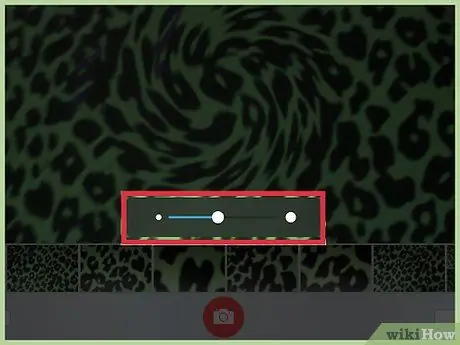
Step 4. Click and drag the slider to adjust the effect (if available)
If the selected effect is customizable, you will see a slider. With this slider, you can change the intensity of the applied effect.
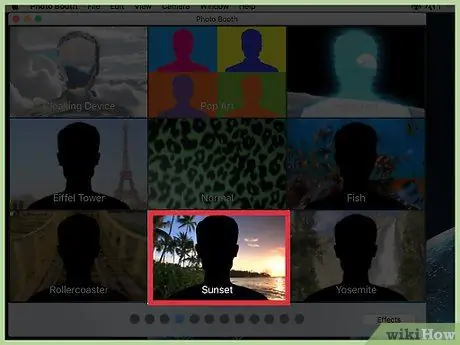
Step 5. Select a background from the list of effects
At the end of the list, you can see the background with the silhouette. With this option, you can apply backgrounds or special effects to the body.
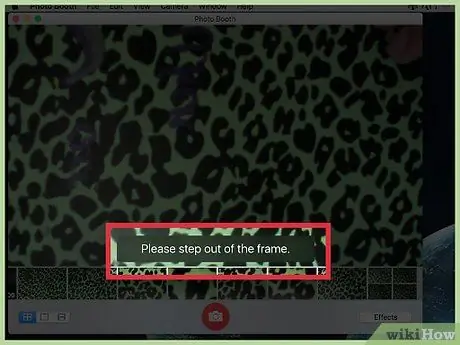
Step 6. Exit the frame
Photo Booth needs to detect your background in order to apply the effect properly. You need to move away from or out of the frame for detection to take place.
Make sure there are no moving objects behind you. To be more effective, use a background with a plain color. However, you can also take pictures with any background as long as there are no moving objects
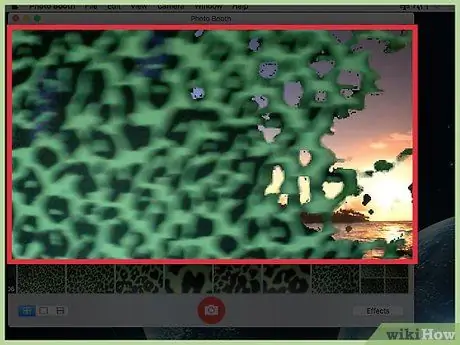
Step 7. Re-enter the frame once the background is detected
The previously selected effect will be applied to your body.
Part 5 of 5: Saving and Exporting Photos/Videos
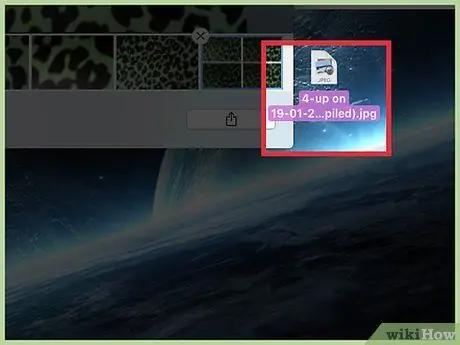
Step 1. Drag the photo to the timeline to save it quickly
After taking a photo or recording a video, you can see its preview icon at the bottom of the program window. Click and drag the icon to your desktop or another folder to quickly save it to your computer.
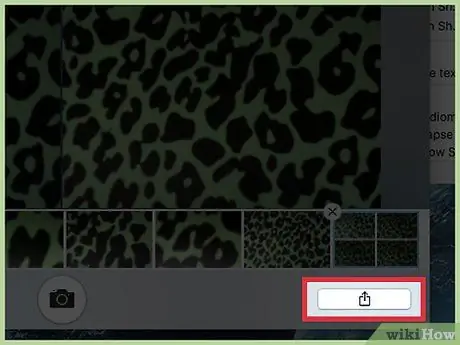
Step 2. Select the photo and click Share
The “Share” button looks like a square with an arrow coming out of the top. The “Share” menu will be opened after that.
Click the option on the “Share” menu to select a method of sharing content. You can add photos/videos as email attachments, send them via iMessage, or use third-party apps that support content sharing
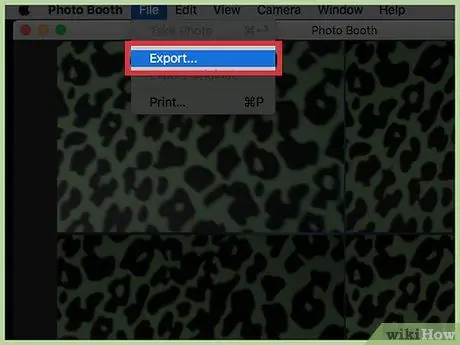
Step 3. Click File → Export to save the image
If you want to specify an image storage location or change the format, use the “Export” menu.
Browse to the directory you want to set as the storage folder, name the file, select a format, and click “Export”
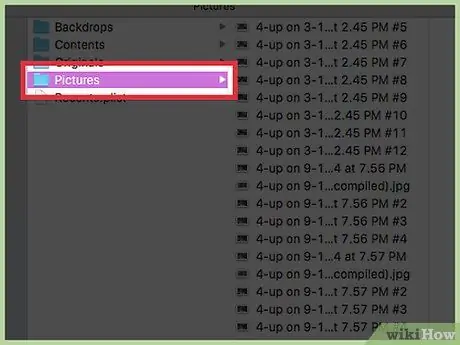
Step 4. Locate your Photo Booth photo
Photos taken in Photo Booth are stored in the “Pictures” library:
- Click the Finder button on the Dock.
- Click the “Pictures” folder.
- Look for the “Photo Booth Library” package file.
- Right click the file and select " Show Package Contents ".
- Open the “Pictures” folder in the “Photo Booth Library” to find the saved photos.


