- Author Jason Gerald [email protected].
- Public 2023-12-16 10:50.
- Last modified 2025-01-23 12:04.
Has your Windows been experiencing a lot of errors lately? It is possible that some of your important system files have been corrupted. This can happen for a variety of reasons, but Repair Installation can fix many problems. Repair Installation will restore your computer's important system files without touching your personal files. See Step 1 below to learn how.
Step
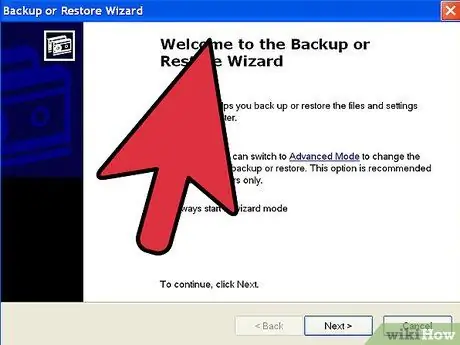
Step 1. Backup your data
While Repair Install won't affect your data, it's a good idea to be prepared in case something goes wrong. Backup your important files to an external drive, CD/DVD, or other form of storage.
- Be sure to get files from all possible locations, including My Documents, Desktop, and any folders you may have used to create and save files.
- You'll also need to have your Windows Product Key ready in case you need to do a full reinstallation later. Your Product Key is usually located in the case of the Windows CD, or on a sticker affixed to your computer.

Step 2. Insert your Windows XP setup disc
If you purchased your computer from a manufacturer like Dell, you probably have recovery discs instead of Windows XP discs. Close programs that run automatically when you insert the disc.
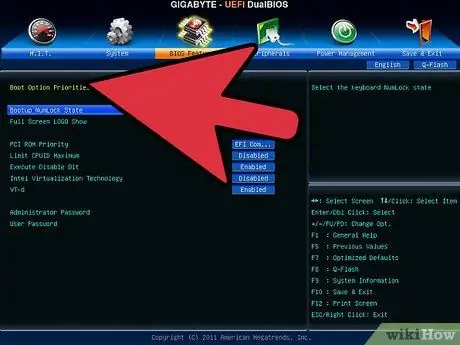
Step 3. Reboot the computer and enter the BIOS
With the disc still in the computer, restart your computer. When the computer boots up, press the Setup button to enter the BIOS. The key to be pressed may vary from computer to computer, and will appear below the manufacturer's logo. The keys used are usually: F2, F10, F12, and Del.
If your computer starts loading Windows, the Setup button was not pressed at the right time and you should try again
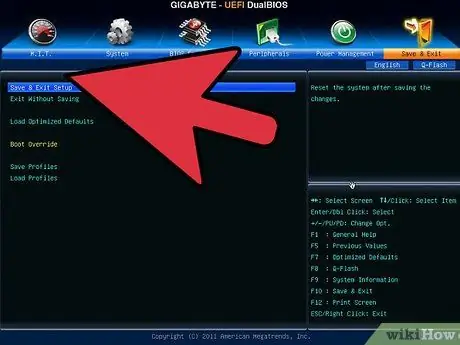
Step 4. Change your boot order
Once you enter the BIOS, navigate to the BOOT menu. The label may vary slightly depending on your BIOS. You will need to change the boot order so that your CD/DVD drive will be the first boot device, followed by your hard drive.
- Usually, the hard drive is the first boot device. This means that the system first tries to boot from the hard disk, which contains the installed copy of Windows. You should change it so that the computer will try to boot from your Windows disc before trying the hard drive.
- After you change your boot order, save your changes and restart your computer.
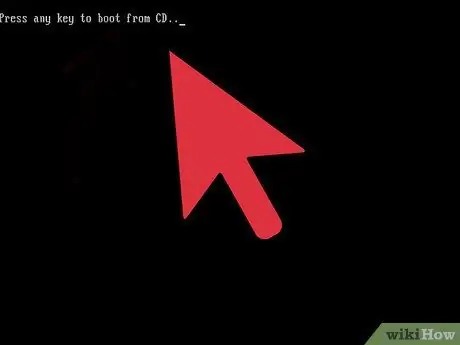
Step 5. Start the installation
After your computer reboots again, you will see the message Press any key to boot from CD…. Press any key on your keyboard to start the Windows setup program.
Setup will load the files needed to install Windows. This could take a while
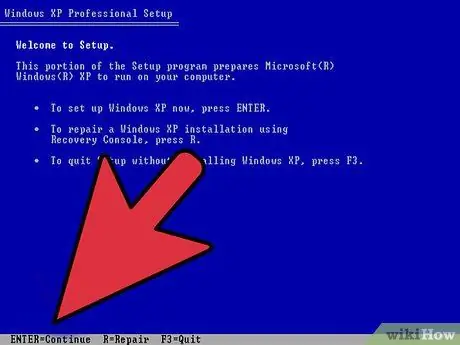
Step 6. Navigate to the Repair Installation option
When the setup program is first loaded, you will be greeted with a Welcome message. At the bottom of the screen, you will see a button that you can press to select the option you want. DO NOT press the button for Repair; but press Enter key to continue.
Press F8 to accept the Windows License Agreement
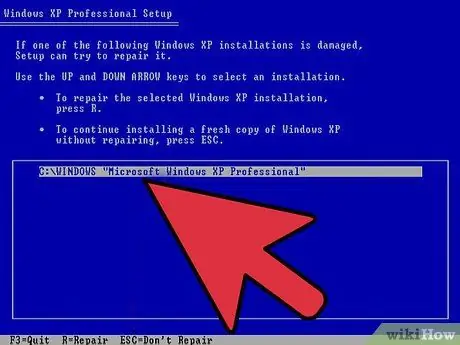
Step 7. Select your copy of Windows
After the license agreement, you will see a list of your drives. One of them will be named "Windows" and will usually be highlighted automatically. If you are installing multiple operating systems then you will have to manually select the operating system you want.
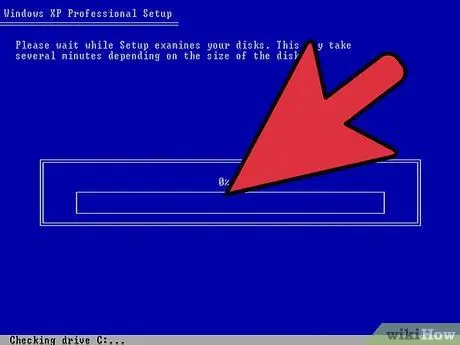
Step 8. Start the repair
Once your copy of Windows is highlighted, press R to start the Repair process. Windows will start deleting system files. After the system files are deleted, a new copy will be installed.
No personal files will be deleted during this fix
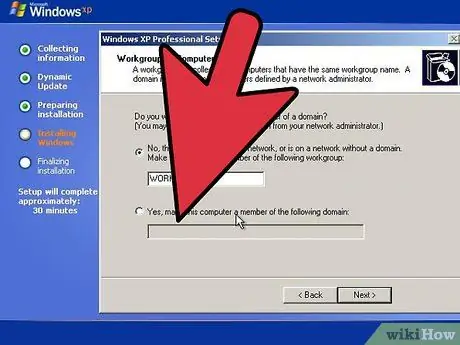
Step 9. Set your preferences
During reinstallation, you must select your Region and Language options. You should also set your network settings. Most users can choose the first option, which is "No, this computer is not on a network, or is on a network without a domain."
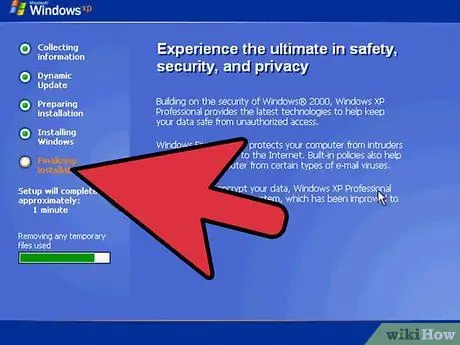
Step 10. Wait for the setup to complete
After you enter your preferences, you should wait a few minutes for Windows to finish copying the required files. Your computer may reboot during this process.
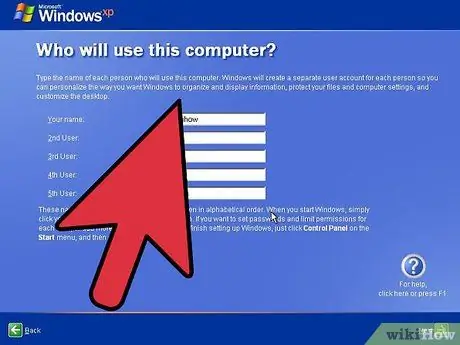
Step 11. Create your username
Once the installation is complete and your computer reboots, you will be asked if you want to register with Microsoft. This is not the same as activation, and is completely optional. After that, you will be asked to create a username and other usernames for the people who use the computer. You can add and remove users later if you want.
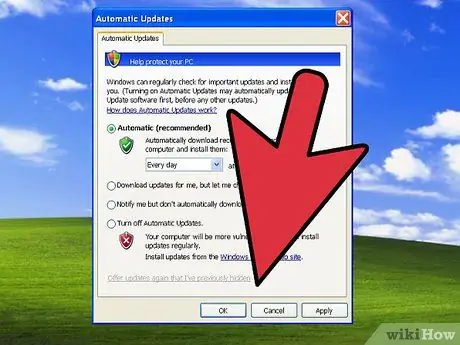
Step 12. Update Windows
Once the setup is complete, you will be taken to your Windows XP desktop. A repair install restores Windows to its original state, which means any installed updates, patches, and service packs have been removed. You should update your computer as soon as possible to ensure that you are protected from threats.

Step 13. Continue troubleshooting
If your problem is fixed, then your repair installation will most likely work fine. But if you're still having problems, you may need to take further repair efforts and actually do a clean install. This will erase all data on your hard drive and start over. See this guide for detailed instructions on how to perform a clean install.
Since Microsoft has discontinued all support for Windows XP in April 2014, it might be a good time to upgrade. See this guide for upgrading to Windows 7 and this guide for upgrading to Windows 8
Tips
Download and install all Windows Updates after performing a Repair Install
Warning
- A repair installation won't affect your personal data, but backup all the essentials just in case.
- Repair Install will repair the file system files affected by the virus, but will not remove the virus itself. This means that the file can become infected again if the virus is not removed.


