- Author Jason Gerald gerald@how-what-advice.com.
- Public 2024-01-15 08:07.
- Last modified 2025-01-23 12:04.
Dashboard CD players in cars have a unique problem when a CD gets stuck in it - you can only fiddle with, pry or handle the CD player from one side, unless you remove and disassemble the player. Therefore, the problem of stuck CDs can be very annoying. Fortunately, there are now many solutions to this problem. However, it should be noted, if this is not done properly, repairing the player may damage it (or the CD may become stuck). The advice in this article should not replace the opinion of automotive experts. See Step 1 below to get started.
Step
Method 1 of 5: Using the Power and Eject Button
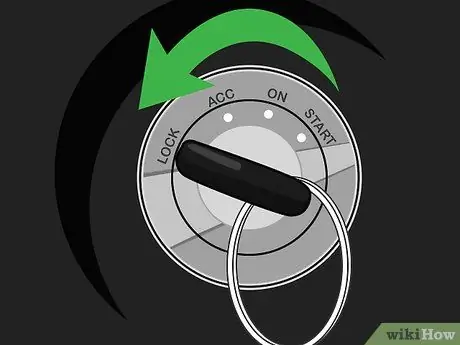
Step 1. Turn off the car
Some CD players have a "force eject" function specifically designed to eject a CD when other functions have failed. Since this method doesn't require you to fiddle with your CD player, we recommend starting here - you have nothing to lose if it doesn't work. First, turn off the car if you haven't already.
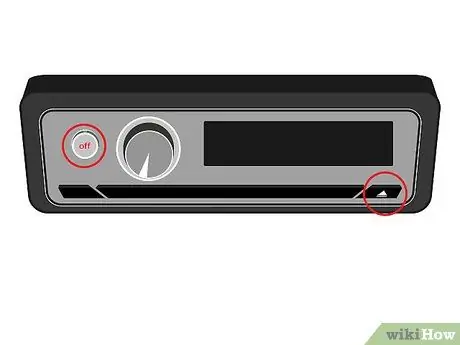
Step 2. When the car is turned off, hold the power button and eject it
Press both buttons at the same time, hold for about ten seconds. The CD will eject if the CD player has a "force eject" feature.
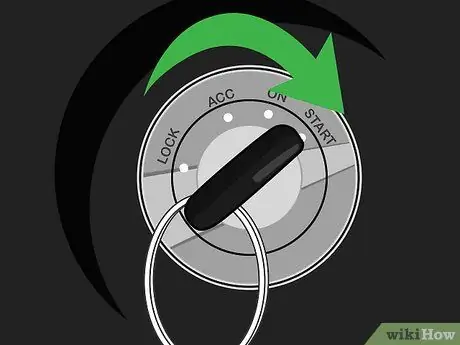
Step 3. If it doesn't work, start the car then try again
Some CD players may not work when the car is off. Press the power button and eject while the car is running.
Step 4. Read the CD player's instructions
The power and eject key combination is one of the most common commands for the "force eject" feature, but many other CD players have different key combinations. If you still have the player manual, read the information on this issue and other functions that can help eject the CD.
Method 2 of 5: Using an Extra CD
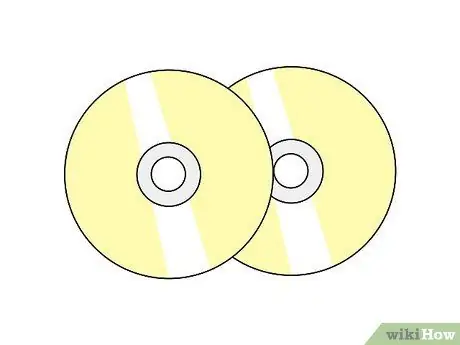
Step 1. Use a blank or unused CD
This method will insert a second CD into the player. To prevent damage to a second CD, use a blank CD or one that you no longer use.
- Play the CD player before continuing. If you have to start the car, start the car and then play the CD player.
-
Notes:
This method also runs the risk of damaging a stuck CD or player. Be careful when inserting foreign objects into the CD player. If in doubt, stop and leave the matter to the experts.
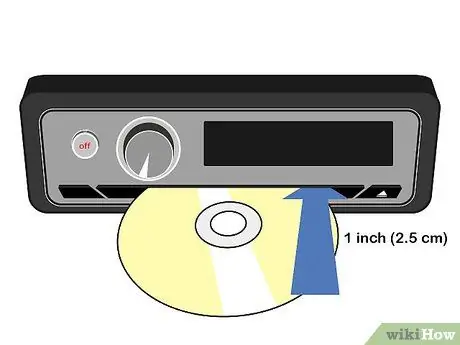
Step 2. Place the second CD about 2.5 cm into the slot
The CD should be on top of the stuck CD. If you're lucky, you can feel the stuck CD shifting.
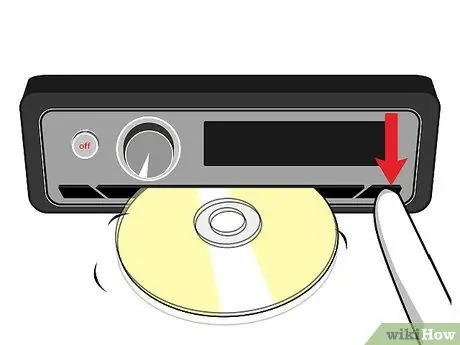
Step 3. Press the Eject button and gently shake the CD
You're applying traction to a stuck CD from the mechanism the player uses to eject the CD. If you feel the stuck CD starting to eject, make sure it's not caught between the second CD and the edge of the CD slot.
If this method doesn't work, repeat, but this time place the blank CD under the stuck CD and gently lift it up. CD players have different eject mechanisms, so upward pressure may provide more precise ejection traction than downward pressure
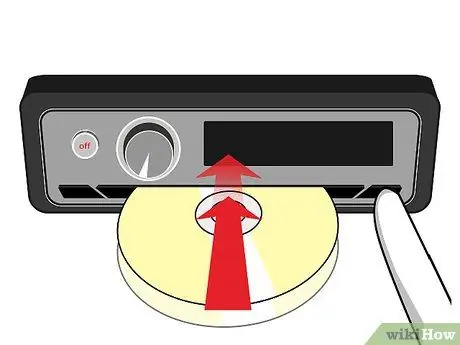
Step 4. Apply pressure to the player
Sometimes, applying pressure to the player can help traction for a stuck CD. If the player is mounted near the top of the dashboard, you may have success by repeating the steps in this method while pressing or gently but firmly hitting the area of the dashboard above the player.
Take note that this method works for some players, but hitting the dashboard can damage the delicate center console components, so this method is not recommended if the car has GPS, etc. between the CD player and the top surface of the dashboard.
Method 3 of 5: Electrical Reset
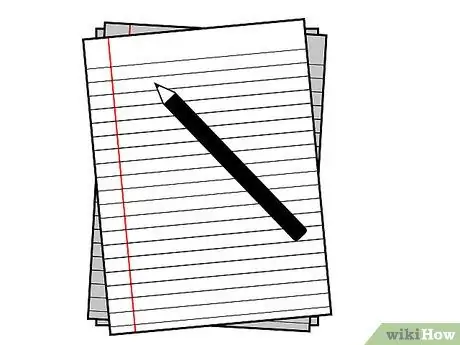
Step 1. Take note of the radio presets and audio settings
This method is useful when the CD player is no longer on. This method will disconnect and then reconnect the power supply to the CD player. For most CD players, all saved radio presets will be deleted and custom audio settings returned to their defaults. Make sure you record these special settings so they can be easily restored later.
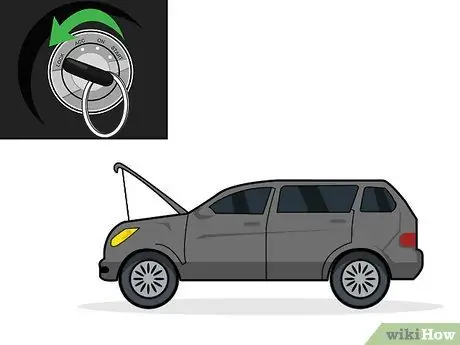
Step 2. Turn off the car and open the hood
It's important to make sure you don't run the risk of electrocution when tinkering with or changing the electrical system in your car. Turn off the car and remove the key from the ignition, then open the hood for access to the battery.
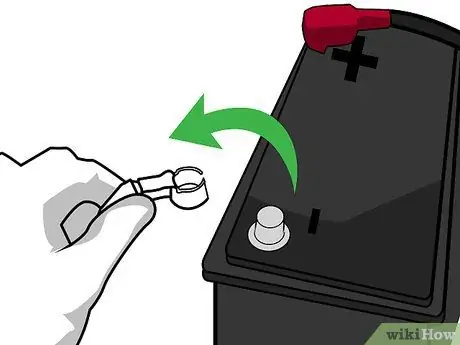
Step 3. Disconnect the negative terminal of the battery
The negative terminal on the car battery is black, while the positive terminal is red. Carefully remove the negative terminal. On some terminals, you'll need to use a small wrench or pliers to loosen the nuts before disconnecting the wires.
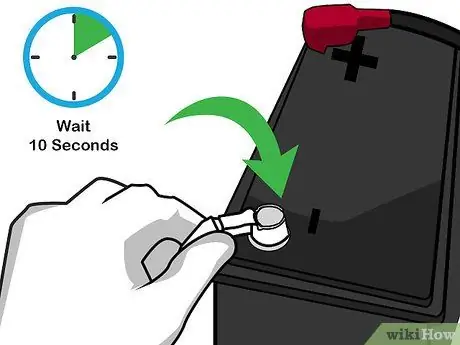
Step 4. Wait 10 seconds, then reconnect the terminal
After reconnecting the terminal, start the car and try to eject the CD as usual. Disconnecting and then reconnecting the CD player's power supply can cause the CD player to perform a "factory reset," which in some cases may restore its eject function.
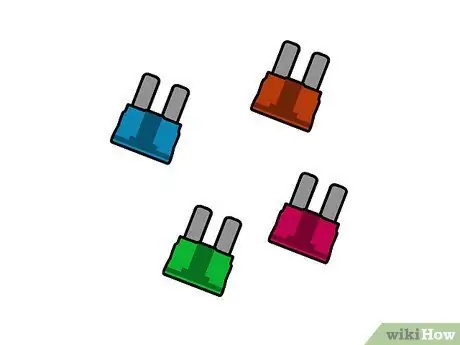
Step 5. If the CD player still won't turn on, replace the fuse
Check the prompts - often the car's fuse box is behind a panel somewhere on the driver's side dashboard. Remove the battery, remove the fuse box guard, and then replace the CD player fuse according to the CD player's instructions.
Method 4 of 5: Using a Knife Or Tape Stick
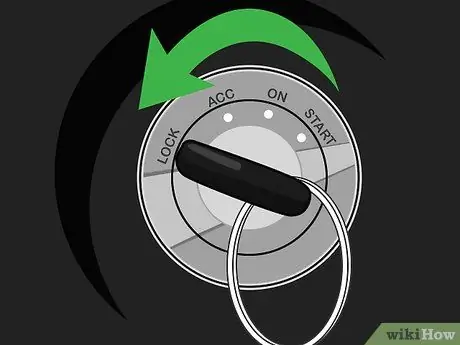
Step 1. Reduce the risk of electrocution
This method will insert a flat knife or similar long object directly into the CD player. Knives are made of metal that conducts electricity, so it's best to take something made of wood or plastic (for example, an ice cream stick). Otherwise, be sure to disconnect all power supplies from the CD player and ensure that any electrical charges have been removed. Turn off the car and CD player then disconnect the negative terminal of the car battery.
-
Notes:
Just like any other method, this method runs the risk of damaging the stuck CD or the CD player itself. If you don't want this to happen, take your car to a trained automotive expert.
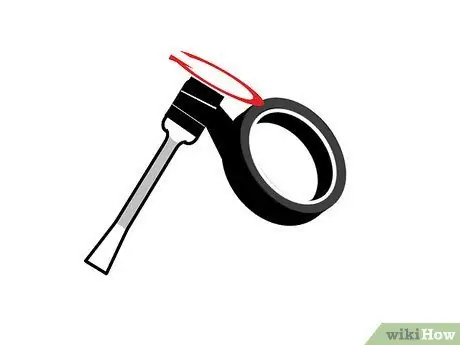
Step 2. Wrap tape (sticky side out) around the end of the stick
Use strong tape such as Gorilla for best results. The tip of the putty knife is usually tapered, so if you wrap it with tape tight enough, the tape won't come off the tip of the knife. If you're using something else like an ice cream stick that doesn't taper, you'll need to wrap it a few times, then twist the tape and then re-wrap it a few more times to make sure the tape is secure enough for the stick.
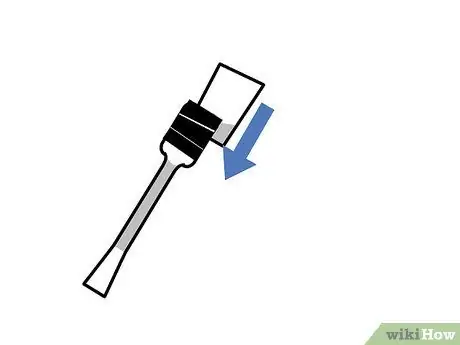
Step 3. Glue a thin piece of paper to one side of the knife
Knives or sticks, etc.) covered with tape can be difficult to insert into a CD player. To make it easier, use paper to smooth the edges of the knife. Glue a small piece of printing or construction paper to the knife. Trim the paper with scissors so that it matches the size and shape of the knife.
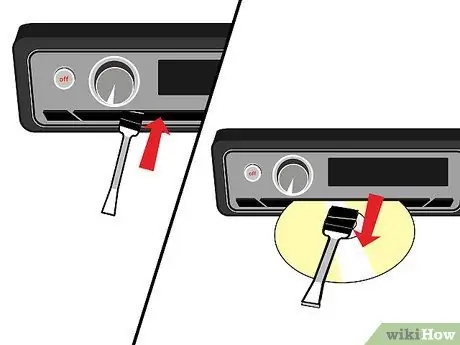
Step 4. Insert the knife into the CD player with the sticky side down
Gently shake the knife until you feel the top of the CD. Press down gently so the tape sticks to the CD. When you feel the knife is stuck to the CD, gently lift the knife and remove the CD.
Method 5 of 5: Using a Plastic Card and a Screwdriver
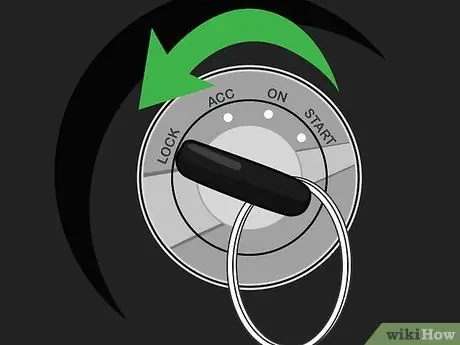
Step 1. Reduce the risk of electrocution
As with the method above, disconnect all power supplies from the CD player and ensure that any electrical charges have been removed. Turn off the car and CD player then disconnect the negative terminal of the car battery.
-
Notes:
If done incorrectly, this method can scratch or damage the CD and/or CD player. As always, be careful, and if in doubt, it's a good idea to contact a car repair specialist.
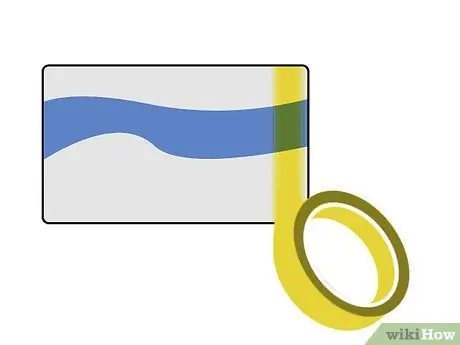
Step 2. Take a rigid plastic card, such as an ID card or credit card
This method requires a thin but sturdy card. Use an expired credit card or something similar - preferably a non-essential card, just in case it gets lost or damaged. Apply double-sided tape to one side of the card, near the edge of one of the two narrow ends.
Or you can use single-sided tape, stick the tape to the card, twist it, then wrap it around the card several times
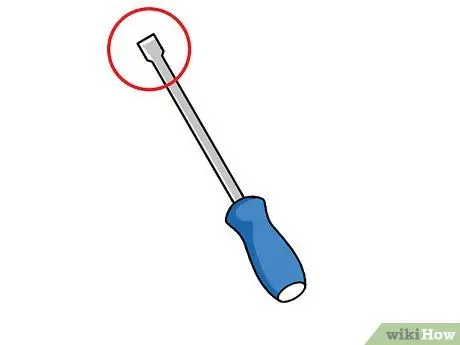
Step 3. Take a thin-stemmed flat screwdriver
This method, although similar to the putty knife method above, differs in that it uses a screwdriver to help attach the card to the CD. You will need a thin-stemmed flat screwdriver. Use the thinnest screwdriver possible, as you will need to insert it into the CD slot.
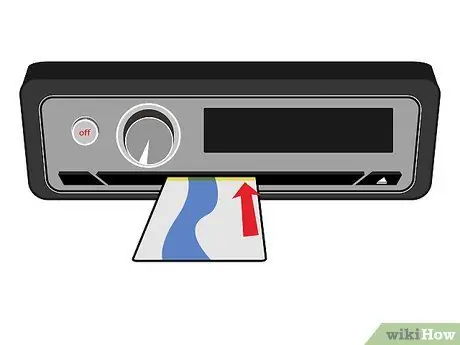
Step 4. Insert the card into the slot ABOVE the stuck CD (sticky side down)
You may need to use a screwdriver to guide the card, making sure it sits on top of the CD and doesn't stick to the CD until 1.2 to 1.9 cm of card is inserted.
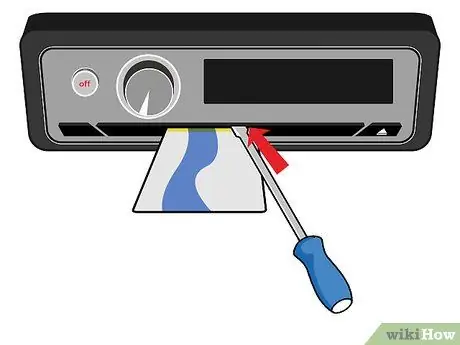
Step 5. Once the card is inserted, slide the screwdriver over the card
Use a screwdriver to gently press down on the card. This will cause the tape on the bottom side of the card to stick to the top side of the stuck CD.
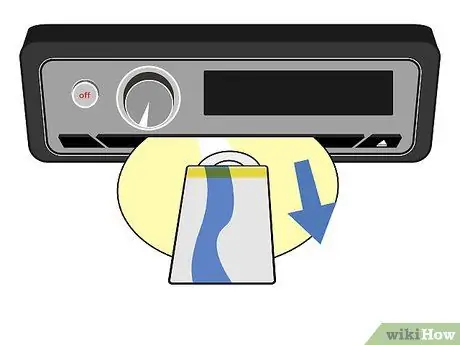
Step 6. Remove the screwdriver, then slowly pull the card out
If you are lucky, the CD will come out with the card. If not, try again.
Tips
- You can also use 3m double sided foam tape and a butter knife. Wrap the tape around the knife and tuck it under the stuck CD. Gently push and pull the CD.
- A clear plastic CD which is usually placed at the very top of a group of CDs or more can be used for this method.


