- Author Jason Gerald [email protected].
- Public 2024-01-19 22:11.
- Last modified 2025-01-23 12:04.
SATA is a new standard for connecting various components in your computer. So chances are, if you're upgrading or building a new computer, you're going to be using a SATA drive, sooner or later. SATA drives are much easier to connect to than their older IDE predecessors, taking some of the stress out of computer maintenance. Read on to learn how to install a SATA hard drive and an optical drive (CD/DVD).
Step
Method 1 of 3: Installing a Desktop SATA Hard Drive
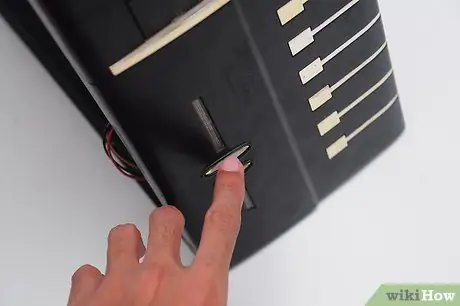
Step 1. Shut down your computer
Turn off the power switch on the back of the case and remove the side panel. Most cases have screws that you can open with your finger, but on older cases, you may need the help of a screwdriver to open them. Many cases require you to remove both panels to secure the hard drive, however, some have removable housings.
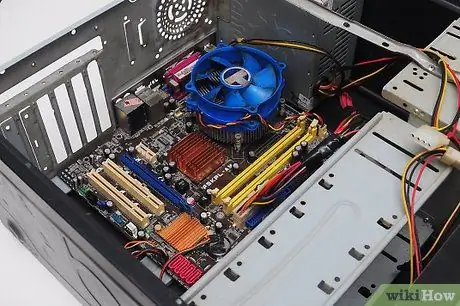
Step 2. Connect yourself to ground
Before starting to work on the inside of your computer, make sure you have removed any static electricity that may have been on your body. If your computer is still plugged into a power outlet (with the switch turned off), you can touch the exposed metal of the case anywhere, to remove it. You can also touch the water faucet to dissipate the static electricity that builds up on your body.
The safest way to work on a computer is to wear an anti-static wrist strap while working on the computer
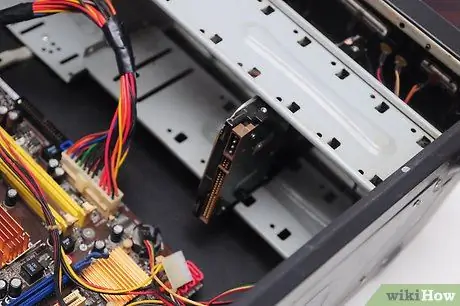
Step 3. Find the hard drive bay
Its location will vary depending on the case, but can usually be found under the optical drive bay. If you upgrade or replace a hard drive, you should see the hard drive that was previously installed.
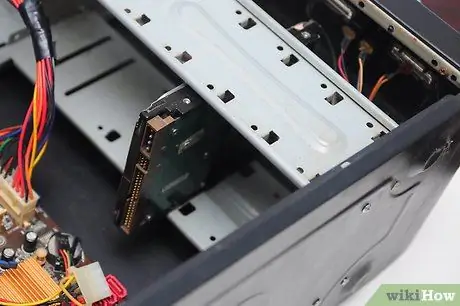
Step 4. Remove the old hard drive (if replacing)
Find the HDD you want to replace and disconnect the two cables, one each coming out of the back of the drive. If you are adding storage to an existing configuration, you should leave the original hard drive in place and go directly to Step 5.
Note that the cable on the left is insulated and has a connector that is wider than the other. This is a Serial ATA power cable that connects the HDD to the computer's power supply. The red flat wire on the right has a smaller connector. This is the SATA Data Connector that connects the hard drive to the motherboard. Remove each one from the drive by gently pulling on its connector
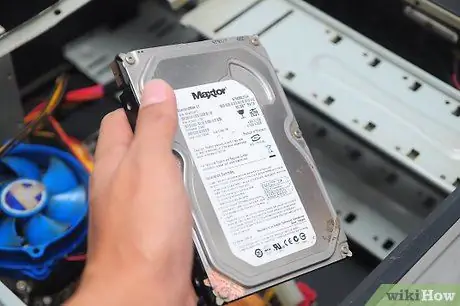
Step 5. Remove the old hard drive
The way to secure the HDD into place varies from system to system, but generally requires two small screws on each side of the drive, to hold it in place.
Remove the screws and slide the old HDD out of place. The old drive has now been removed
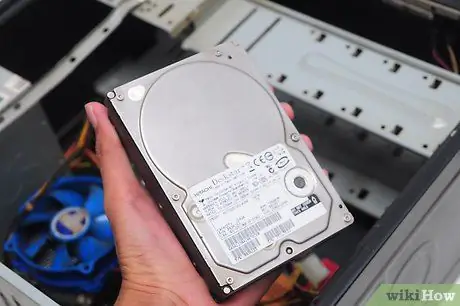
Step 6. Insert the new hard drive into an empty space
If the case allows, try to leave some space between the new drive and the existing drive, to help improve airflow and cooling. Make sure that the metal side is facing up, and the black plastic side is facing down. Also check that both SATA connection ports on the back of the drive are accessible.
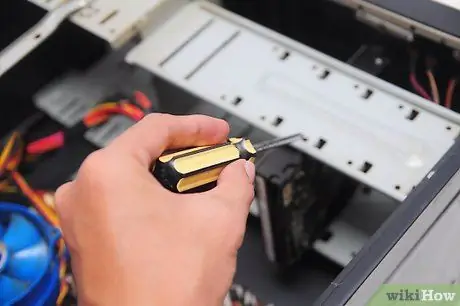
Step 7. Secure the drive
Secure the drive into place by inserting two screws into each side of the hard drive through the appropriate holes in the drive bay. Be sure to only use short-sized screws designed for hard drives. If the screws are too long, they can cause serious damage to the hard drive while it is operating.
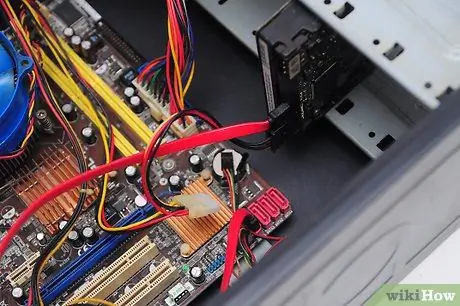
Step 8. Connect the SATA cable to the hard drive
Connect the insulated power cable with the wider end into the larger connection port, which is located on the left rear of the HDD. If the power cord doesn't plug in easily, check to make sure it's not upside down. Connect the data cable to the smaller SATA port on the hard drive.
If the power supply is an older type, it probably doesn't have a SATA power connector. If this is the case, you will need a Molex-to-SATA adapter. The Molex connector has four pins and may be white or black
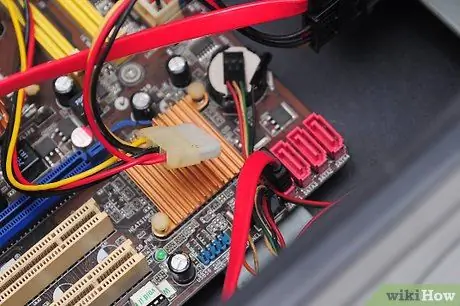
Step 9. Connect the data cable to the motherboard
If you are adding a new drive, you will probably need to connect the data cable to a SATA port on the motherboard (if you are replacing an old drive, the data cable should already be connected).
- SATA ports are usually grouped together and labeled. If you can't see the label, check your motherboard documentation.
- Your main (boot) drive should be connected to the lowest SATA port on your motherboard, unless specified in your motherboard documentation. This is usually SATA0 or SATA1.
- If you do not have a SATA port on your motherboard, then the motherboard does not support the SATA interface. You need to install a motherboard that supports the SATA format.
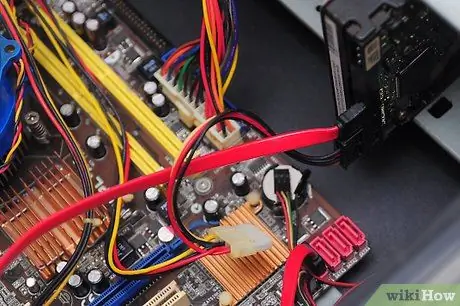
Step 10. Complete the installation
Once the hard drive is secured and connected, close your computer and restart it. Before you can use the new drive, you need to format it. If you are replacing the main drive or building a new computer, you will need to install the operating system. Follow one of the guides below for more detailed instructions:
- Installing Windows 7.
- Installing Windows 8.
- Installing Linux.
- Format your new storage drive.
Method 2 of 3: Installing a Desktop SATA Optical Drive
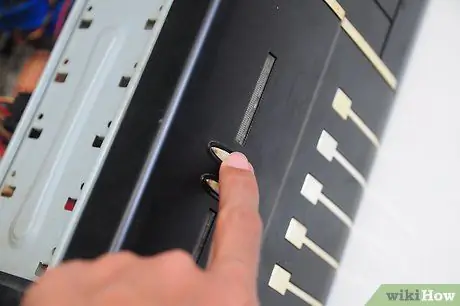
Step 1. Shut down your computer
Turn off the power switch on the back of the power supply, but keep the cord plugged in if possible. This will help keep you grounded. If you unplug everything, be sure to follow Step 2 carefully. Open the case using the finger screws (or a screwdriver if needed). You will need to remove both side panels on many older cases and some newer ones, in order to secure the drive properly.
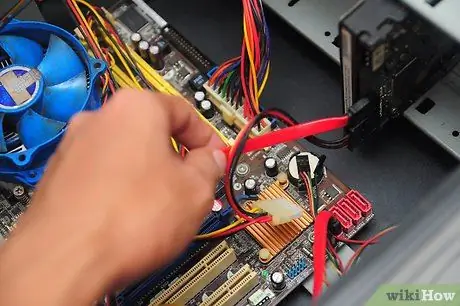
Step 2. Connect yourself to ground
Before starting to work on the inside of your computer, make sure you have removed any static electricity that may have been on your body. If your computer is still plugged into a power outlet (with the switch turned off), you can touch any exposed metal part of the case to remove it. You can also touch the water faucet to dissipate the static electricity that builds up on your body.
The safest way to work on a computer is to wear an anti-static wrist strap while working on the computer
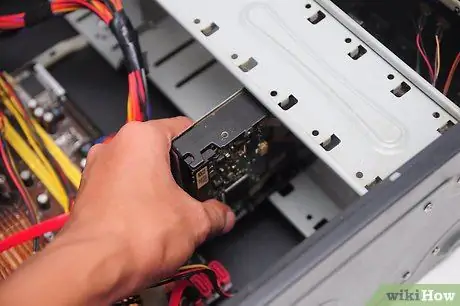
Step 3. Insert your new optical drive
Most optical drives are inserted from the front of the case. You may need to remove the drive bay cover from the front panel of the computer case before you can insert the drive. See your case documentation for specific instructions for your case.
Secure the drive using the two screws on each side or by using a rail, if your case has one
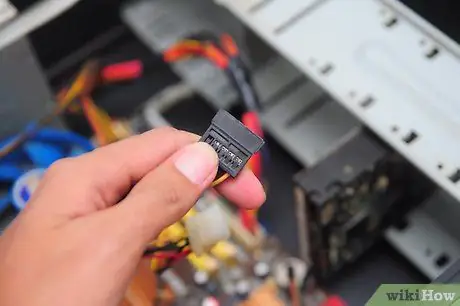
Step 4. Connect the power supply to the optical drive
Use the SATA power connector to plug into a larger SATA slot on your optical drive. The cord can only be inserted in one direction, so don't force it. If your power supply is an older type, chances are it only has a Molex (4 pin) connector. If this is the case, you will need a Molex-to-SATA adapter.
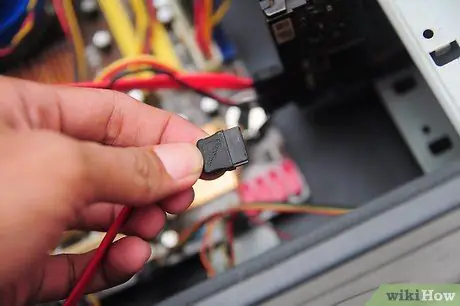
Step 5. Connect the optical drive to the motherboard
Use a smaller SATA data cable to connect the optical drive to the motherboard. Use the SATA port on the next motherboard, directly after your last hard drive. For example, if your hard drive is in SATA1 on the motherboard, mount the optical drive in SATA2.
If your motherboard does not have a SATA port, then your motherboard does not support SATA connections. You will need to install a new motherboard if you want to use your SATA drives
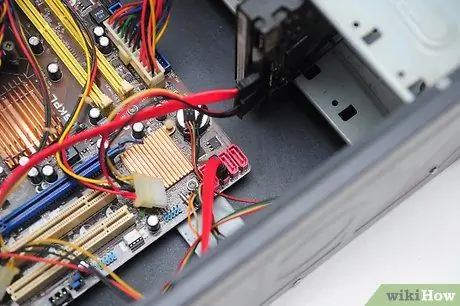
Step 6. Complete the installation
Once the optical drive is secured and connected, close your computer and turn it back on. Your new drive should be detected automatically and the required drivers will be installed automatically. If not, you may need to use the driver disc that came with the drive or download the driver from the manufacturer's website.
Method 3 of 3: Installing a Laptop SATA Hard Drive
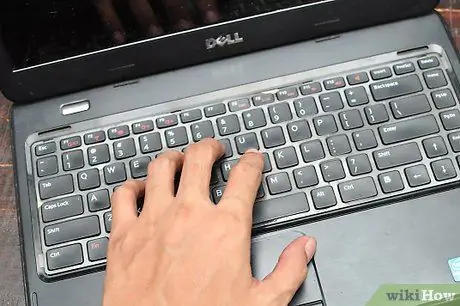
Step 1. Back up your data
Most laptops only have one hard drive slot, so if you replace the hard drive, you will lose access to all your old data. Make sure anything you need is properly backed up and that you have the operating system installation disc with you to install the operating system after the new drive is installed.
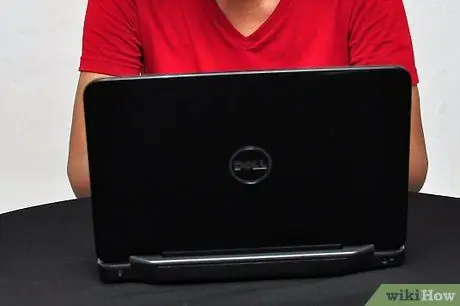
Step 2. Turn off the laptop
Turn it over and remove the battery. Make sure that the power cord is not plugged in. Connect yourself to ground, either by using an anti-static wrist strap or by touching grounded metal.
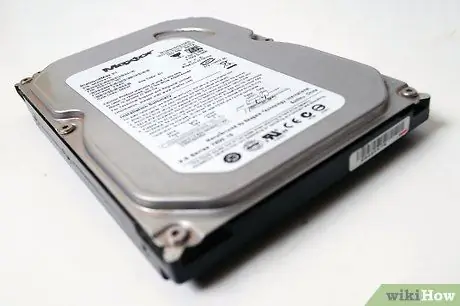
Step 3. Access the old hard drive
Its location varies from laptop to laptop, but in general it will be located on the back of a panel at the bottom of the laptop. You may need to remove the sticker to gain access to all the screws.
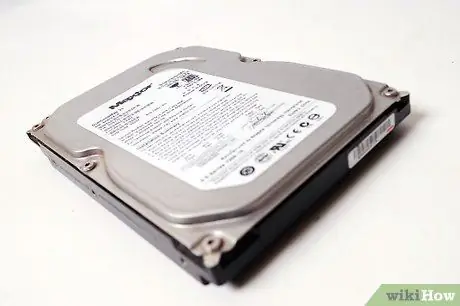
Step 4. Remove the old hard drive
Usually, you can pull a piece of tape to remove the hard drive from its connector. This method will vary depending on your laptop model. The hard drive should be easy to remove from the laptop once it's disconnected.
Some types of hard drives will have a frame attached to them. You will need to unscrew the frame and then attach it to the new hard drive before reinserting it
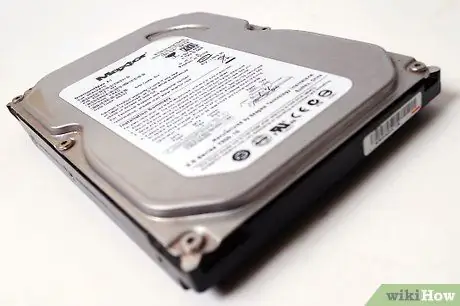
Step 5. Mounting your new drive
Place the hard drive in its holder and press it firmly into the connector. Make sure that the hard drive is properly aligned before pressing it. The hard drive should fit snugly into the connector without using significant force.
Secure the hard drive with the screws or clips you removed to remove the old one
Step 6. Close the laptop
Once your hard drive is secured and the panels are reattached, you can turn on your laptop. Your new hard drive should be recognized automatically, but won't boot because there's no operating system available. Follow one of the guides below for more detailed instructions, for reinstalling your specific operating system:
- Installing Windows 7.
- Installing Windows 8.
- Installing Windows Vista.
- Installing Linux.
Tips
- If replacing a previously installed SATA HDD, there is no reason to disconnect the SATA data cable from the SATA port on the motherboard.
- An external hard drive may be a suitable alternative if you want to replace a SATA drive. An external drive does not need to be installed in your computer case and is connected to your computer using a standard USB cable.


