- Author Jason Gerald gerald@how-what-advice.com.
- Public 2023-12-16 10:50.
- Last modified 2025-01-23 12:04.
Your iCloud account can be used to sync and connect all the Apple devices you own. Apart from that, you can also use it to access iCloud content from a Windows computer. You can access iCloud Photos and other iCloud data from any computer using the iCloud website or the iCloud for Windows program.
Step
Method 1 of 2: Using iCloud Site
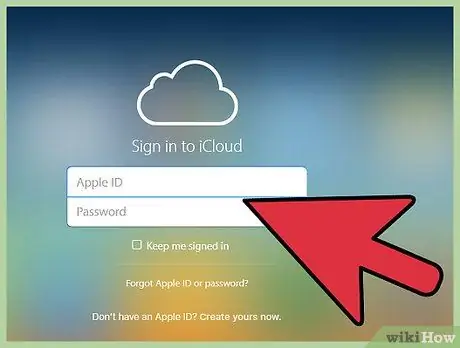
Step 1. Log in to
www.iCloud.com with your Apple ID.
iCloud Photo Library can be accessed from any computer using the iCloud website. You must sign in using the same Apple ID that you use for your iCloud Photo Library.
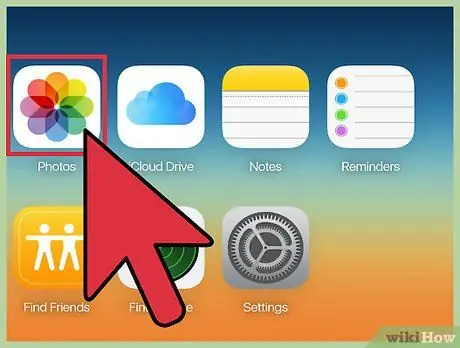
Step 2. Click the “Photos” option
Your iCloud Photo Library will load. When first loaded, the process can take a while.

Step 3. Browse your iCloud Photo Library
You can search for photos from any iCloud-enabled device once the Photos section is loaded. Photos recently taken using a device may not be displayed until the device uploads the photo. This is usually done within a few minutes.
- Your most recent photos will be displayed in date order on the Moments tab.
- You can view various photo albums in the Albums tab.
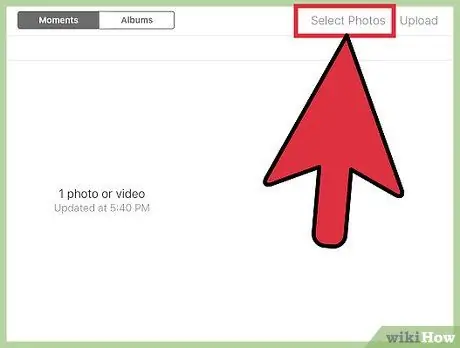
Step 4. Click the " Select " button to select multiple photos
After clicking " Select ", you can click on the specific photo you want. It allows you to download multiple photos at once.

Step 5. Click the "Download" button to download the selected photos
The photos will be downloaded to the default download directory in your browser, which is usually under " Downloads ".
Method 2 of 2: Using iCloud for Windows

Step 1. Download the iCloud for Windows installer
By installing iCloud for Windows, your iCloud photos will sync with a special directory on your computer. This allows you to access your photos as easily as you would any file on your computer.
Download the installer for this program at support.apple.com/en-us/HT204283
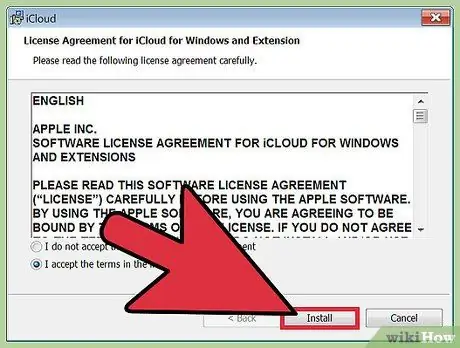
Step 2. Run the installer and accept the license
After you read and accept the license, your computer will start installing iCloud for Windows.
You can find the installer in your browser's default directory, which is usually under "Downloads"

Step 3. Wait while iCloud for Windows is installed
The process doesn't take long.
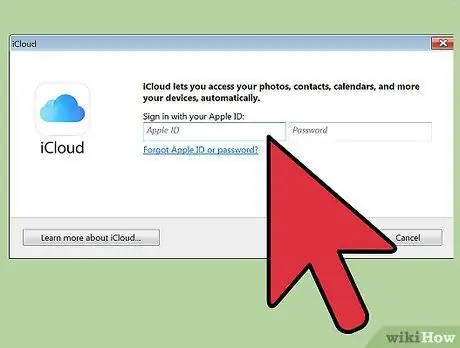
Step 4. Launch iCloud for Windows and sign in using your Apple ID
When you run this program for the first time, you will be asked to sign in.
iCloud for Windows can be opened quickly by pressing the Win key and then typing "iCloud"
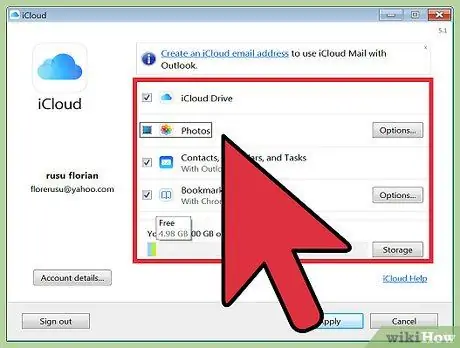
Step 5. Check the "Photos" box
This will instruct iCloud to sync your iCloud Photo Library with your Windows computer. iCloud will create a special directory for iCloud Photos that you can use to easily access Windows Explorer.
You can check the boxes for other iCloud content that you also want to sync with your Windows computer
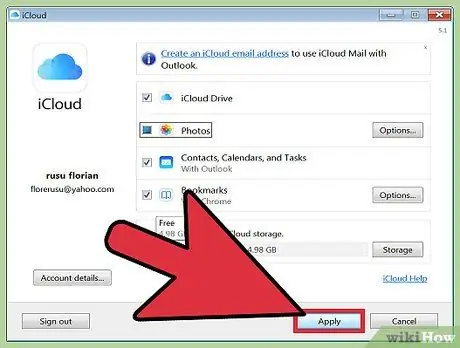
Step 6. Save your changes by clicking the “Apply” button
iCloud will create an iCloud Photos directory on your computer and begin downloading your iCloud Photo Library to that directory. This can take a while if the files in your library are large.

Step 7. Locate your "iCloud Photos" directory
The iCloud Photos directory can be accessed quickly from Windows Explorer (⊞ Win+E). Look for the "iCloud Photos" entry in the Favorites section of the sidebar, or in the "Computer"/"This PC" window.
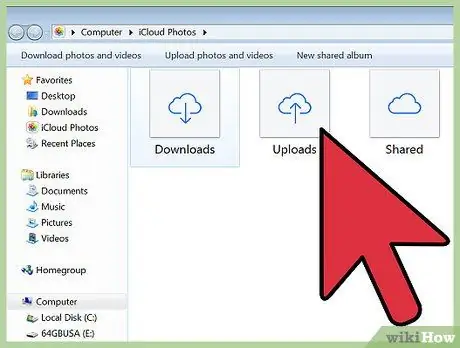
Step 8. Add photos to your iCloud Photo Library so they can be viewed on other devices
Photos added to the iCloud Photos directory on a Windows computer will be uploaded to iCloud Photo Library and can be accessed using any device connected to your iCloud. The new photos may take a few minutes to view on other devices.
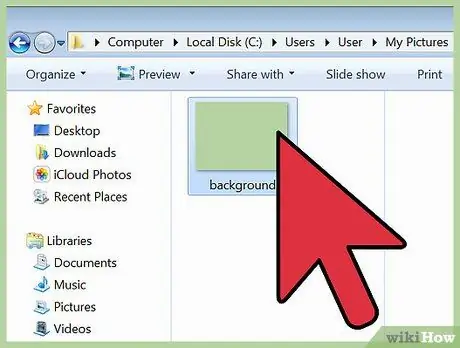
Step 9. Delete photos from iCloud Photos directory so that they are deleted on all devices
Any photos deleted from the "iCloud Photos" directory will be permanently deleted from iCloud Photo Library on all your devices.


