- Author Jason Gerald gerald@how-what-advice.com.
- Public 2023-12-16 10:50.
- Last modified 2025-01-23 12:04.
Using hidden apps in Windows, you can turn your laptop or computer into a wireless network hotspot. After creating a hotspot, you can connect your phone to the network, and use your computer's internet connection. In Windows 10, you can create a virtual hotspot with a few commands in the Command Prompt. Meanwhile, if you are using Windows 7 and 8, you can use Virtual Router. This open source program can help you quickly set up Windows Wi-Fi settings. Apart from that, Connectify can also help you create a hotspot with the same network card.
Step
Method 1 of 3: Windows 10
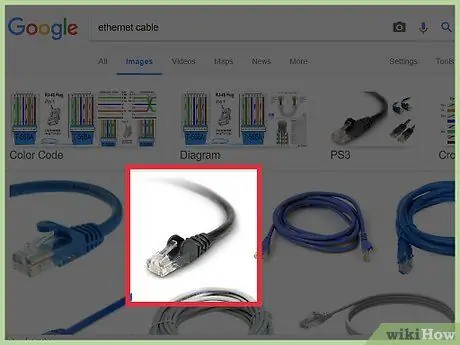
Step 1. Connect the computer to the network with ethernet
If you want to create a hotspot on a Windows 10 computer, you will need to connect the computer to the network via Ethernet. Unfortunately, you can't create a hotspot if your computer is connected to the network via Wi-Fi, unless you use an additional Wi-Fi card.
If your computer has two Wi-Fi cards, you can use one to connect to a network, and create a hotspot with the other card
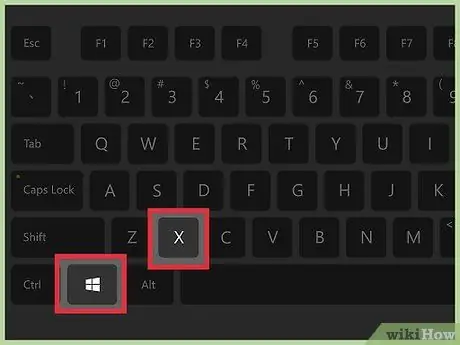
Step 2. If using a desktop, check the availability of the Wi-Fi card
All Windows 10 laptops already have a Wi-Fi card. If you are using a desktop, press Win+X, then select "Network Connections."
Find the connection labeled "Wi-Fi". If such a connection is available, your computer is equipped with a Wi-Fi card. If your computer doesn't already have a Wi-Fi card, you'll need to purchase a Wi-Fi card before proceeding, either an internal or USB card
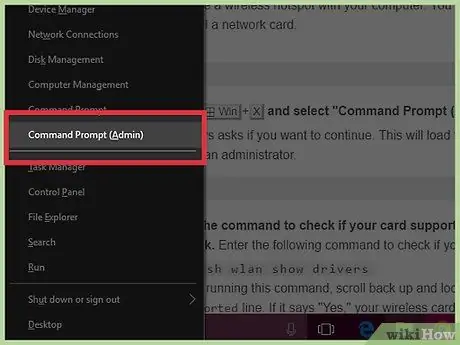
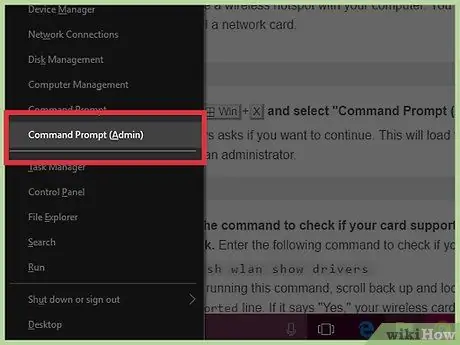
Step 3. Press Win+X, and select "Command Prompt (Admin)"
Provide confirmation when prompted. You will see a command line interface in administrator mode.
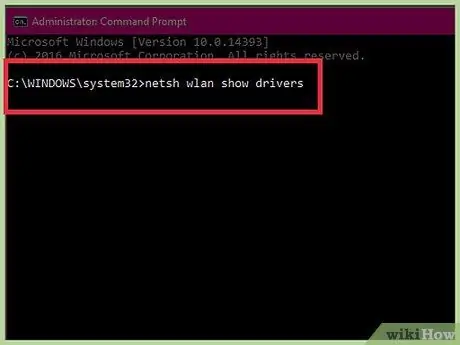
Step 4. Enter the following command to check if your Wi-Fi card can be used to create a Wi-Fi network:
- netsh wlan show drivers
- After running this command, scroll down and find the Hosted network supported entry. If the entry is marked "Yes", your Wi-Fi card can be used to create a hotspot. If not, read the third part of this article.
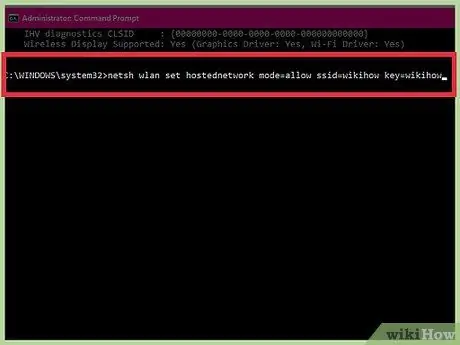
Step 5. Enter the command to create a wireless network
Change the description of NetworkName to the network name you want, and Password to the network password.
netsh wlan set hostednetwork mode=allow ssid=NetworkName key=Password
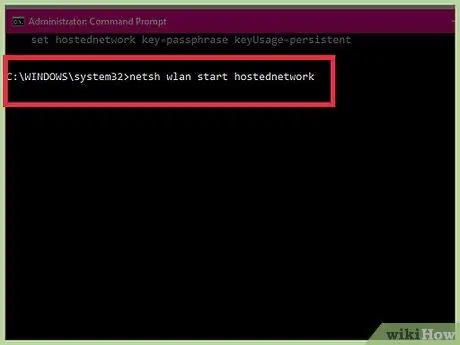
Step 6. After creating the hotspot, enter the following command to enable it
netsh wlan start hostednetwork
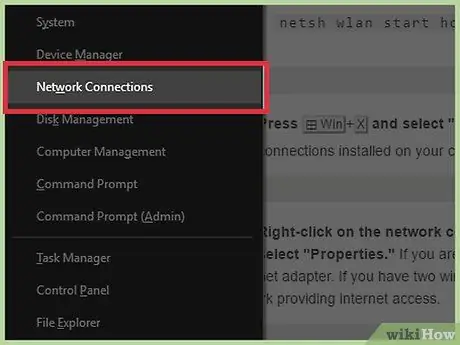
Step 7. Press Win+X, and select "Network Connections"
All existing network connections on your computer will appear.
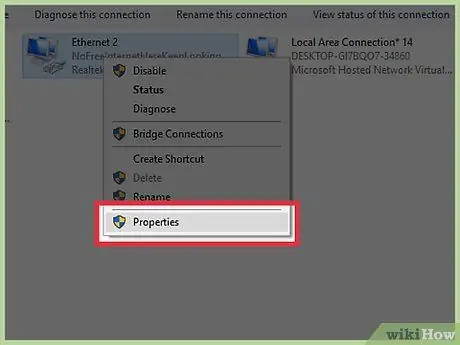
Step 8. Right-click the network connection that connects the computer to the internet, then select "Properties"
If your computer is connected to the internet via ethernet, select ethernet. If you have two Wi-Fi cards, choose the card that connects your computer to the internet.
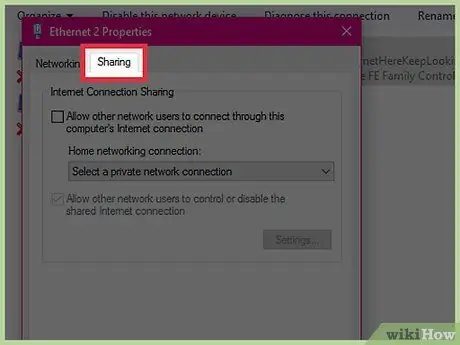
Step 9. Click the "Sharing" tab to open the internet connection sharing options
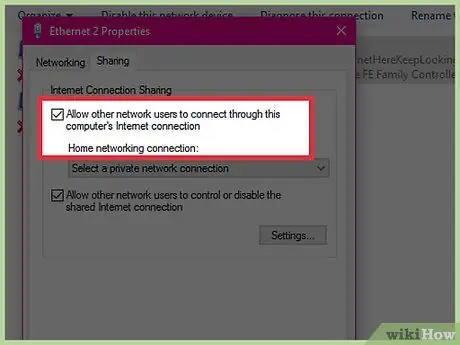
Step 10. Check the first checkbox to enable the connection sharing function
The check box is labeled "Allow other network users to connect through this computer's Internet connection."
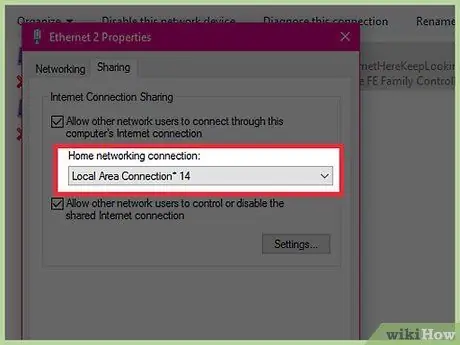
Step 11. Click the drop-down menu below the check box, then select a new network connection
The connection has the label "Local Area Connection "X", and the "X" in this label is a random number.
To save changes, click "OK"
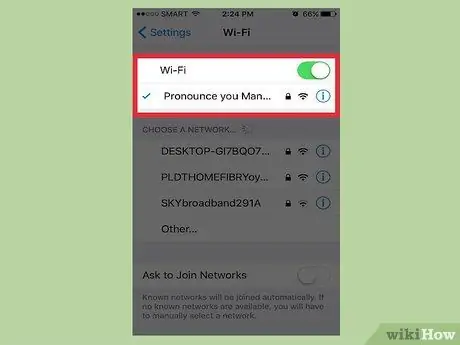
Step 12. Connect the device to the new wireless network
Now, your device will be able to find the wireless network in the list of available networks. Once connected to the wireless network, the device can access the internet.
- Android - Open the Settings app, then tap "Wi-Fi". Select a network name from the list, then enter the password you have created.
- iOS - Open the Settings app from the home screen. This application may be in the "Utilities" folder. After that, tap on the “Wi-Fi” option. Select a network name from the list, then enter the password you have created.
Step 13. When you're done sharing the network, reopen Command Prompt, then enter the following command to close the connection:
netsh wlan stop hostednetwork
Method 2 of 3: Windows 7 and 8
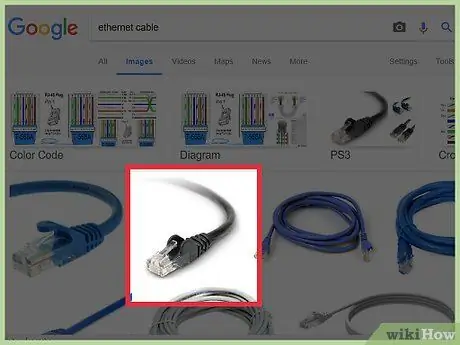
Step 1. Connect the computer to the network with ethernet
If you want to create a hotspot on a Windows 10 computer, you will need to connect the computer to the network via Ethernet. Unfortunately, you can't create a hotspot if your computer is connected to the network via Wi-Fi.
If you are using a computer without an Ethernet port, such as a laptop, you will need to use a USB Ethernet adapter
Step 2. Check the availability of the Wi-Fi card
Generally, laptops are equipped with a Wi-Fi card. If your computer doesn't already have a Wi-Fi card, you'll need to purchase a Wi-Fi card before proceeding, either an internal or USB card.
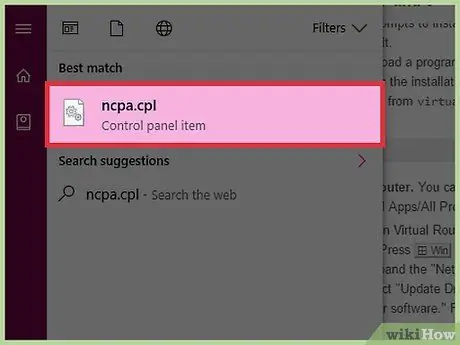
Press Win, enter ncpa.cpl, and press Enter. The Network Connections window will open. If you see a connection labeled "Wireless Network Connection" or "Wi-Fi", you already have a Wi-Fi card
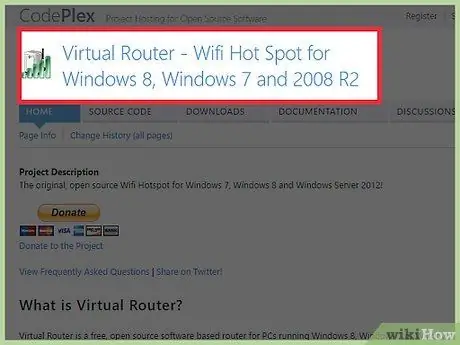
Step 3. Download and install Virtual Router from virtualrouter.codeplex.com
This free program allows you to easily "juggle" a Wi-Fi card into a hotspot.
- Double-click the file you downloaded in the Downloads folder to start the installation. Follow the on-screen guide to install the Virtual Router. You can leave the default installation options.
- Don't download "Virtual Router Plus". The program will plant adware that cannot be turned off on your computer. Download Virtual Router only from its official website, at virtualrouter.codeplex.com.
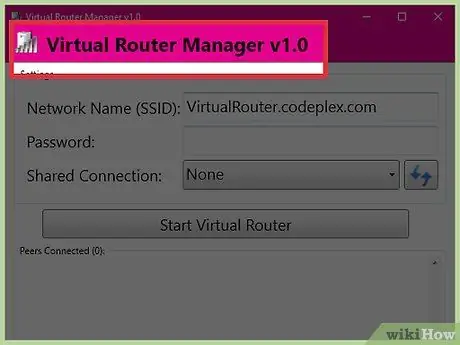
Step 4. Start the Virtual Router
You can find the Virtual Router Manager on the Start screen or menu, in the "All Apps" or "All Programs" section.
If all the options in Virtual Router are not clickable, you will need to update the network card driver. Press Win, and enter devmgmt.msc to open Device Manager. Go to the "Network adapters" section, then right-click your Wi-Fi card and select "Update Driver Software". Click "Search automatically for updated driver software", then follow the guide to install any available updates
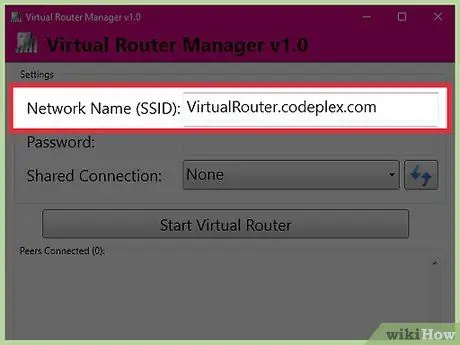
Step 5. Enter the network name that will be visible on the device
Make sure the name doesn't contain any personal information.
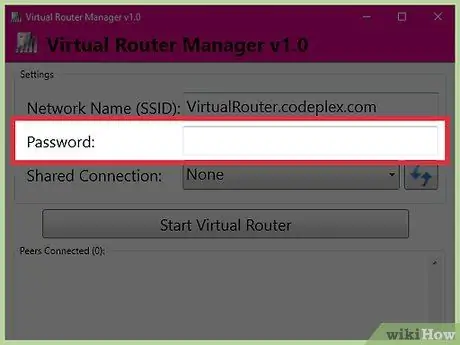
Step 6. Enter the network password (required)
This password will be asked when you connect the device to the network.
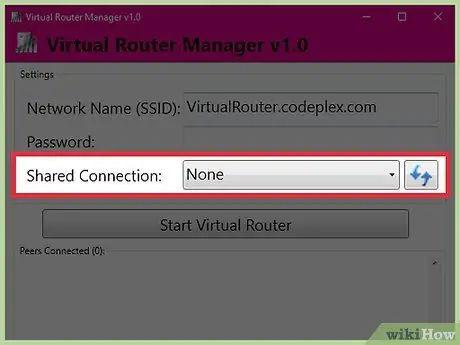
Step 7. Select the network card that connects the computer to the internet in the "Shared connection" option
If the computer is connected to the network via Ethernet, select "Ethernet" or "Local Area Connection".
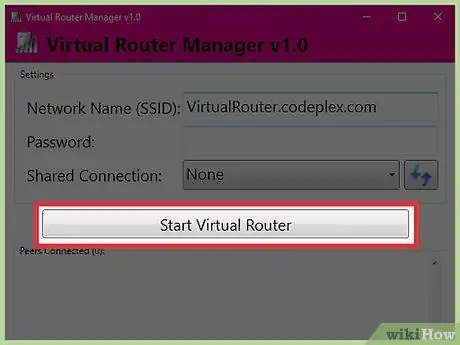
Step 8. Click "Start Virtual Router"
The new network will start broadcasting, and you will be able to access the internet on your device via a computer network.
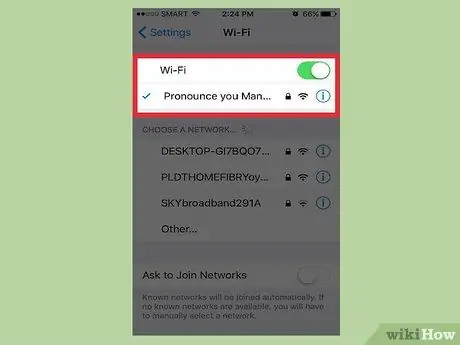
Step 9. Connect the device to the new wireless network
Now, your device will be able to find the wireless network in the list of available networks. Once connected to the wireless network, the device can access the internet.
- Android - Open the Settings app, then tap "Wi-Fi". Select a network name from the list, then enter the password you created.
- iOS - Open the Settings app from the home screen. After that, tap on the “Wi-Fi” option. Select a network name from the list, then enter the password you created.
Method 3 of 3: Any Windows Version
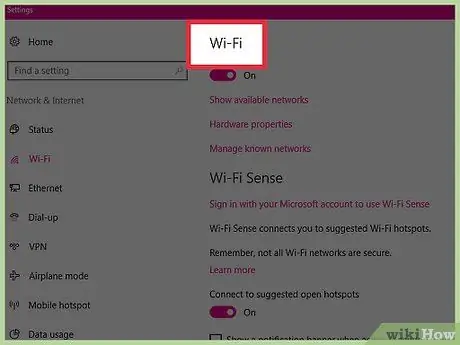
Step 1. Use this method if you can't try the two methods above
The application described in this section will be able to create a hotspot, but its functionality is limited and its speed is slow. However, with this app, you can create a hotspot with a single Wi-Fi card. Unfortunately, the connection with this application cannot be said to be fast.
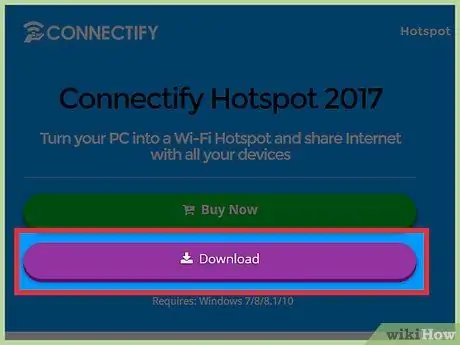
Step 2. Download Connectify from connectify.me
Connectify is a paid program that has a free version, and works to create a regular Wi-Fi hotspot.
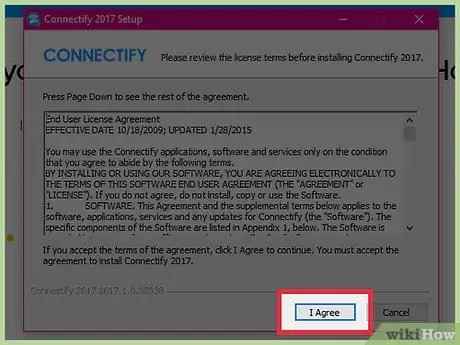
Step 3. Run the Connectify installation program by double clicking the file you downloaded
Confirm the action when prompted, and decline the offer to upgrade the program to the Pro version.
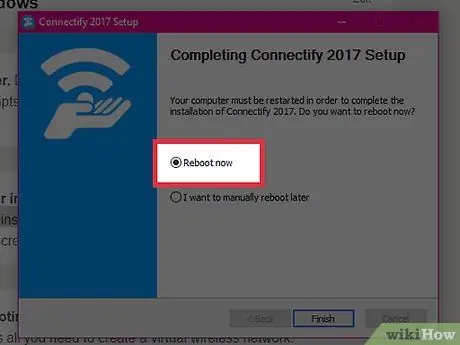
Step 4. After the installation process is complete, restart the computer to complete the virtual Wi-Fi adapter installation process
You can restart the computer through the menu or the Start screen.
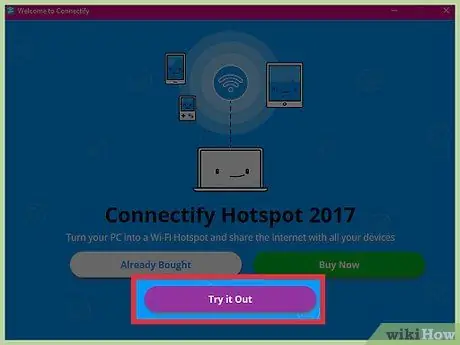
Step 5. After restarting the computer, open Connectify
Follow the steps on the screen to continue using the "Lite" version for free. You just need to follow these steps to create a wireless network.
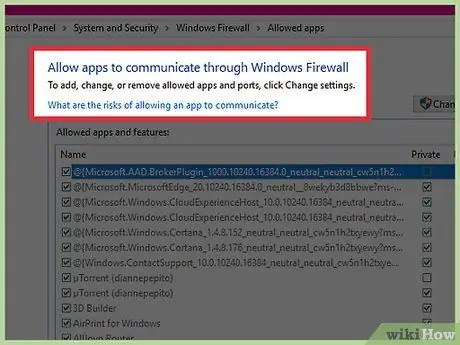
Step 6. Allow Connectify network access via Windows Firewall if prompted
Depending on your firewall settings, you may be prompted to allow Connectify to access the network. Make sure you allow Connectify to allow the network connection to work normally.
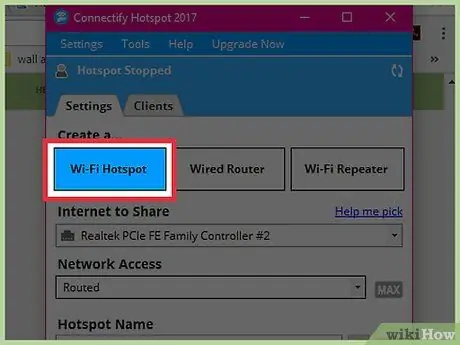
Step 7. Select "Wi-Fi Hotspot" at the top of the Connectify window
Connectify will create a hotspot and share internet connection.
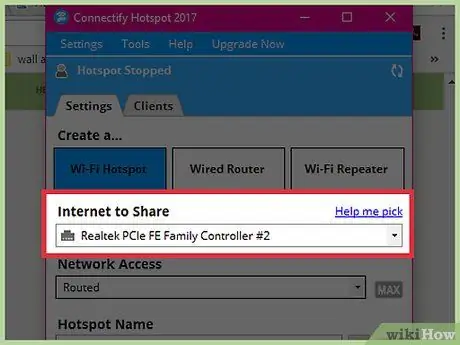
Step 8. Select the network connection that connects the computer to the internet in the "Internet to Share" menu
- You can use Connectify to create a hotspot using the same Wi-Fi adapter as the adapter connected to the internet. However, the connection speed is less than excellent.
- For best results, share the ethernet connection via hotspot. Thus, your connection speed will be maximized.
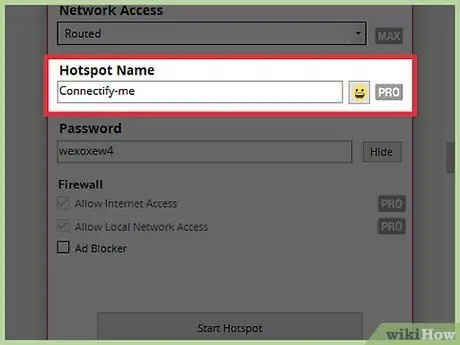
Step 9. Give a name for the hotspot
If you are using the free version, the network name will always start with "Connectify-". Make sure the name does not contain any personal information as this name will be shared publicly.
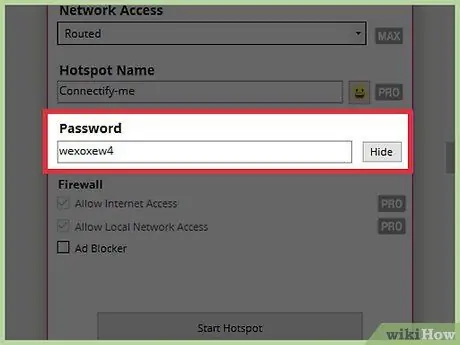
Step 10. Create a network password to protect it from irresponsible people
Even if you only use your home network, it is still recommended that you protect the network with a password.
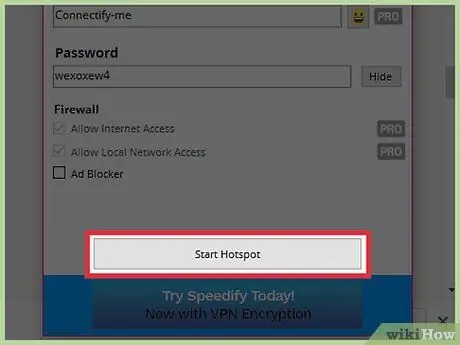
Step 11. Click the "Start Hotspot" button
Your wireless network will start. You will be able to see the name of the wireless network in the network list on your phone.
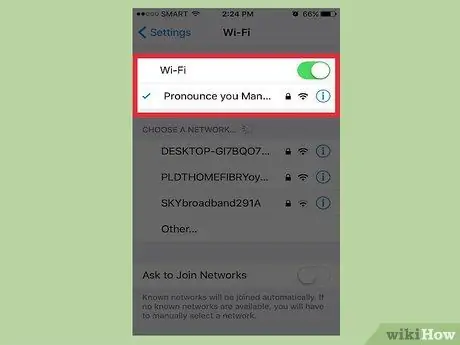
Step 12. Connect the device to the new hotspot
You will see "Connectify-HotspotName" in the list of networks on your phone. Tap your network name, then enter the password when prompted.


