- Author Jason Gerald gerald@how-what-advice.com.
- Public 2024-01-19 22:11.
- Last modified 2025-06-01 06:05.
If you've never been taught how to hold a pencil properly, chances are you're holding it in a way that makes writing and drawing difficult - although it shouldn't be that hard. Or, maybe you want to teach your child the correct way to hold a pencil. The correct position of the pencil will ensure that drawing and writing activities become easier, neater, and more enjoyable.
Step
Method 1 of 4: Approach to Short or Long Pencil
Step 1. Start with a short pencil
This is a behavioral therapy that prevents you or a child from using more fingers than necessary to hold a pencil properly. When you teach a child, always use a short pencil.
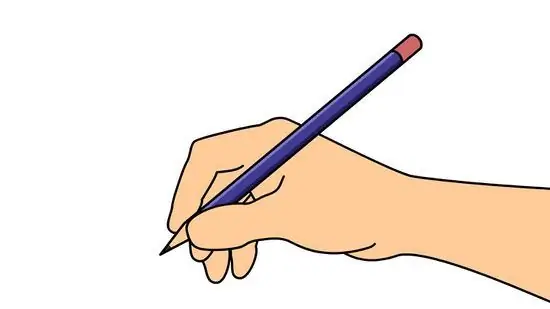
Step 2. Accurately position the pencil using the "pinch and flip" method
This method is also useful for long pencils if you prefer to start with a long pencil.
- Pinch the sharp end of the pencil.
- Turn the pencil over. When the pencil reaches the webbed (the skin fold between your thumb and index finger), let the pencil end there. You are now ready to try the tripod grip.
Method 2 of 4: Tripod Grip
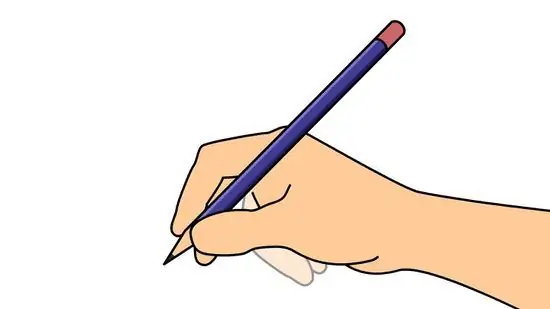
Step 1. Use your thumb, index finger, and middle finger for this type of grip
No other finger will hold the pencil. Imagine that you are pinching these three fingers together, but not too hard, with the pencil between them.
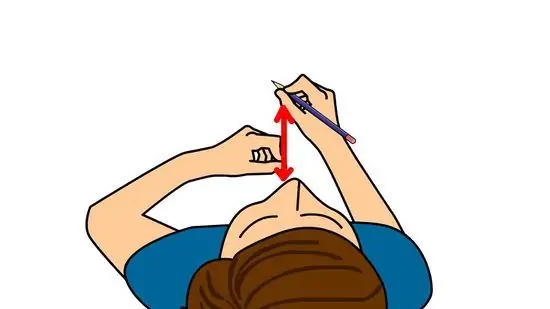
Step 2. Place the thumb pad to one side of the pencil
This side is the side closest to your body.
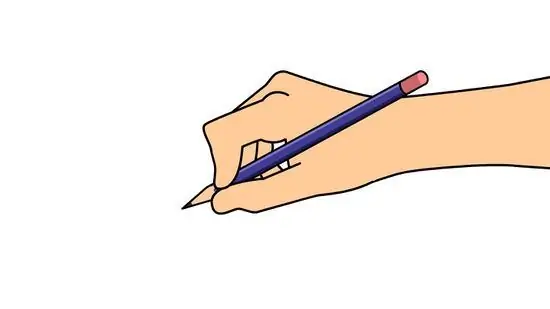
Step 3. Place your index finger on top of the pencil
The tip of this finger should be at the top of the pencil. Similar to the thumb, this finger will hold the pencil in place.
Avoid over-pressing the pencil with this finger. This is a common error that results in heavy and/or uncomfortable writing. Excessive pressure can produce pain when holding the pencil
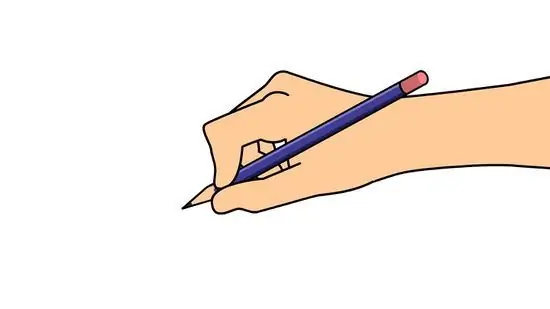
Step 4. Support the pencil on the middle finger
The pencil should be resting on the first joint of your middle finger. This is the final position of the tripod style.
Method 3 of 4: Practice Good Pencil Gripping
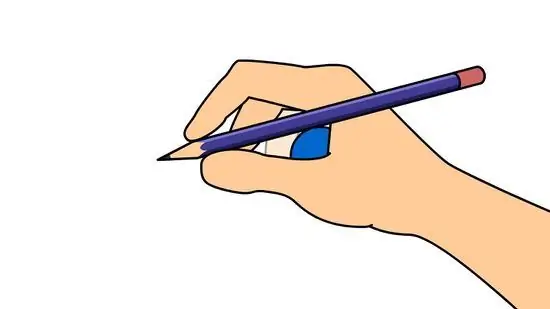
Step 1. Slightly bend all five fingers
Avoid clenching your fists--a small ball should be able to fit into the hand that forms the cup. Otherwise, the grip will be too strong and limit movement.
- One method suggests that both fingers should be bent toward the palm, while the other fingers perform the maneuver. To help the children, you can give them a ball or similar object to hold with these two fingers, while the other fingers hold the pencil.
- Another way is to use these fingers as support for the writer's fingers--just make sure they are bent. Better to try both ways to find the right one for you. You may find that the positioning is affected by whether you hold the pencil to write at an angle or perpendicular (see next section).
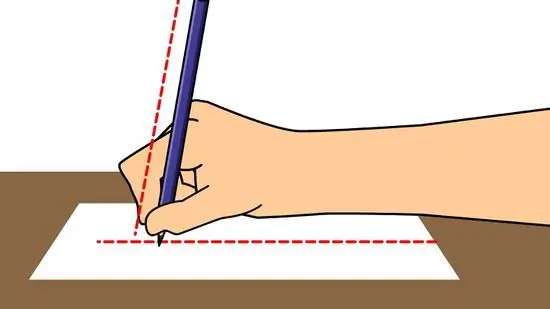
Step 2. Try writing on a horizontal surface (your desk, etc
). Write while holding the pencil at an angle or perpendicular (totally upright) to the table. See which approach best fits your writing needs.
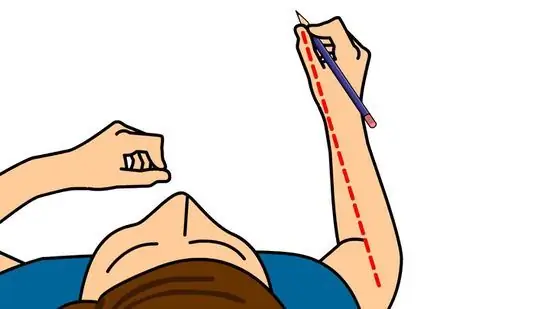
Step 3. Keep the inside of your thumb and forearm flat
If your elbows tend to widen, practice writing on a vertical surface, such as on a whiteboard or on paper on a backrest. Writing vertically will automatically force your writer's elbow, arm, and hand to be in the correct position.
Method 4 of 4: Recognizing Bad Pencil Grips
Not all pencil grips are useful for effective writing, and some can even be painful. Here are some signs of inaccurate grip, which you should watch for and change immediately:
- The index finger wraps around the thumb instead of resting on the pencil
- The index and middle fingers encircle the thumb
- The thumb is on one side, the index and middle fingers are on the other
- The index, middle and ring fingers hold the pencil on one side, while the thumb on the other
- Thumbs around index finger
- The whole hand wraps around the pencil, like a fist--with the thumb usually on the opposite side to support everything
Tips
- Do your best to teach children the right way as early as possible; it's much easier to do this than to fix the error later. The way you hold a pencil is much more difficult to change after you reach 6 years of age.
- Check the grip is firm; this habit can be a challenge if you try to change it, especially in a determined child. However, try to help him by letting him know that he is doing a great job and that being relaxed can help him write more easily.
- Changing the way you hold a pencil can take days or even weeks. It is important to persevere and make an effort to ensure that the way you hold the pencil you are using is comfortable and effective.
- There are various exercises to force your fingers into a tripod position when holding a pencil. These items are usually small rubber bands sold by quality stationery stores.


