- Author Jason Gerald [email protected].
- Public 2023-12-16 10:50.
- Last modified 2025-01-23 12:04.
Shrinking or compressing an AVI file is generally done to upload the file to a specific site or send it via email. You can compress AVI files through a video editing program on both PC and Mac. If done correctly, the compression process is not too difficult. Read how to compress AVI files in the following article.
Step
Method 1 of 4: PC: Windows Movie Maker
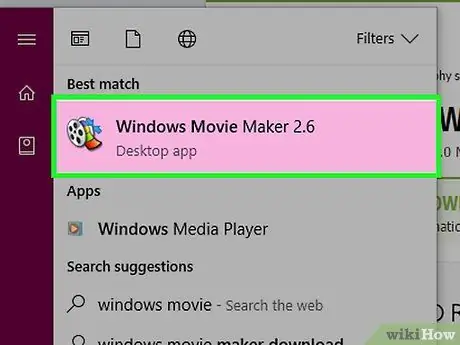
Step 1. Open Windows Movie Maker on your computer by double-clicking its icon on the desktop or looking for it in the Start menu > All Programs
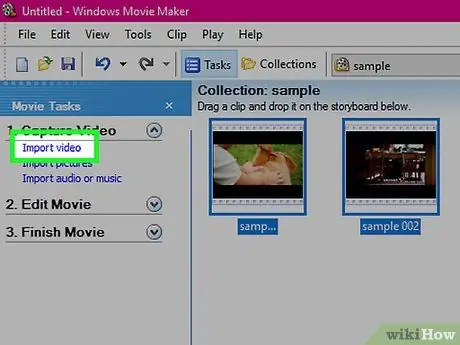
Step 2. Click the "Import Video" option under the "Capture Video" heading
This option is on the left side of the window. You will see a new window where you can select the video file you want to compress.
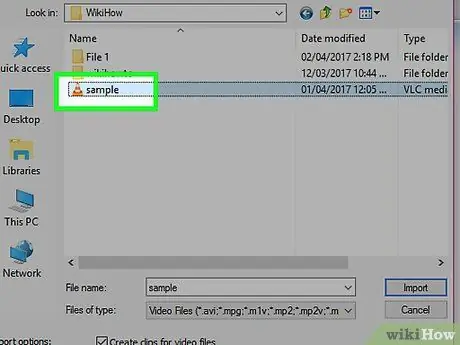
Step 3. Select the AVI file you want to compress by clicking on it
The file name will appear in the "File Name" field of the file selection window.
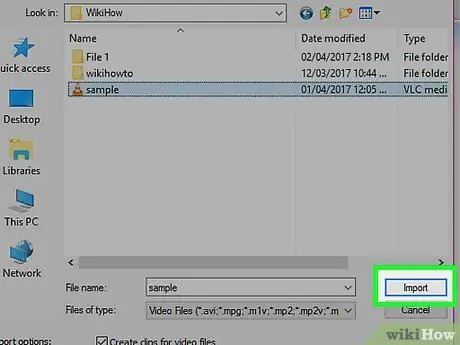
Step 4. Click the "Import" button
A new window showing the progress of the video import process will appear.
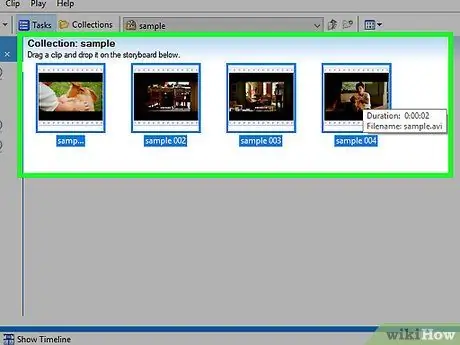
Step 5. Select all the video components that you just imported into Windows Movie Maker
Hold down the left mouse button, then drag the cursor over each component of the video file.
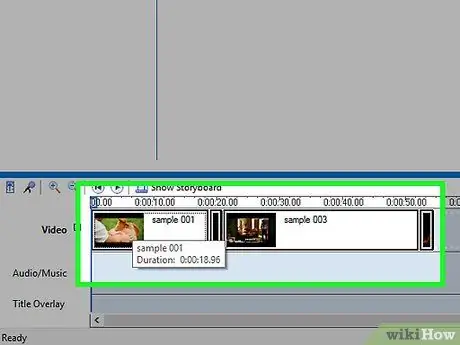
Step 6. Drag the file components onto the timeline while holding down the left mouse button and dragging the selected components to the "Timeline" section at the bottom of the Windows Movie Maker window
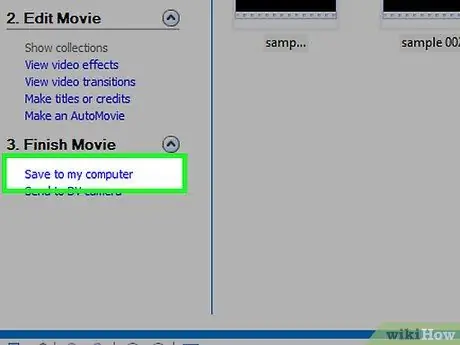
Step 7. Select the "Save to my computer" option in the column on the left of the window
The "Save Movie Wizard" window will open.
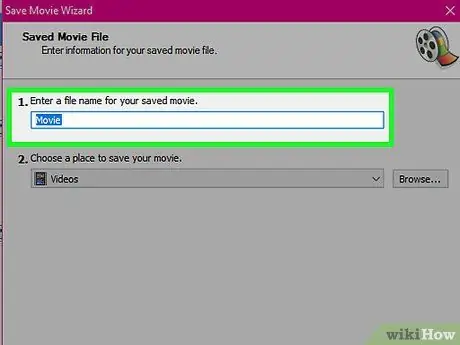
Step 8. Enter the file name in the field
Make sure you give the file a different name than the original AVI file. After that, click "Next".
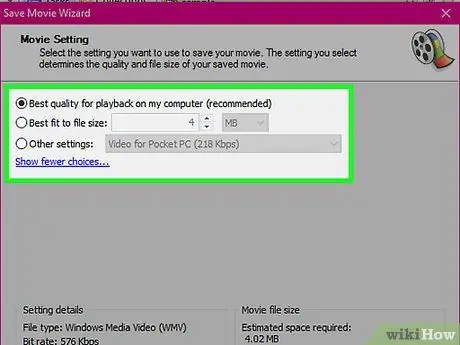
Step 9. Select the new size of the AVI file from the "Video Size" drop-down menu
After that, click "Next". Your video will now be compressed to a smaller size. After the compression process is complete, the "Save Movie Wizard" will prompt you to close the wizard and watch the video. To do so, click "Finish".
Method 2 of 4: PC: AVS Video Converter
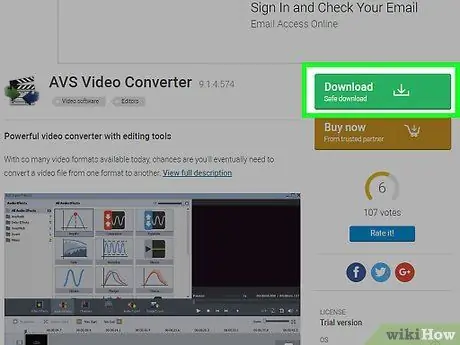
Step 1. Download the "AVS Video Converter" program
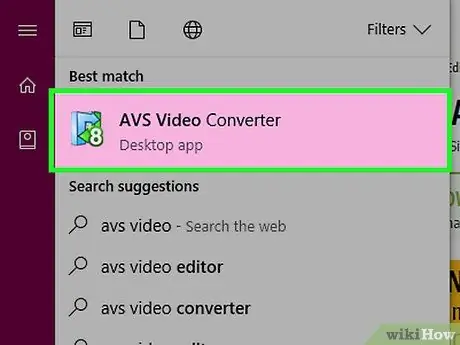
Step 2. Open AVS Video Converter by double clicking its icon on the desktop
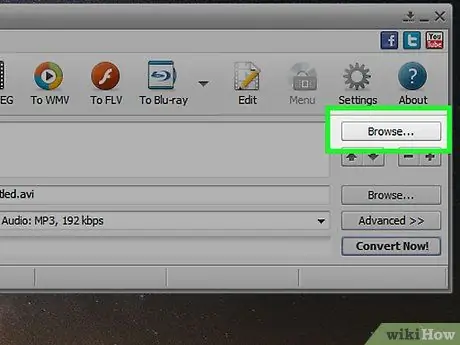
Step 3. Click the "Browse" button on the right side of the AVS Video Converter window
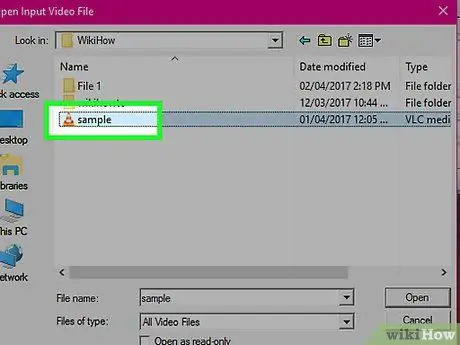
Step 4. Find and select the AVI file you want to compress, then click "Open"
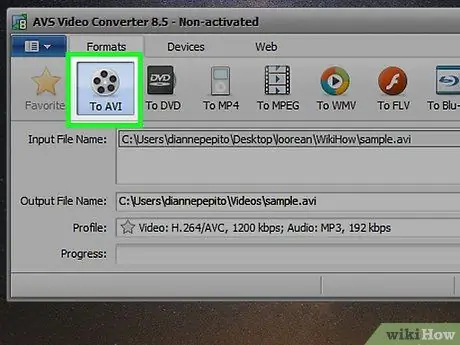
Step 5. Select the "To AVI" tab at the top of the AVS Video Converter window
If you want to compress the AVI file into another format, select your desired format in the tabs at the top of the AVS Video Converter window.
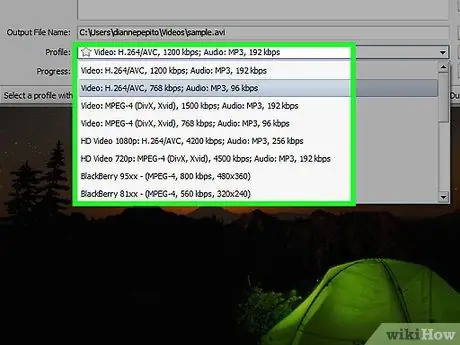
Step 6. Select the file type you want from the "Profile" drop-down menu in the center of the program window
You will see various types of files based on their use, such as HD Video, BlackBerry video, MPEG4, and others.
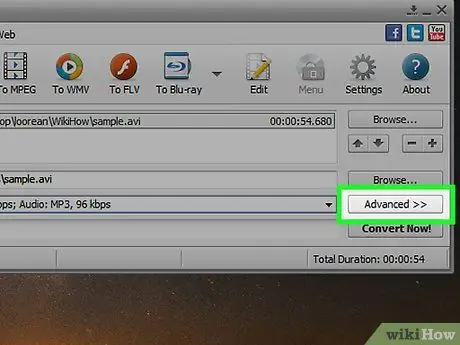
Step 7. Click the "Edit Profile" button next to the "Profile" menu
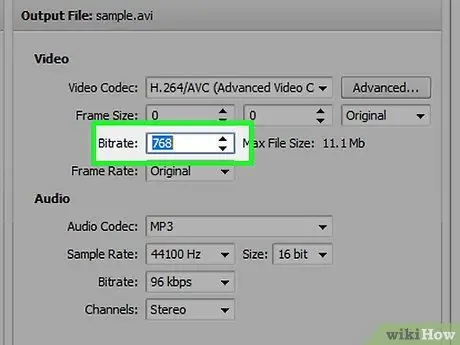
Step 8. Change the bitrate by entering a new bitrate value in the "Bitrate" field, which is in the "Edit Profile" window
After that, apply the changes by clicking "OK".
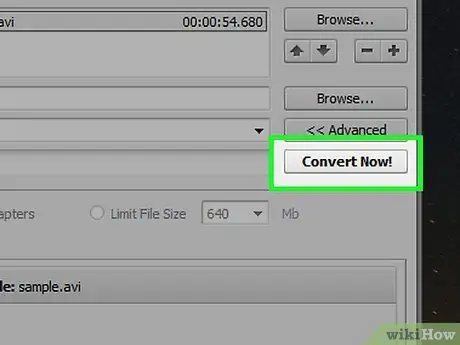
Step 9. Click the "Convert Now" button in the lower left corner of the AVS Video Converter window to start the file compression process
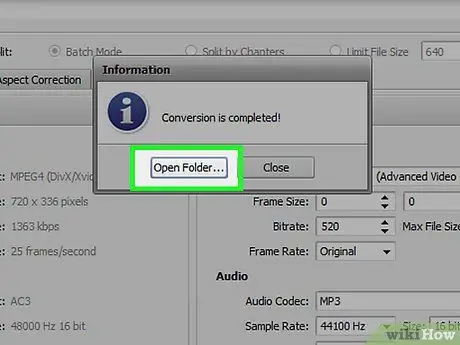
Step 10. After the compression process is complete, click "Open Folder" to play the compressed file
Method 3 of 4: Mac: iMovie
Step 1. Open iMovie
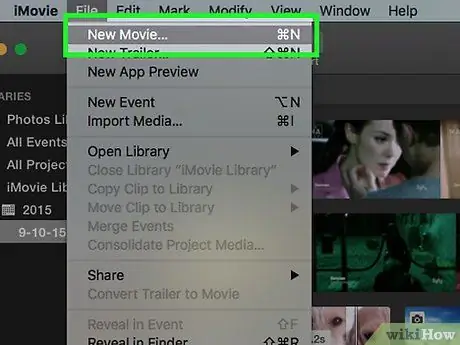
Step 2. Click the "File" > "New" menu in the menu at the top of the iMovie window
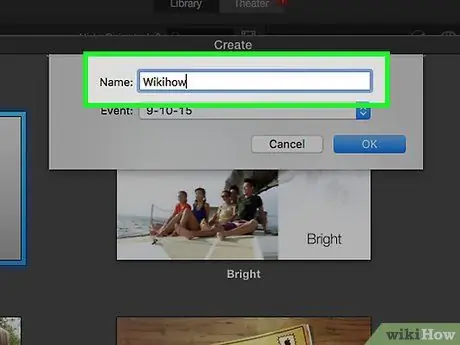
Step 3. Enter the name of the project for which you want to create the compressed AVI file

Step 4. Select the location to save the compressed AVI file from the "Where" menu
After that, click "Create".
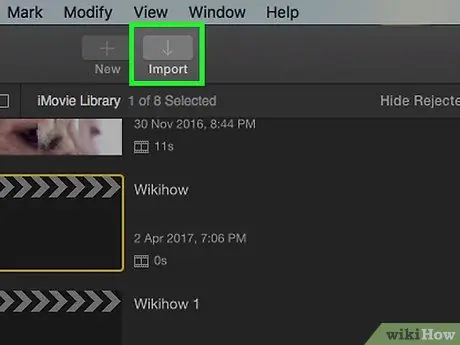
Step 5. Click the "File" > "New" menu in the menu at the top right of the iMovie window

Step 6. Find and select the AVI file you want to compress, then click "Open"
The file will open in an edit window or timeline.
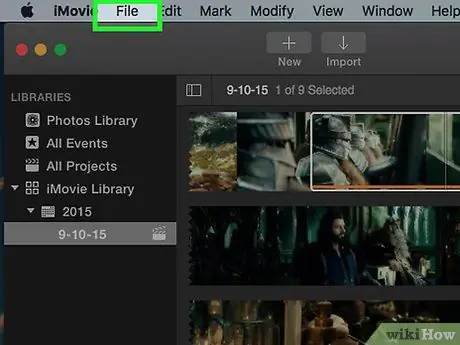
Step 7. Select "Export" from the "File" menu
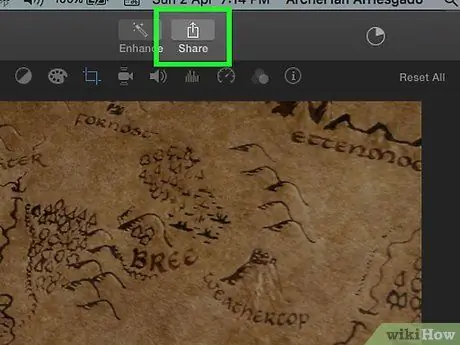
Step 8. Click the "QuickTime" icon
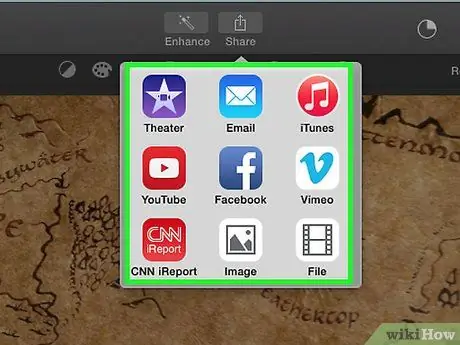
Step 9. Select the "Email" or "Web" option from the "Compress Movie For" menu: ", depending on the intended use of the AVI file.
- The "Email" option will produce the smallest file size, but the resulting file quality is not very good.
- The "Web" option will produce a fairly good quality file, but a bit large.

Step 10. Select the "Share" button, then click "Save" to start the process of exporting the AVI file to a compressed file
Method 4 of 4: Mac: Zwei-Stein
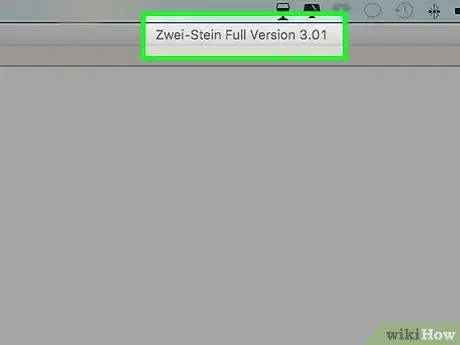
Step 1. Open the Zwei-Stein program on your Mac
If you don't have this program, you can download it for free from the internet.
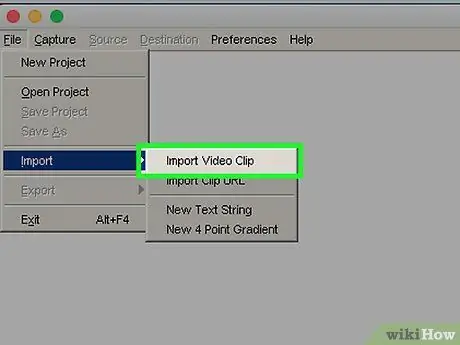
Step 2. Select the "File" tab, then scroll to the "Import" option
You will see a second menu. From this menu, click "Import Video Clip."
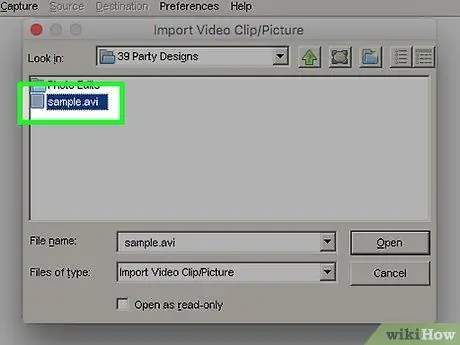
Step 3. Open the AVI file you want to compress from the Zwei-stein file selection window

Step 4. Click "Destination", then select "Video Format"
Choose the smallest resolution here for compressing AVI files.

Step 5. Click "Destination" again, then select the "Frames per second" option
Choose a fairly small FPS value. The lower the FPS value, the smaller your final AVI file will be.
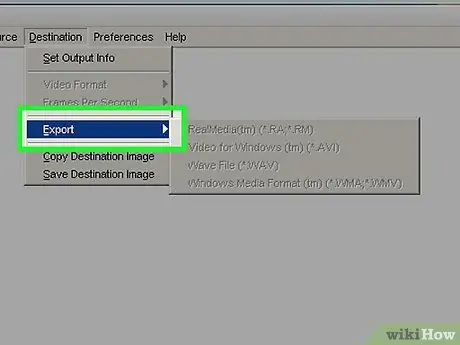
Step 6. Click "Destination", then select "Export" > "Video for Windows"
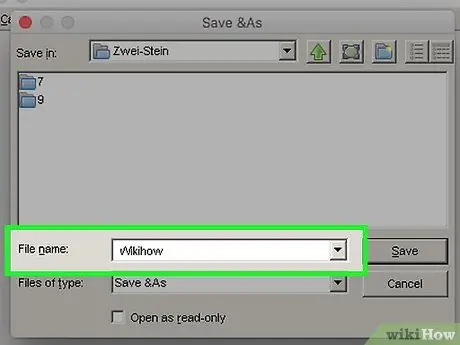
Step 7. Enter the compressed video file name in the field provided, then click "OK
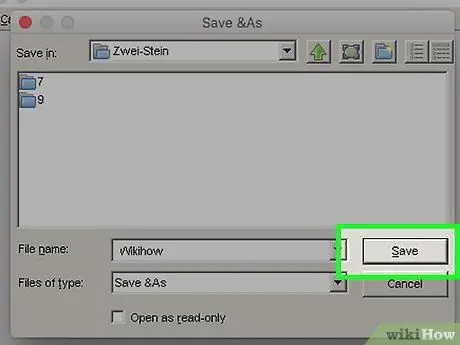
Step 8. Select the "Average Quality" option under "Sound Quality" to reduce the AVI file again
After that, click "OK". Zwei-stein will compress the AVI file to a suitable size.


