- Author Jason Gerald [email protected].
- Public 2024-01-19 22:11.
- Last modified 2025-06-01 06:05.
This wikiHow teaches you how to change the proxy settings of the network you're connected to. You can change it through desktop browsers, including Chrome, Firefox, Edge, Internet Explorer, and Safari, as well as iPhone or Android device settings. Usually, you can find the information needed to connect to the selected proxy on the proxy information page.
Step
Method 1 of 7: Google Chrome

Step 1. Open Google Chrome
The program is marked by a red, yellow, green, and blue ball icon.

Step 2. Click
It's in the top-right corner of the page. After that, a drop-down menu will be displayed.
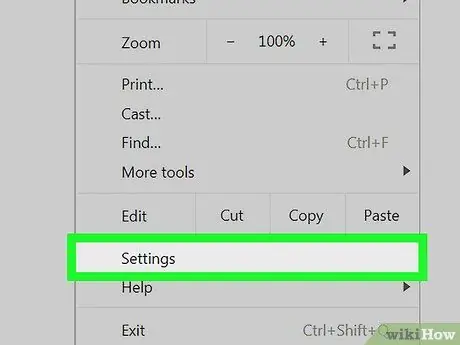
Step 3. Click Settings
It's at the bottom of the drop-down menu.

Step 4. Scroll down and click on Advanced
This option is at the bottom of the page.
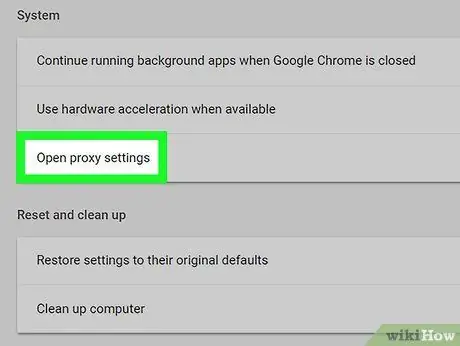
Step 5. Scroll down and click Open proxy settings
This option is in the " System " settings group, at the bottom of the page.
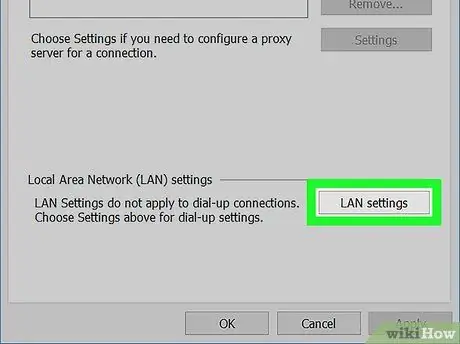
Step 6. Edit the proxy settings
The editing steps may vary depending on the operating system you are running:
- Windows - Click " LAN settings ”, then edit the URL in the segment “ Address ” and/or change the port used to connect to the network in the “ Port ”.
- Mac - Select the proxy you want to edit on the left side of the page, change the URL in the “ Address ”, username and/or password in column “ Username " and " Password ”, as well as sites that can be skipped in the column “ Bypass ”.
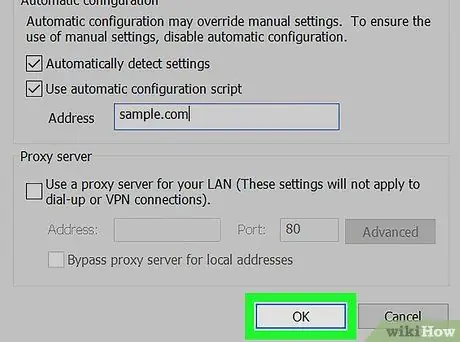
Step 7. Click OK, then click Apply.
These two buttons are at the bottom of the window. After that, the updated proxy settings will be saved.
Method 2 of 7: Firefox

Step 1. Open Firefox
The program is marked by a blue globe icon with an orange fox on it.
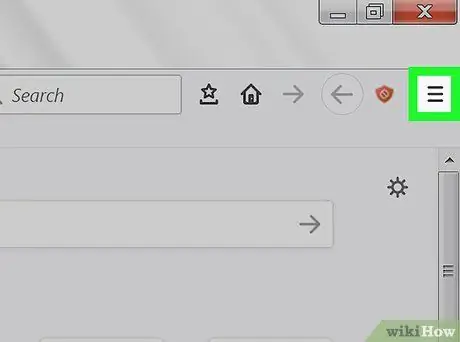
Step 2. Click
It's in the upper-right corner of your browser window. After that, a drop-down menu will be displayed.
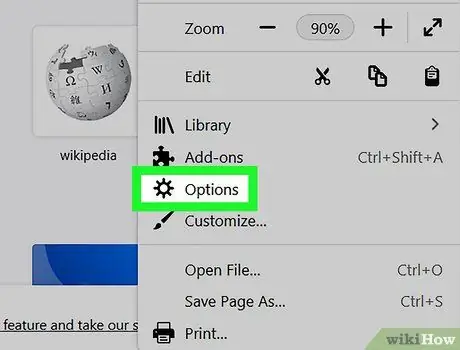
Step 3. Click Options
The option with the gear icon is in the drop-down menu.
For Mac computers, click the option “ Preferences ”.
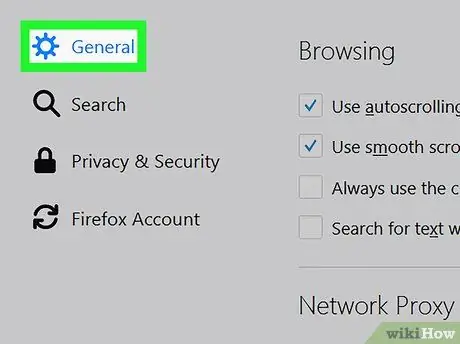
Step 4. Click Advanced
It's in the lower-left corner of the Firefox window.
If you are using a Mac computer, the tab “ Advanced ” at the top of the “Preferences” window.
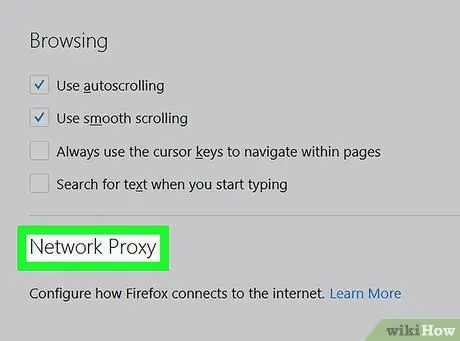
Step 5. Click the Network tab
You can see this tab at the top of the “Advanced” page.
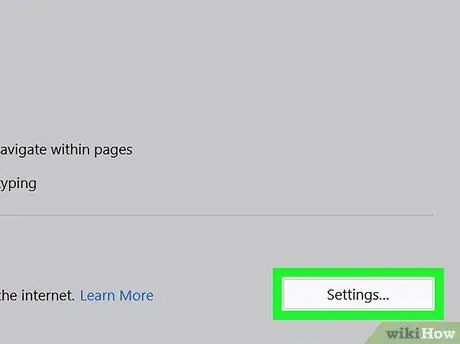
Step 6. Click Settings…
It's next to the " Connection " heading/segment. After that, the current proxy settings will be opened.
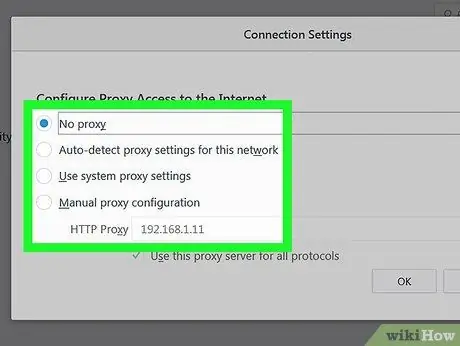
Step 7. Edit the proxy settings
Change the following fields as needed:
- “ HTTP Proxy ” - Type in a new proxy address, or change an existing address to make it accurate.
- “ No Proxy for ” - Enter an address that cannot be accessed via a proxy.
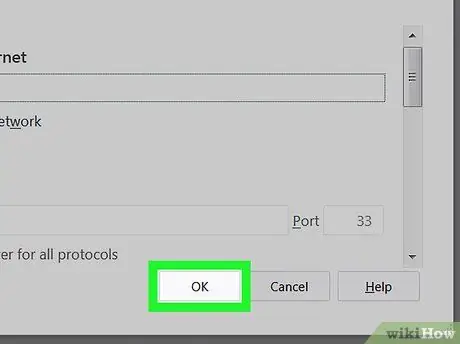
Step 8. Click OK
The proxy settings will be saved and you will exit the proxy menu.
Method 3 of 7: Microsoft Edge

Step 1. Open the “Start” menu
Click the Windows logo in the lower-left corner of the screen.
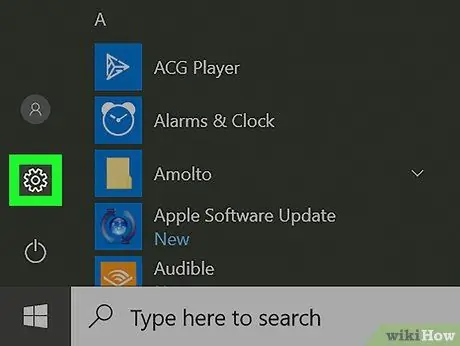
Step 2. Click “Settings”
The option with the gear icon is in the lower-left corner of the “Start” menu.
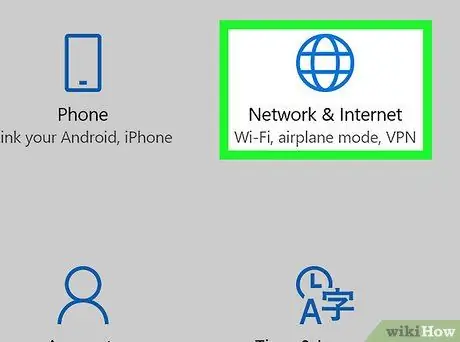
Step 3. Click
"Networks & Internet".
The option with the globe icon is on the settings page (“Settings”). After that, the “Network & Internet” page will be displayed.
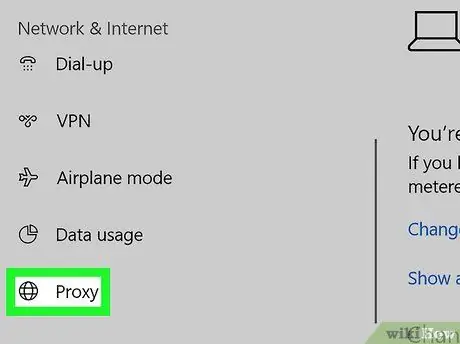
Step 4. Click the Proxy tab
This tab is at the bottom of the column of options on the left side of the “Network & Internet” window.
You may need to scroll through the column on the left of the screen to view these tabs
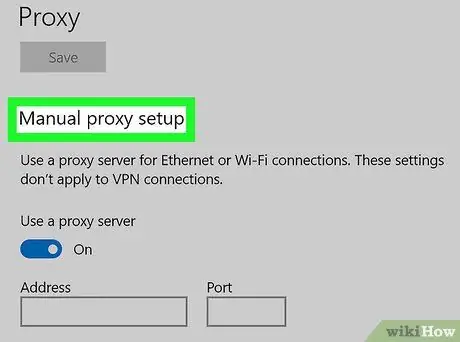
Step 5. Scroll to the "Manual proxy setup" section
This segment is at the bottom of the page.
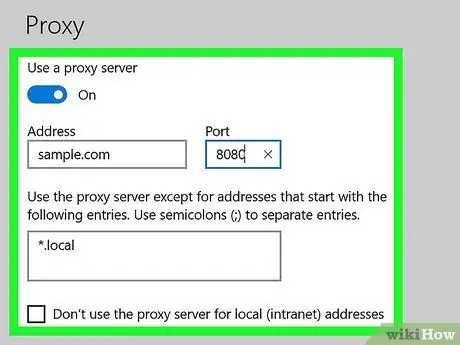
Step 6. Edit the proxy information
Change the following fields as needed:
- “ Address ” - Change or edit the proxy address in this field.
- “ Port ” - Change the port the proxy uses to connect to and bypass the Firewall.
- “ Exceptions ” - Add sites that don't need to be accessed via a proxy (e.g. Facebook).
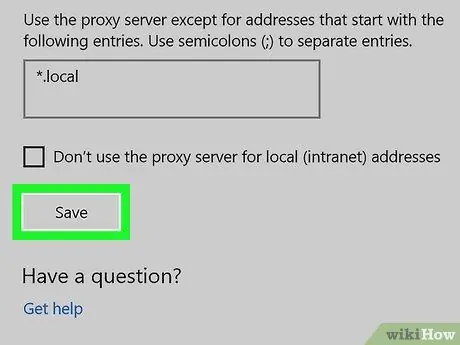
Step 7. Click Save
It's at the bottom of the page. After that, the proxy settings will be saved.
Method 4 of 7: Internet Explorer

Step 1. Open Internet Explorer
The program is indicated by a blue "e" icon with a yellow ribbon.

Step 2. Click “Settings”
It's in the upper-right corner of the Internet Explorer window.
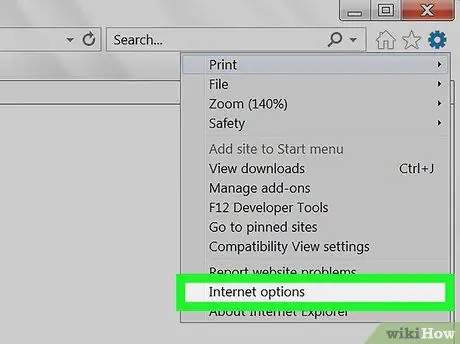
Step 3. Click Internet options
It's at the bottom of the drop-down menu.
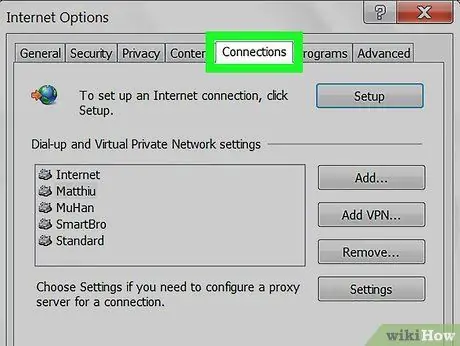
Step 4. Click the Connections tab
This tab is at the top of the “Internet Options” window.
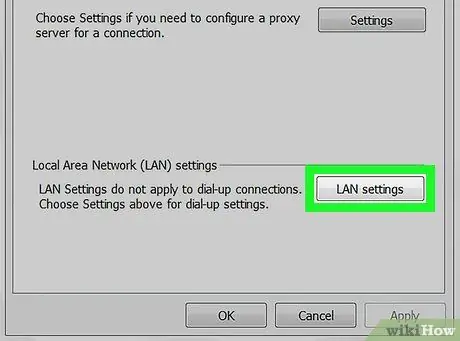
Step 5. Click LAN settings
It's in the "Local Area Network (LAN) settings" section, at the bottom of the page.
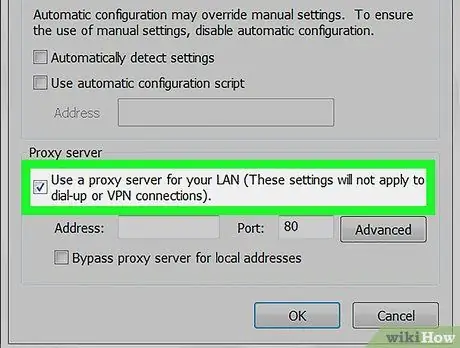
Step 6. Check the box "Use a proxy server for your LAN"
This box is in the "Proxy server" section.
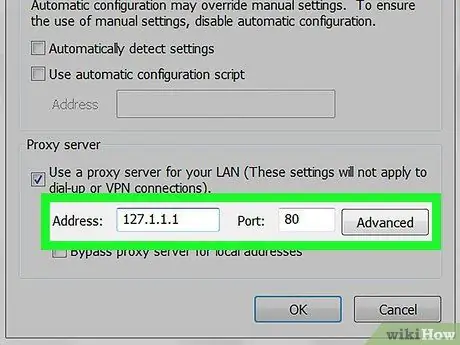
Step 7. Edit the proxy information
Change the following fields as needed:
- “ Address ” - Edit the URL of the proxy you want to use.
- “ Port ” - Change the port the proxy uses to connect to and bypass the Firewall.
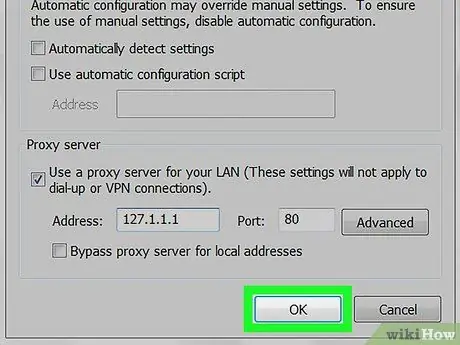
Step 8. Click Apply
After that, the changes will be saved.
This setting will also apply to Google Chrome
Method 5 of 7: Safari

Step 1. Open the “Apple” menu
It's in the top-left corner of the screen.
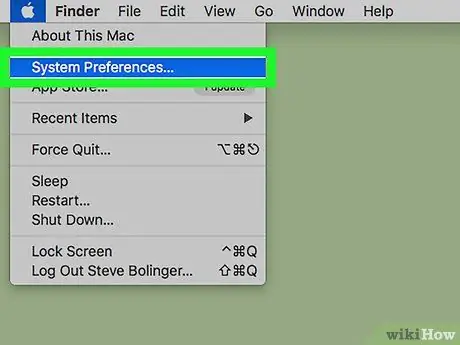
Step 2. Click System Preferences
It's at the top of the drop-down menu.
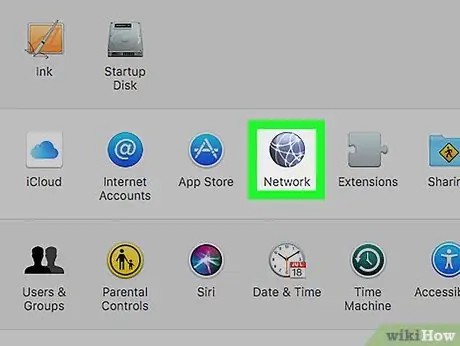
Step 3. Click the Network icon
The icon resembles a globe and is displayed in the “System Preferences” menu.
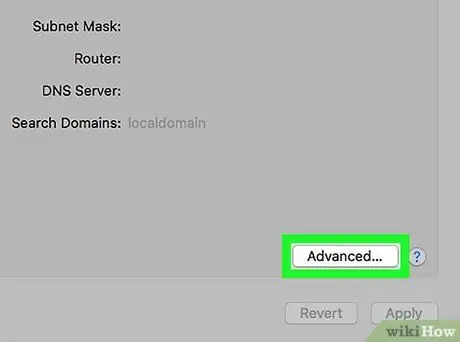
Step 4. Click Advanced
It's in the middle of the “Network” page.
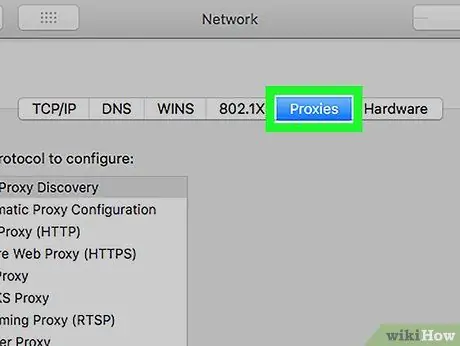
Step 5. Click the Proxies tab
You can see this tab at the top of the window.
You may first need to click the lock icon and enter the administrator name and password
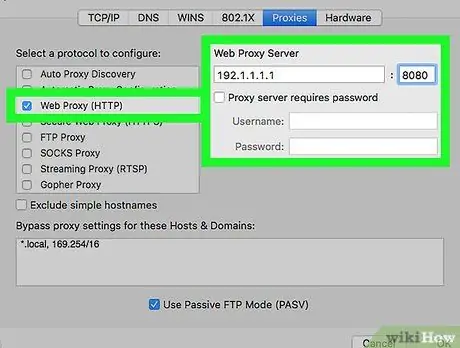
Step 6. Edit the proxy information
Change the following fields as needed:
- “ Web Proxy Server ” - Edit or change the URL of the proxy you want to use.
- “ Username ” - Change the username used to log in to the proxy (only change this name if you have changed the username on the proxy site first).
- “ Password ” - Update the password used to log in.
- “ Bypass ” - Enter the addresses of sites that are not necessary/allowed to be accessed through proxies.
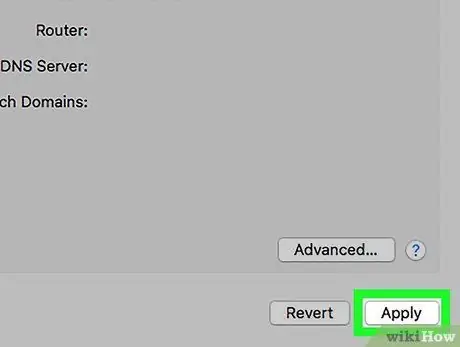
Step 7. Click Apply
It's a blue button at the bottom of the page. After that, the settings will be saved.
Method 6 of 7: iPhone
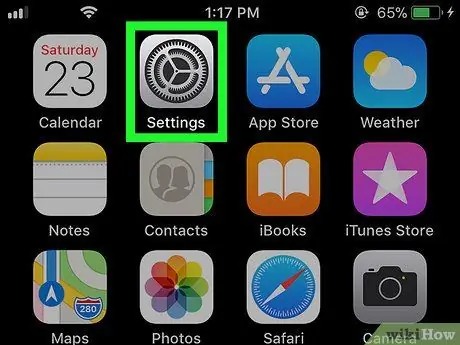
Step 1. Open iPhone settings menu
(“Settings”).
This menu is indicated by a gray gear icon and is usually displayed on the home screen.
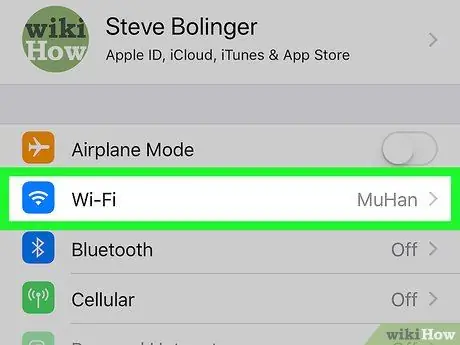
Step 2. Touch the Wi-Fi option
This option is at the top of the settings page (“Settings”). After that, the WiFi menu will be displayed.
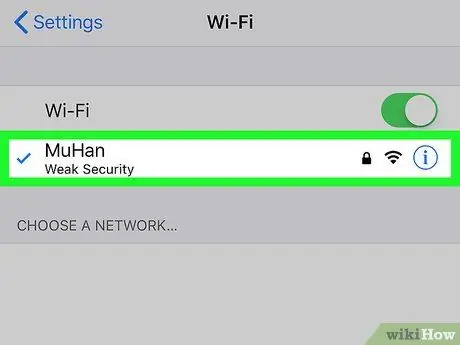
Step 3. Select a network
Touch the network you want to connect to via proxy.
- Skip this step if you are already connected to the network you want to use.
- You may need to enter the network password before proceeding to the next step.
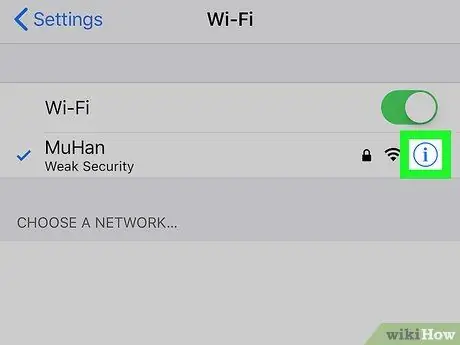
Step 4. Touch the button
It's next to the network name. After that, the network settings will be displayed.
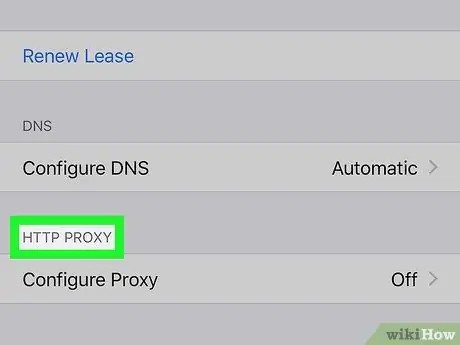
Step 5. Scroll to the "HTTP PROXY" segment
You'll find this segment at the bottom of the screen.
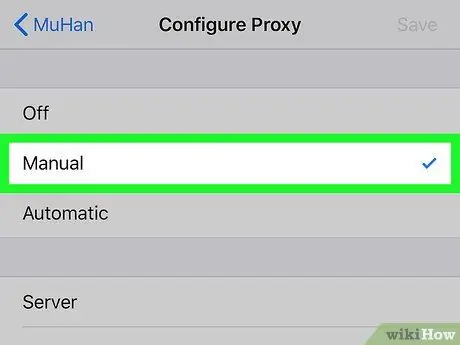
Step 6. Touch Manual
This tab is at the bottom of the page.
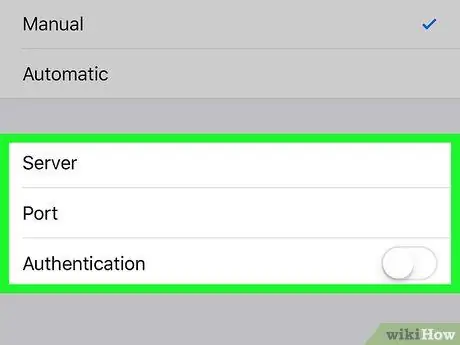
Step 7. Edit the proxy settings
Change the following fields as needed:
- “ Servers ” - Edit or change the current proxy address.
- “ Port ” - Change the port the proxy uses to connect to and bypass the Firewall.
-
“ Authentication
” - Touch this switch to activate the information field “ Username ” (username) and “ Password " (password).
- “ Username ” - Edit the username used to connect to the proxy.
- “ Password ” - Edit the password used to connect to the proxy.
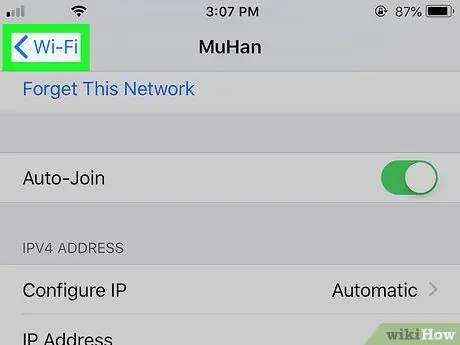
Step 8. Touch < Wi-Fi button
It's in the top-left corner of the screen. After that, the proxy settings will be saved.
Method 7 of 7: Android
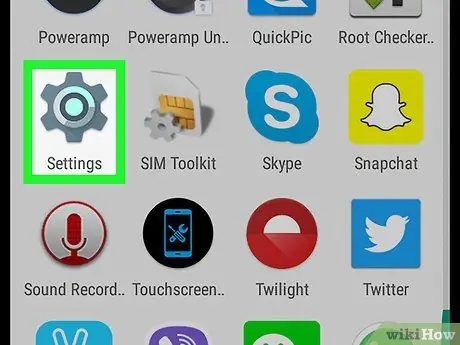
Step 1. Open Android settings menu
(“Settings”).
This menu is indicated by a gear icon and is displayed in the app drawer/page (“App Drawer”).
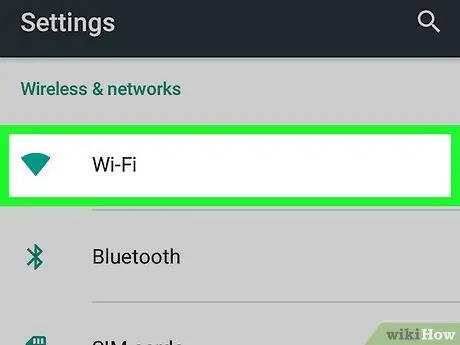
Step 2. Touch Wi-Fi
This option is at the top of the settings page (“Settings”).
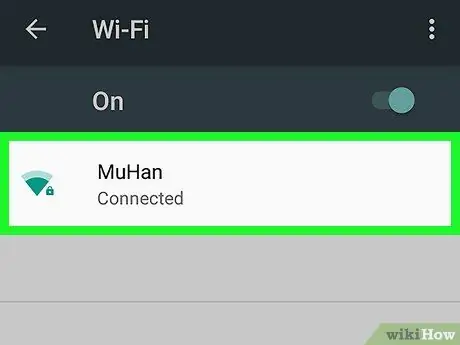
Step 3. Select a network
Touch the network you want to connect to via proxy.
- Skip this step if you are already connected to the network.
- You will need to enter the network password if you have never connected to the network before.
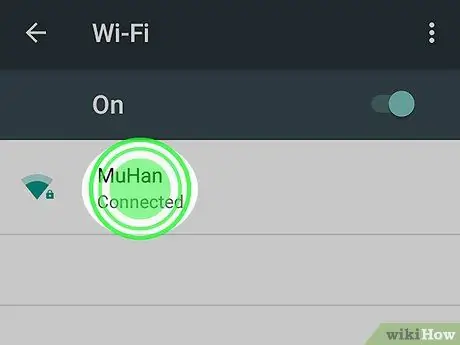
Step 4. Touch and hold the WiFi network name
After that, a pop-up menu will be displayed.
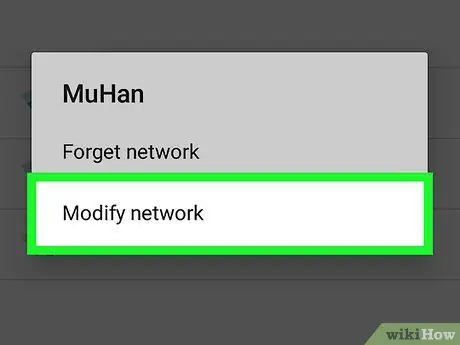
Step 5. Touch Modify network
It's at the bottom of the pop-up menu.
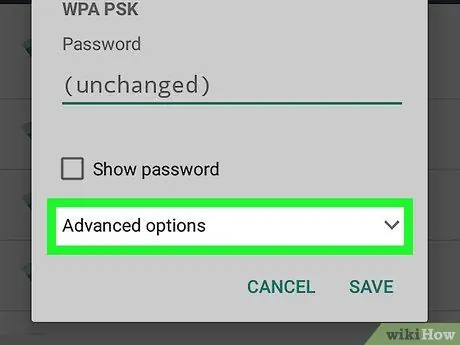
Step 6. Touch Advanced options
This drop-down box is in the middle of the page.
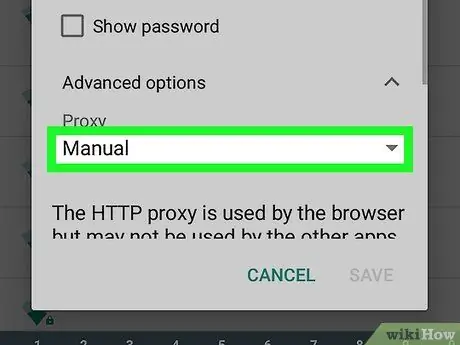
Step 7. Touch Manual
After that, you can change the proxy settings manually.
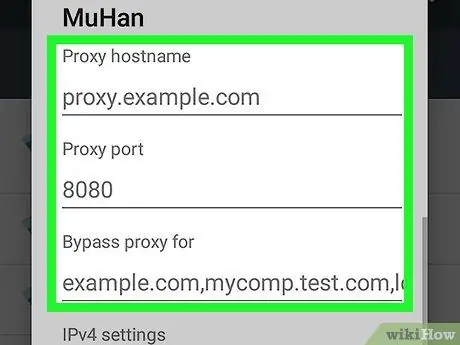
Step 8. Change the proxy settings
Edit the following fields as needed:
- “ Proxy hostname ” - Edit or change proxy address.
- “ Proxy port ” - Change the port the proxy uses.
- “ Bypass proxy for ” - Add addresses that are not allowed to be accessed via proxies. The addresses must be separated by commas, without spaces.
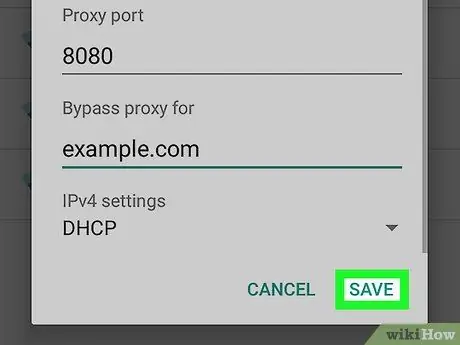
Step 9. Touch Save
It's at the bottom of the screen. The settings will be saved and you will exit the proxy menu.


