- Author Jason Gerald gerald@how-what-advice.com.
- Public 2023-12-16 10:50.
- Last modified 2025-01-23 12:04.
This wikiHow teaches you how to install Homebrew Broswer on a Nintendo Wii console. Installing this browser provides a variety of benefits, including the availability of easy-to-download Homebrew applications.
Step
Part 1 of 2: Downloading and Configuring Homebrew Browser
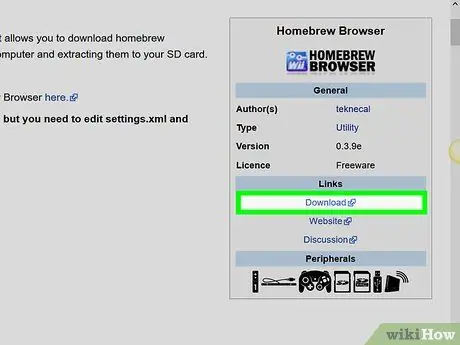
Step 1. Download the Homebrew Browser installation folder
Visit https://wiibrew.org/wiki/Homebrew_Browser in your computer's web browser, then click on the “ Download ” under the "Links" heading, on the right side of the page. The Homebrew Browser ZIP folder will be downloaded to the computer afterwards.
You may be asked to specify a save location before the file is downloaded, depending on your browser settings
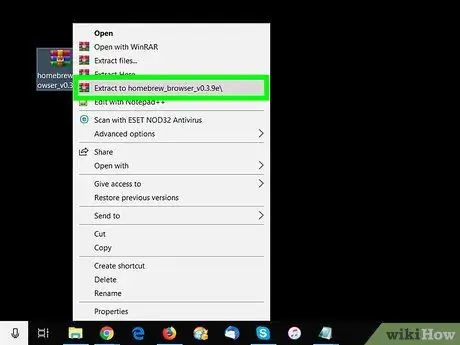
Step 2. Extract the downloaded folder
The extraction process may differ depending on the computer operating system you are using (e.g. Windows or Mac):
- Windows - Double click the ZIP folder, select the tab “ Extract ” at the top of the window, click “ Extract all, and select " Extract all ” in the pop-up window.
- Mac - Double-click the ZIP folder, then wait for the extracted folder to open.
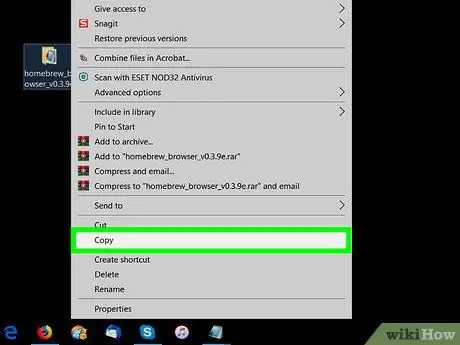
Step 3. Copy the "homebrew_browser" folder
Double-click the " homebrew_browser " folder in the extracted folder to select it, then press Ctrl+C (Windows) or Command+C (Mac) to copy the folder.
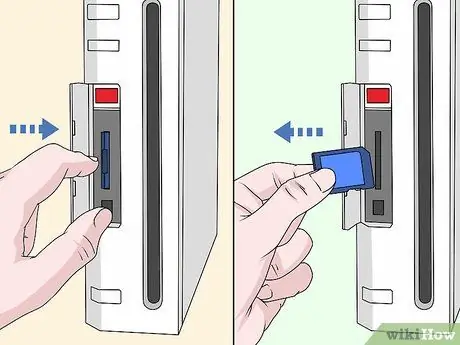
Step 4. Remove the SD card from the Wii console
You can find the SD card in the disc slot. Press the card to eject it from the console.
- Make sure the Wii is turned off while you are doing this procedure.
- The Wii supports SD cards with a maximum size of 2 gigabytes, and SDHC cards with a maximum size of 32 gigabytes.
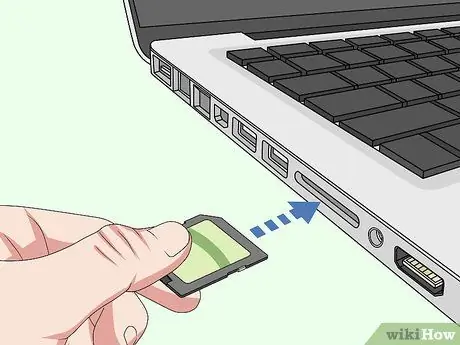
Step 5. Insert the SD card into the computer
The card can be inserted into the computer's SD card slot with the gold connector facing down.
If your computer does not have an SD card slot, you will need to purchase an SD-to-USB adapter that fits your computer. If you're using a Mac computer, you may need an SD-to-USB-C adapter

Step 6. Open the SD card
If the card window does not open automatically, follow these steps:
-
Windows - Open File Explorer

File_Explorer_Icon click " This PC ”, and double-click the SD card name under the "Devices and drives" heading or segment.
-
Mac - Open
Finder, then click the SD card name in the lower-left corner of the window.
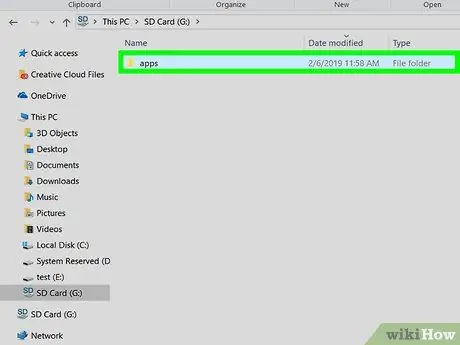
Step 7. Open the "apps" folder
Double click the " apps " folder on the SD card to open it. If you don't see the " apps " folder, you can create your own with these steps:
- Windows - Right-click an empty column on the SD card, select “ New ", click " Folders ”, type apps, and press Enter.
- Mac - Click the menu “ File ", choose " New Folder ”, type apps, and press Return.
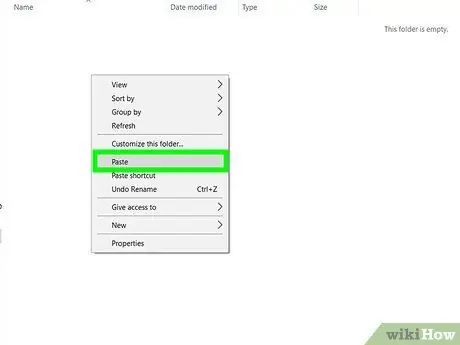
Step 8. Paste the “homebrew_browser” folder
Press Ctrl+V or Command+V to paste the " homebrew_browser " folder into the " apps " folder.
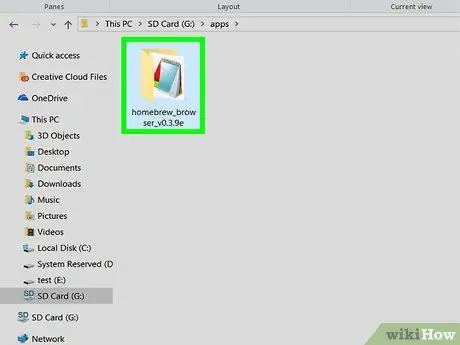
Step 9. Open the “homebrew_browser” folder
Double click the " homebrew_browser " folder to open it.
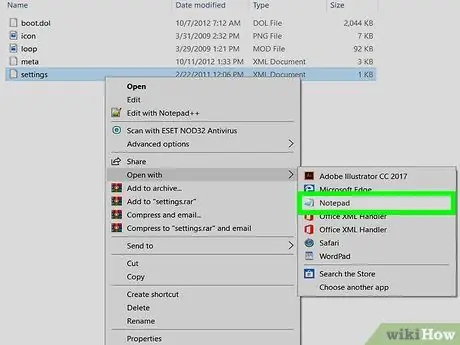
Step 10. Open the "settings" file
You'll need to use your computer's built-in text-editing program to do this:
- Windows - Right click the " settings " file, select “ Open with ” on the drop-down menu, and click “ Notepad " You can also right click the " settings " file and select “ Edit ”.
- Mac - Click the " settings " file once, select “ File ", click " Open With, and select " TextEdit ”.
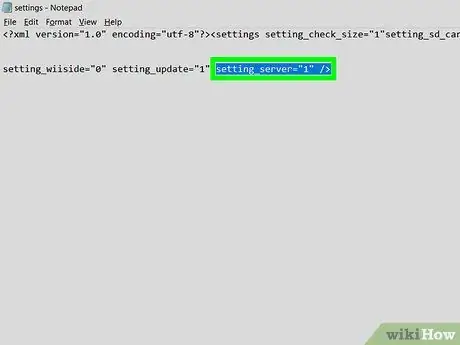
Step 11. Change the value of the "settings" file server
Due to an update to the Wii software, you need to change the server value from "0" to "1" with the following steps:
- Look for the text line setting_server="0".
- Replace 0 with 1.
- Make sure the line now looks like this: setting_server="1".
- Press Ctrl+S (Windows) or Command+S (Mac) to save the file.
- Close the Notepad or TextEdit window.
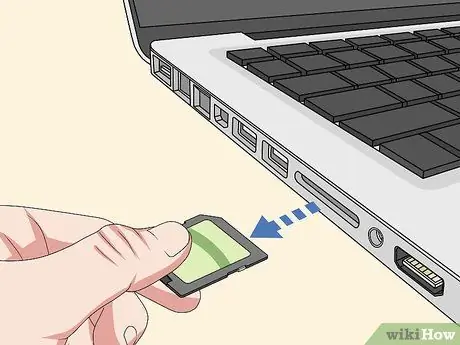
Step 12. Disconnect the SD card and remove it from the computer
Follow these steps:
-
Windows - Click
in the lower-right corner of the screen, right-click the fast drive icon in the pop-up menu, and select “ Eject After that, you can remove the card from the computer.
-
Mac - Go back to the Finder window and click the " Eject " icon
next to the SD card name. After that, you can remove the card from the computer.
Part 2 of 2: Installing Homebrew Browser
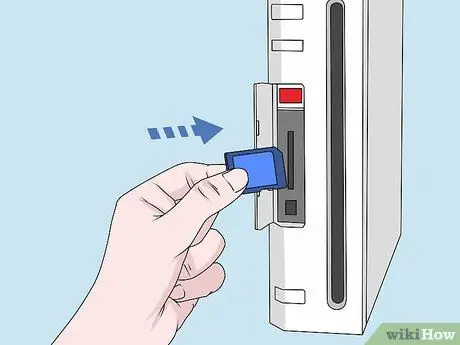
Step 1. Reinsert the SD card into the Wii console
Replace the SD card into its slot in the disc tray.
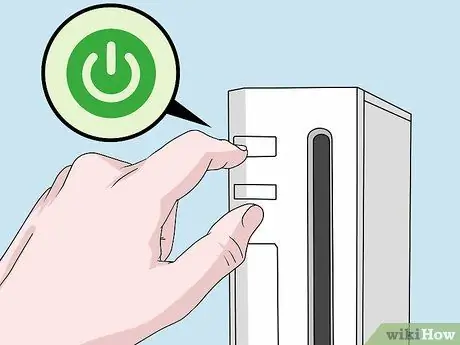
Step 2. Turn on the Wii console
Press the power button or "Power" on the front of the console to turn it on.
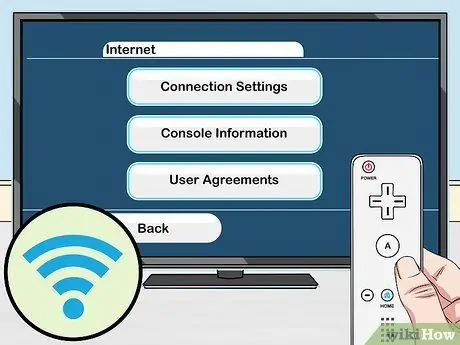
Step 3. Make sure the console is connected to the internet
In order to use Homebrew Browser, the console must be connected to the internet.
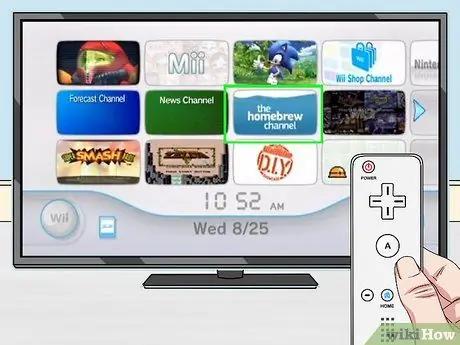
Step 4. Select the homebrew channel
You can see this icon on the Wii main page. After that, the “Homebrew Channel” pop-up window will be displayed.
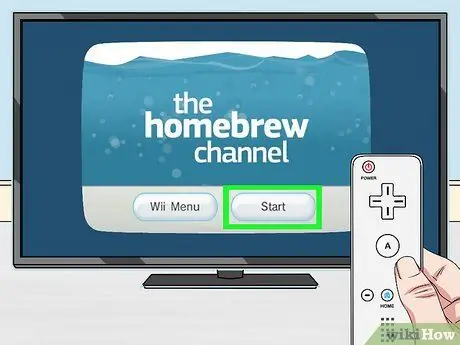
Step 5. Select Start
It's at the bottom of the window.
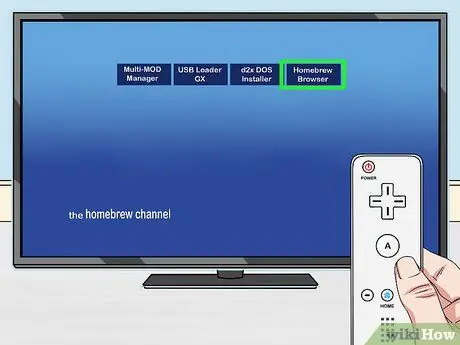
Step 6. Select HOMEBREW BROWSER
It's in the upper-right corner of the screen. The new Homebrew Browser on your console will start. At this stage, you can search and download content such as games and applications as desired.
The Homebrew Browser will display a few lines of code at run time. However, this is normal
Tips
- The Homebrew Browser can be used to download games, apps, and mods for your Wii console.
- If you receive an error message indicating that the SD card is not writable, the lock switch on the card may be in the on or “On” position. Slide the switch to the off or “Off” position to clear the error.
Warning
- Unauthorized (unlicensed) modifications to the Wii console run the risk of destroying the console or completely shutting it down.
- Installation of the Homebrew Channel on the Wii console will void Nintendo's official warranty.


