- Author Jason Gerald gerald@how-what-advice.com.
- Public 2024-01-19 22:11.
- Last modified 2025-01-23 12:04.
This wikiHow teaches you how to connect your computer directly to an internet router using an Ethernet cable, and set up Ethernet options on Windows and Mac.
Step
Method 1 of 3: Connecting Computer to Router
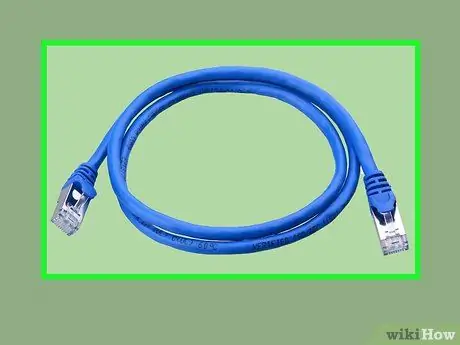
Step 1. Prepare the ethernet cable
An Ethernet cable, or RJ-45, has a square plug on each end. This cable is used to connect the computer to the router.
The cable that connects the router to the modem is also an ethernet cable
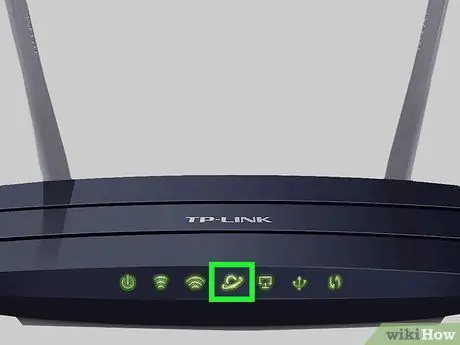
Step 2. Make sure your router is online
Your router must be connected to a modem, and your modem must be connected to a cable or ethernet port on the wall. Make sure the light on the front of the router and/or modem stays on.
If your network only has a modem, make sure it is connected to a cable or ethernet port on the wall
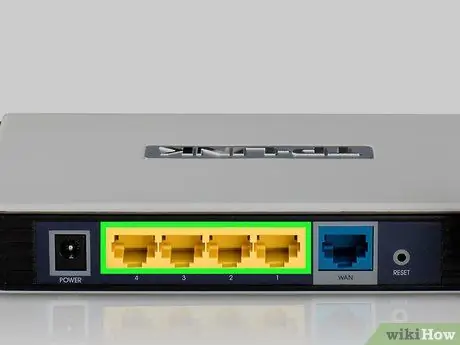
Step 3. Find the ethernet port on your computer and router
These ports are square, and generally have icons of several connected squares near them.
- On the router, the ethernet port has the word "LAN (Local Area Network) " on it.
- If you want to connect your router to the modem, connect the Ethernet cable to the "Internet" or "WAN" port.
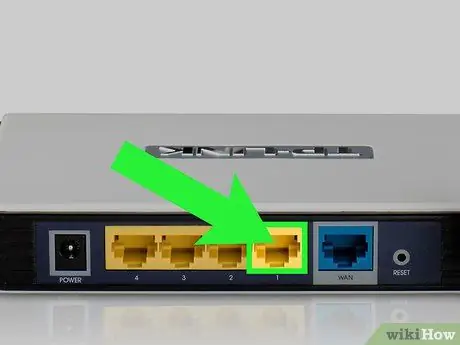
Step 4. Connect the ethernet cable to the computer and router
As long as the router is online, your computer will immediately connect to the internet.
Method 2 of 3: Adjusting Ethernet Settings in Windows
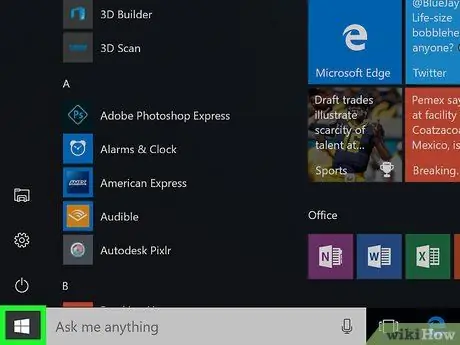
Step 1. Press Win key, or click the Windows logo in the lower left corner of the screen to open the Start menu
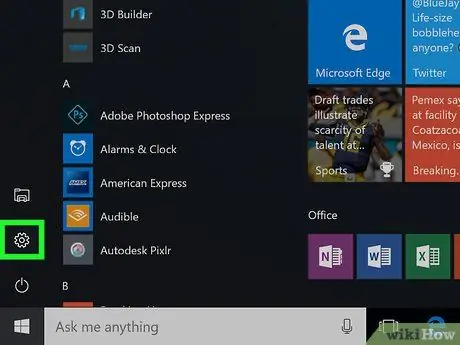
Step 2. Click the ️ symbol in the lower left corner of the Start window
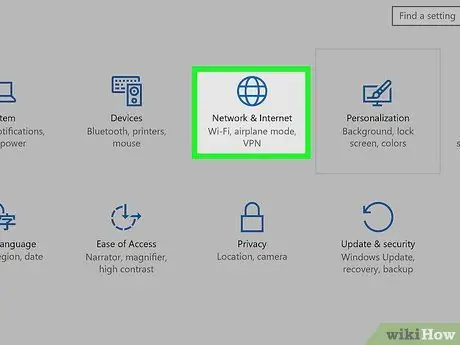
Step 3. Click Network & Internet in the top row of options
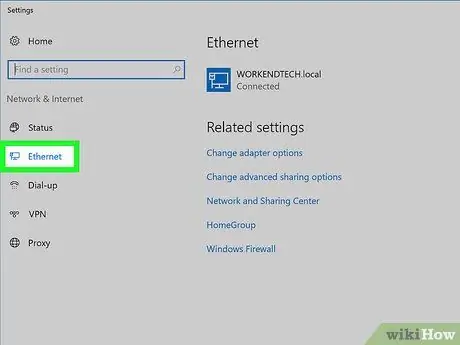
Step 4. Click Ethernet on the left side of the window
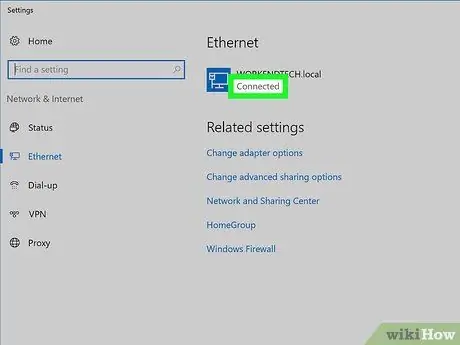
Step 5. Make sure Ethernet is working
You'll see the name of your internet connection at the top of the page, with the caption "Connected" below it. The description indicates that the ethernet connection is on.
If the ethernet connection doesn't work, try using a different port on your router, or a different ethernet cable
Method 3 of 3: Adjusting Ethernet Settings on Mac
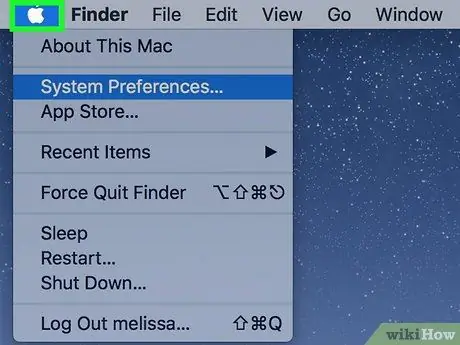
Step 1. Click the apple icon in the top left corner of the screen to open the Apple menu
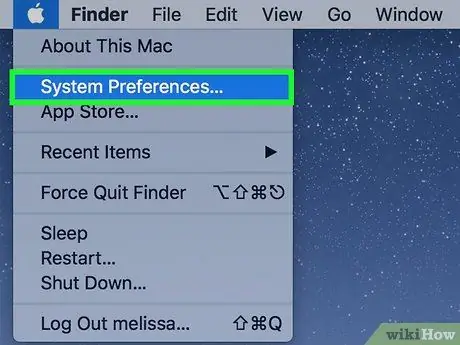
Step 2. Click System Preferences in the Apple menu window
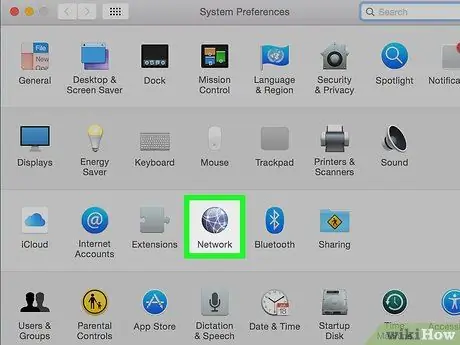
Step 3. Click Network to open the Network window
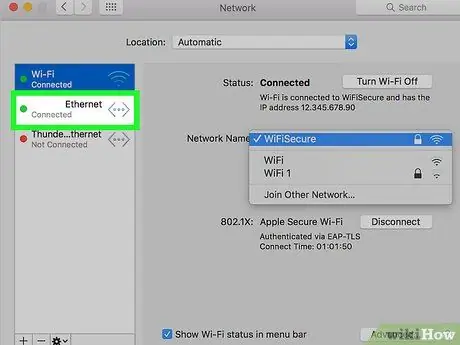
Step 4. Select the "Ethernet" connection in the left pane of the window
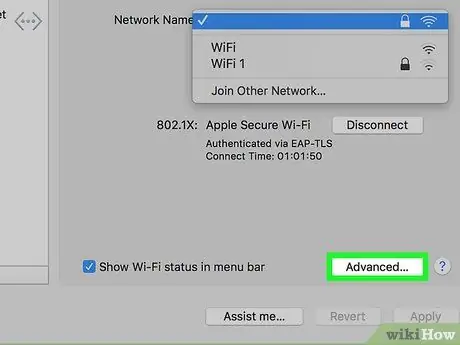
Step 5. Click the Advanced option in the lower right corner of the window
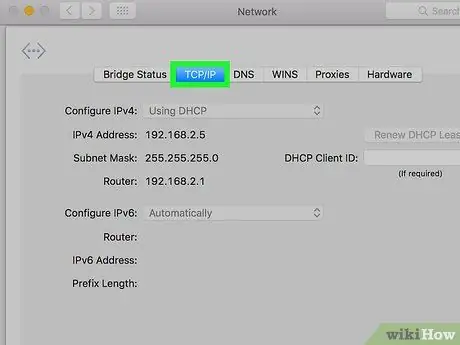
Step 6. Click the TCP/IP tab near the top of the Advanced window
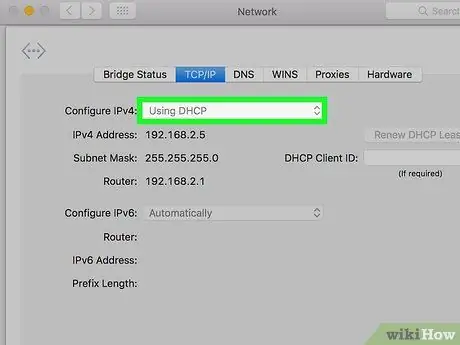
Step 7. Make sure the "Configure IPv4" option is set to "Using DHCP"
Otherwise, click the box to the right of "Configure IPv4" at the top of the screen, then select Using DHCP.
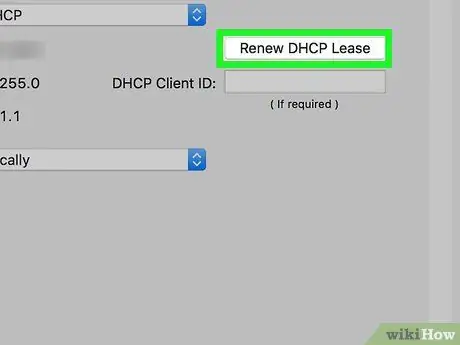
Step 8. Click Renew DHCP Lease on the right side of the page so you can access the internet when your computer is connected to an Ethernet network
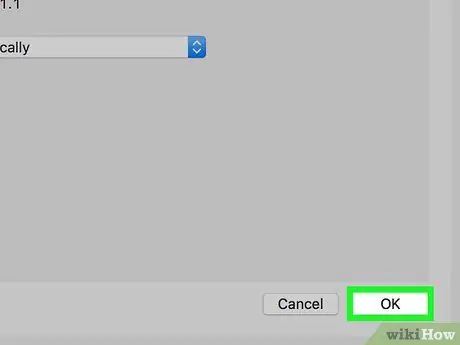
Step 9. Click the OK button in the lower right corner of the page
Now, your computer will be connected to the ethernet network.


