- Author Jason Gerald gerald@how-what-advice.com.
- Public 2023-12-16 10:50.
- Last modified 2025-01-23 12:04.
Setting up a Netgear router allows you to use it for internet service from your internet service provider, and it can even help resolve network connection issues. Most ISPs don't require you to set up a Netgear router, unless you're using a router with a cable or DSL connection.
Step
Method 1 of 5: Wired Internet with Genie Interface (New Netgear Router)
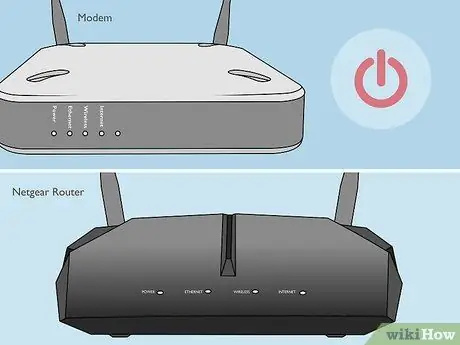
Step 1. Turn off the Netgear modem and router
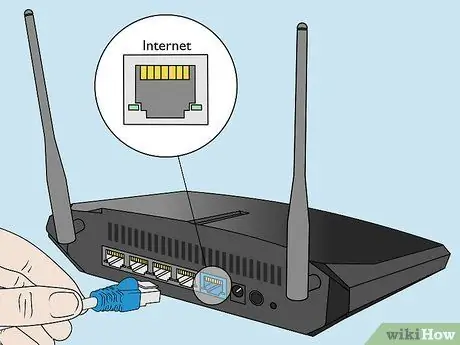
Step 2. Use an Ethernet cable to connect the modem to the port labeled "Internet" on the Netgear router
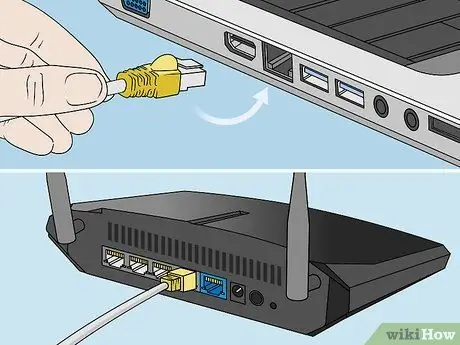
Step 3. Use a second Ethernet cable to connect the computer to the port labeled "LAN" on the Netgear router
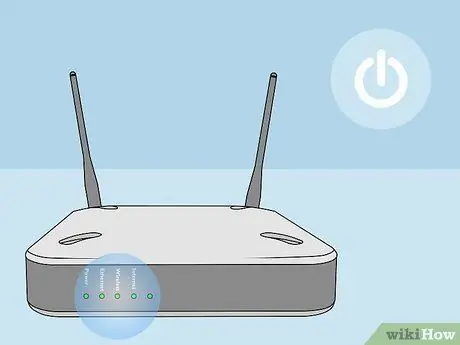
Step 4. Turn on the modem, then wait for all the lights to turn on steadily
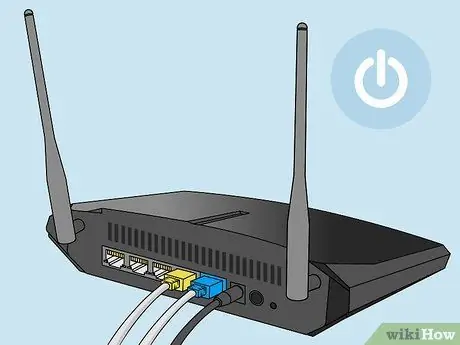
Step 5. Turn on the Netgear router, then wait for the Power light to turn green
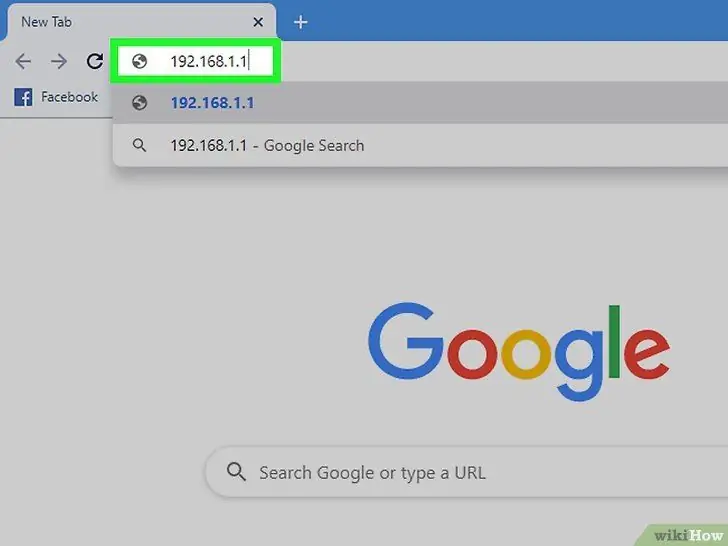
Step 6. Open a browser on your computer and enter one of the following addresses: www.routerlogin.com, www.routerlogin.net, or https://192.168.1.1. The proper link will display a page for logging into the router administration interface.
If the link above doesn't work, read the label on your Netgear router to find the right link
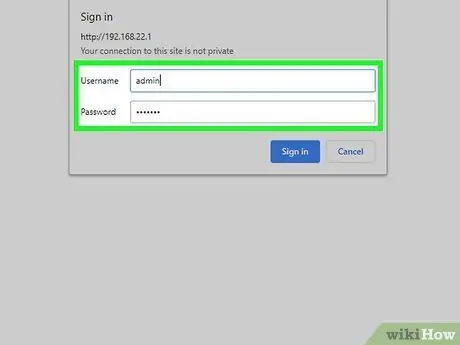
Step 7. Log in to the router's administration interface with the username "admin" and the password "password"
This information is the default information for Netgear routers. Netgear Genie will appear on the screen.
If the Netgear Smart Wizard appears on the screen instead of Netgear Genie, please refer to the second method in this article to set up the router with the Smart Wizard. Smart Wizard is only used by legacy Netgear routers
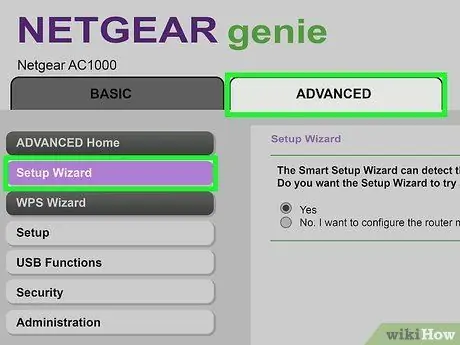
Step 8. Click the Advanced tab, then click Setup Wizard in the left menu
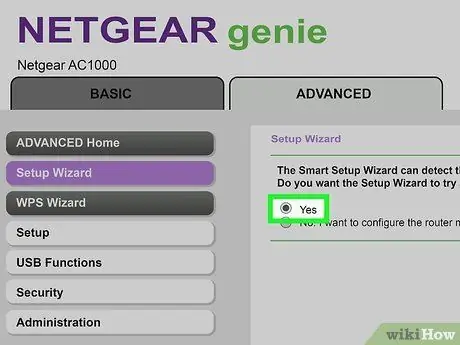
Step 9. Select Yes when you are prompted to detect internet connection by Netgear wizard, then click Next
The program will detect your internet connection for a few minutes. When finished, the screen will display the Congratulations page.
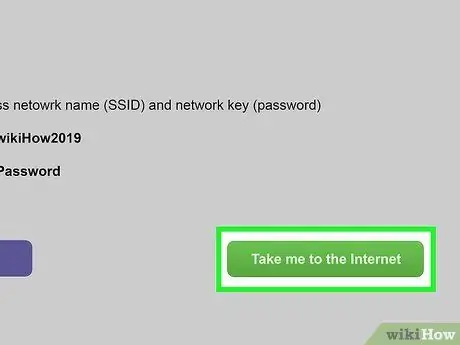
Step 10. Click Take me to the Internet to check the internet connection
Your router is now ready to use with your ISP.
Method 2 of 5: Wired Internet with Smart Wizard Interface (Legacy Netgear Router)
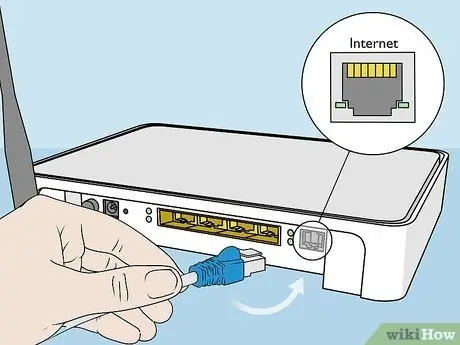
Step 1. Use an Ethernet cable to connect the modem to the port labeled "Internet" on the Netgear router
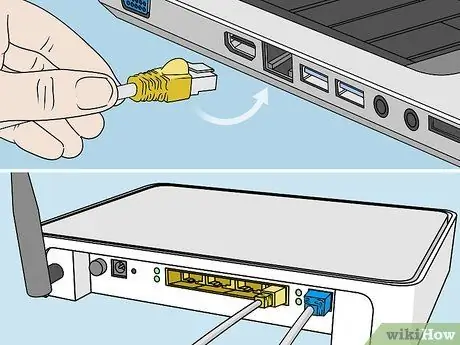
Step 2. Use a second Ethernet cable to connect the computer to the port labeled "LAN" on the Netgear router
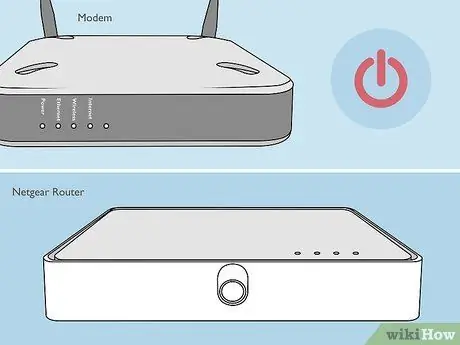
Step 3. Turn off the computer, router, and modem, then turn on all three
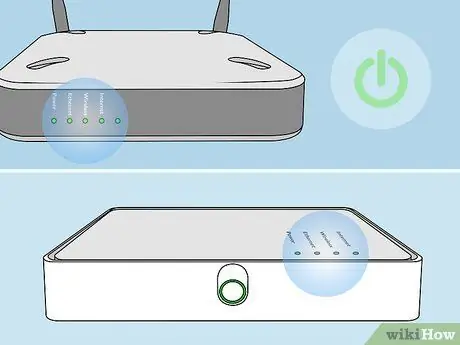
Step 4. Wait for the entire device to turn on, then open a browser on your computer
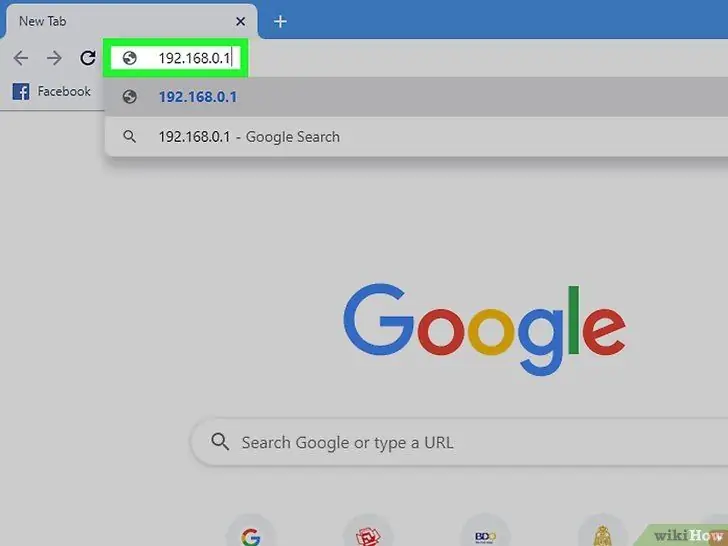
Step 5. Open a browser on your computer and enter one of the following addresses: www.routerlogin.net, or https://192.168.1.1. The proper link will display a page for logging into the router administration interface.
If the link above doesn't work, read the label on your Netgear router to find the right link
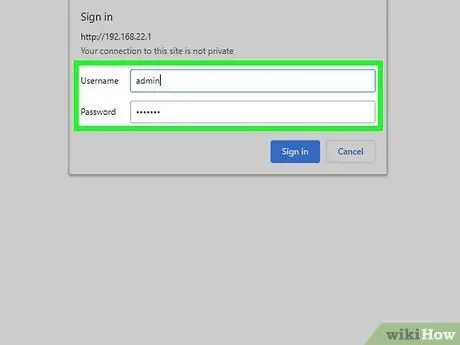
Step 6. Log in to the router's administration interface with the username "admin" and the password "password"
This information is the default information for Netgear routers. The administration page will appear on the screen.
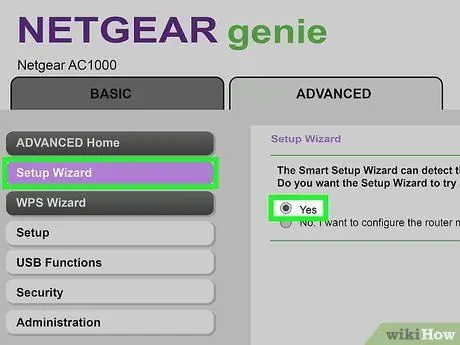
Step 7. Click Setup Wizard in the left menu, then select Yes when prompted to detect internet connection by Netgear wizard
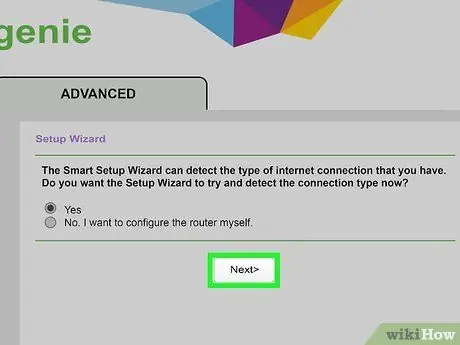
Step 8. Click Next
The router takes a while to detect the internet.
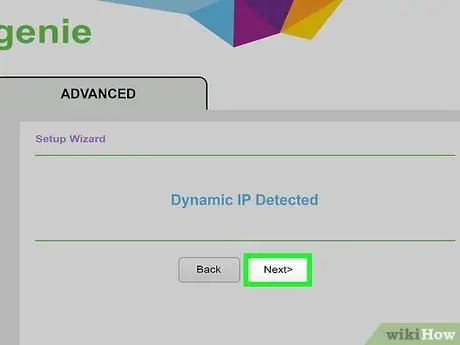
Step 9. Once internet is detected, click Next
Your router will save the settings and be configured for your ISP.
Method 3 of 5: DSL Internet with Genie Interface (New Netgear Router)
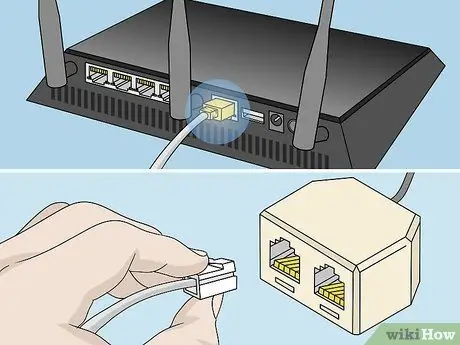
Step 1. Connect the router to the telephone jack with a DSL microfilter
The microfilter is the small box that connects the router and telephone to the telephone jack.
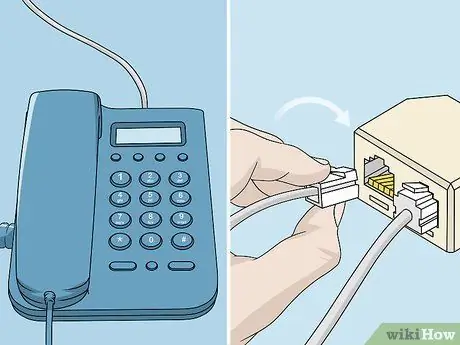
Step 2. Connect the phone to the DSL microfilter with a small telephone cord
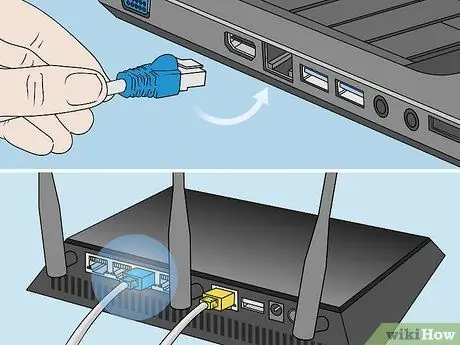
Step 3. Use an Ethernet cable to connect the computer to the port labeled "LAN" on the Netgear router
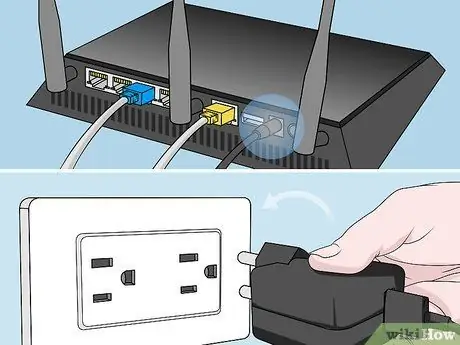
Step 4. Connect the router to a power supply, then turn on the router
Wait a minute for the router to turn on.
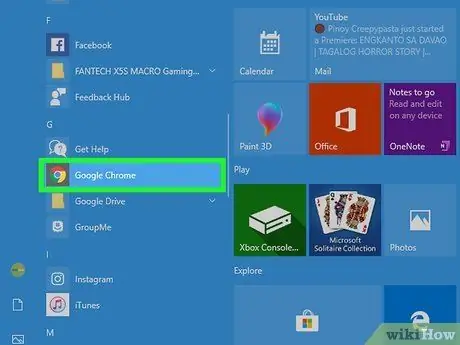
Step 5. Open a browser
The Netgear Genie guide will appear on the screen.
If the wizard does not appear on the screen, enter one of the following addresses to enter the Netgear Genie wizard: https://192.168.0.1 or
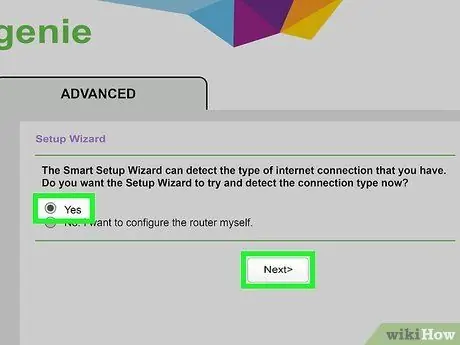
Step 6. Select Yes when you are prompted to detect internet connection by Netgear wizard, then click Next
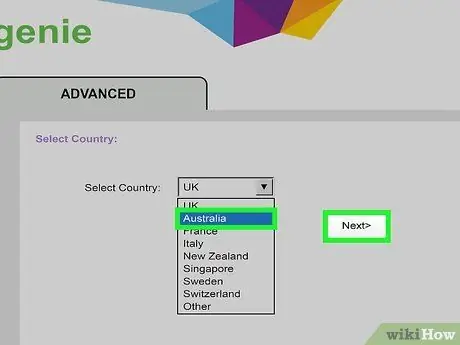
Step 7. Select a country from the menu, click Next
The program will detect your internet connection for a few minutes. When finished, the screen will show a page to sign in.
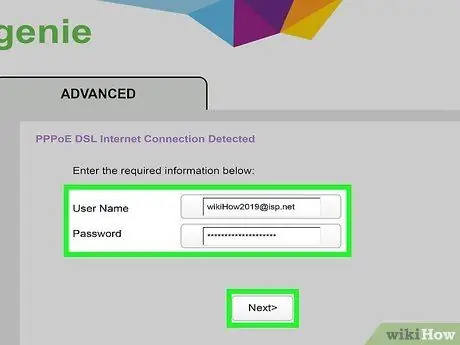
Step 8. Enter the username and password of your ISP into the box provided, then click Next, so that you can use the ISP's services
For a username and password, contact your ISP
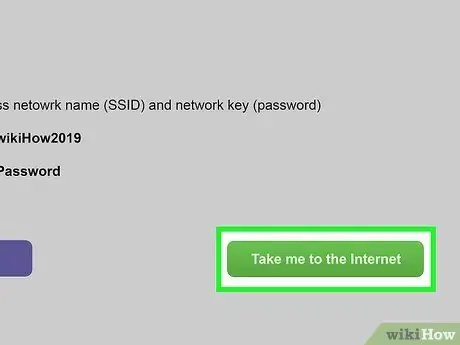
Step 9. Click Take me to the Internet to check the internet connection
Your router is now ready to use with your ISP.
Method 4 of 5: Wired Internet with Smart Wizard Interface (Legacy Netgear Router)
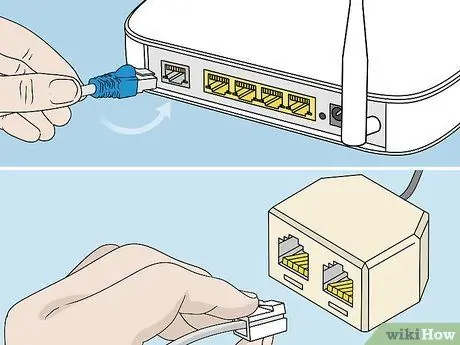
Step 1. Connect the router to the telephone jack with a DSL microfilter
The microfilter is the small box that connects the router and telephone to the telephone jack.
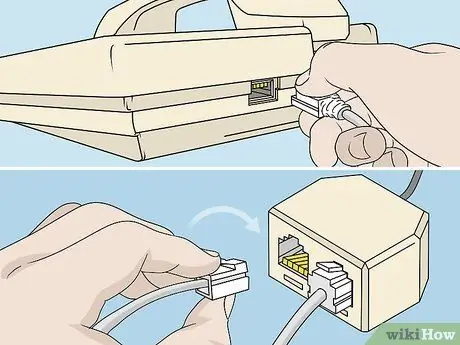
Step 2. Connect the phone to the DSL microfilter with a small telephone cord
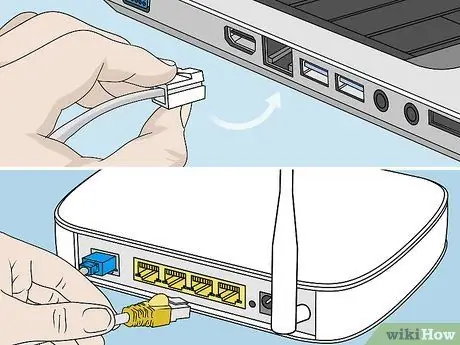
Step 3. Use an Ethernet cable to connect the computer to the port labeled "LAN" on the Netgear router
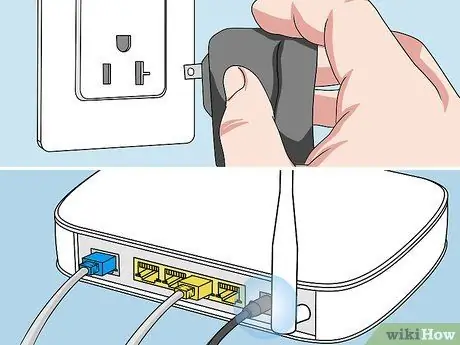
Step 4. Connect the router to a power supply, then turn on the router
Wait a minute for the router to turn on.
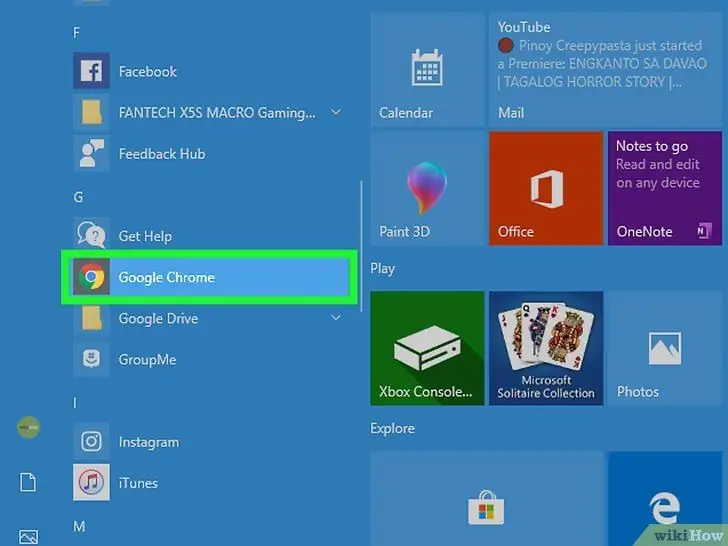
Step 5. Open a browser on your computer and enter one of the following addresses: www.routerlogin.net, or https://192.168.1.1. The proper link will display a page for logging into the router administration interface.
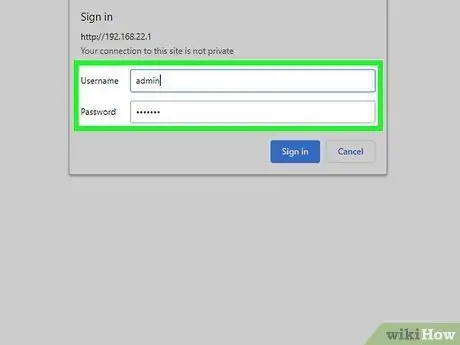
Step 6. Log in to the router's administration interface with the username "admin" and the password "password"
This information is the default information for Netgear routers. Netgear Genie will appear on the screen.
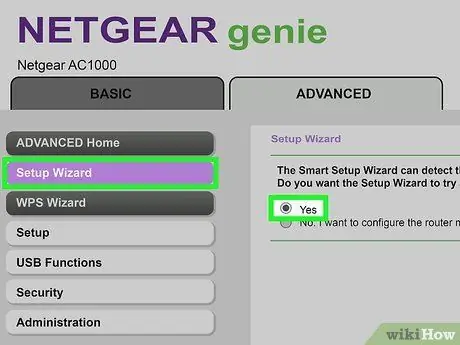
Step 7. Click Setup Wizard in the left menu, then select Yes when prompted to detect internet connection by Netgear wizard
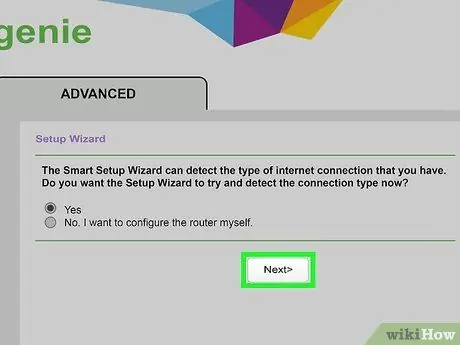
Step 8. Click Next
The router takes a while to detect the internet. A configuration page corresponding to your network type will appear.
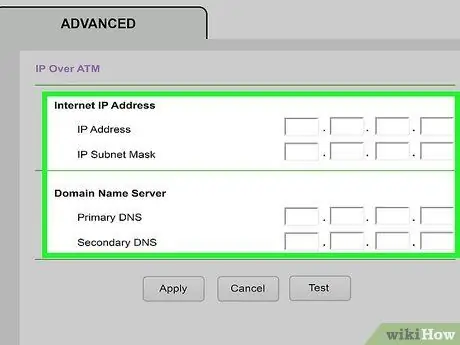
Step 9. Apply the network settings so that the router can complete the configuration process
The settings you need will vary depending on the type of internet connection you are using.
- Enter the username and password from your ISP if you are using a PPPoE or PPPoA connection.
- Click Apply if you are using a dynamic IP.
- Enter the IP address, subnet mask and primary and backup DNS if you use an IP connection via ATM or a fixed IP. All of the above information should be provided by your ISP.
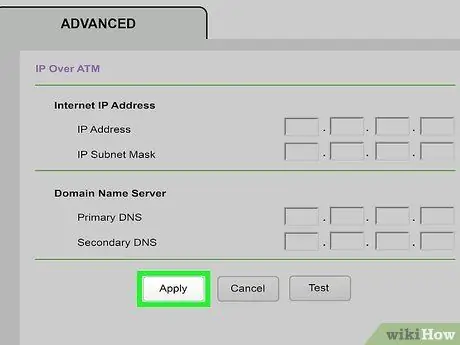
Step 10. After applying the appropriate settings, click Apply
Your router is now ready to use with your ISP.
Method 5 of 5: Troubleshooting Netgear Router Configuration
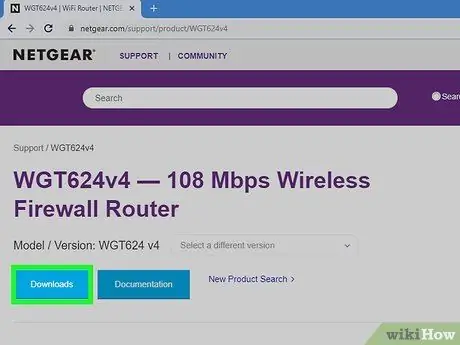
Step 1. Download the latest software for Netgear routers at https://support.netgear.com if configuration is not possible
In some cases, older versions of software can make it difficult for you to set up an internet connection.
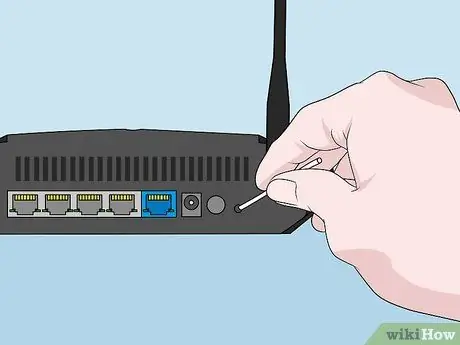
Step 2. Reset the Netgear router if you have trouble connecting to the internet after setting up the router
A reset will restore the router's default settings, and may resolve the router's software problems.
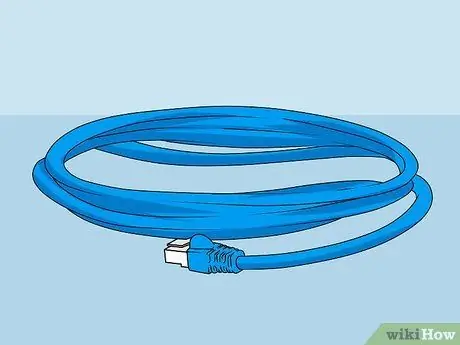
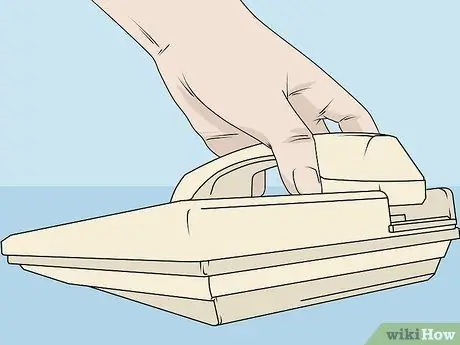
Step 3. Try using an Ethernet cable or telephone if needed
Damaged cables can make it difficult for you to set up your router.
Step 4. Contact the ISP if you are still unable to set up the router with the information provided by your ISP
Netgear does not have the username and password from your ISP, and cannot help you connect to the internet.


