- Author Jason Gerald gerald@how-what-advice.com.
- Public 2023-12-16 10:50.
- Last modified 2025-01-23 12:04.
Taking a screenshot on a laptop allows you to capture a view of all the apps and activity on the device, including the date and time, remaining power, WiFi status, and other data displayed on the taskbar and Dock on a Windows or Apple laptop. The screenshot instructions will depend on the operating system running on the laptop (eg Windows or Mac OS X).
Step
Method 1 of 4: Windows 8.1
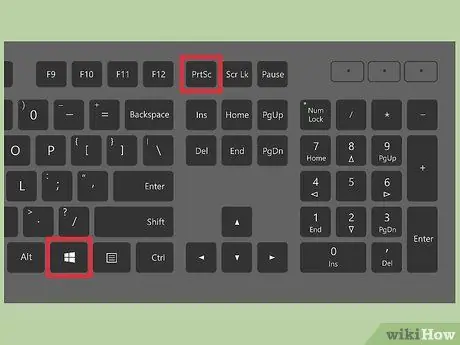
Step 1. Press the Windows logo key and the “PrtScn” key on the keyboard
The screen will dim for a moment, then the screenshot will be saved as an image file in the “Pictures” > “Screenshots” folder.
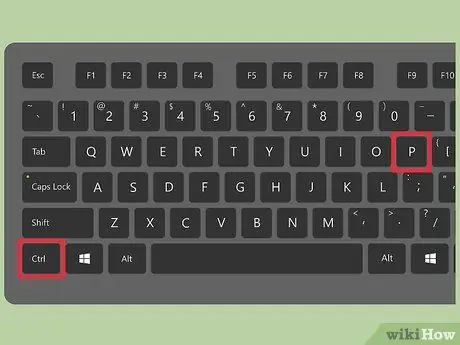
Step 2. Press the Ctrl+P key combination on the keyboard, then select “Print”
After that, the screenshot will be printed.
Method 2 of 4: Windows 7/Windows Vista
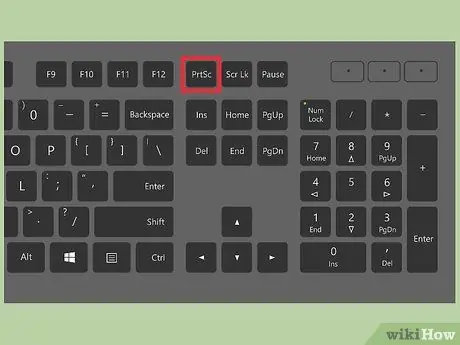
Step 1. Press the “PrtScn” key on the keyboard
After that, a screenshot of the entire screen will be taken and copied to the clipboard.
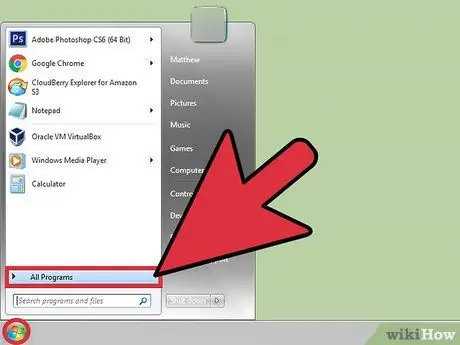
Step 2. Click the “Start” menu and select “All Programs”
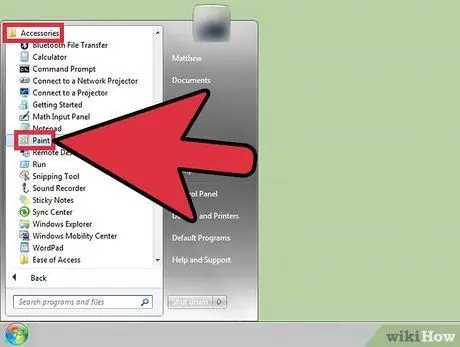
Step 3. Click “Accessories”, then click “Paint”
After that, Microsoft Paint will be opened. With this image editing program, you can print screenshots that were previously taken.
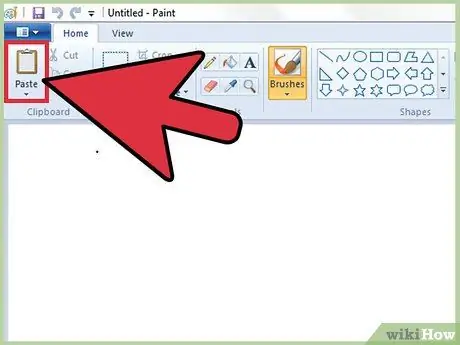
Step 4. Click the “Home” tab, then click “Paste” in the “Clipboard” menu group
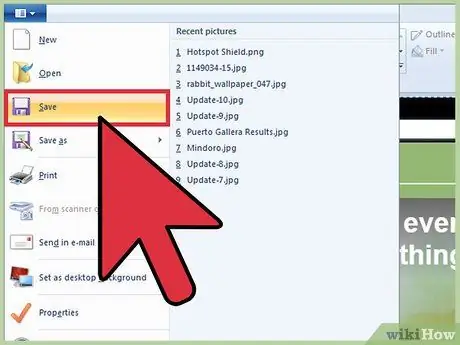
Step 5. Click the “Paint” button and select “Save”
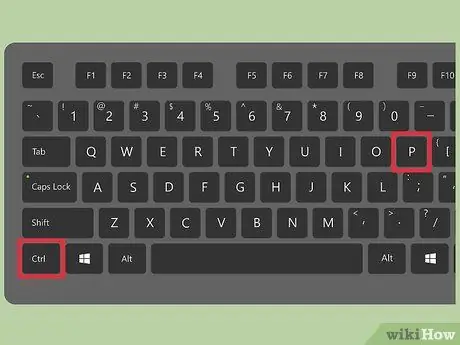
Step 6. Press the Ctrl+P key combination on the keyboard, then select “Print”
After that, the screenshot will be printed.
Method 3 of 4: Windows XP
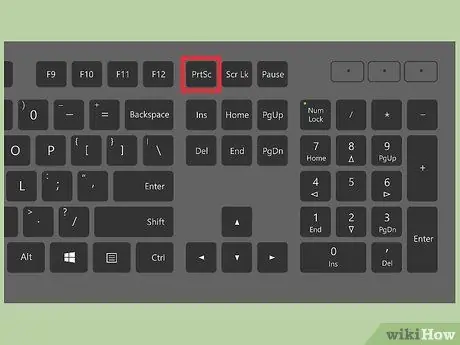
Step 1. Press the “PrtScn” key on the keyboard
A screenshot of the entire screen view is taken and copied to the clipboard.
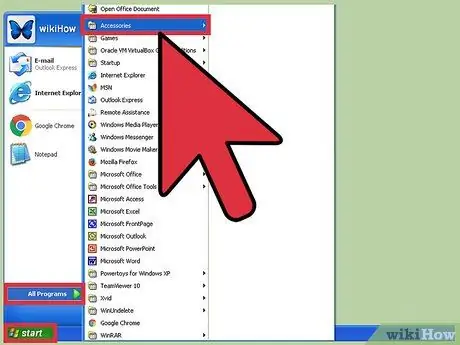
Step 2. Click the “Start” menu and select “Accessories”
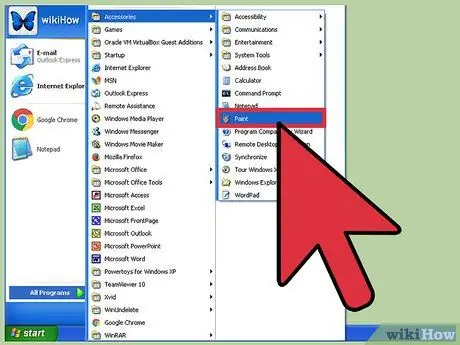
Step 3. Click “Paint”, then click the “Edit” button in the Paint window
Microsoft Paint is an image editing program that allows you to print previously taken screenshots.
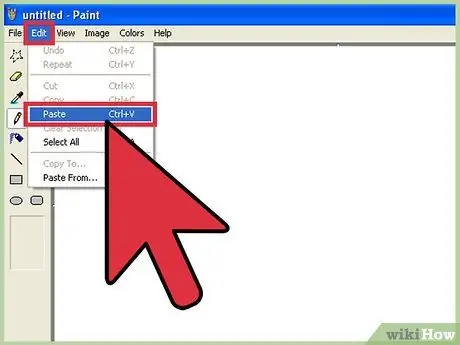
Step 4. Click “Paste”
The screenshot will then be displayed in the Paint window.
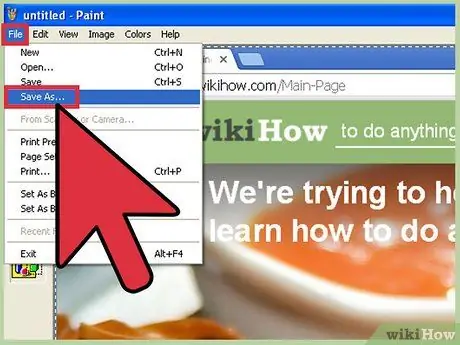
Step 5. Click “File” and select “Save As”
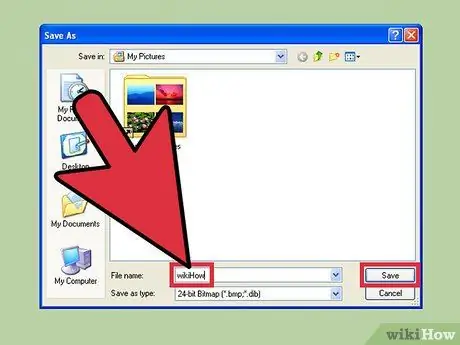
Step 6. Type in the name of the screenshot file, then select “Save”
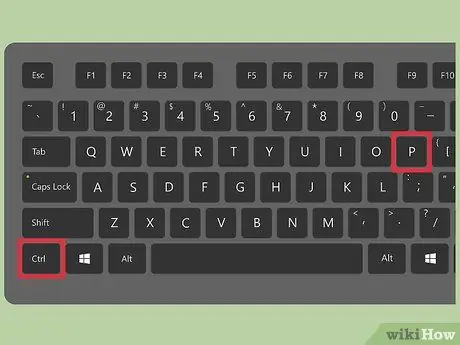
Step 7. Press the Ctrl+P key combination on the keyboard, then select “Print”
Now, the screenshot will be printed.
Method 4 of 4: Mac OS X
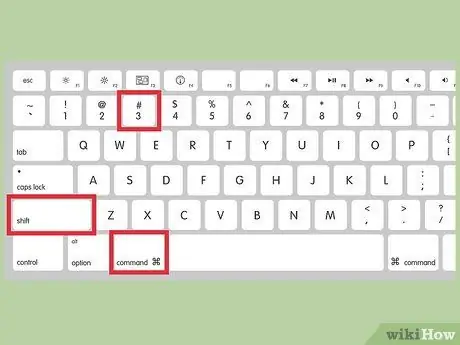
Step 1. Press the Command+⇧ Shift+3 key combination on the keyboard
After that, a screenshot will be taken and saved as an image file on the desktop.
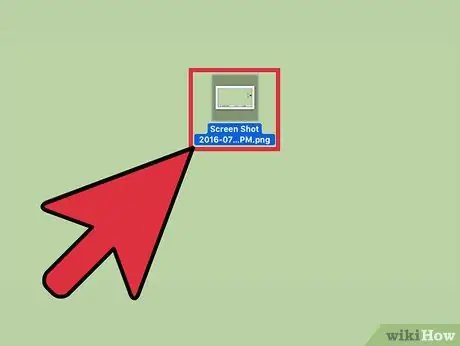
Step 2. Double-click the screenshot file to open it
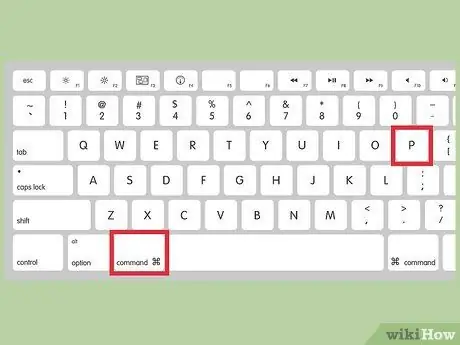
Step 3. Press the key combination Command+P, then click “Print”
Now, the screenshot will be printed.


