- Author Jason Gerald [email protected].
- Public 2023-12-16 10:50.
- Last modified 2025-01-23 12:04.
Music files stored on a Windows PC can be transferred to an iPad via the Apple iTunes app. To transfer music from your computer to iPad, you must first add the music files to iTunes, then sync your iPad with iTunes.
Step
Part 1 of 3: Importing Music to iTunes
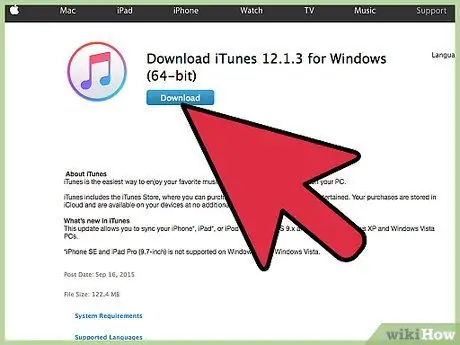
Step 1. Launch iTunes application on Windows PC
Music files on a computer can be transferred to iPad via iTunes.
- If iTunes is not already installed on your computer, visit the official Apple iTunes website at https://www.apple.com/itunes/download/, click “Download Now”, and follow the on-screen instructions to download and install iTunes on your PC.
- Switch to the second method in this article to sync iPad with iTunes if you've already imported or added music files to your iTunes library.
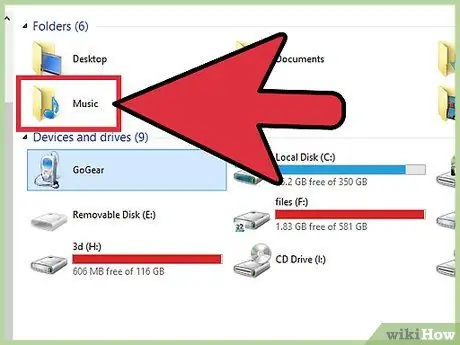
Step 2. Open a Windows Explorer window and locate the music file or folder you want to add to iPad
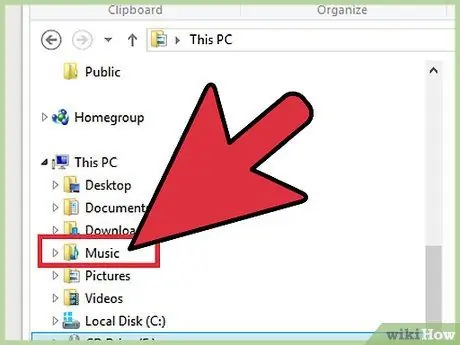
Step 3. Drag and drop the desired music files and folders into the iTunes window
The music file will automatically be added to your iTunes library and the adding process may take a few minutes, depending on the size of the file. You can import the following files into iTunes: MP3, WAV, AAC, AIFF, MPEG-4, Apple Lossless, and.aa (from audible.com).
Alternatively, click the “File” menu in iTunes, select “Add to Library”, then click the music file or folder that you want to add to iTunes
Step 4. Close the Windows Explorer window
You are now ready to sync iPad with iTunes.
Part 2 of 3: Syncing iPad with iTunes
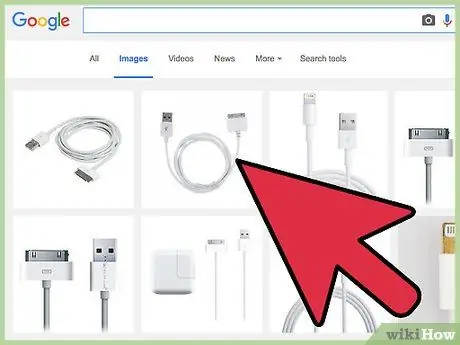
Step 1. Connect iPad to PC using USB cable
iTunes takes a while to detect and recognize the device.
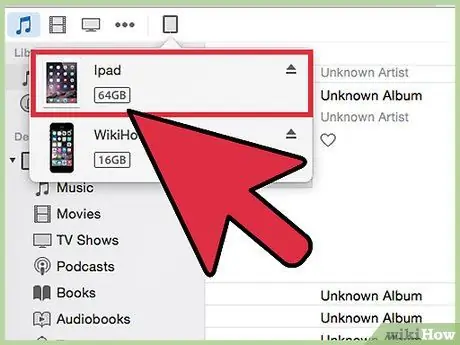
Step 2. Click the iPad icon in the upper left corner of the iTunes window
After that, iTunes will display general information about the device.
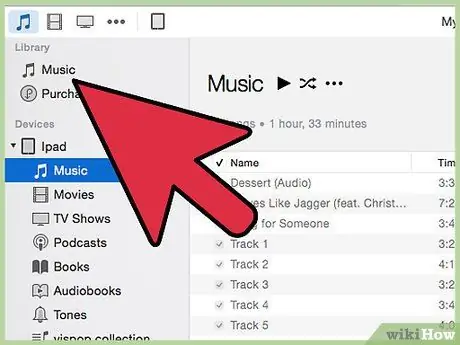
Step 3. Click “Music” on the left sidebar of the iTunes window
After that, iTunes will show you several music library sync options.
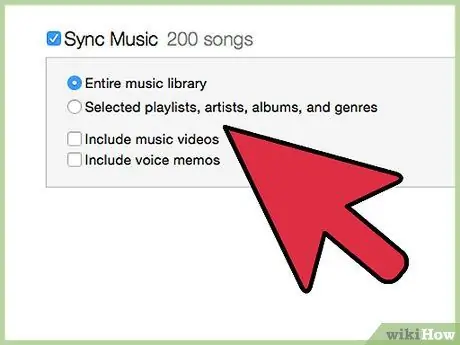
Step 4. Select “Entire music library” or “Selected playlists, artists, albums, and genres”
If you select “Entire music library”, all music collections in iTunes will be moved to iPad. If you select the other option, you can specify specific artists, playlists, or songs that can be moved to iPad.

Step 5. Add a tick next to all the music content you want to transfer to iPad, then click “Sync”
iTunes will transfer the music to the iPad and this process can take a few minutes.
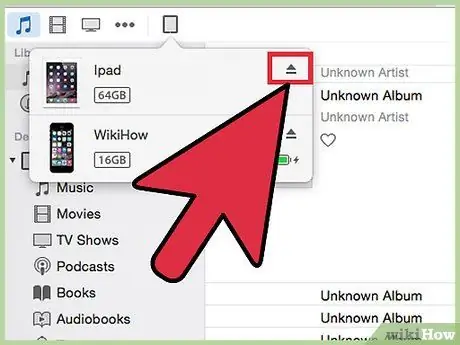
Step 6. Click the “Eject” button on the right side of the iPad icon in the iTunes window, then unplug the iPad from the USB cable
The selected music is now stored on iPad.
Part 3 of 3: Troubleshooting
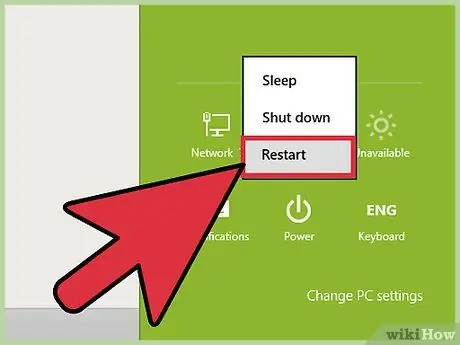
Step 1. Restart PC and iPad if iTunes or computer can't recognize the device
By restarting both devices, usually connectivity issues can be resolved.
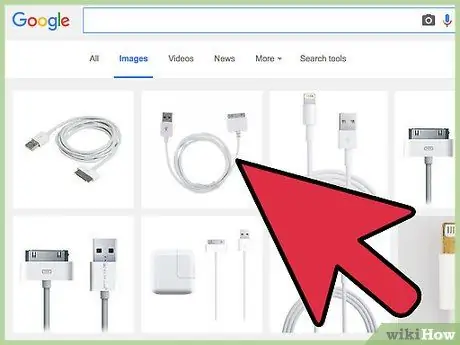
Step 2. Try using a different cable or USB port on the computer if the computer can't recognize the iPad
This step can resolve hardware issues caused by a faulty USB cable or port.
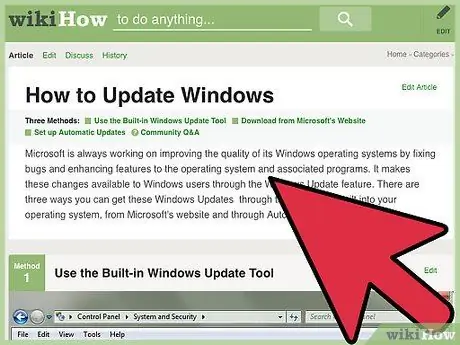
Step 3. Make sure all required updates are installed on your Windows computer if you are having problems with iTunes or PC not recognizing iPad
Recent updates from Windows that are not installed sometimes interfere with the computer's ability to recognize devices connected via USB.
Follow the steps in this article to update Windows using the Windows Update tool or the Microsoft website
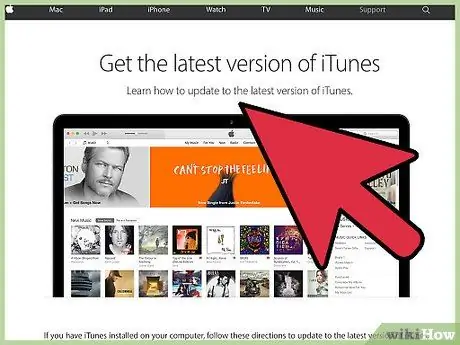
Step 4. Try updating iTunes if you are having trouble using the app to transfer music to iPad
Installing the latest version of iTunes can sometimes resolve errors and other issues with the app.
Click the “Help” menu, select “Check for updates”, and follow the on-screen instructions to update the current iTunes version
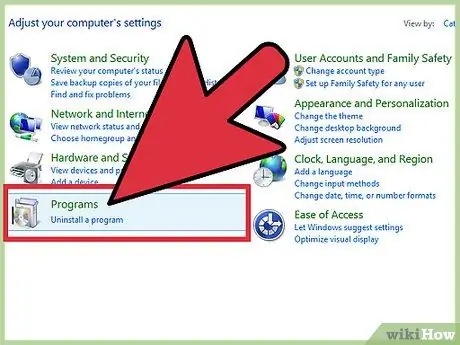
Step 5. Try uninstalling and reinstalling iTunes on PC as a last resort if you're still having trouble using iTunes
This process can resolve software issues connected to Apple Mobile Device Support, Apple Mobile Device Service, and Apple Mobile Device USB Driver features. All features or equipment should be properly installed the first time you install iTunes on your computer.


