- Author Jason Gerald gerald@how-what-advice.com.
- Public 2023-12-16 10:50.
- Last modified 2025-01-23 12:04.
If you want to add a touch of fire to your images, Photoshop is a great tool to use. We'll show you several ways to produce the image you want. It is easy to do as well as fun.
Step
Method 1 of 3: Basics
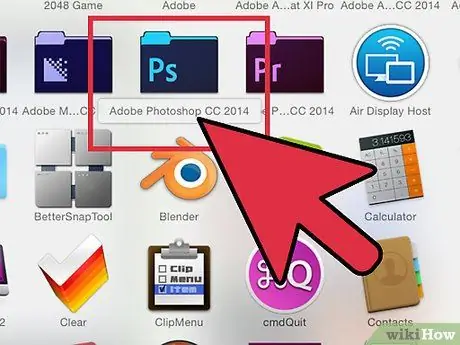
Step 1. Open Adobe Photoshop
Set the background color to black, and the foreground color to orange.
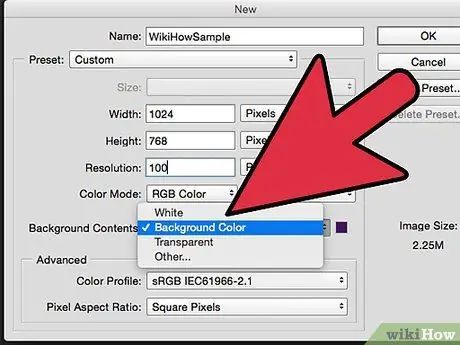
Step 2. Create a new document
You can set the size as you wish, then on the pop-up menu, select Background Color in the Background Contents. Click OK.
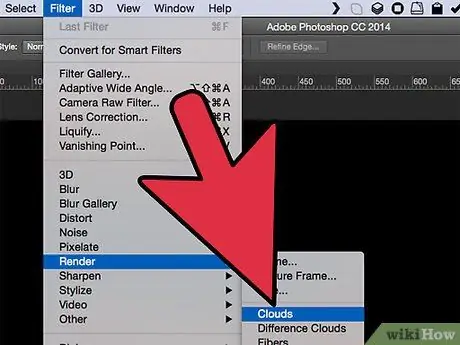
Step 3. Render the cloud
Select the '" Filter' " menu in the menu bar at the top and select the '" Render "' menu then select Clouds.
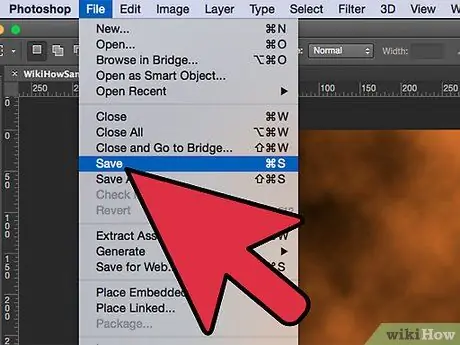
Step 4. Save your fire
This Filter option will perform a gaussian-style rendering of the cloud by blurring the foreground color and background color. Using different colors can produce interesting effects.
You want to know more? Take a look at the following advanced methods
Method 2 of 3: Adding Fire to the Text
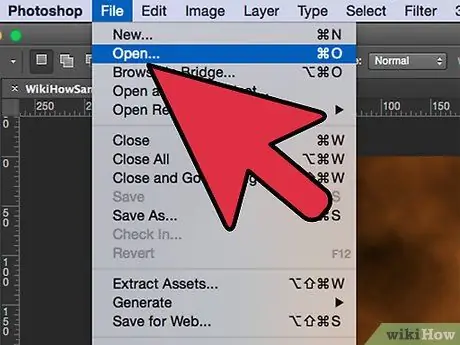
Step 1. Open a document with a text layer, or create a new one
For this example, we're using a simple black background that says "FIRE!" with Arial Black writing type on the second layer. The text must be on a different layer from the background layer.
If you are using an existing document, work on a copy of the original image
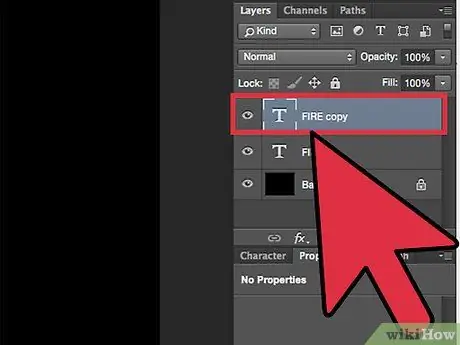
Step 2. Copy the text
Drag the original text layer onto the New Layer icon at the very bottom of the Layers window.
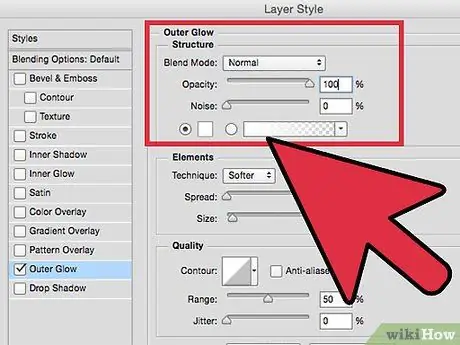
Step 3. Add Outer Glow
Once copied, click the Fx menu at the bottom of the Layers window, then select Outer Glow. In the Layer Style window that appears, change the glow color from yellow to white, then set the Opacity to 100%, as shown in the image:
Click the OK button. Your image should look like this:
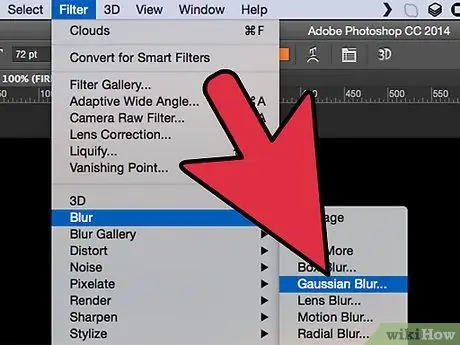
Step 4. Add a Gaussian Blur effect
On the menu Filter, choose Blur > Gaussian Blur… Photoshop will display a warning that this selection will rasterize the layer, and you won't be able to edit the original text if you choose to continue. Select OK on the warning, and set the blur to look like this:
Keep in mind that if your text layer is larger or smaller than the example we used, the actual Radius setting will be different. This example is done using type 72pt
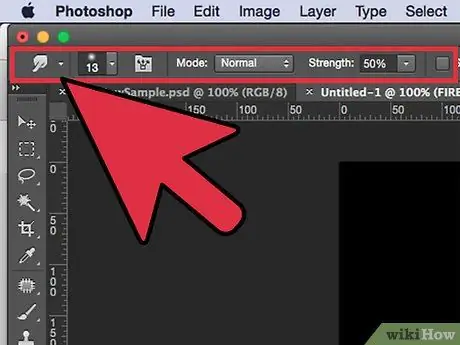
Step 5. Set up the Smudge Tool
Click the Smudge Tool (under the Gradient Tool), then click brush settings in the top menu. In the Smudge Tool settings window that appears, use settings like these:
With these settings, you will "draw" the fire. As with regular brushwork in Photoshop or other graphics software, the use of a tablet is recommended
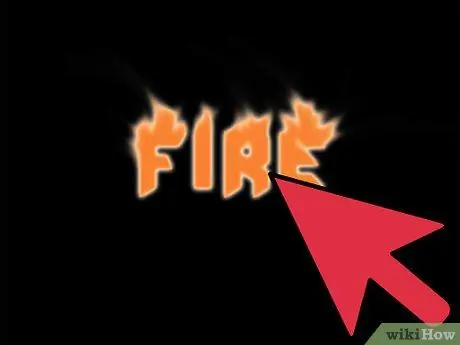
Step 6. Make embers
With the Smudge Tool, drag the brush from the inside of the letter to the outside, to give it the appearance of burning coals. Short, quick strokes will give the best results, and if you're using a brush, make different thicknesses based on the pressure:
When you're done, copy the smudged layer
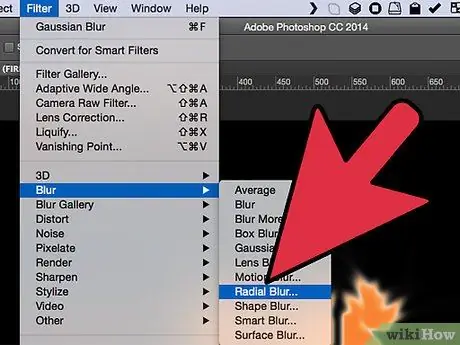
Step 7. Apply Radial Blur
On the menu Filter, choose Blur > Radial Blur…, then in the window that appears, make the following settings:
While the changes are subtle, they will give your fire additional explosive energy
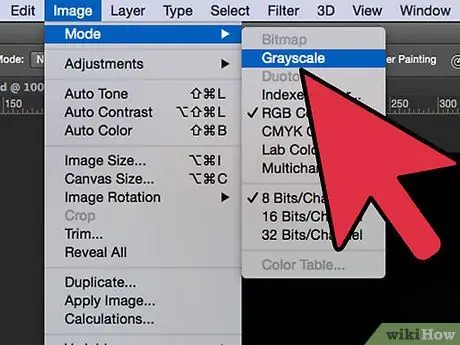
Step 8. Create a Grayscale image
On the menu Image, choose Grayscale. Again, Photoshop will display a warning that this option will flatten the image, and may affect your image. Click the button flatten to continue.
Step 9. Change it to Indexed Color
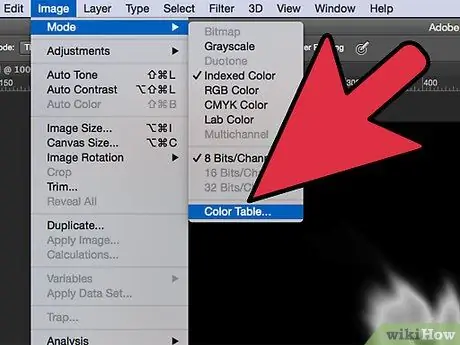
On the menu Image, choose Mode > Indexed Color. With the same steps and menu, choose Color Table.
In the menu at the top of the Color Table window, select Black Body
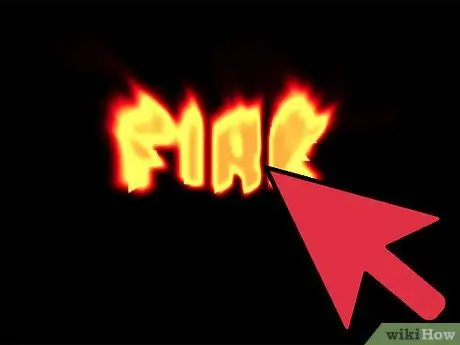
Step 10. Congratulations
You managed to make a fire! Your image should look like this:
Method 3 of 3: Melt Flame
Step 1. Open Adobe Photoshop
Set the foreground color to white, and the background color to black. A quick way to do this is to press the D key (Default color), and the X key (to switch the foreground and background colors).
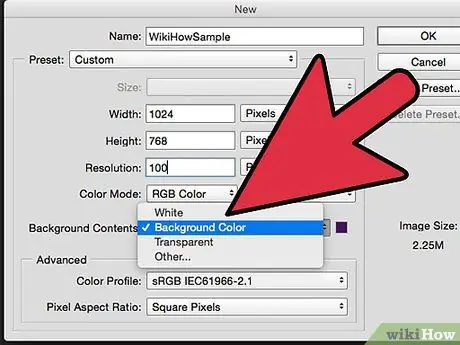
Step 2. Create a new image in Photoshop
Like the method above, set the Background Contents to Background Color.
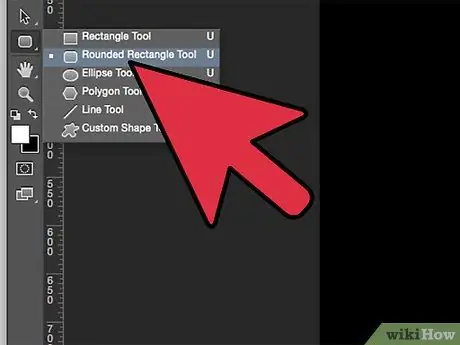
Step 3. Select the Rounded Rectangle by clicking the Shape Tool in the menu bar on the left side
Draw a rectangle in the center of the image.
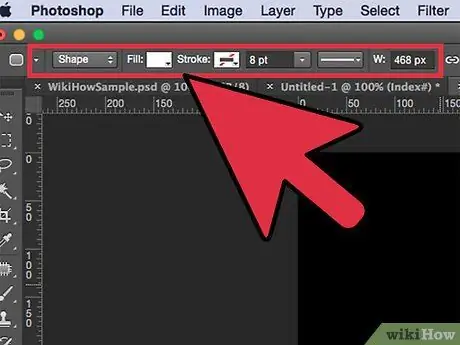
Step 4. Arrange the details of the shape
At the top of the window, select Fill, and choose white. Choose settings Line, and set it to none, as seen.
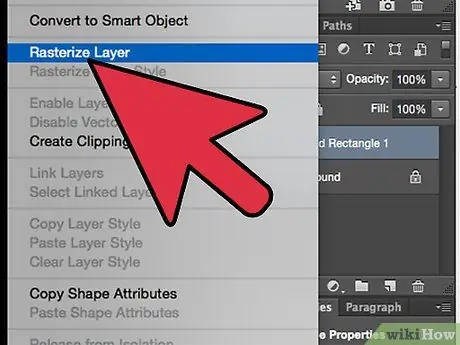
Step 5. Raster the layer
Right-click on the name of the new shape layer (by default, Rounded Rectangle 1), then select Rasterize Layer on the menu that appears.
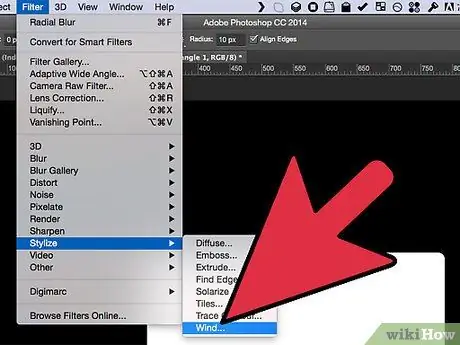
Step 6. Add wind
Make sure the shape layer is still selected. On the menu Filter, choose Stylize, then choose Wind.
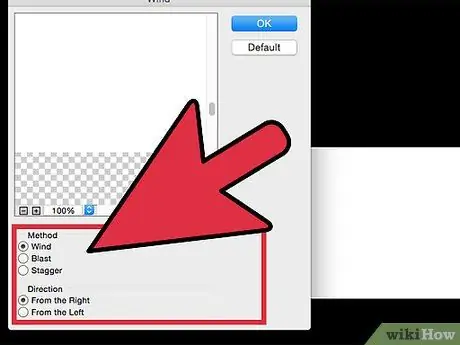
Step 7. Adjust Wind settings
Make the following settings in the Wind window: Wind and From the Right, then click OK.
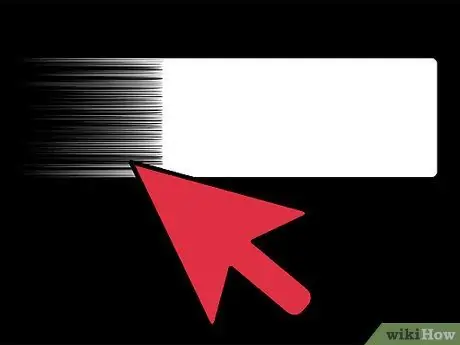
Step 8. Press Command + F (on PC:
Ctrl + F twice). This will add a Wind effect. Your rectangle should look like this:
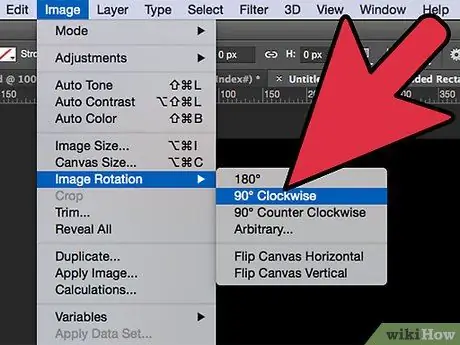
Step 9. Rotate the image
Click on menu Image, then Image Rotation, then 90° CW.
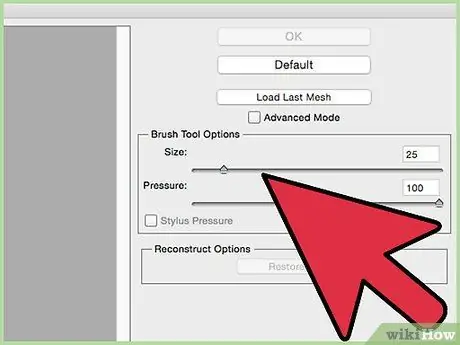
Step 10. On the Filter menu, select Liquify
A window will appear. Set the brush size to around 25, for now, then click and drag the line created with Wind to distort it to make the appearance look like embers. Set different brush sizes to create a more realistic look of the embers. Once you have done this, click OK.
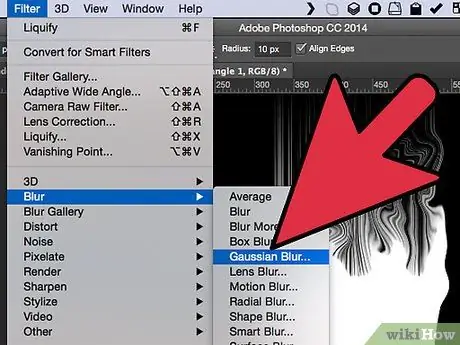
Step 11. Make the image blurry
Click on menu Filter, then Blur, then Gaussian Blur, then set the Radius to 1 pixel.
- Copy the layer twice. You can do this by dragging the first layer onto the New Layer icon at the very bottom of the Layers window, or pressing Command + J (on PC: Ctrl + J) twice.
- Make the top 2 layers invisible by clicking the eye icon next to them.
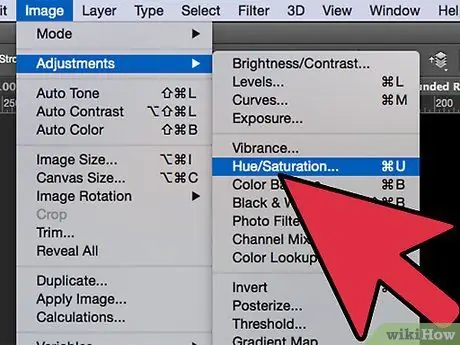
Step 12. Click the original rectangle layer (at the bottom)
In the Adjustments window, select the Hue/Saturation menu.
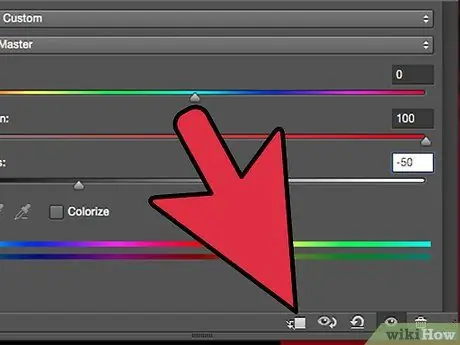
Step 13. Turn the Hue/Saturation layer into a clipping layer
Click the clipping layer icon at the bottom of the Adjustments window. This option will limit the effect on the Hue/Saturation layer to only the layer below it.
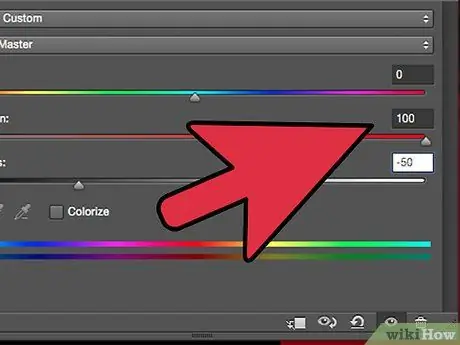
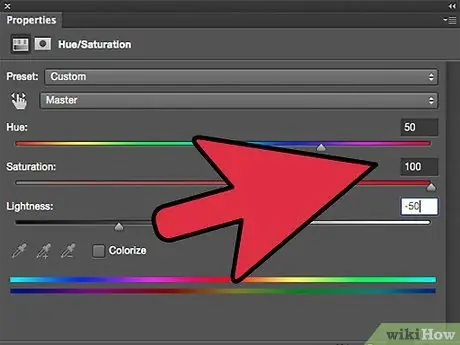
Step 14. Adjust the Hue/Saturation level as shown in the image above
Make sure to check the Colorize box first. Set the Hue to 0, Saturation to 100, and Lightness to -50, resulting in a rich red. The image will look like this:
Step 15. Reselect the top layer
Add back the Hue/Saturation setting on the layer as before, and adjust the clipping layer as you did for the layer below it. Change the Properties of the above layer settings with Hue to 50, Saturation to 100, and Lightness to -50. This will produce a yellow color.
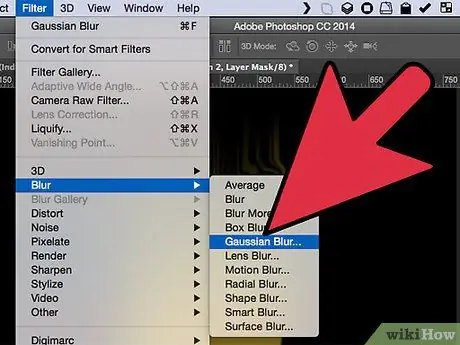
Step 16. Select the remaining white shape (middle layer)
Click Filter, then Blur, then Gaussian Blur. Set the Radius to 7 pixels. Now your image should look like this:
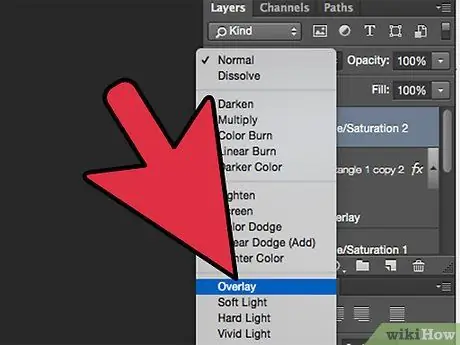
Step 17. Change the Overlay method
Select the top layer and change the layer type by clicking on the drop-down menu that usually says Normal, then choose Overlays.
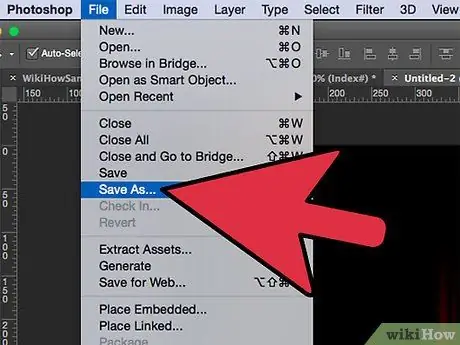
Step 18. Congratulate yourself
Your task is done, and your masterpiece is done!
Tips
-
On the manufacturing method from scratch
- A good size for backgrounds is 14 cm (5.5 in) x 14 cm (5.5 in). A size of 400 px by 400 px is also good.
- This method can also be used for writing.


