- Author Jason Gerald [email protected].
- Public 2024-01-19 22:11.
- Last modified 2025-01-23 12:04.
You can install an operating system from a flash drive and use it on a portable computer using Rufus (Windows) or Disk Utility (Mac). Regardless of the operating system you are using, you will need to prepare an operating system installation disc or image, and install the operating system to a USB drive. Don't forget to set the BIOS to start the computer from USB if you are using Windows, or change the startup disk if you are using a Mac.
Step
Method 1 of 2: Creating a Windows or Linux Bootable Drive with Rufus
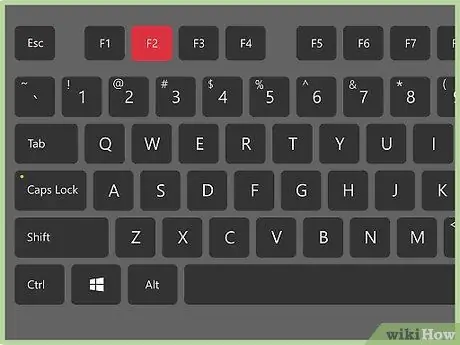
Step 1. Set the BIOS so that the computer starts from USB
BIOS (Basic Input/Output System) helps you manage the hardware in your computer. When turning on the computer, press a special key to access the BIOS (usually F2 or Del), and use the arrow keys to access the "Boot" tab. Move the USB option to the top of the list by pressing Enter, then select the “Save and Exit” option. Your settings will be saved, and the computer will restart.
The type of BIOS used in computers varies, depending on the type of your computer. Check the manufacturer's specifications for the correct BIOS access key
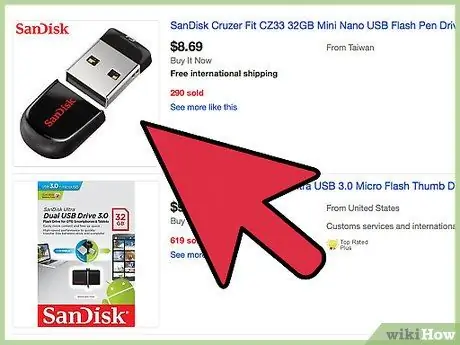
Step 2. Purchase a suitable USB flash drive
You may want to purchase a flash drive with a size of 16 GB and above. A USB 2.0 drive can still be used, but it is recommended that you use a faster USB 3.0 drive.
To store files other than the operating system on a USB drive, use a drive of 32GB or larger. The price difference between 16 GB and 32 GB drives is actually not that big, around IDR 50,000 - IDR 100,000
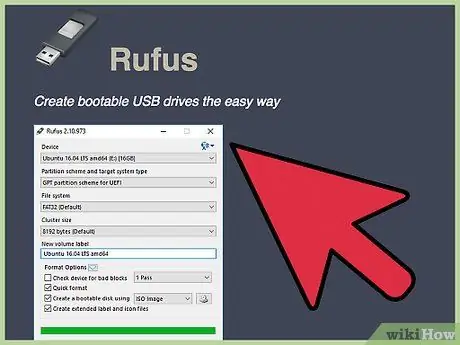
Step 3. Download the image of the operating system you want to use
The official Rufus website provides a list of links to download operating system images. This list of links is at the bottom of the page, under the heading "Non-exhaustive list of ISOs. Rufus is known to work with".
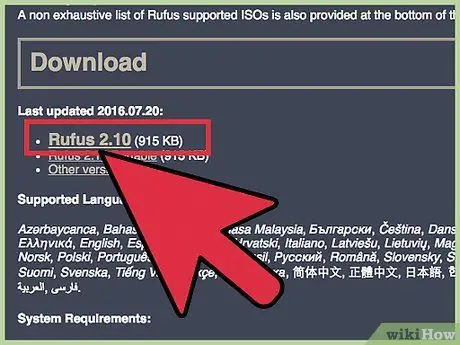
Step 4. Download and install Rufus
Rufus is a standalone program that does not need to be installed. After downloading Rufus, you can open it right away.
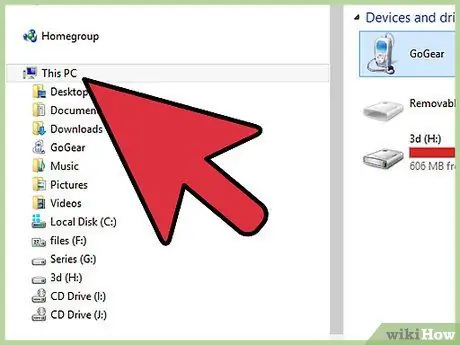
Step 5. Connect the USB drive to the computer
The drive will appear in the “This PC” window.
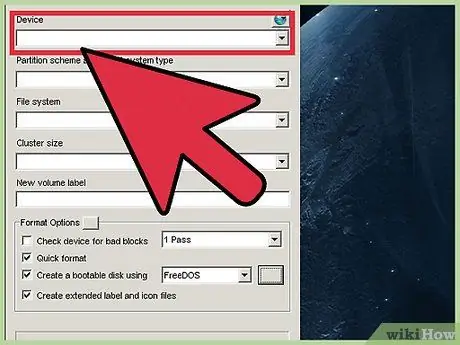
Step 6. Click the "Device" menu, then select the USB drive from the list
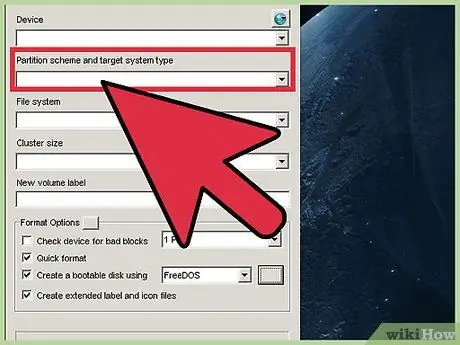
Step 7. Click the "Partition Scheme" menu, then select "MBR for BIOS or UEFI". MBR (Master Boot Record) is an old drive structure that is still commonly used on Windows computers.
You can select the GPT (GUID Partition Table) option, which is a newer drive structure. However, you may encounter compatibility issues when installing some operating systems
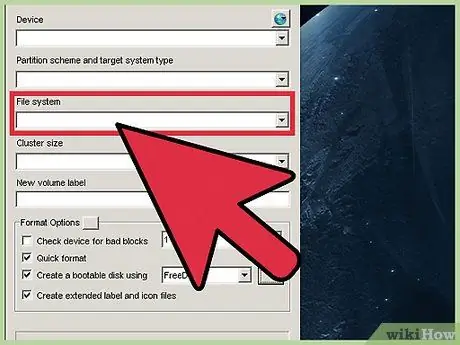
Step 8. Click the "Filesystem" menu, and select the appropriate file system
Use "NTFS" if you are installing Windows to a drive, or use "exFAT" if you are installing Linux.
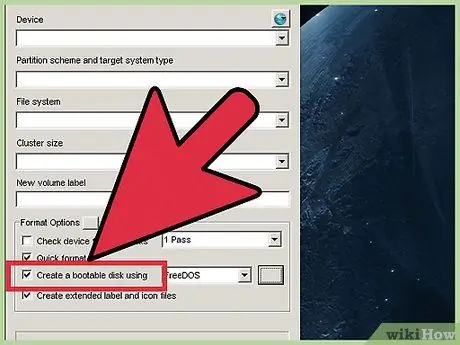
Step 9. Check the “Create Bootable Disk” checkbox under the “Format Options” heading
This option lets you select an ISO to create a bootable drive. An ISO image is a digital file that holds the contents of a drive. In this case, the ISO image contains the operating system you want to install.
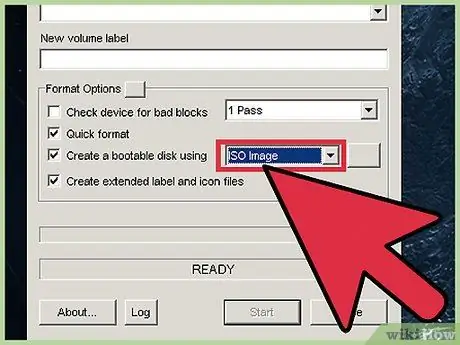
Step 10. Select “ISO image” from the menu to the right of the checkbox
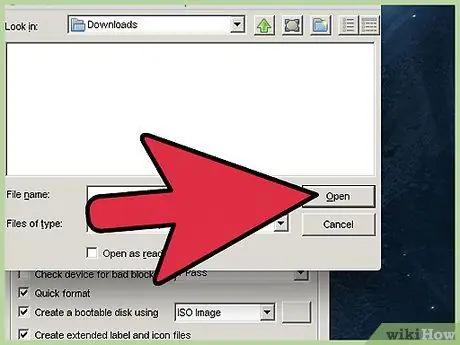
Step 11. Click the drive icon next to the "ISO Image" menu, then select the ISO image you downloaded
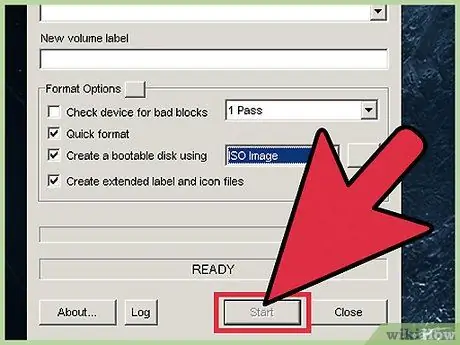
Step 12. Click “Start”
The process progress bar will appear. You will get a notification once the process is complete.
Note: This format process will erase the entire contents of the USB drive. If you have data on a USB drive that you want to back up, first copy the data to your computer before formatting the drive
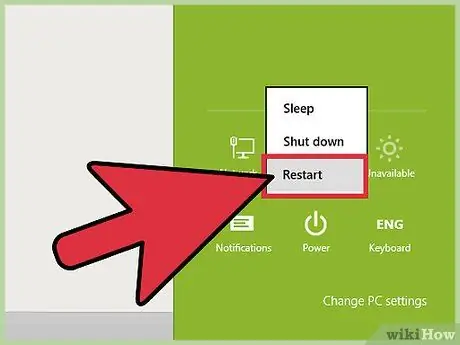
Step 13. Restart the computer to test the USB drive
After enabling the boot via USB option, your computer will start from the USB drive containing the operating system image.
Some types of BIOS have a separate menu for selecting a startup drive. This menu can be accessed via a key that is different from the key to access the BIOS. If you're having trouble starting your computer via USB, check your computer's specifications to determine which button to press
Method 2 of 2: Installing macOS/OSX to a Portable Drive
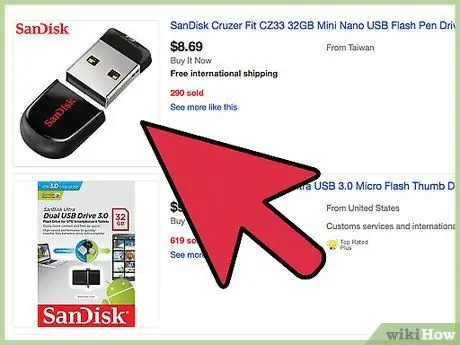
Step 1. Prepare a drive of sufficient size to accommodate OS X
To install OS X, you need a drive that is at least 16 GB in size. A USB 2.0 drive can still be used, but it is recommended that you use a faster USB 3.0 drive.
To store files other than the operating system on a USB drive, use a drive of 32GB or larger. The price difference between 16 GB and 32 GB drives is actually not that big, around IDR 50,000 - IDR 100,000
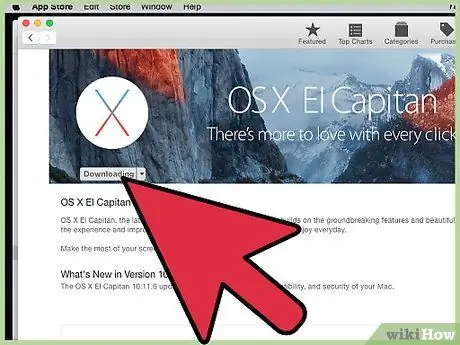
Step 2. Download the OS X installation file from the App Store
Find the version of macOS/OS X you want to install, then click "Download". Once the download is complete, the installation file will be saved in the Applications folder.
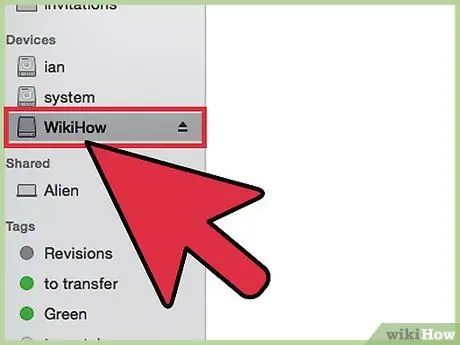
Step 3. Connect the USB drive to the computer
The drive will be linked automatically, and its icon will appear on the desktop.
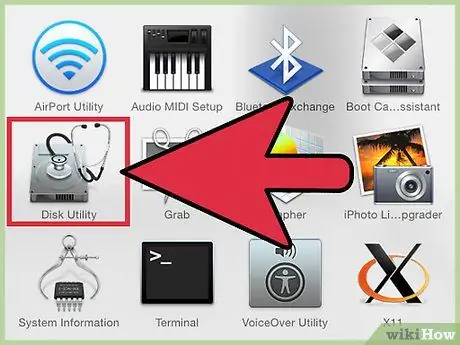
Step 4. Click “Applications > Utilities”, then open Disk Utility
This program is used to manage and customize drives. Your USB drive will appear on the left side of the window.
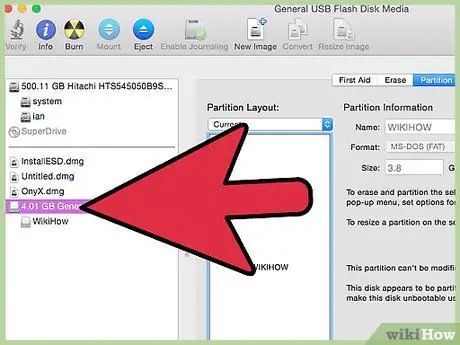
Step 5. Select the USB drive from the list, then click the "Partition" tab under the menu bar
This function is useful for dividing a drive into several parts. This tab contains options for formatting the USB drive and setting it to a bootable drive.
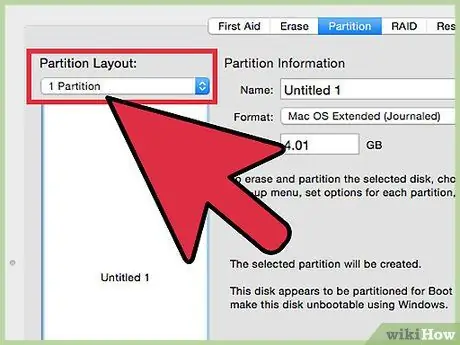
Step 6. Open the "Partition Layout" menu, then select "1 Partition"
A single partition will maximize the storage space for the operating system.
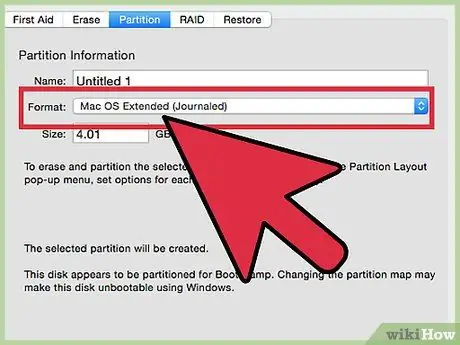
Step 7. Open the "Format" menu, then select "Mac OS Extended (Journaled)"
This format is required so that the operating system can be run from the drive.
Note: This format process will erase the entire contents of the USB drive. If you have data on a USB drive that you want to back up, first copy the data to your computer before formatting the drive
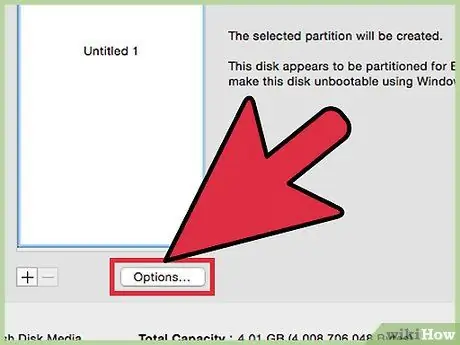
Step 8. Click "Options …" under the partition table. You will see options for the selected drive.
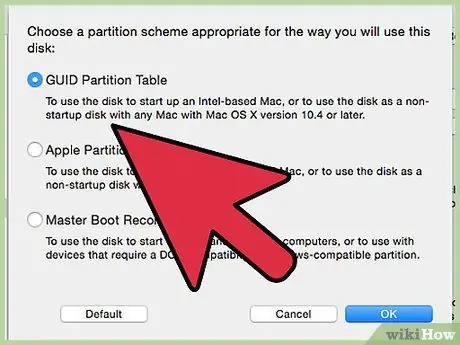
Step 9. Select “GUID partition table” and click “OK”
This partition scheme is required so that the operating system can be run from the drive.
Other options can be used to create a bootable drive for a PowerPC or Windows computer, but modern versions of OS X/macOS will not work correctly on most non-Mac computers
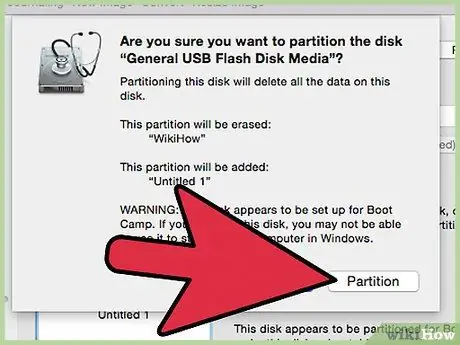
Step 10. Click "Apply", then click "Partition" from the "pop-up" window
The formatting and partitioning progress bar will appear. The formatting process will take a few minutes. Once done, the progress bar will disappear.
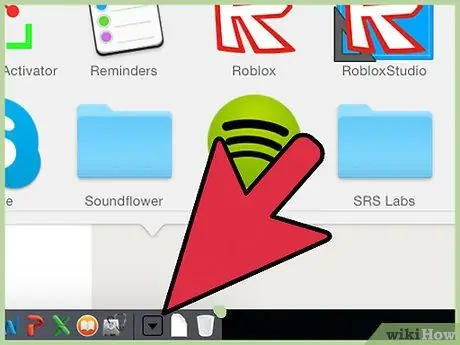
Step 11. Open the OS X/macOS installation application in the Applications folder
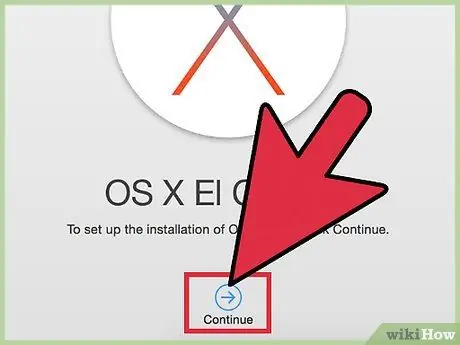
Step 12. Click “Continue” to start the installation process
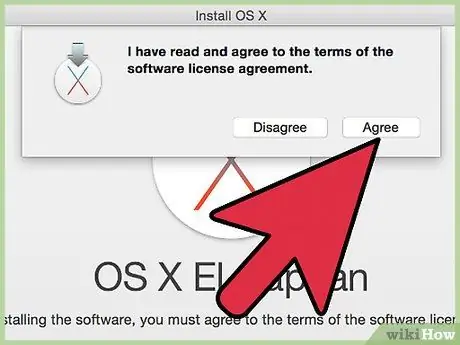
Step 13. Click "Agree", then click "Agree" again in the pop-up window to agree to the license information that appears
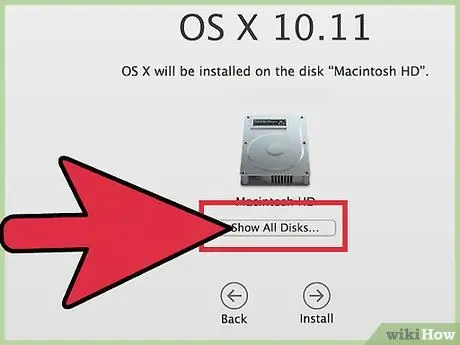
Step 14. Click “Show All Disks”
Now, you can select the drive where the operating system is installed.
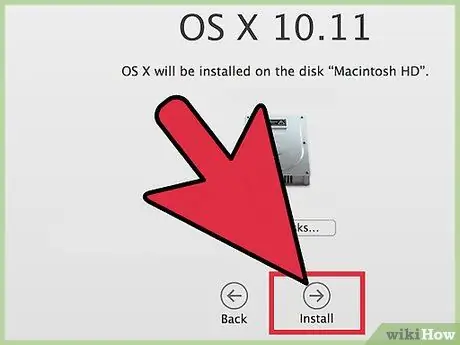
Step 15. Select the USB drive from the list of drives, then click "Install"
The installation process will begin, and will take about 30 minutes. Once the installation is complete, you will be prompted to set up the newly installed operating system.
You may be asked to enter your account information on your computer after clicking "Install" to confirm the action
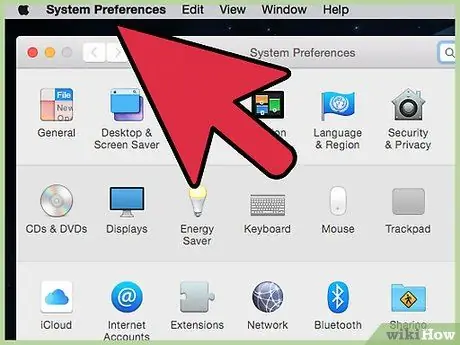
Step 16. Enter the initial information required by the operating system
You will be asked to enter a new username and password, location, and Wi-Fi information to set up the new operating system. Once done, the computer will start from the USB drive.
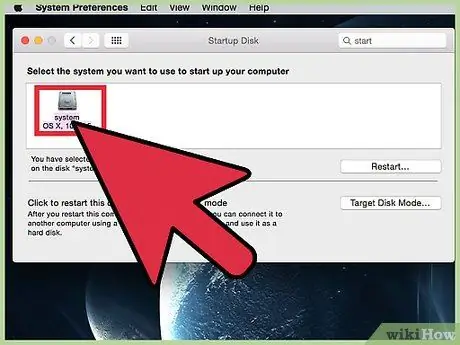
Step 17. Click “Applications > System Settings” and select “Startup Disk”
Make sure you change the startup disk to the computer's internal drive so that the computer does not have problems when you remove the USB drive.
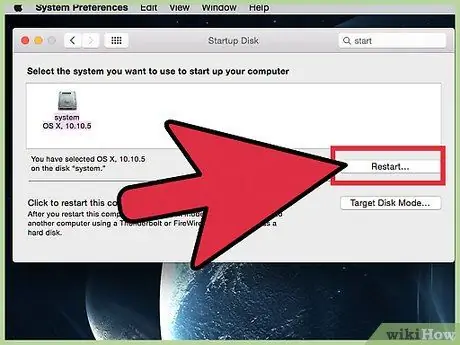
Step 18. Select the computer's internal drive, then click "Restart"
The computer will start from the internal drive, and you can unplug the USB drive.


