- Author Jason Gerald [email protected].
- Public 2023-12-16 10:50.
- Last modified 2025-01-23 12:04.
This wikiHow teaches you how to check the condition of the solid-state drive (SSD) on a computer running Windows or Mac. On Windows, you can check the condition of the SSD using a third-party program. If you're using a Mac, you can use the Disk Utility tool built into your Mac.
Step
Method 1 of 2: Checking SSD Condition in Windows
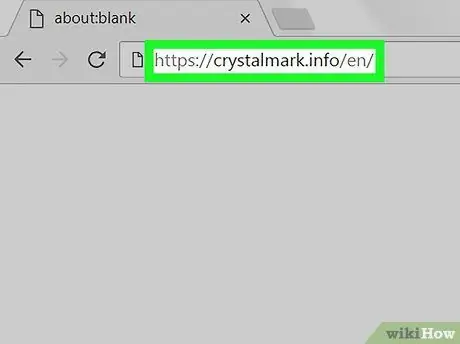
Step 1. Open https://crystalmark.info in your browser
In your browser, open the CrystalMark website, which provides a program that can be used to check the condition of the SSD.
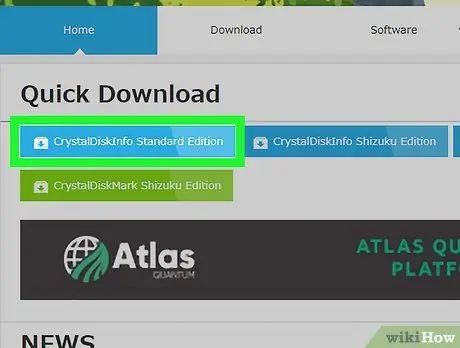
Step 2. Click the CrystalDiskInfo Standard Edition option
This option is the first option under the "Quick Download" text. Clicking on it will open a download page which will start the download process. If the download process doesn't start automatically, click the blue link with the text "CrystalDiskInfo7_5_2.exe" in the middle of the page.
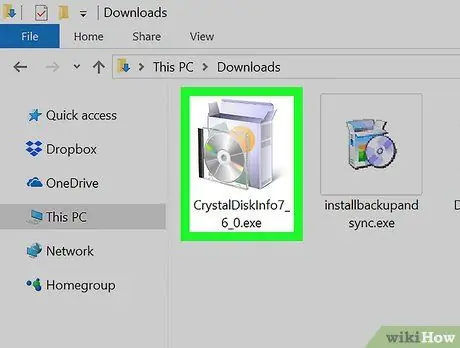
Step 3. Open the installer file
Double-click the downloaded installer file to start the program installation process. The full name of the file is "CrystalDiskInfo7_5_2.exe".
- Usually downloaded files can be found in the " Downloads " folder.
- Click button YES to allow the installer files to make changes to the computer if prompted.
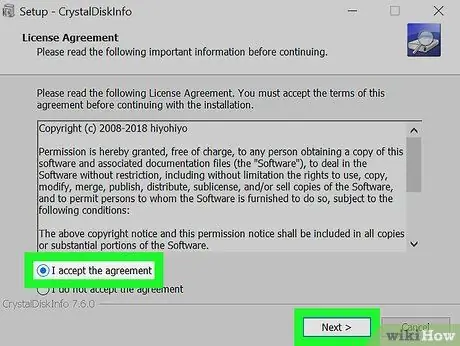
Step 4. Click the "I accept the agreement" option and click the Next button
You can read the entire text of the license agreement if you wish. After that, click the button next to the text "I accept the agreement". Click the "Next" button when you are ready to proceed.
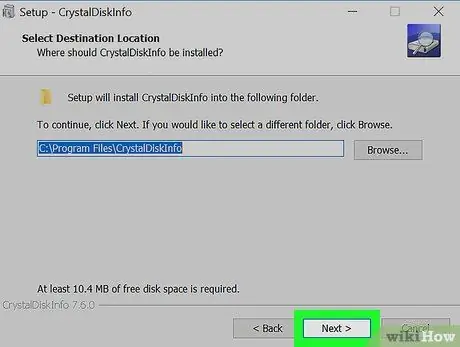
Step 5. Click the Next button
Clicking on it will install the CrystalDiskInfo program in the default location listed in the text field. If you want to change the location where the program is installed, click the button Browse and select a different location.
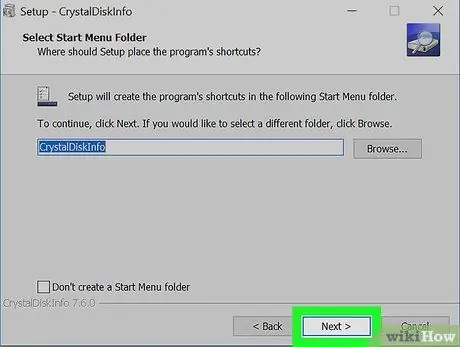
Step 6. Click the Next button
This will create a program folder in the Start menu. You can change the default name written in the text field to rename the program folder in the Start menu.
You can also check the "Don't create a Start Menu folder" box if you don't want to create a program folder in the Start menu
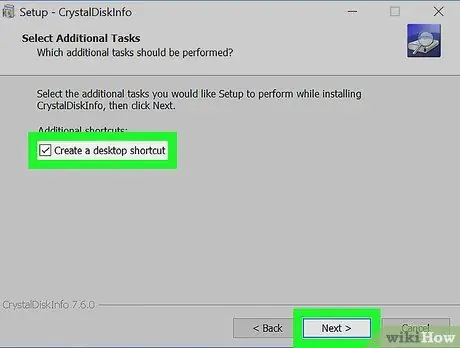
Step 7. Check or uncheck the "Create desktop shortcut" box and click the Next button
This action will create a shortcut on the desktop. If you don't want to create a shortcut on the desktop, uncheck the box and click the "Next" button.
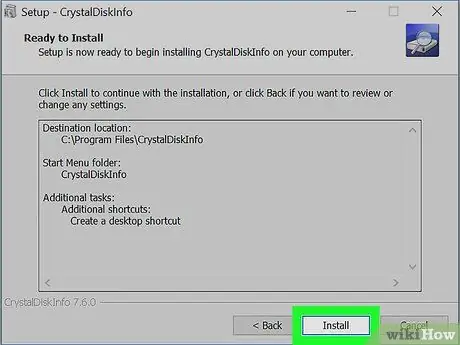
Step 8. Click the Install button
This will start the program's installation process which takes less than a minute.
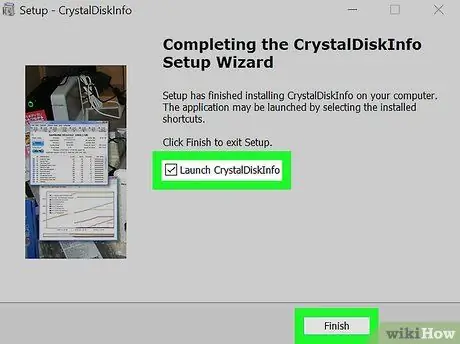
Step 9. Run the CrystalDiskInfo program
When the CrystalDiskInfo program has finished installing, make sure the "Launch CrystalDiskInfo" box is checked and click the button Finish to run the program. You can also double-click a program shortcut on the desktop or in the folder where the program is installed to run it.
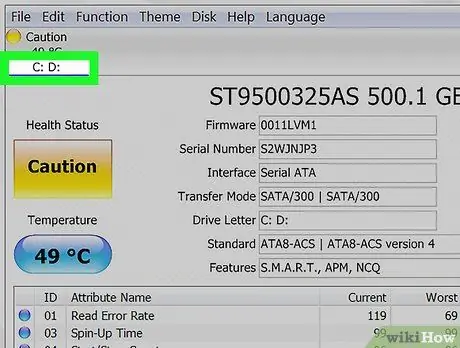
Step 10. Select SSD
All hard disks installed in the computer will be displayed at the top of the program. Click the SSD you want to check and see its status in the "Health Status" section. If the SSD is in good condition, the word "Good" will be displayed in the window followed by the SSD status percentage (100% is the highest SSD status percentage).
If the text " Caution " is displayed in the window, the SSD may have corrupted sectors indicating that the SSD is damaged
Method 2 of 2: For Mac
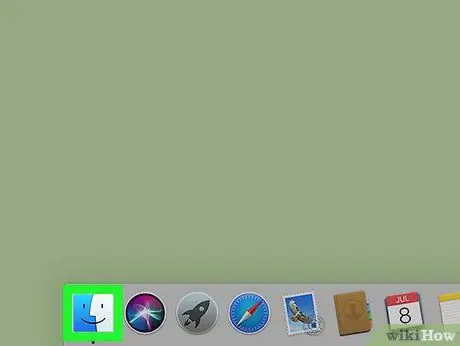
Step 1. Open a Finder window
The app icon is a smiling face icon and is blue and white. It's in the lower-left side of the Dock on a Mac. Clicking on it will open a Finder window that will allow you to search for folders and files stored on your Mac.
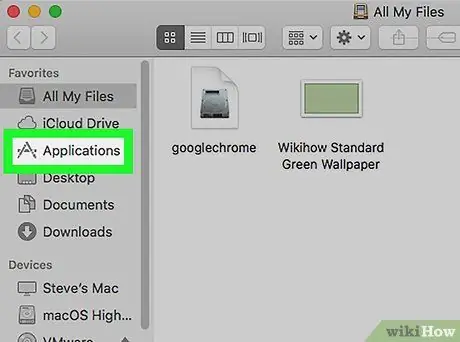
Step 2. Click the Applications option
It's in the left column of the Finder window.
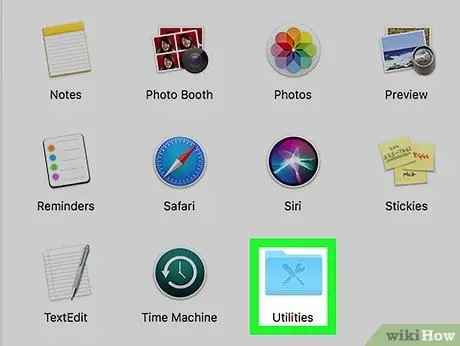
Step 3. Double-click the Utilities folder
This folder is blue and contains a picture of a screwdriver and a wrench. It's at the bottom of the window.
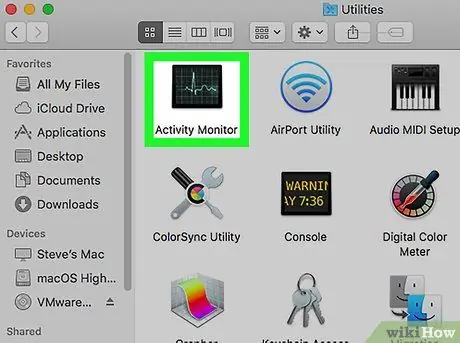
Step 4. Double-click the Disk Utility option
The icon for this app is a hard disk and a stethoscope. The application displays information on the hard disks installed on the Mac.
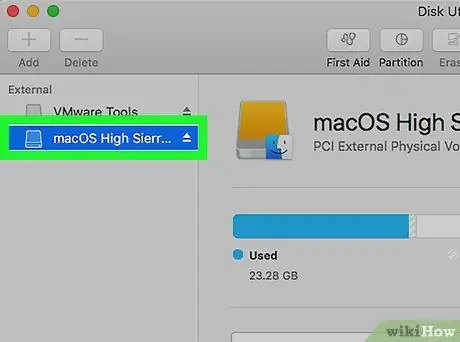
Step 5. Select the SSD
All of the hard drives installed on your Mac will appear on the left side of the window. Click SSD to select it.
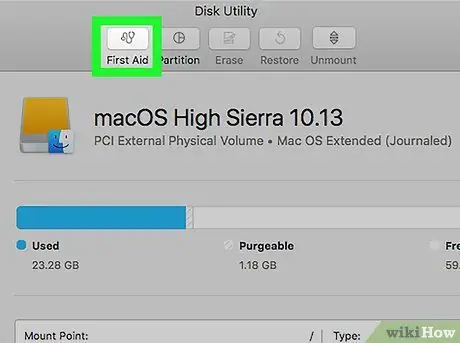
Step 6. Click the First Aid tab
This tab icon is at the top of the screen and looks like a stethoscope. After that, a pop-up window will appear on the screen asking if you want to run First Aid on the SSD.
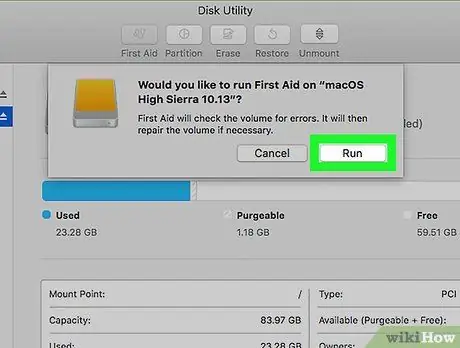
Step 7. Click the Run button
It's in the bottom right of the pop-up window.
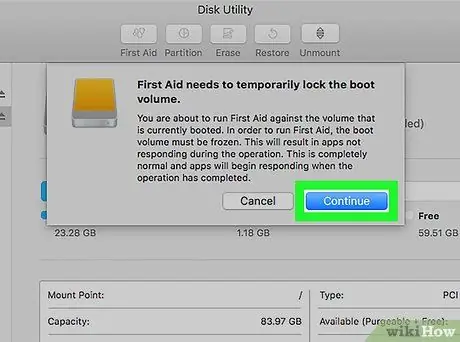
Step 8. Click the Continue button
If you run First Aid on the boot disk (the hard disk that contains the operating system), the boot volume and other applications will temporarily stop working until the scanning process is complete.
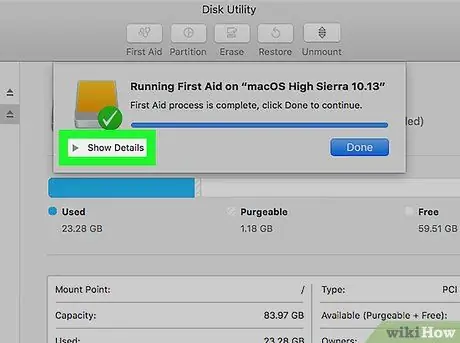
Step 9. Click the Show Details option
Clicking on it will display a report on the problems found in the SSD. A message in red indicates that a problem has been found with the SSD. The last message will tell whether the SSD needs repair or not.
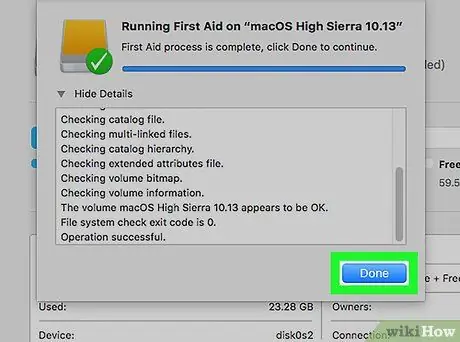
Step 10. Click the Done button
It's blue and in the lower-right side of the First Aid report window. Clicking on it will close the First Aid pop-up window in the Disk Utility application.


