- Author Jason Gerald gerald@how-what-advice.com.
- Public 2023-12-16 10:50.
- Last modified 2025-01-23 12:04.
SD cards, or Secure Digital, are used to store and transfer information between digital cameras, cell phones, PDAs, and small computers. Sometimes, the SD card can get corrupted, or the files on it may be accidentally deleted. If you lose files on your SD card, you can use a free file recovery program to restore them.
Step
Method 1 of 2: Using PhotoRec for Mac and Windows

Step 1. Visit PhotoRec Wiki, or this link
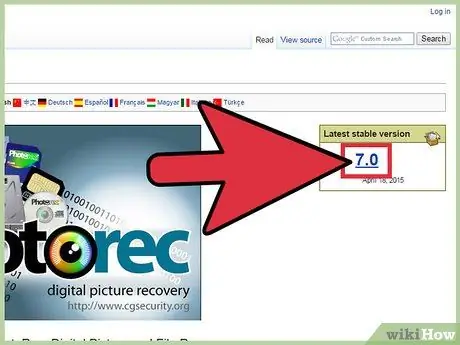
Step 2. Find the Latest Stable Version box, then click “7.0”
It's in the top-right corner of the page.
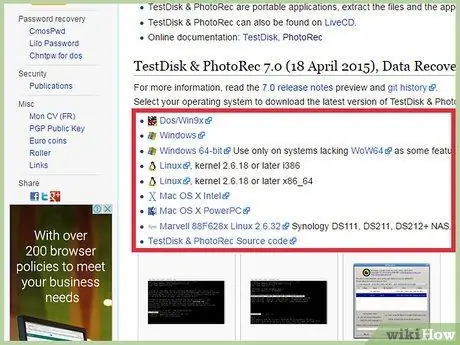
Step 3. Scroll through the page until you find “TestDisk & PhotoRec 7.0”, then click the appropriate version of PhotoRec for your computer
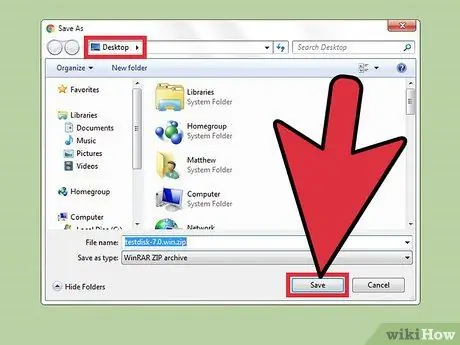
Step 4. Download the PhotoRec ZIP file to your computer
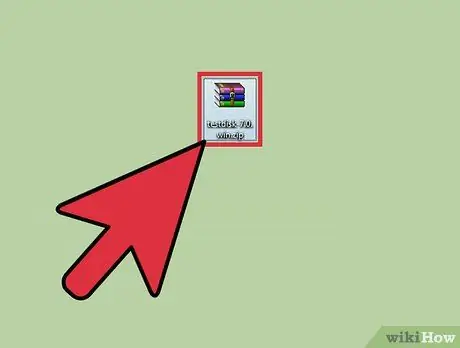
Step 5. Double click on the file to extract it
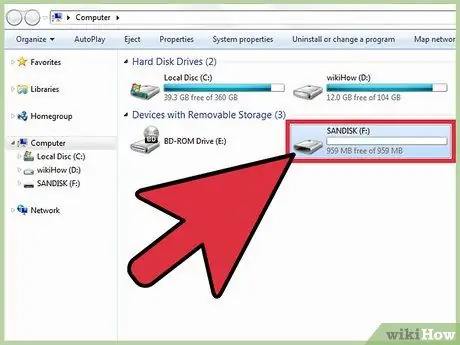
Step 6. Insert the SD card into the computer
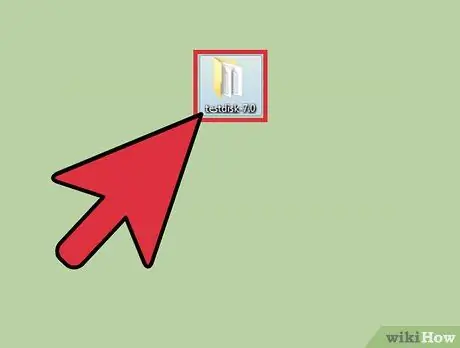
Step 7. Open the testdisk7.0 file to open it
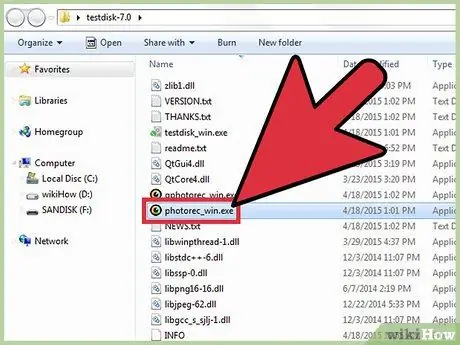
Step 8. Double click “Photorec” to open the program
The command line window will display Photorec.
If prompted, grant permission to run the program
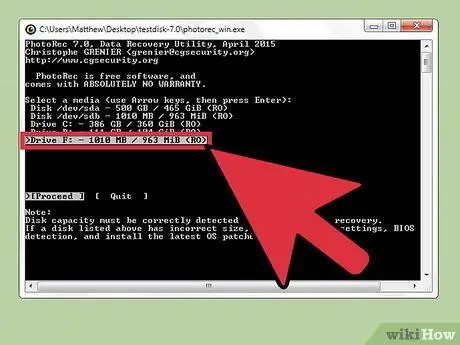
Step 9. Select your SD card or drive, then press Enter
Use the arrow keys to navigate the program because you cannot use the mouse in a command line window.
You will see several options on the screen. Pay attention to the size of the drive that appears, then select the one that is the same size as your SD card
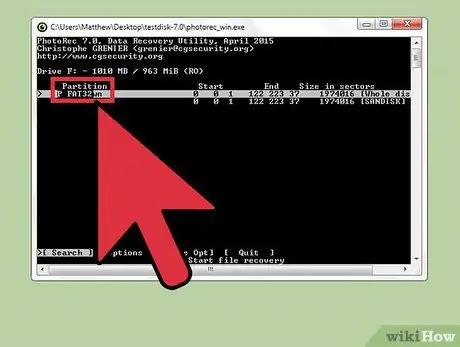
Step 10. Select the partition type, then press Enter
If you are using a Mac, select “P Fat16 >32”, and if you are using Windows, select “P Fat32”. This option allows the program to scan the system directory on the SD card.
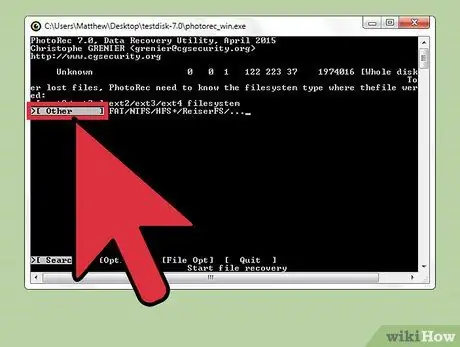
Step 11. Select the file system type [Other] then press Enter
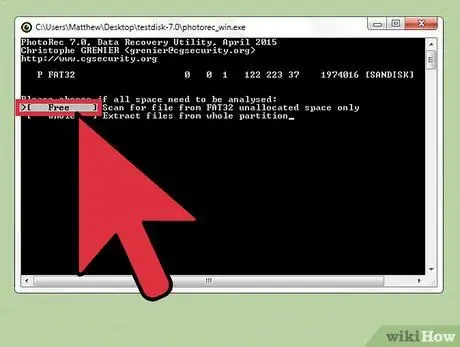
Step 12. Select Free to search for files on a Fat16 or Fat32 system
Select Whole if your SD card is corrupted
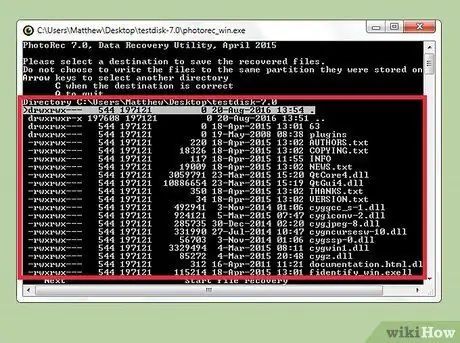
Step 13. Use the arrow keys to select the location to save the recovered files
- You can also create a new folder to store files.
- Do not save files to the SD card.
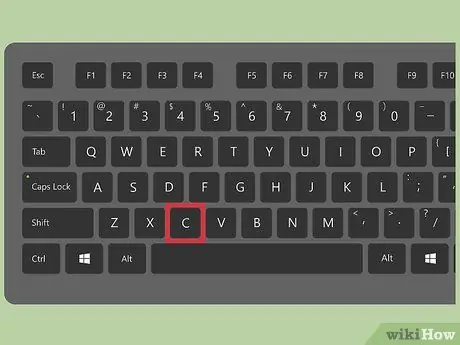
Step 14. Press C after selecting the file storage location
The file recovery process will begin.
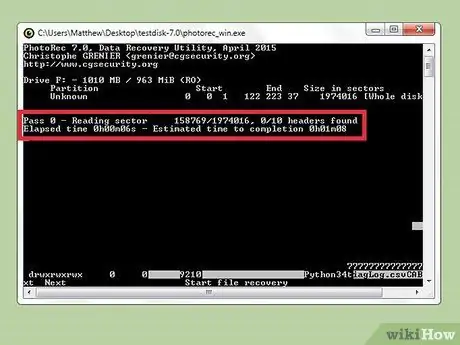
Step 15. Wait for the recovery process to complete
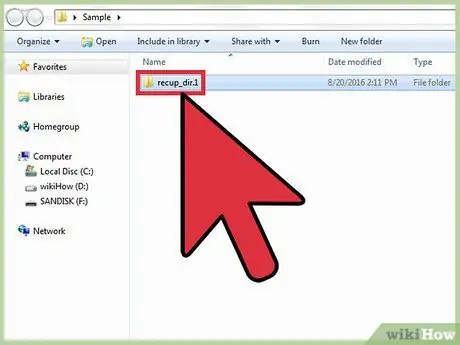
Step 16. To view the recovered files, open the folder where you saved them
Method 2 of 2: Using Recuva for Windows

Step 1. Visit the official Recuva website, or this link
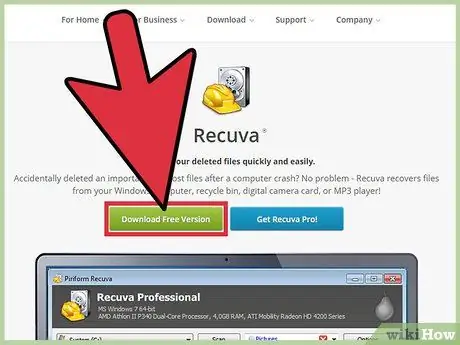
Step 2. Select Download Free Version, then click Free Download
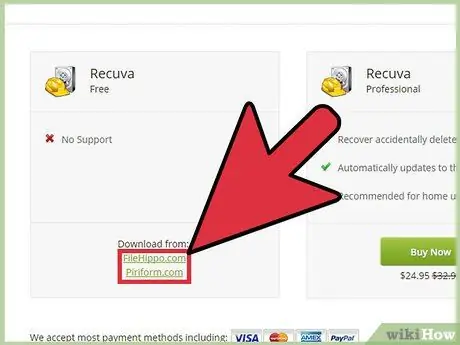
Step 3. Click FreeHippo.com or Piriform.com
You will be taken to the selected site, and the download process will begin.

Step 4. Click the downloaded file to open it
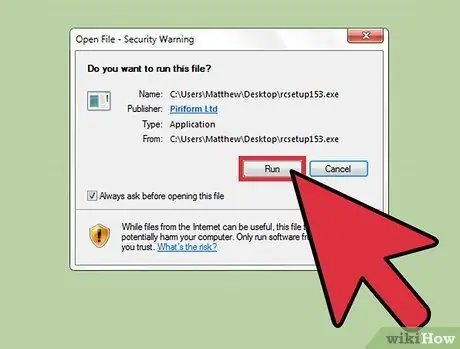
Step 5. Select Run
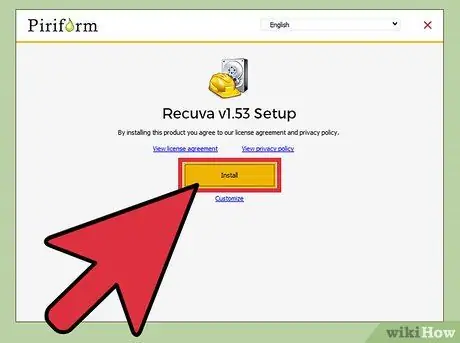
Step 6. Install Recuva by following these steps:
- Click OK.
- Click Next.
- Read the license agreement, then click I Agree.
- Click Install.
- Uncheck the View Release Notes option, then click Finish. The program will open automatically.
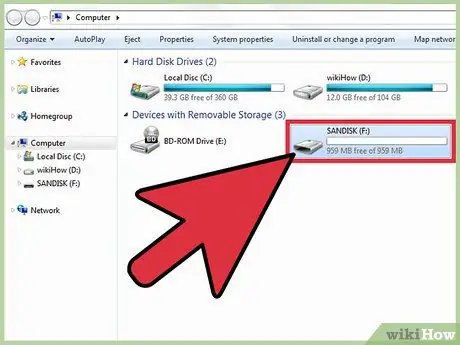
Step 7. Insert the SD card into your computer
If you are prompted to format the SD card, select the Quick Format option, then click Start. The contents of the SD card will be erased, but the data on it will remain intact.
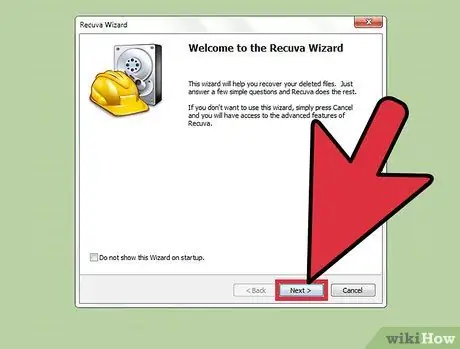
Step 8. Open Recuva, then click Next to close the Welcome screen
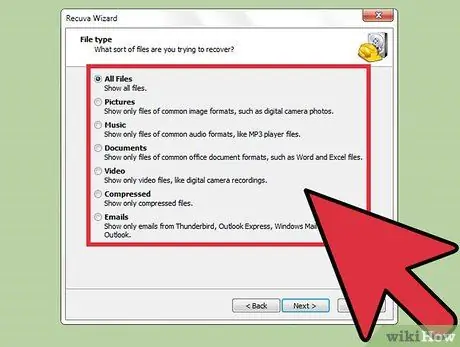
Step 9. Select the file types you want to recover, then click Next
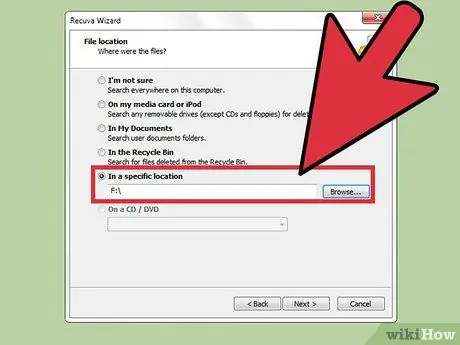
Step 10. Select your SD card
Click In a specific location, then select Browse. Scroll through the list on the screen, then click Removable Disk. If necessary, select DCIM. After that, click OK, and click Next.
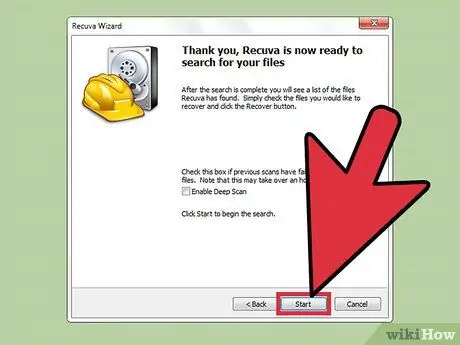
Step 11. Click Start to run the program
The file recovery process will appear on the screen.
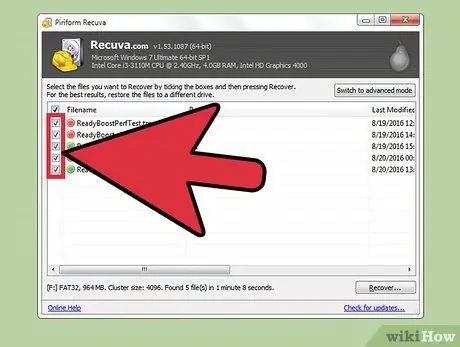
Step 12. Check the checkboxes for the files you want to recover
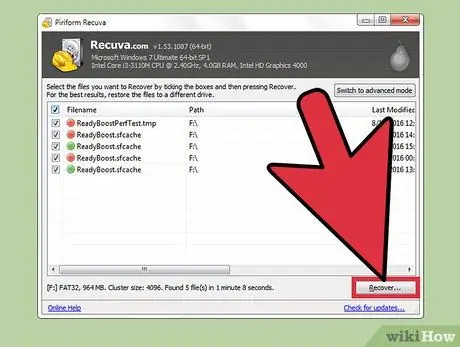
Step 13. Click Recover
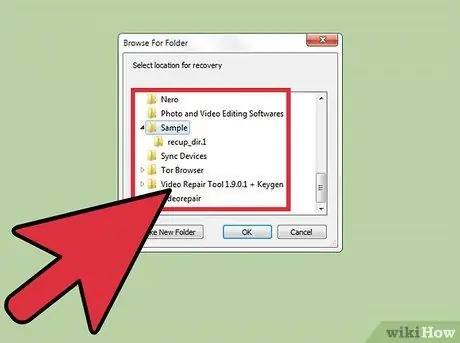
Step 14. Select the location to save the recovered files, then click OK
The recovered files will be saved in the location you selected.
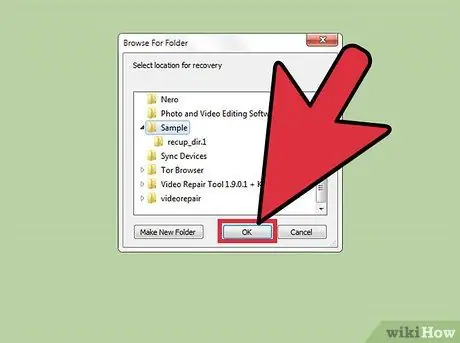
Step 15. Once the restore process is complete, click OK
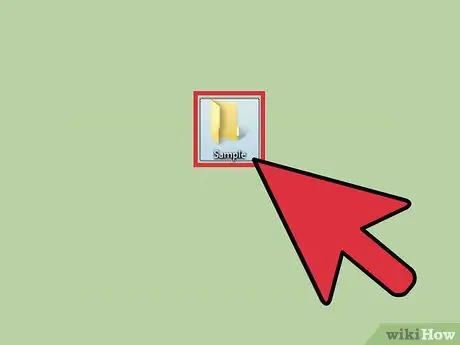
Step 16. To view the recovered files, open the folder where you saved them
Warning
- If you remove the SD card carelessly, the data on it may be corrupted.
- Make sure that the computer you are using to recover files is free of viruses or other suspicious programs.


