- Author Jason Gerald [email protected].
- Public 2023-12-16 10:50.
- Last modified 2025-01-23 12:04.
Photoshop has dozens of ways to mix colors. Try the methods you think will suit your goals. With practice, you can get used to the effects of each tool, and can mix and match colors to create unique styles.
Step
Method 1 of 2: Setting the Mix Mode
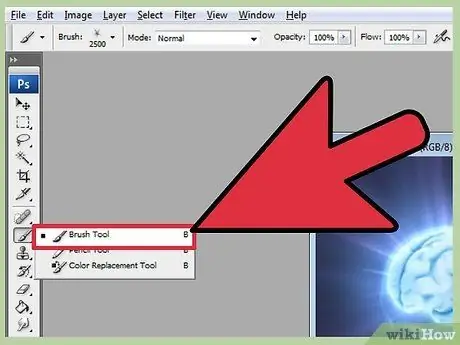
Step 1. Adjust the brush tool (optional)
Select the brush or pencil tool in the tools panel on the left of the screen. Open the brushes palette by using the Window → Brushes button in the top menu, or by clicking the mark that looks like a sheet of paper, above the options bar. Adjust the size and shape of your brush tool to your project
- It's okay to use the built-in brushes if you're new to Photoshop. You'll notice if the brush is too big or too small, and you can always return to this menu to make changes.
- Choose a “hard edge” for full control when using the brush, or a “soft edge” for a brush with more blended strokes.
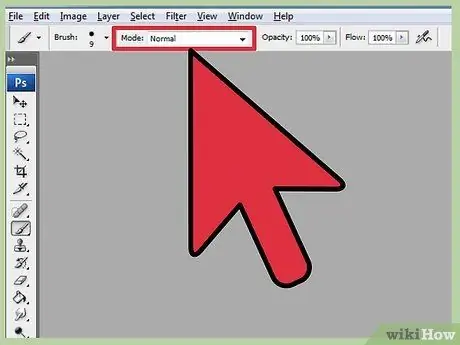
Step 2. Look for the mixed mode option
If you've selected a brush or pencil, you can activate blend mode using the drop-down menu above the options bar. Each of these modes uses a different formula to mix a new color into an existing color on the canvas. The most common options are described below.
- In some versions of Photoshop, you can change the blend mode from the brush palette.
- Older versions of photoshop may not have mix mode
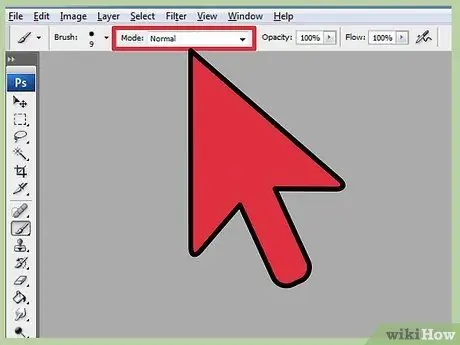
Step 3. Choose normal mode to keep the colors separate
In normal mode, Photoshop won't mix the colors at all. When you use the brush tool, the blended color will completely cover the color underneath. When you use the Edit Tool, your edits will mask the existing color. You probably won't be using this for blending, but it's a good idea to understand how the software's built-in blend mode works.
This is called Threshold when working with bitmap or indexed-color images. In this case, the resulting color will be the closest and most likely color in the color map
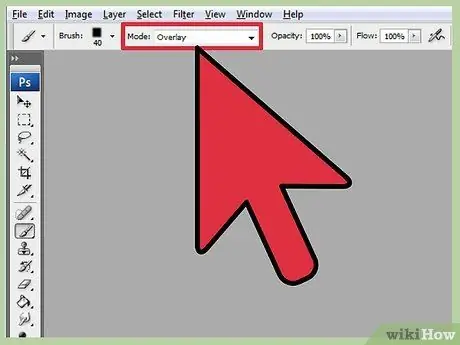
Step 4. Blending in Overlay mode
This blend mode is very popular because it can make light areas lighter and dark areas darker. The end result is an image with more visible highlights and shadows, and fixes the issue where the image has over or underexposure.
If you are interested in the details of the technique, use the Multiply and Screen formulas described below
Step 5. Darken the base color
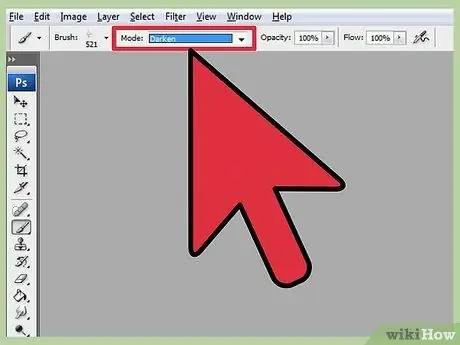
There are several ways to darken colors, each of which works differently:
- In Darken mode, each red, green and blue pixel will be compared to the new color you add. For every three comparisons, the darkest value will be the final image.
- In Multiply mode, each brush stroke is “multiplied” by the new color and base color caption. You can keep adding brush strokes, making the result darker.
- Darker Color mode works similarly to Darken mode, but it compares two pixels as a unit regardless of the Red, Green Blue (RGB) values. Each pixel will remain the old color, or a new color depending on which one is darker.
- Linear Burn mode will darken all colors, but tends to make more areas of the color blacker and darker than other modes.
- The Color Burn mode is similar to Linear Burn for dark colors, but the effect is less noticeable in light colors. The result is greater contrast and saturation.
Step 6. Describe the picture
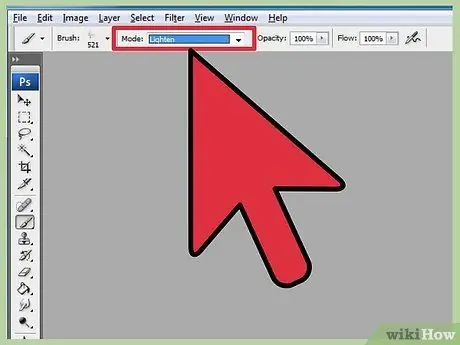
Each method of darkening an image has an inverse formula for lightening an image:
- In Lighten mode, the red, green, and blue values of the base color and the blend color are compared. Lighter values in mixed colors are used to lighten the image.
- Use Screen mode to make anything darker than white less visible.
- Use a Lighter Color to completely replace the dark areas with a blended color.
- Linear Dodge (Add) adds two colors together. If both colors are white, the result will be completely white. If the two colors are black, then there will be no change.
- Color Dodge has less effect on dark colors, making for greater contrast.
Step 7. Modify the foreground color and background color
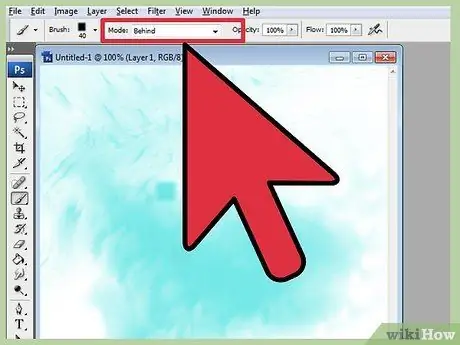
Behind and Clear modes can be activated on layered images. If you select Behind mode, a color will be placed behind the layer and shown only in transparent areas. Clear mode is essentially an eraser, making all pixels in front of the background transparent.
Step 8. Adjust the captions with the Difference mode
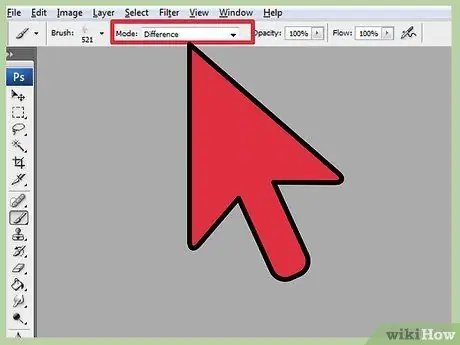
This mode will compare the caption values in the base and mix the colors, creating a value result by dividing the small value by the large value. This will bring the highlight closer to the blended color, either when it is darker or lighter than the base color.
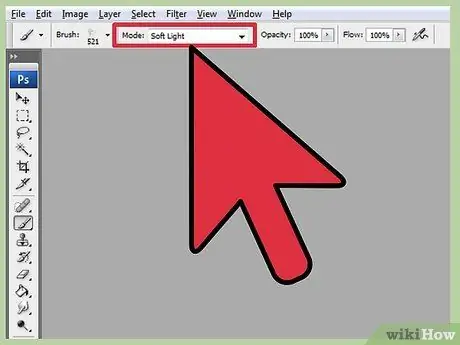
Step 9. Undo the color with Subtract or Divide
Mathematically, these two features do exactly what you would expect to two color values. In practical terms, this means that the same two colors will go more towards black when you use Subtract, and more to white when you use Divide.
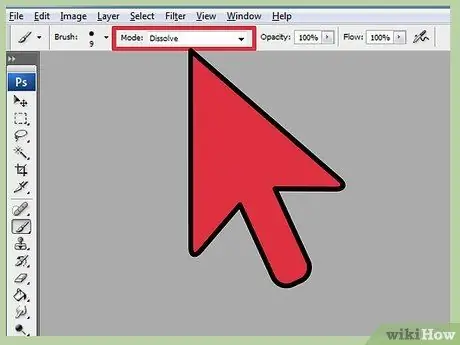
Step 10. Randomize the colors with the Dissolve mode
This feature is often used for special effects, not for editing photos. Mixed colors will be scattered or blurry instead of transitioning smoothly. This is an old effect.
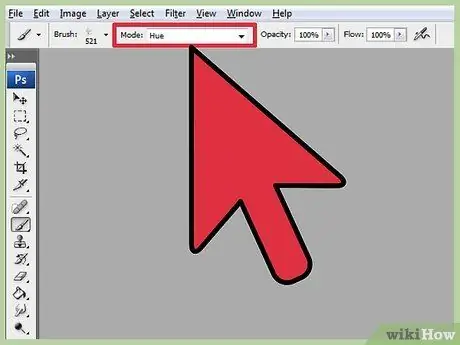
Step 11. Adjust the specific values
The remaining modes have less effect. Each of these modes replaces one value of the base color with a value corresponding to the blend color. All the characteristics remain the same.
- Hue (for example, a similar type of red color)
- Saturation (low saturation looks more gray, while high saturation looks sharper)
- Luminance (makes light or dim colors visible)
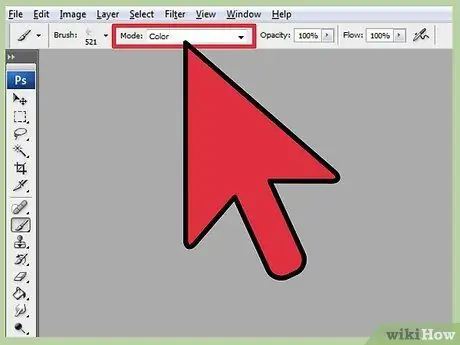
Step 12. Add color to the black and white image
Color Mode replaces hue and saturation with their blended color values, keeping the Luminance in the base color the same. It is commonly used to add color to a black-and-white image.
Method 2 of 2: Other Mixing Methods
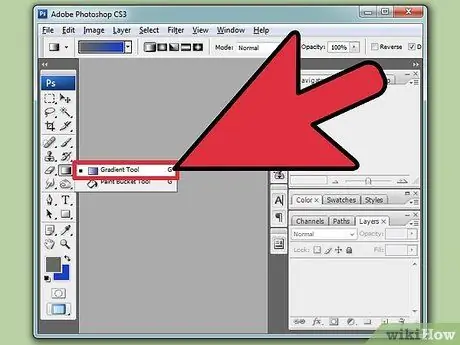
Step 1. Try a gradient mix
Look into the Bucket Fill tool in your Tools panel. Click and hold until the Tools option appears. Select “gradient,” then click in the gradient bar above. Adjust the hue and value as you like. Select an area using the Lasso Tool or the Magic Wand, then adjust the gradient by clicking and dragging. The result is a smooth transition of the two colors.
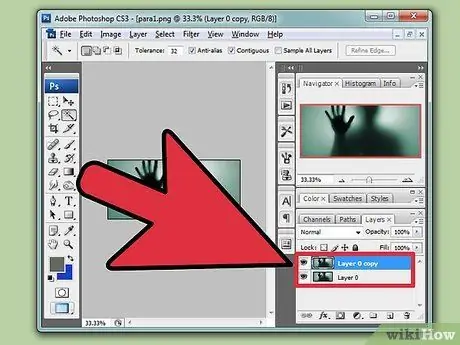
Step 2. Duplicate and delete
Make a copy of the layer or area you are trying to adjust. Put it on a new layer above the original layer. Choose an eraser tool with smooth, thin edges, with a blend opacity of about 5 and 20%. Slowly remove the top layer until you get the effect you want.
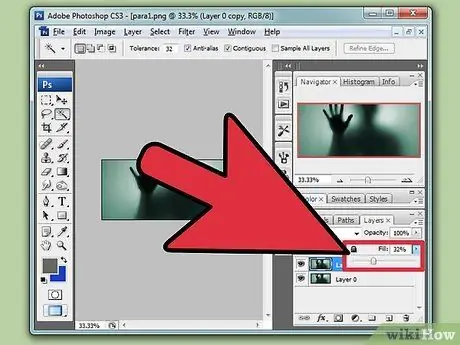
Step 3. Set the layer opacity
If you have two or more layers that you want to stack, adjust the opacity size above each layer name. This controls how transparent each layer is.
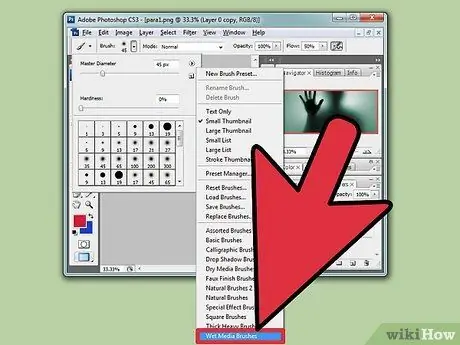
Step 4. Adjust the mixing settings on your tablet
Select a brush and find the tablet option in the brush settings panel. Use “transfer” and the brush set to adjust the opacity depending on the pressure you apply to the tablet. You can use this with a variety of brush shapes and types, but there are many custom options from online brush makers that provide a thick or oil brush feel.
When you've selected the transfer brush, choose the color you want to blend and gently brush it onto the base image
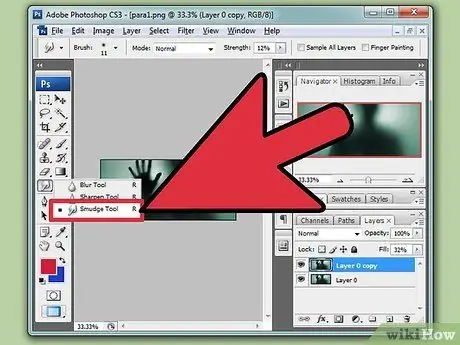
Step 5. Adjust with the smudge tool in the Tool panel, i.e. the button with the finger symbol
In your brushes panel select the soft, round smudge tool brush and make the density 20%. Smudge colors near a painting-like border to create a transition.
You may need to play with the smudge power value in the top bar to get the effect you want
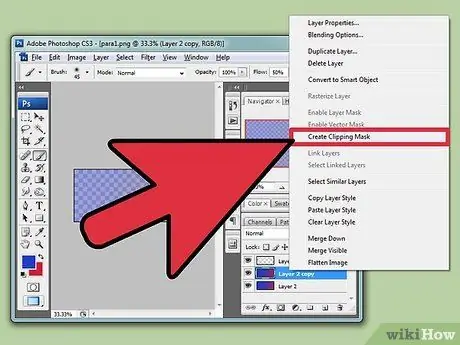
Step 6. Creating the blend mask
Place one color on top of another, in two layers. Click the New Layer Mask button in the Layers panel, next to the top layer. Select the mask and apply a white to black gradient inside the mask. The 100% black area will only show the bottom layer, and the 100% white area will show only the top layer.
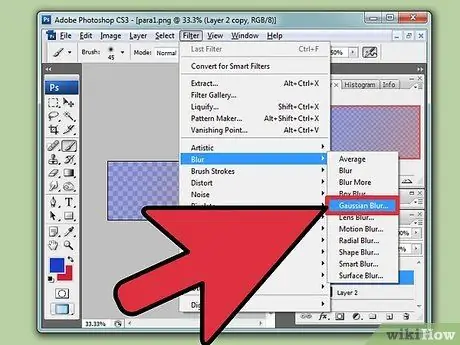
Step 7. Cover with a blur filter
Select the border area you want to blend. Move the cursor to Filter → Blue → Gaussian blur in the top menu. Adjust the level of blurring to taste. To repeat this, select additional areas with the Lasso tool, then press Ctrl+F to apply the same filter.
Use command+F on a Mac
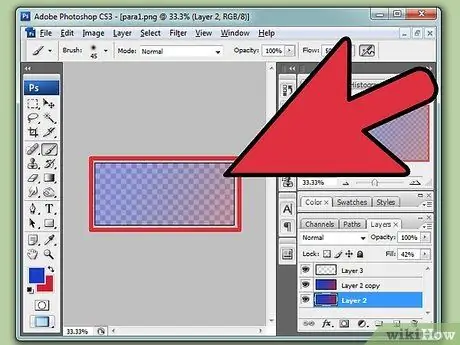
Step 8. Blur the vector images together
If you are using vector graphics, create two vector shapes with different colors. Change the property to add a feather radius. The shapes will blur around the edges, mixing anything that's close to each other. Increase the feather radius value for a bigger effect.
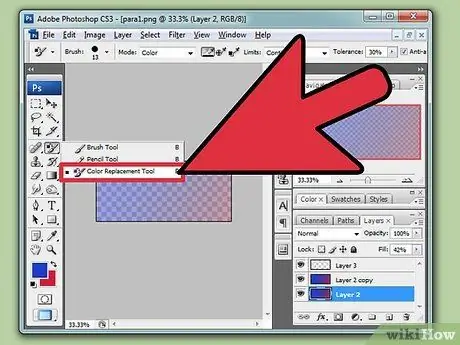
Step 9. Imitate the paint effect with a brush mixer
Select the Mixer Brush from the tools panel symbolized by the image of a paint brush and a drop of paint. (In other versions, you'll need to hold down the Brush icon to bring out these options.) Check out the Brush settings menu to check out some of the newer options. Each of these options will mimic a painter's technique, such as dragging two colors from wet paint together.
Tips
- After blending, for even more transition, choose a color from the resulting blend and mix again. Keep doing this until you get the same transition with a less visible “color border”.
- If a tool doesn't work as you expected, find the Tool Preset icon on the left of the toolbar's selection bar. Right-click (or control-click on a Mac) and select Reset Tool to return to the original settings.
- Pay attention to the surface quality of the material you are imitating. Different materials have different reflection values and softer or coarser transition hues. Also consider any light sources that affect the object. Is the light warm or cold? Dim or bright?


