- Author Jason Gerald gerald@how-what-advice.com.
- Public 2023-12-16 10:50.
- Last modified 2025-01-23 12:04.
You can use Photoshop's Invert tool to add interesting effects to photos. Basically, you have to create an inverted color layer on top of the original photo. Read on to learn how to invert colors in Photoshop.
Step
Method 1 of 2: Creating an Inverted Layer
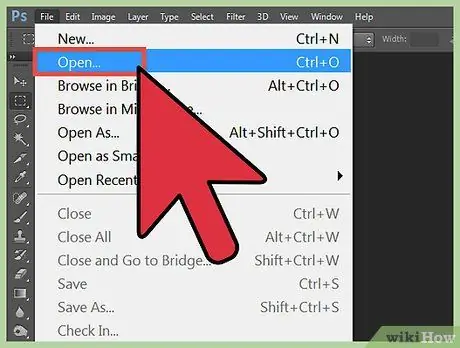
Step 1. Open the photo in Photoshop
Choose a photo that is suitable for color inversion. The changes will be dramatic if the photo is very dark or very light. This inversion process converts each color to its opposite color: the pixel with the brightest value is converted to its inverse value on a 256-step color value scale. First, consider whether after converting the photo will become more interesting or not. If you're not sure, just give it a try!
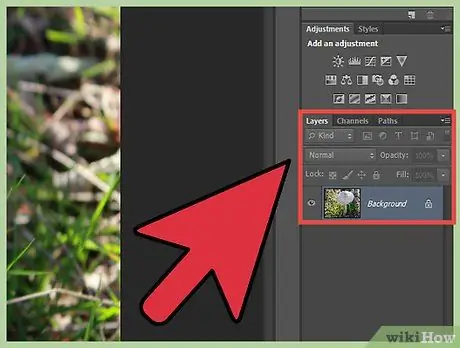
Step 2. Open the Layers panel
Click the "Window" menu, then select "Layers" to open the Layers panel if you haven't already seen it. Remember, you're not actually changing the color of the original photo file-you're just creating an inverted color layer on top of the original photo layer.
- If you want to invert color only in certain parts of the photo, use the Marquee Tool, Lasso Tool, and Magic Wand to outline the selection of the part you want to invert. If you want to invert colors throughout the photo, you don't need an active selection line.
- If you want to invert a complex composition, add a new layer and place it at the top of the Layers panel. Then press Shift+Ctrl+E to create a merged version of the entire composite without disturbing the other layers below it.
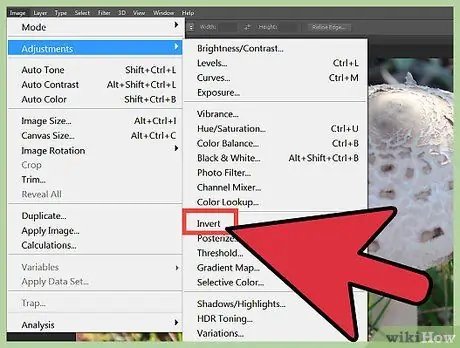
Step 3. Perform an inversion on the photo
Click the (unlabeled) "Create New Fill or Adjustment Layer" button at the bottom of the Layers panel. You can find the correct button by hovering over a selection of buttons. Select "Invert" from the drop-down that appears. Photoshop will add an "Invert Adjustment" layer to the Layers panel at the top of the stack or above the active layer when you add the Adjustment Layer.
If you outline the selection before adding the Adjustment Layer, Photoshop will create a layer mask for the inverted layer. Photoshop will only invert the color in the area that is lined with the selection
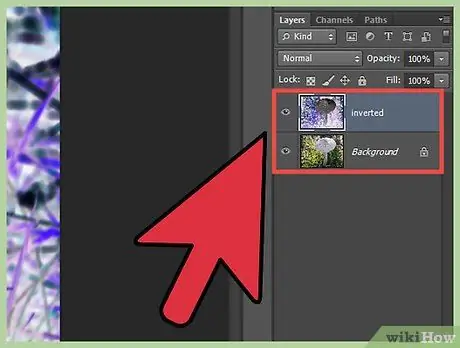
Step 4. Arrange the inverted layers
Drag the inverted layer to its new position on the layers stack, up or down. The inverted layer will only affect the layer below it. So, the position of the inversion layer on the panel will determine how it affects the photo file.
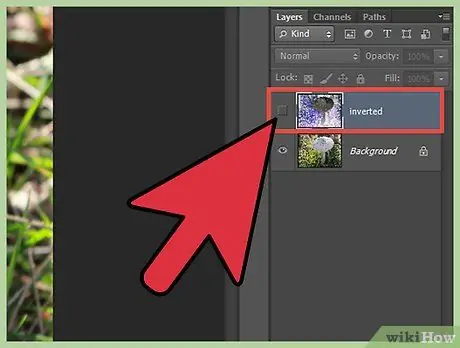
Step 5. Turn the inversion layer on and off to see the before and after changes
Shift-click on the layer mask applied to the Invert Adjustment Layer to disable the mask and apply the adjustment to the entire file. Click the Layer Mask icon to re-enable the adjustments. Disable the eye indicator on the left side of the inversion layer to disable the adjustment.
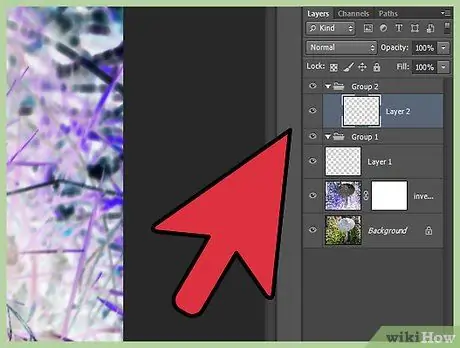
Step 6. Compare the inverted photo with the original photo side by side
After the photo is inverted, select Create New Snapshot. Open each photo in a separate tab. This way, you can view the original photo as well as the inverted photo.
Method 2 of 2: Using Ctrl+I or Cmd + I
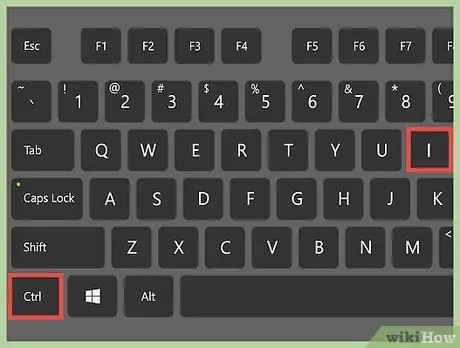
Step 1. Know the inversion shortcut
Converting colors in Photoshop is as easy as pressing Ctrl+I or Cmd+I on your keyboard, but there are a few things you should check about files and layers before converting colors exactly the way you want. To invert an entire photo, just open the photo in Photoshop, and press the Crtl+I or Cmd+I keys.
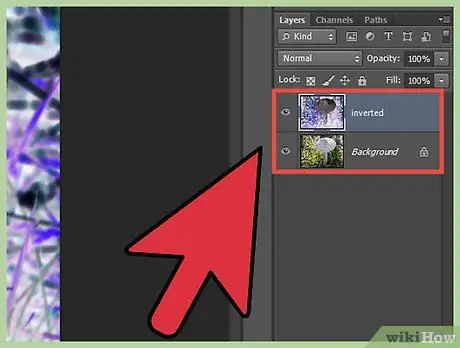
Step 2. Make a color inversion on a specific layer
If you want to invert colors on a specific layer in a Photoshop file: select the layer you want to invert and make sure it's rasterized. If not, right-click on the Layer label (under the Layers list) and select "Rasterise Layer". Once the layer is rasterized, press Ctrl+I to invert all the colors on that layer.
- You can only do this step on one layer at a time. This step will not work if you select multiple layers at once.
- You must do this step after the layer or photo is resized to the desired size. Enlarging a photo after it is rasterized will make the photo look pixelated (broken) and reduce in resolution.
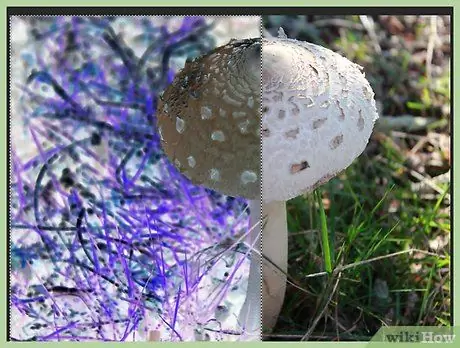
Step 3. Make an inversion on a certain part of the layer
If you want to invert a specific part of a layer, draw a selection outline on the layer and select the part you want to invert using a different selection tool in Photoshop: try the Rectangle Tool, Lasso Tool, or Magic Wand. Add or subtract the lined sections as needed. Once you're happy with the lined area of the selection, press Ctrl+I to invert the color.


