- Author Jason Gerald gerald@how-what-advice.com.
- Public 2024-01-19 22:11.
- Last modified 2025-01-23 12:04.
A good table can make the data you create clear to the reader, and inserting a table into a Word document is key. You have various options to customize the appearance of your table according to its function, and you can even choose a template or sample table that is already available to make table insertion easier. Follow this guide to find out how.
Step

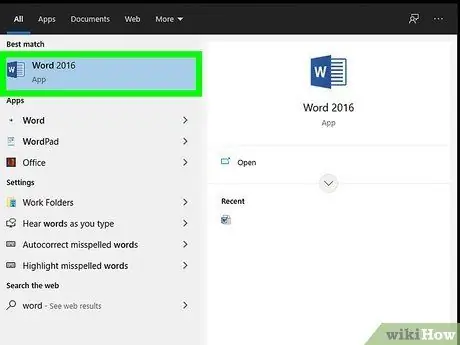
Step 1. Open the Microsoft Word document where you want to insert the table
You can insert tables in all versions of Word.

Step 2. Place the cursor where you want to insert the table
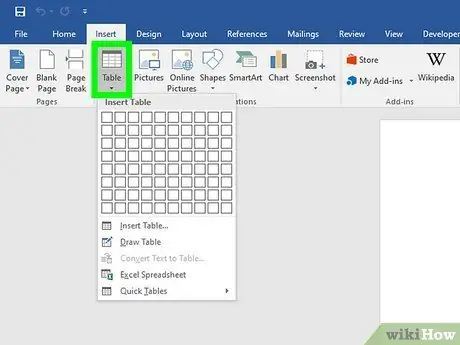
Click the “Table” button located under the “Insert” tab. For Microsoft Word 2003, click "Insert" then select "Table".
For good formatting results, place the table between paragraphs or in rows

Step 3. Choose a table entry method
There are different options for inserting tables in Word 2007, 2010 and 2013 documents. A dialog box will appear when you click the “Insert” button which will provide several method options:
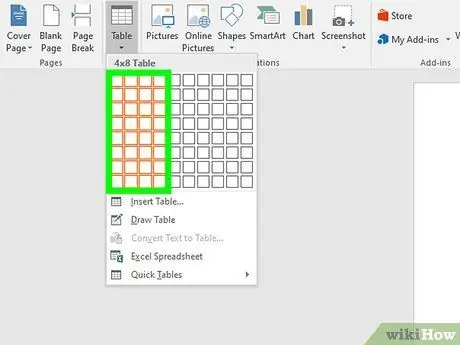
- Use a grid to create a table. You can insert tables using a grid or table pattern where you can adjust the number of squares according to the number of rows or columns you need in your table. Highlight the required number of squares by dragging your mouse, then click.
- Open the "Insert Table" menu. This menu allows you to specify the number of rows and columns you need, as well as the size for the column widths. You can adjust the width by selecting AutoFit to adjust the size of cells with a fixed fill or size. Click “OK” to insert the table.
- Insert a spreadsheet or worksheet from Excel. Click spreadsheet in Excel if you want to insert a table that allows you to manipulate data like Excel (eg: formulas and filters). Click an area outside the table if you want to work on the document itself.
- Use the “prebuilt template” table. In newer versions of Word you can click "Quick Table" if you want to use a predefined table template. Simply replace the sample data with your own.


