- Author Jason Gerald [email protected].
- Public 2024-01-15 08:07.
- Last modified 2025-01-23 12:04.
This article teaches you how to place an image in a specific location in a Microsoft Word document.
Step
Step 1. Open a Word document
Double click on the document to open it.
You can open the document in other ways. open Word (in the Windows menu on a PC or the Applications folder on a Mac), click File, click Open, and then double-click the file name.
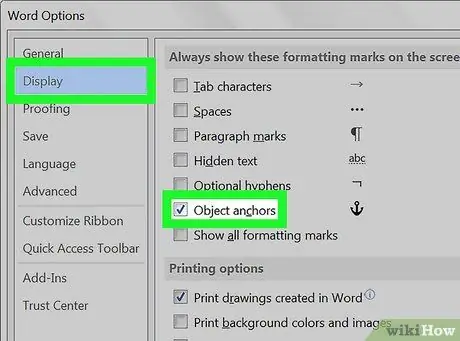
Step 2. Enable 'anchor' labeling
This will help you monitor the location of the images.
- Click menu File.
- Click Options.
- Click Display.
- Check the box next to “Object anchors.”
- Click OK.
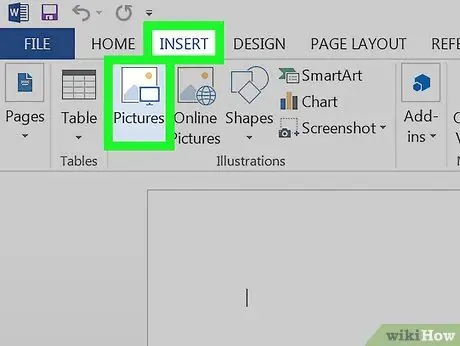
Step 3. Insert the image you want
If you have inserted an image, scroll down until you find it. However, there are other ways to insert an image into a document:
- Click Picture on the menu Insert, then select an image.
- Drag an image directly into the document.
- Copy the image from elsewhere on your computer, then press Ctrl+V (Windows) or Cmd+V (macOS) to paste the image.
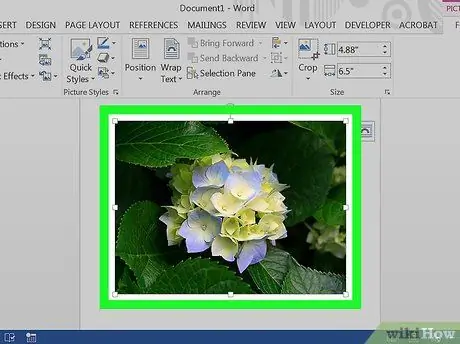
Step 4. Right click on the image
A menu will appear.
If your mouse doesn't have a right button, hold down the Ctrl key while clicking with the left button
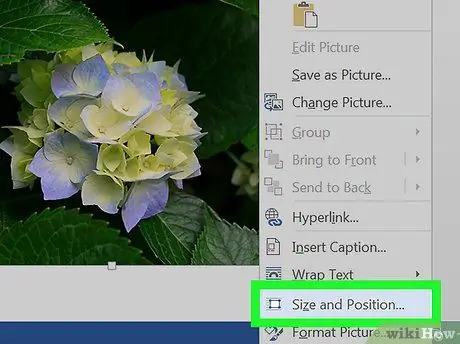
Step 5. Click Size and Position…
The “Position” menu will appear.
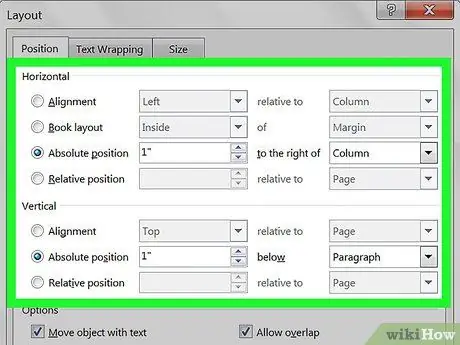
Step 6. Determine the absolute position of the image
This process will determine where the image will be placed. You have a drop-down menu to specify the vertical and horizontal positions.
-
Horizontal:
Select a distance from the first drop-down menu, then select a position relative to a specific page element. For example, to place an image 1 inch to the right of a column, select 1" and Column in the menu.
-
Vertical:
The working principle of this section is the same as the previous menu, but this menu determines the vertical position of the image. For example, to put an image 1 inch below the paragraph, select 1" in the first drop-down menu, and paragraph in the second menu.
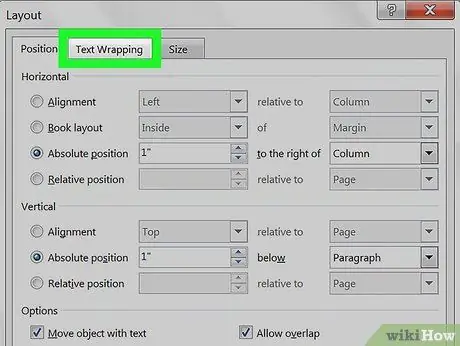
Step 7. Click Text Wrapping
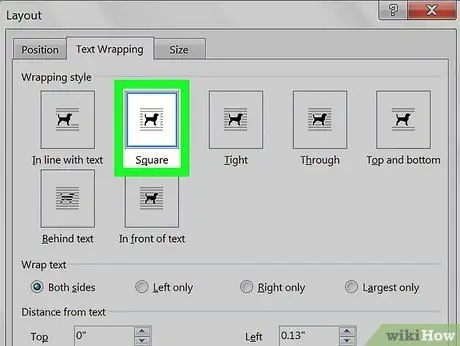
Step 8. Select the wrapping option
You can add text to your image using all the options except “In line with text.” Choose any option other than “In line with text.”
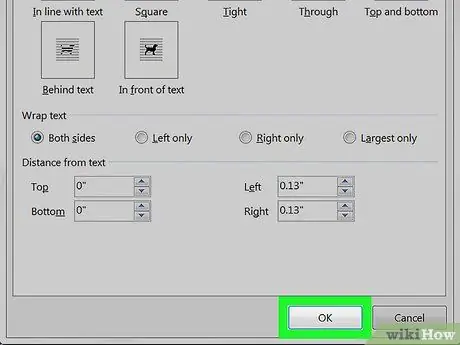
Step 9. Click OK
You should be able to see an anchor icon in the top-left corner of the image. That is, the image has been attached to that position.


