- Author Jason Gerald gerald@how-what-advice.com.
- Public 2023-12-16 10:50.
- Last modified 2025-01-23 12:04.
The Background format in PowerPoint allows you to choose an image from your computer or from online to use as your slide background. You can set this background for multiple slides at once, or apply it to your entire presentation. You can also add effects to the background image to give it an added feel. If you can't change the background elements, you may have to edit the slide master.
Step
Part 1 of 3: Adding Images
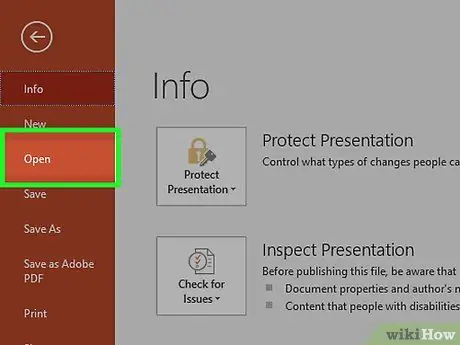
Step 1. Open your PowerPoint presentation
You can add an image to any slide background in your PowerPoint presentation. Open the presentation you want to edit in PowerPoint.
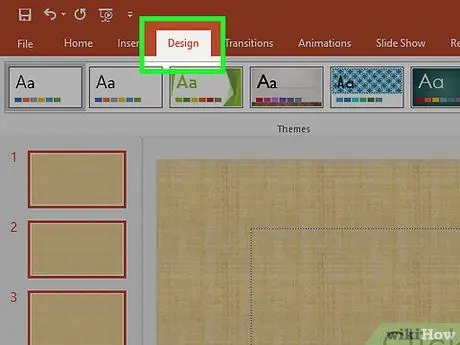
Step 2. Click the Design tab at the top of the window
This will display the Design tool.
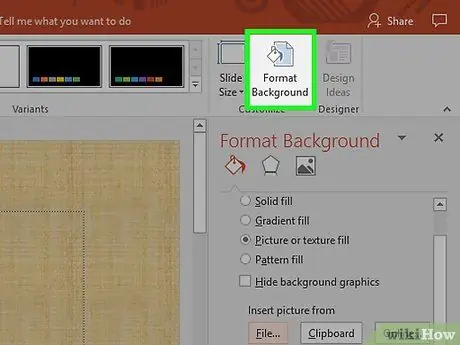
Step 3. Click the "Format Background" button
You'll find this on the right side of the Design ribbon. The Format Background bar will appear on the right side of the screen..
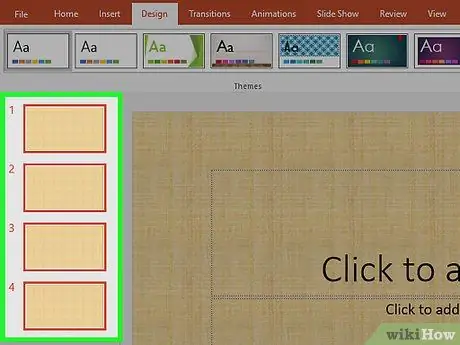
Step 4. Select the slides you want to apply to the background
By default, your background changes will only apply to the active slide. You can hold down Ctrl / Command and click each slide in the slide list on the left that you want to select.
If you want to apply a background to every slide in your presentation, you can do so at the end of this section
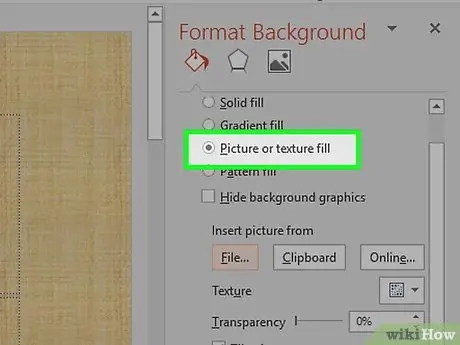
Step 5. Select "Image or fill texture
This will allow you to select an image to use as the background.
There are other fill options you can choose from, such as solid colors, gradients, and patterns. When you select it will show you additional options for that type of fill. This guide focuses on adding images and graphics to the background
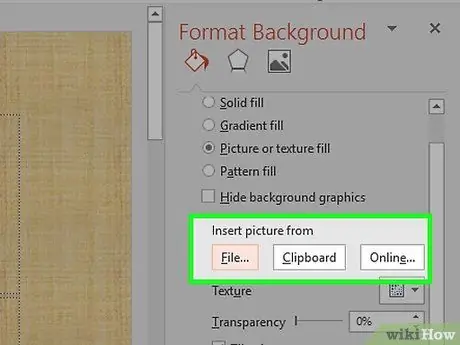
Step 6. Select the image you want to insert as the background
To add an image that will not be stretched or reduced, it must be 1280 x 720 pixels.
- Click the "File" button to select an image from your computer. A file browser will open, and you can navigate to the image you want to use.
- Click the "Online" button to search for images from online sources. You can do a Bing web search, select an image stored on your OneDrive, or take a picture from your Facebook or Flickr account.
- Click the "Texture" menu to choose from a premade texture background. There are a variety of premade textures you can choose from if you don't want to include your own image.
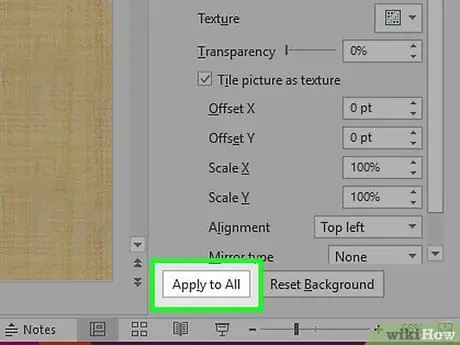
Step 7. Click "Apply to All" to set images for all slides
Images are usually only added as a background for the slides you select. If you want to apply it to every slide, click the "Apply to All" button. This will set the background of each slide to a new image, including the slides you create later.
Part 2 of 3: Applying Effects
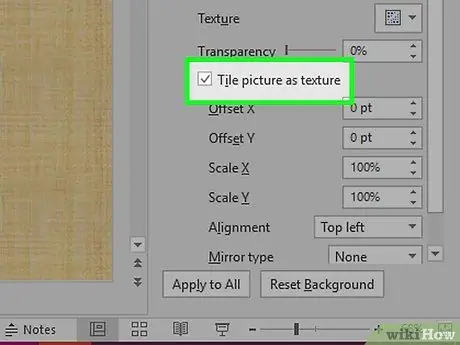
Step 1. Check "Tile picture as texture" to turn the image into a tiled texture
This is best suited for images that are small in size and can blend into one another.
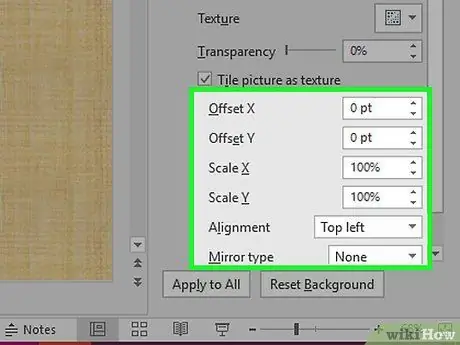
Step 2. Set the tile effect with the controls below
You can use these controls to adjust the distance between the tile images, regardless of whether they are mirrored, and their alignment.
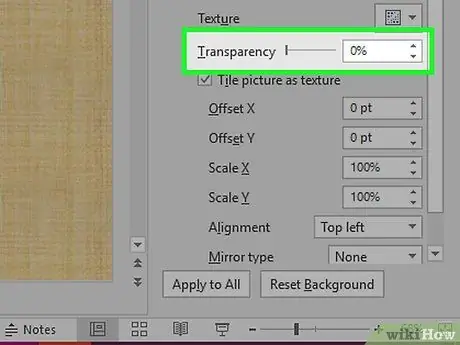
Step 3. Use the transparent slider to adjust the transparency of the image
This is especially useful if you want to add a watermark to your slides. Setting a background image with high transparency will allow you to use the image as a watermark without hiding or affecting the information on the slide.
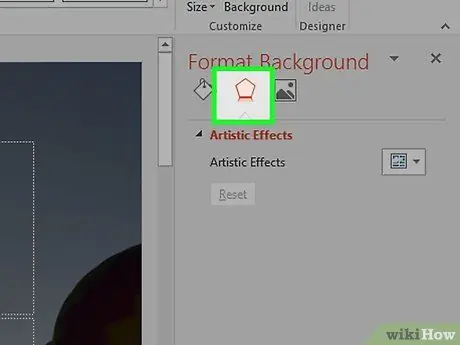
Step 4. Click the "Effects" button at the top of the "Format Background" menu to apply the effect
This menu allows you to choose from a variety of different effects that you can apply to your wallpaper. You'll see a preview of each one in the menu, along with their name if you hold your cursor over them.
- Click the "Artistic Effects" menu and select the effect you want to use.
- When you select an effect, additional options may appear below it. The options vary depending on the effect you choose.
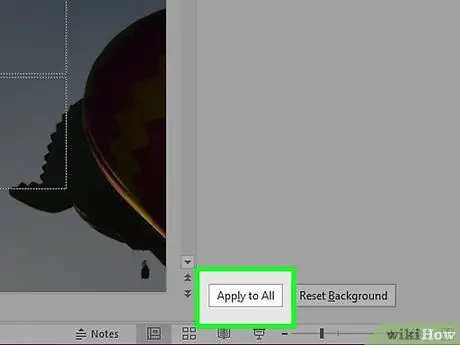
Step 5. Click "Apply to All" to apply the effect to all your slides
This will change all the slides in your presentation to use the background image and effect you selected.
Part 3 of 3: Using Slideshow Master
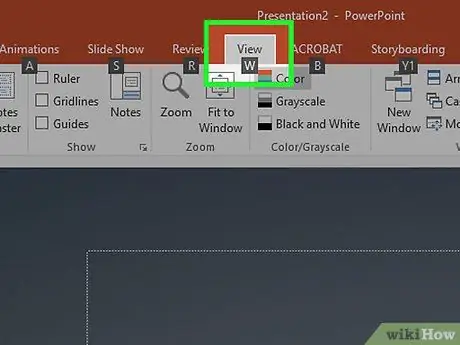
Step 1. Click the View tab in PowerPoint
This will show different display options.
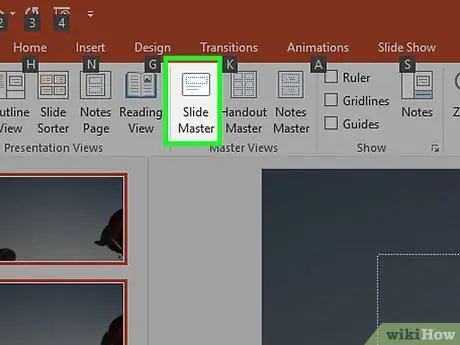
Step 2. Click the "Slide Master" button
A list of all your master slides will appear in the left frame. These are theme slides for different types of content in your presentation. Selection of themes and images on the master slide You can clear the usual background settings.
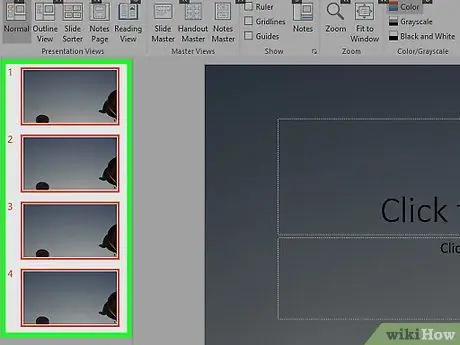
Step 3. Select the slide master you want to convert
This will open the slide in the main view. You may need to scroll through the list to see the main master slide.
The different slides in the master list are for different slide layouts. Changes made to that master will apply to all slides with the same layout. The slide at the top of the master list will apply to all slides in your presentation
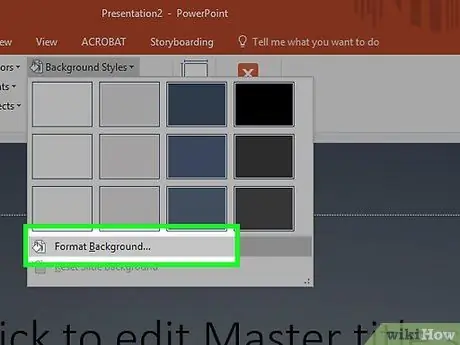
Step 4. Click the "Background Styles" button and select "Format Background
" This will open the Format background bar.
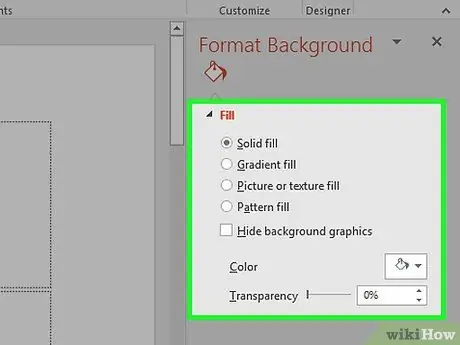
Step 5. Set the background following the steps in the previous method
Once the Format Background bar opens, you can adjust the background image using the steps outlined above. Use the "Picture or texture fill" option to set the new image as the master background. This background will be applied to every slide in your presentation.


