- Author Jason Gerald gerald@how-what-advice.com.
- Public 2023-12-16 10:50.
- Last modified 2025-01-23 12:04.
This wikiHow teaches you how to make an image appear fully or partially transparent on a Microsoft presentation page in PowerPoint on a Windows or Mac computer. On Windows computers, you can fill shapes with pictures and adjust their transparency. On Mac computers, you can adjust the transparency of an image without any additional elements. The desktop version of PowerPoint allows you to change the transparency of objects, but the mobile and online versions don't have this feature.
Step
Method 1 of 2: On Windows Computer

Step 1. Open the PowerPoint presentation on the computer
You can open a new slide or an existing document from a file.
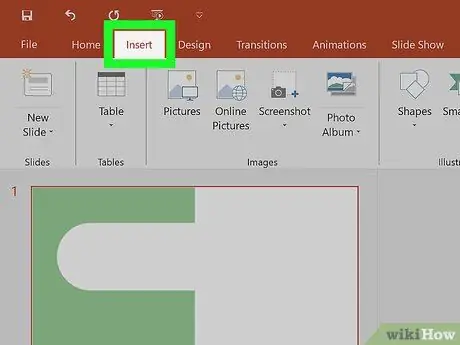
Step 2. Click the Insert tab at the top of the program window
It's above the toolbar panel, at the top of the application window. The “Insert” options will appear in the toolbar.
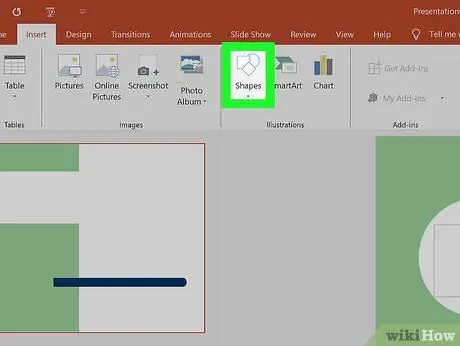
Step 3. Click Shapes
on the “Insert” toolbar.
These buttons look like circles, squares, and diamonds in the “Models” section of the “Insert” panel. A drop-down menu with shape options will appear.
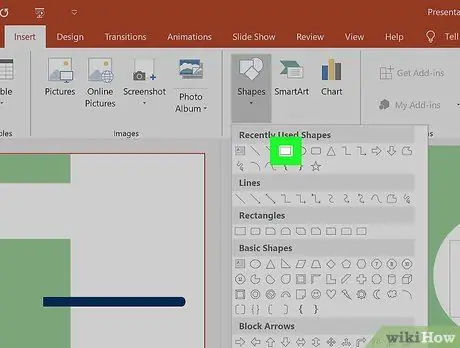
Step 4. Select the shape you want to insert
You can add selected shapes to the currently opened page in any size and proportion.
Make sure you select the same shape as the shape of the image you want to add. Usually, you need to choose a regular rectangle or circle shape
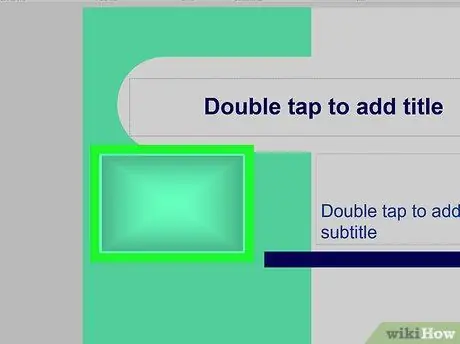
Step 5. Click, hold, and drag the mouse on the presentation page
A new shape will be created and added to the page.
- Make sure the added shape is proportional to the image you want to insert. Otherwise, the image will look skewed or untidy.
- After creating the shape, you can adjust its size and proportions. Just click and drag the white dots on the outline of the shape selector.
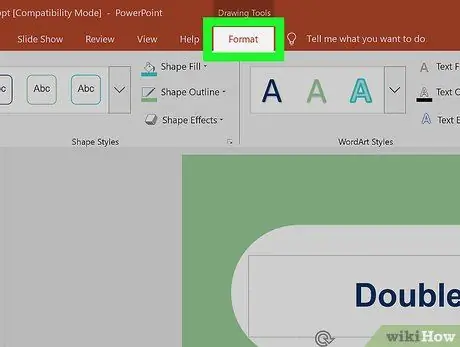
Step 6. Click the Format tab on the toolbar
You can find the tabs above the toolbar pane once the shape is selected.
If the shape is not already selected, first click the shape on the page
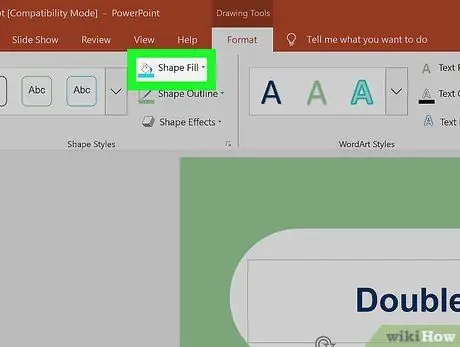
Step 7. Click Shape Fill in the “Format” panel
It's next to the paint bucket icon in the " Shape Styles " section of the Format toolbar. A drop-down menu for shape fill and color options will appear.
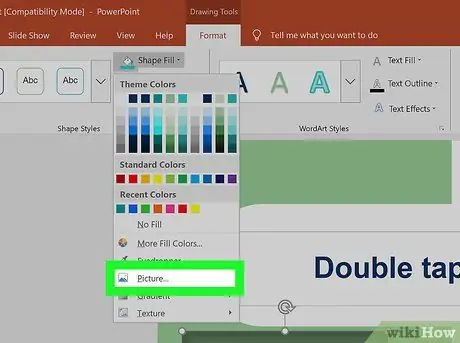
Step 8. Select Picture on the “Shape Fill” menu
You can find this option at the bottom of the drop-down menu. The image options will appear in a new pop-up menu.
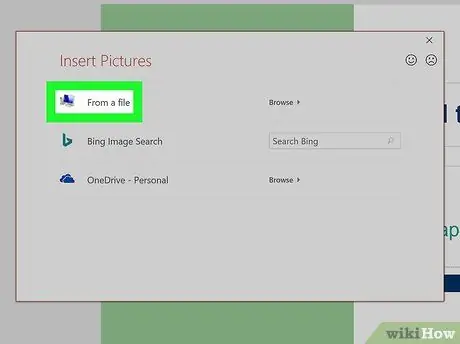
Step 9. Select From a File on the pop-up menu
With this option, you can select an image file from your computer and add it to the slide page.
- By adding an image as a shape fill, you can adjust its transparency as desired.
- Alternatively, you can select “ Online Pictures ” to add an image from a web link.
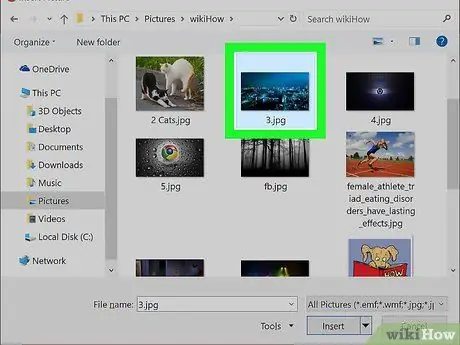
Step 10. Select the image you want to add
Click the image in the File Explorer window and select " Insert " or " Open ” in the lower right corner of the window. The selected image will be added to the shape.
You can adjust the shape through the white dots on the outline
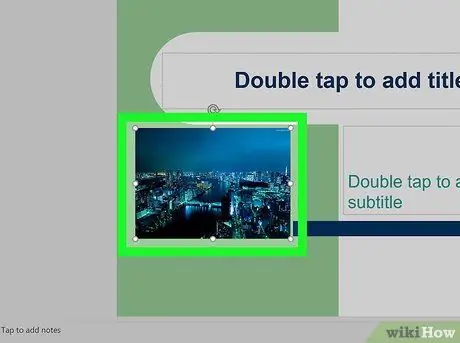
Step 11. Right click the image on the shape
Right-click options will appear in the drop-down menu.
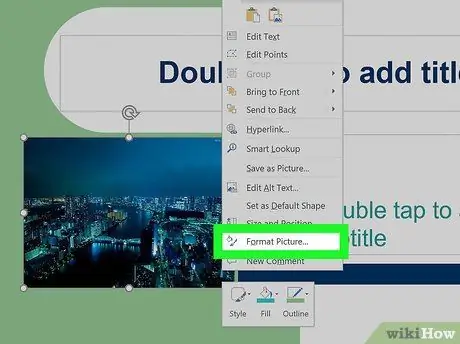
Step 12. Select Format Picture on the right-click menu
Formatting options will appear on the right side of the PowerPoint window.
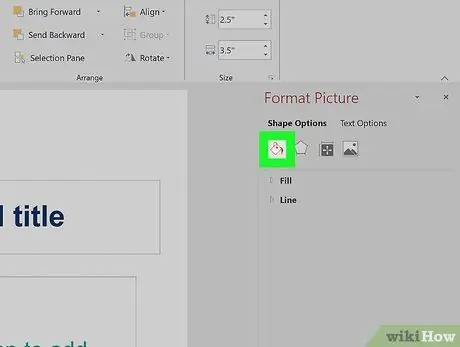
Step 13. Click the paint bucket icon on the "Format Picture" menu
You can see this icon in the upper left corner of the “Format Picture” panel, on the right side of the screen.
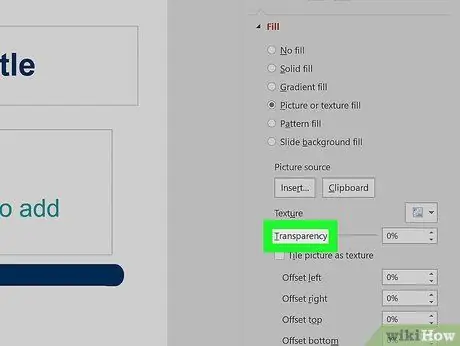
Step 14. Look for the Transparency slider under the "Fill" segment
If you don't see this option, click the icon
next to " Fill " to expand the options.
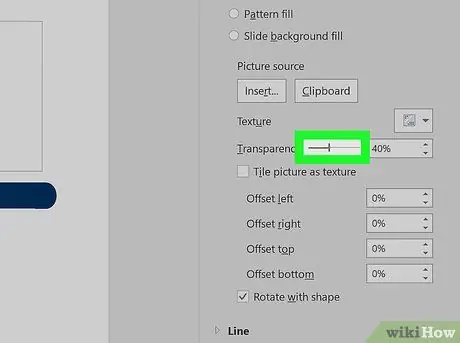
Step 15. Click and drag the “Transparency” slider
With this slider, you can manually adjust the transparency level of selected shapes and images.
Alternatively, you can manually type the transparency percentage in the provided field
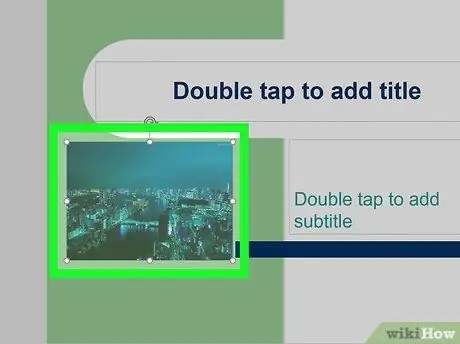
Step 16. Right-click the image on the slide page
The options will be displayed.
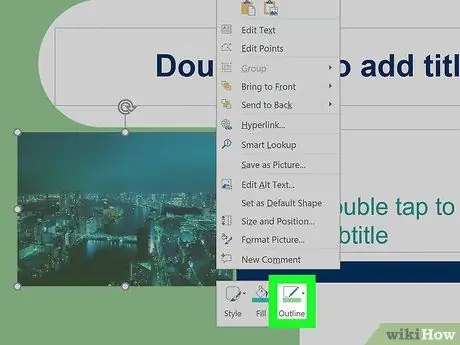
Step 17. Select Outline on the options pop-up menu
This button appears in a separate toolbar panel at the top of the right-click menu (after you right-click the image). You can find it next to " Style " and " Fill ".
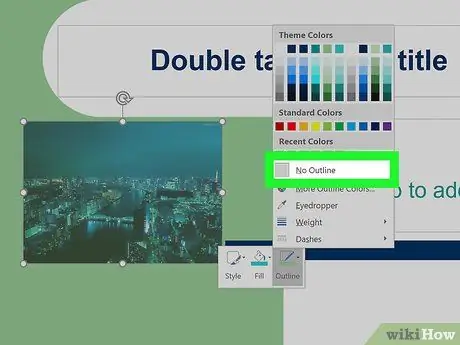
Step 18. Select No Outline on the menu
The frame or outline that surrounds the sides of the image will be removed.
Method 2 of 2: On Mac Computer

Step 1. Open the PowerPoint presentation on the computer
You can open a new slide or an existing document from a file.
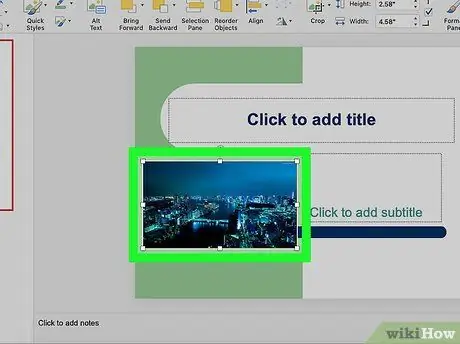
Step 2. Select the image or shape you want to make transparent
Just click an image or shape to select it.
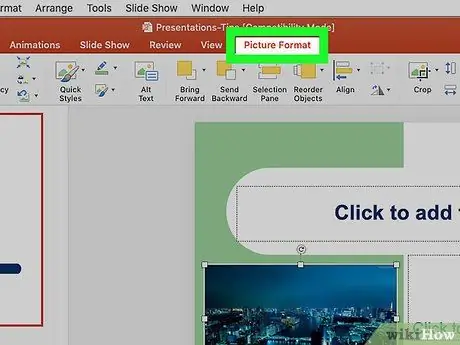
Step 3. Click the Picture Format tab or Shape Formats.
You can find this button in the tab bar above the toolbar pane, at the top of the PowerPoint window. Formatting options will be displayed.
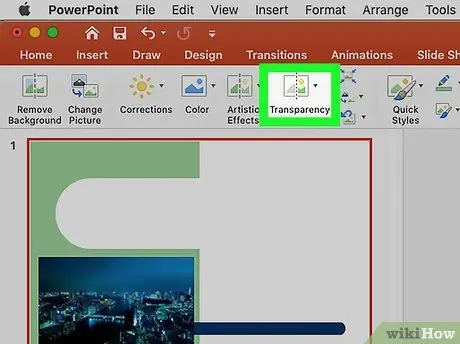
Step 4. Click Transparency on the formatting toolbar
This button looks like an image with a dotted vertical line in the middle. A drop-down panel for transparency options will appear.
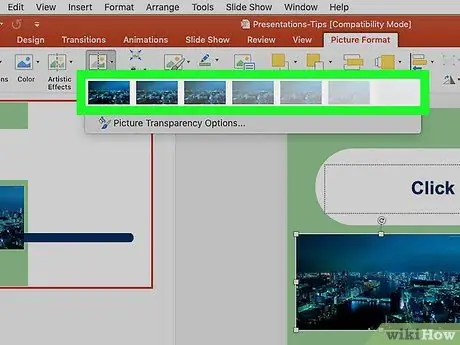
Step 5. Click a transparency template or preset from the “Transparency” menu
The transparency level of the image will change directly to the selected option or preset.
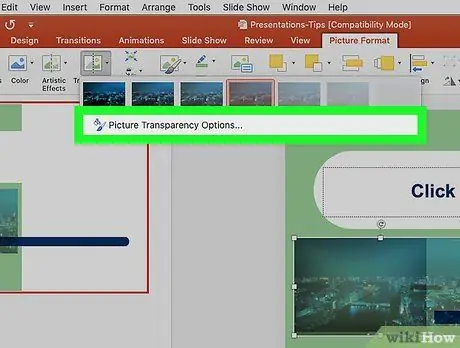
Step 6. Click Picture Transparency Options on the “Transparency” menu
You can find it at the bottom of the “Transparency” drop-down menu. The image formatting menu will open.
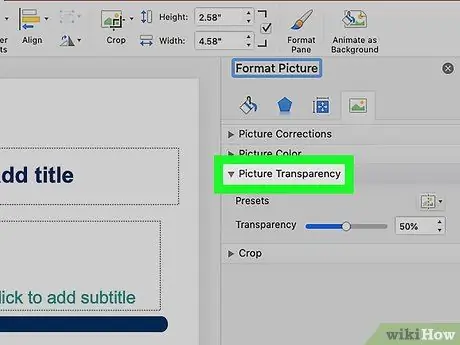
Step 7. Look for the Picture Transparency option on the formatting menu
If the menu does not expand, click the icon
next to it to expand transparency tools/options.
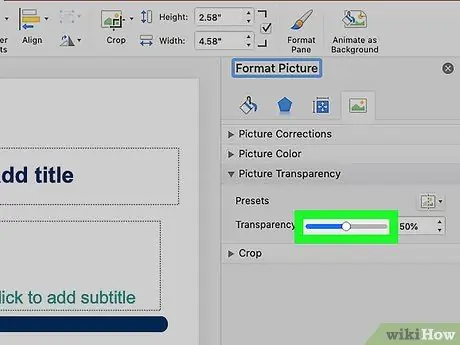
Step 8. Click and drag the “Transparency” slider
You can manually adjust the transparency level of selected shapes and images on the presentation page.


