- Author Jason Gerald gerald@how-what-advice.com.
- Public 2023-12-16 10:50.
- Last modified 2025-01-23 12:04.
iTunes M4P files are protected files and can only be played on some computers that you allow them to. Meanwhile, MP3 files don't have the same limitations. The sound quality of M4P with MP3 is no different. If you subscribe to iTunes Plus, you can convert your files to unlimited formats through iTunes, but if you don't want to pay, you may be able to convert the files with the help of a third-party program. You can also try to rip the song to a CD, then convert the song to MP3 format.
Step
Method 1 of 3: Converting Files via iTunes
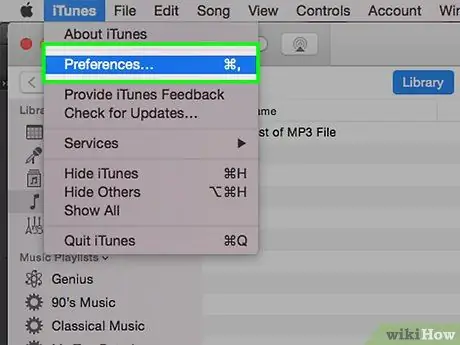
Step 1. Go to iTunes settings page to change encoding options
Before iTunes Plus was introduced, all songs sold on iTunes were protected with DRM (Digital Rights Management). DRM allows Apple to track how many computers you use to play files. To play DRM-protected files, you must register a computer because Apple limits the number of computers that can play a file.
- Windows: Click Edit > Preferences.
- Mac: Click iTunes > Preferences.
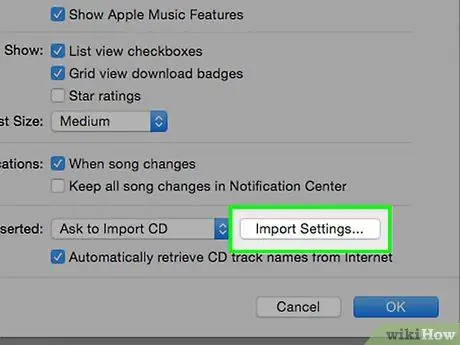
Step 2. Select the MP3 format from the import settings option
Click the General button, then select Importing Settings… at the bottom of the window. After that, click MP3 from the Import Using menu, and click OK to save the changes.
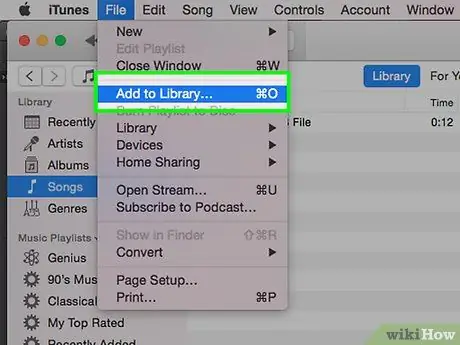
Step 3. Check if the file you want to convert is already in your iTunes library
If needed, you can import songs and convert them directly. The converted file will appear as an MP3 file in your iTunes library.
Some older songs may be protected in the Protected AAC format and therefore cannot be converted by iTunes. You may be able to convert the files with a third-party program or site, or by subscribing to iTunes Plus
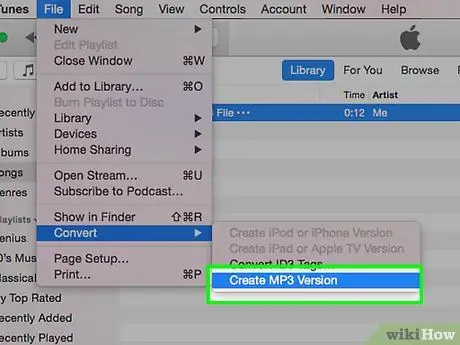
Step 4. Perform file conversion
Select one or more songs in your library, then click File > Create New Version > Create MP3 version. To convert all songs on a folder or drive, hold down Option (Mac) or Shift (Windows), then choose File > Create New Version > Convert [import preference setting]. The import settings will automatically match the settings you selected in the Importing Preferences window. After that, iTunes will ask you to choose where to save the converted file.
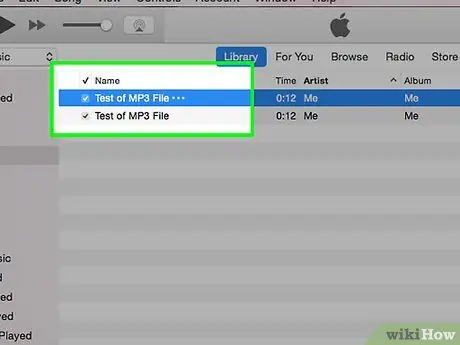
Step 5. Wait for the conversion process to complete
Once the process is complete, you will see two of the same songs in your iTunes library, namely the converted song and the song in the original format. You will be able to play both songs.
- If you don't want to see two copies of a song in your iTunes library, move the M4P file to another folder. Collect M4P files you no longer use in a special folder, or delete files from your iTunes library. When you delete a file from a library, you can choose to keep the file. If you no longer need the M4P file, you can delete it.
- Keep in mind that converting between song formats may cause a slight drop in sound quality. Consider keeping the M4P file until you are sure that the quality of the file is as good as you want it to be.
Method 2 of 3: Using a Third Party Conversion Program
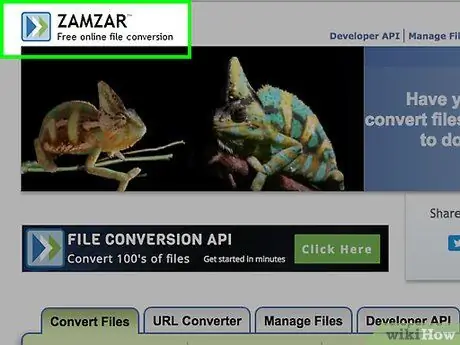
Step 1. Find a third-party song conversion program or service by entering the keyword "safe online file converter" in a search engine
After that, choose a service that looks safe. Some conversion services or programs may include spyware and adware, or force you to pay after the conversion process is complete. To avoid these fake services, read the reviews of the service or program before using it. Try using free and safe online conversion services, such as Zamzar, FileZigZag, and Online Convert.
If you want to safely convert a large number of files, consider downloading a file conversion program. You may need to purchase a conversion program, but the conversion process running on your own computer will be easier to set up and faster
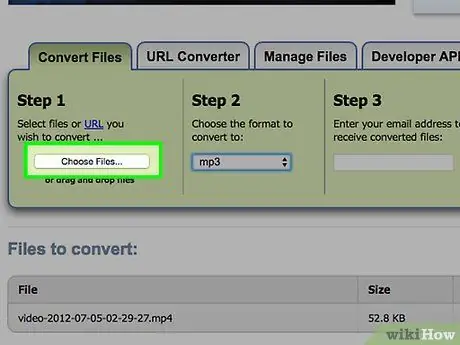
Step 2. Upload the entire MP4 file you want to convert
After visiting a conversion service site or opening a conversion program, you will be asked to upload the file you want to convert. Some sites only allow you to upload multiple files at once.
You may need to repeat the file upload process several times, depending on the number and size of the files you want to convert and the capacity of the site you choose
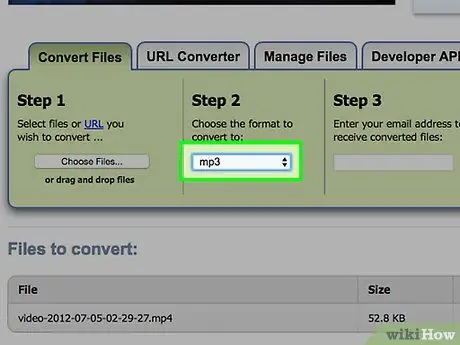
Step 3. Choose a new file format
If you want to convert the file to MP3, select MP3 in the list of available formats. You may be able to choose between several file formats. Because M4P is a protected format, not all conversion services can convert M4P files.
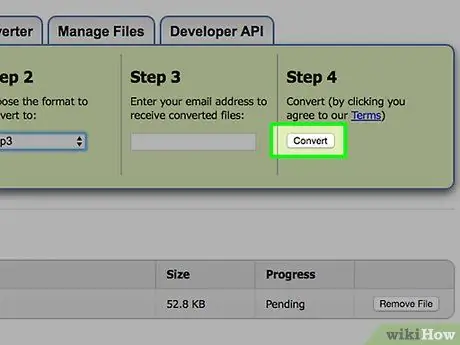
Step 4. Find and click the Go, OK, or Convert button on the service site you are using, then wait for the conversion process to complete
Method 3 of 3: Copying Songs to CD
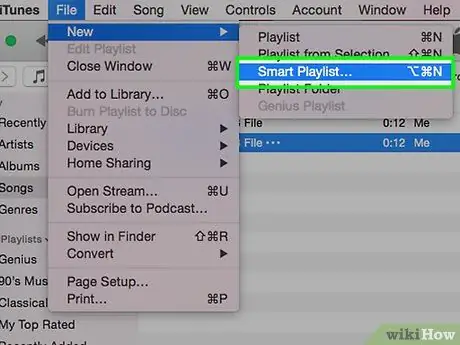
Step 1. Create a new smart playlist in your iTunes library
Select Kind in the parameter list, then enter Protected AAC Audio File. Name the smart playlist with an easy-to-remember name.
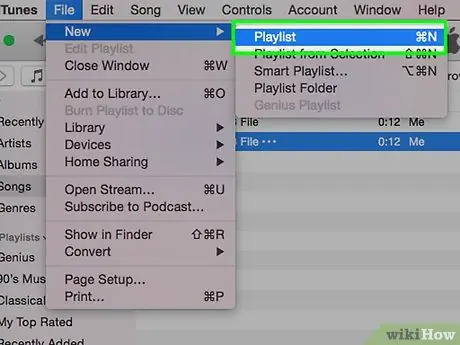
Step 2. Create a regular playlist by clicking File > New Playlist
then name the playlist. To create a playlist, you can also click the + button in the top-left corner of the window.
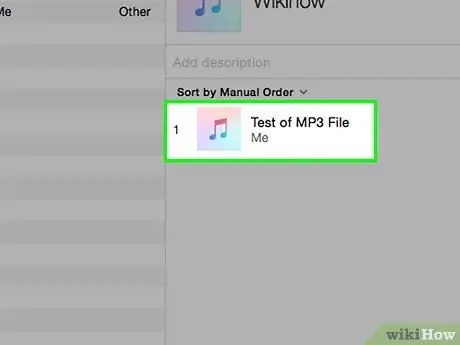
Step 3. Select all the files that appear in the smart playlist, then drag them to the playlist you just created to track the conversion process
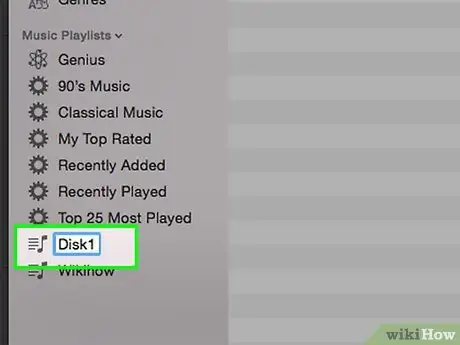
Step 4. Make a regular playlist with the number as needed
Name each playlist "CD1", "CD2", and so on.
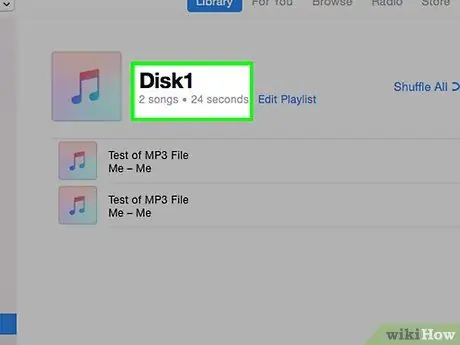
Step 5. Prepare the playlist to be copied to the CD
Drag some music files from the playlist you've prepared to the "CD1" playlist, and make sure that all the songs you copy are about an hour long.
Choose between 18-21 songs to add to the playlist, depending on the type of song. Some types of songs, such as classic and metal, are longer than average so you may only be able to fit a few songs on the CD
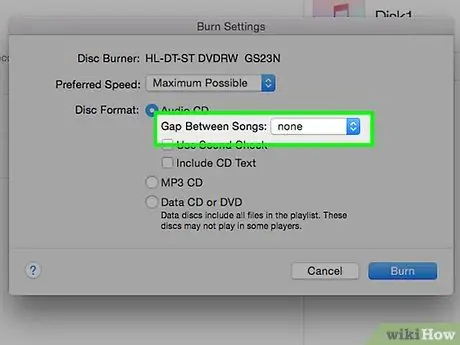
Step 6. Set the copy options so that you can convert songs back to MP3 easily
Select none in the gap setting so that the storage space on the CD is used optimally. Also include a Text CD, which is some information about the song to be copied.
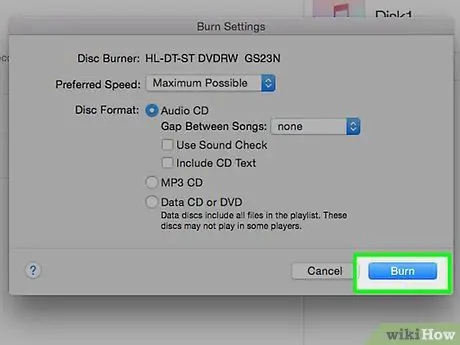
Step 7. Copy songs to CD
Sometimes, when you rip songs, iTunes will remind you that you can only rip songs to 7 CDs. To close the warning, click OK. After that, wait for the copying process to complete. Generally, the copying process will take less than 10 minutes. Once the process is complete, iTunes will play a short sound.
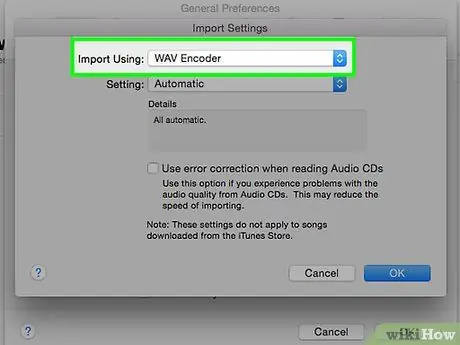
Step 8. Change the import settings as needed
Use the WAV format so that the file can be played on a variety of devices. Unfortunately, WAV files are very large because they don't recognize compression. Most modern music players can also play MP3s. If you're not sure what type of file you need, select MP3. To maintain music quality, choose the highest bitrate, but if you're converting conversations, choose a lower bitrate.
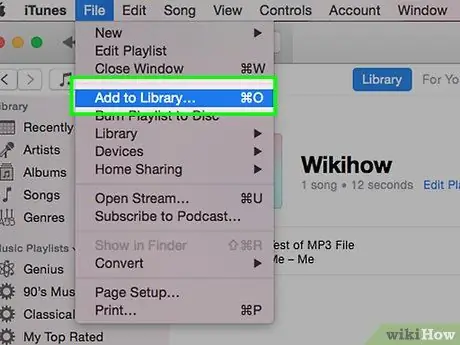
Step 9. Import songs to iTunes library
The import process will generally take about 10 minutes. While the import process is running, you can take the next step.
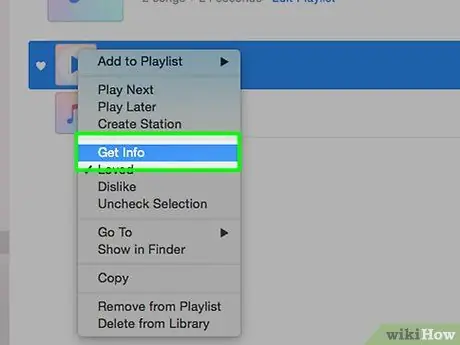
Step 10. Bookmark the songs in your playlist, and make sure you can tell the difference between the M4P format song and the one you just imported
Return to the "CD1" playlist, then select the entire song. Right-click the song you selected, then select Get Info. Most of the information in the dialog box that appears will be blank. Enter DRM or M4P in the Comments field, then click OK.
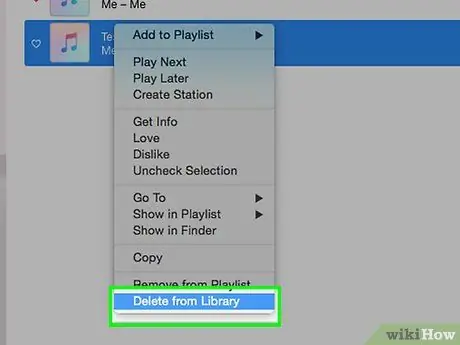
Step 11. Once the import process is complete, delete the duplicate song files by clicking File > Display Duplicates
Right-click the table head, then click Comments. Check the songs in your library, then select songs with DRM comments. Press Ctrl to select more than one song. Swipe until all the songs with DRM are selected.
Press the Delete key on your keyboard, or right-click on the song and select Delete. After that, select the option to delete songs to Trash/Recycle Bin
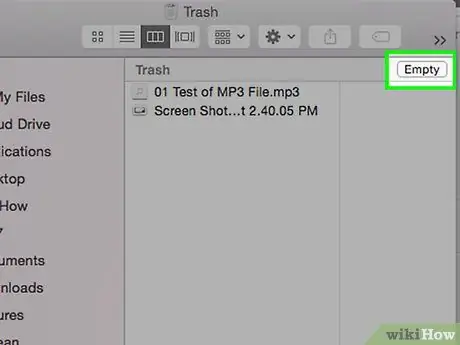
Step 12. If needed, restore the DRM protected song files by opening the Trash/Recycle Bin and moving the songs to a new folder
Repeat all the steps above until all the songs you want are converted.
Tips
- You can purchase a paid conversion program to convert files quickly and efficiently. Be careful when using online conversion services.
- Consider creating a music CD with a CD-RW so you can follow the steps above remotely.
Warning
- Do not use the songs you copied for commercial purposes. This violates copyright laws.
- Copying music to a CD will reduce the quality, but generally this loss of quality is not obvious to the ear.


