- Author Jason Gerald gerald@how-what-advice.com.
- Public 2024-01-19 22:11.
- Last modified 2025-01-23 12:04.
Your iPhone provides the Voice Memos application, which lets you record and edit voice memos. You can use the app to record personal voice memos, lectures in class, or various other sounds. After recording, you can trim the recording to remove silence or other unimportant information. You can also share recorded files via email or other messaging apps.
Step
Method 1 of 4: Sending Audio Notes via Message
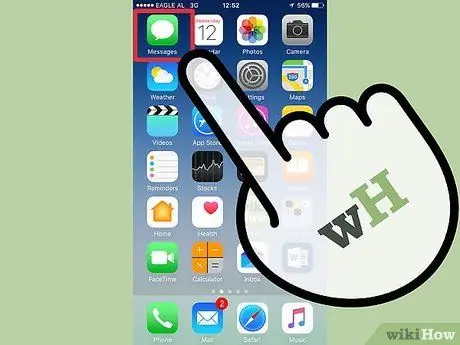
Step 1. Open the Messages app
You can send short audio notes to iMessage contacts via the Messages app.

Step 2. Start a conversation with a contact
To send an audio note, you must start a conversation via iMessage. Check the conversation thread and the title bar of the conversation. If the speech bubble is green, the conversation is not an iMessage conversation. If the speech bubble is blue, you can send an audio message via iMessage.
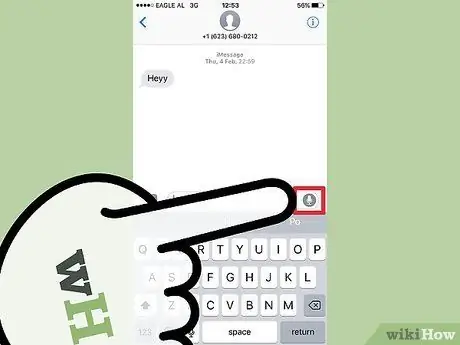
Step 3. Press and hold the microphone button next to the iMessage field
This button only appears when you open a conversation with another iMessage user.
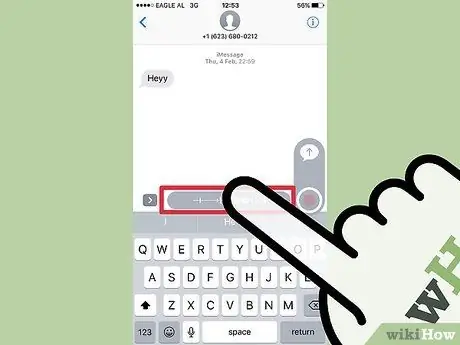
Step 4. Record your audio message by holding down the microphone button
The recording will run as long as you hold down the button.
Step 5. Slide your finger to the Send button to send the audio
Your audio notes will be sent directly to the recipient. To cancel sending, tap the X' button next to the recording.

Method 2 of 4: Recording Audio Notes
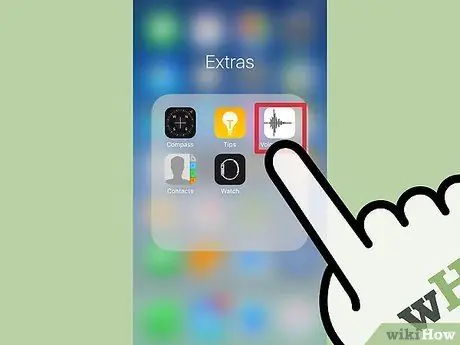
Step 1. Open the Voice Memos app by tapping the voice graphic icon on the white background from the phone's home screen
If you can't find the app, it's probably in the Extras folder.
To open the Voice Memos app via Siri, hold down the Home button, then say record a voice memo
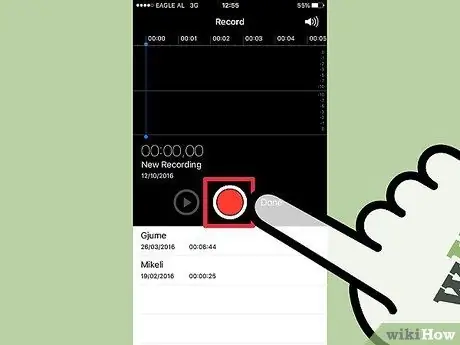
Step 2. Tap the Record button to record sound with your iPhone microphone
For best results, move iPhone closer to the sound source.
- To improve recordings, or record sound with an iPod Touch (which doesn't have a built-in microphone), use the microphone from Apple's built-in earphones.
- If your iPhone is case protected, remove the case while recording sound. The iPhone case may affect the quality of the recording.
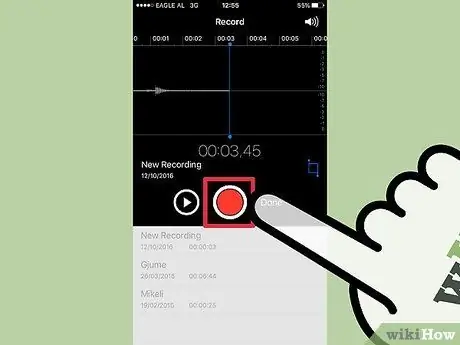
Step 3. Tap the Record button again to pause the recording
You can pause and resume recording as many times as you like.
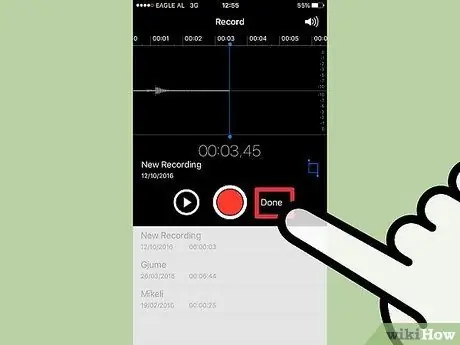
Step 4. When finished recording, click Done to stop recording
Name the recording, then tap Save to save it. The recording will be saved in a list in the Voice Memos app.
You can record as long as possible audio, as long as your iPhone or iPod has sufficient memory. One minute of recording takes up 480KB of storage space, and one hour of recording takes up about 30MB of storage space
Method 3 of 4: Trimming Audio Notes
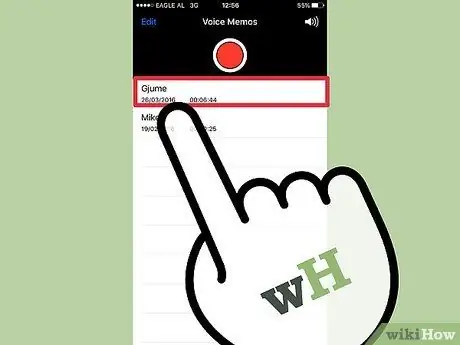
Step 1. Tap a recording in the Voice Memos app to open it
A list of recordings will appear when you first open the app. You can trim the recording to remove unnecessary parts of the recording, or "split" a long recording into several parts.
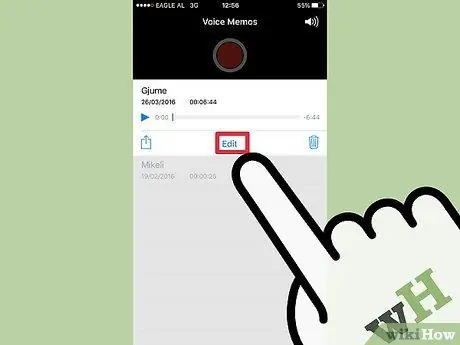
Step 2. Tap the Edit button at the bottom of the recording
This button will only appear after you select a recording.
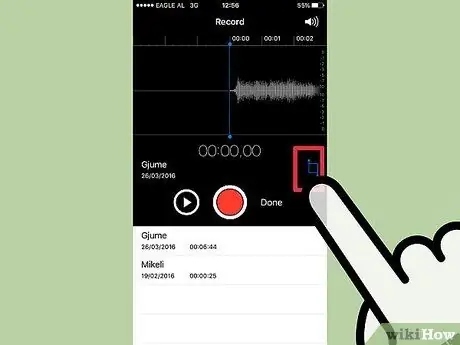
Step 3. Tap the blue button to access the Trim mode
You will see a red line at each end of the recording.
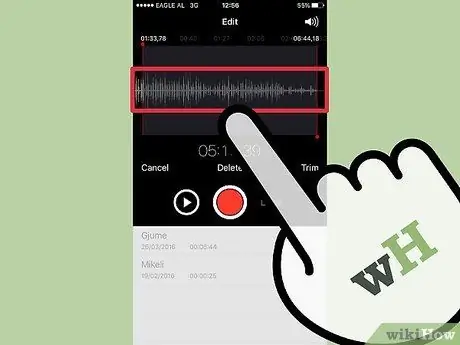
Step 4. Drag the red lines to set the start and end points of the recording
Use this function to remove the silence at the beginning or end of a recording, or to select a specific part of the recording that you want to split into a new file.
You can trim the recording multiple times to get the desired result. For example, you can cut a recording to remove the silence at the beginning of the recording, then cut it back to remove the silence at the end of the recording and create a new file from that particular piece of recording
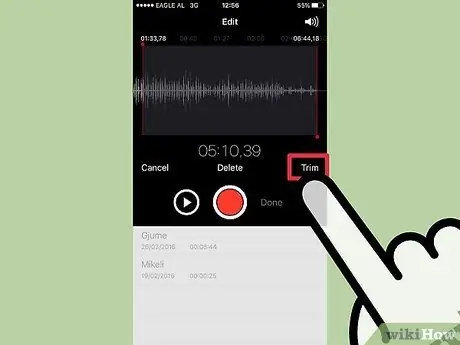
Step 5. Tap Trim once you are done setting the start and end points of the recording
You will be asked to choose whether to create a new file, or overwrite an existing one.
- If you choose to create a new file, the portion you selected with Trim will become the new file, and your original recording will remain unchanged.
- If you choose to overwrite the recorded file, only the portion you selected with Trim remains in the recording file.
Method 4 of 4: Sharing Audio Files
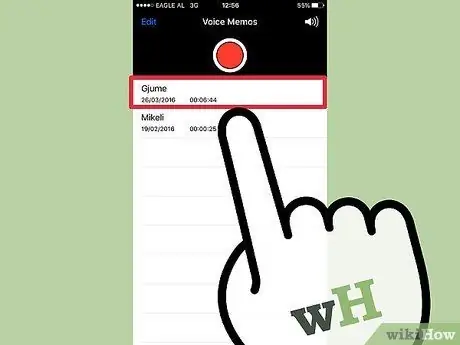
Step 1. Open the recording you want to share from Voice Memos
When you open the app, you will see a list of recordings. You can send recorded memo files through this application. The recorded file will be sent in M4A format, which can be played by most modern audio players.
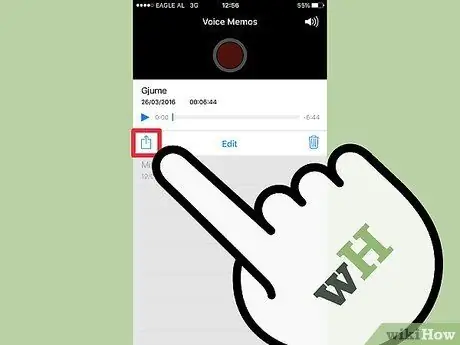
Step 2. After selecting the recording, tap on the Share button
This button is in the shape of a box with an arrow at the top.
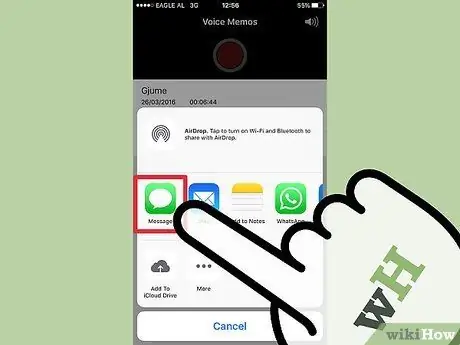
Step 3. Select the app you want to use to share the audio file
You can send audio files via Mail, Messages, or other messaging apps. If you don't find the app you want from the list, tap the "…" button, then select the app.
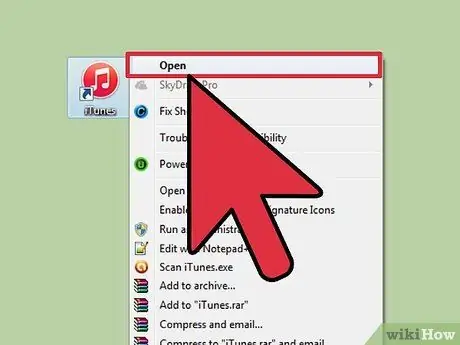
Step 4. Transfer voice memos to computer via iTunes
- Connect your iPhone to your computer, then open iTunes.
- Select iPhone from the top of the screen, then click the Music option in the left menu.
- Make sure the Sync Music and Include voice memos options are checked.
- Click the Sync button. Your voice recording will be copied to your iTunes library.


