- Author Jason Gerald gerald@how-what-advice.com.
- Public 2023-12-16 10:50.
- Last modified 2025-01-23 12:04.
Root privileges on Android phones give you more access to the "innards" of the operating system. With these permissions, you can customize your phone more deeply. Unfortunately, because there are too many types, there is no way to access root that can be used for all types of Android phones. To start the rooting process, you will need to download the appropriate software for your phone (and generally only available for Windows), enable the USB debugging option on the phone, and set up the USB driver on the computer. Before rooting, don't forget to back up the data on your phone.
Step
Method 1 of 4: Root Access on Samsung Galaxy S/Edge Phone
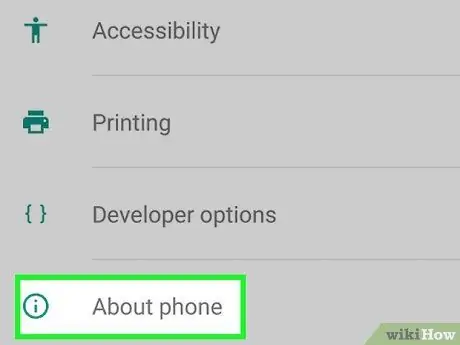
Step 1. Open the Settings menu on your phone, then tap the "About" option at the bottom of the screen
Note: The steps in this article were written specifically for the Galaxy S7 and S7 Edge, but you may want to try it on older Galaxy S phones. You just need to download the CF Auto Root file that fits your phone type
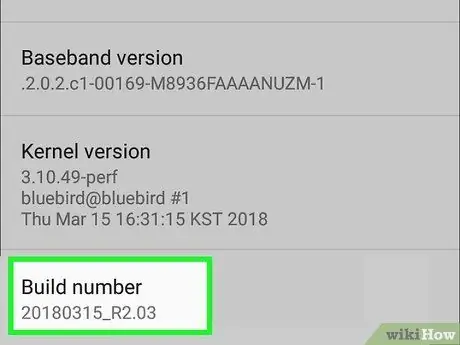
Step 2. Tap on the “Build Number” entry 7 times to enable developer options on the phone
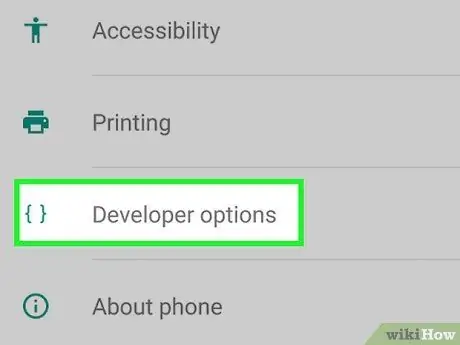
Step 3. Return to the Settings screen, then tap "Developer"
This menu will appear after you enable developer options. Within this menu, you can access debugging functions and other development options that are generally locked.
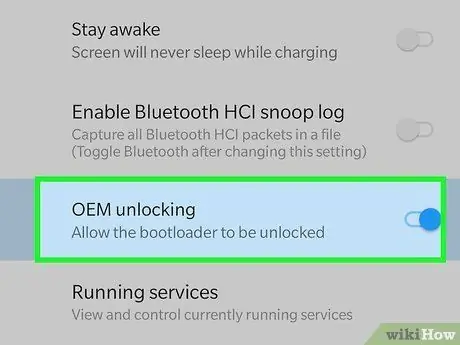
Step 4. Select "OEM Unlock", This option lets you start the rooting process
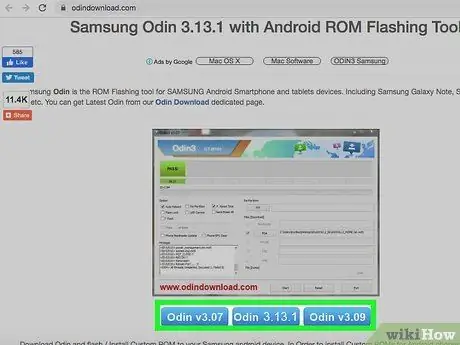
Step 5. Install and open Odin on your computer
This program which is only available for Windows is designed to perform the rooting process.
You can use Odin to root on older phones, like the Galaxy S6, but you'll still need to find the appropriate autoroot file
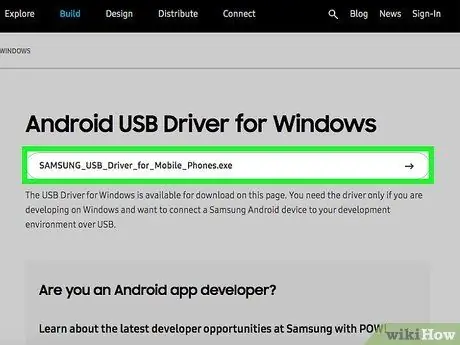
Step 6. Download and install none Samsung USB Driver so you can use USB debugging option on computer
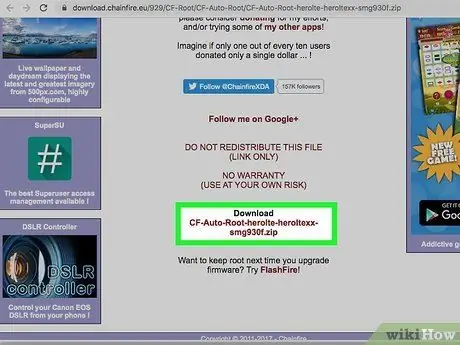
Step 7. Download and extract Chainfire's autoroot file for S7 or S7 Edge.
Right-click the downloaded ZIP file, then click "Extract". You will see a file with the extension.tar.md5.
If you want to root an older Galaxy S, find the autoroot file for your phone on the CF Autoroot site. Make sure you choose the right autoroot file to prevent damage to your phone
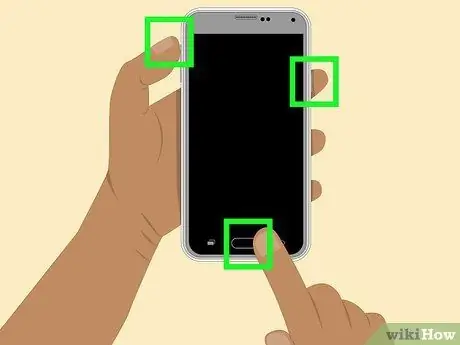
Step 8. Press and hold the Home, Power, and Volume down buttons on the phone at the same time
After a while, the phone will enter Download mode.
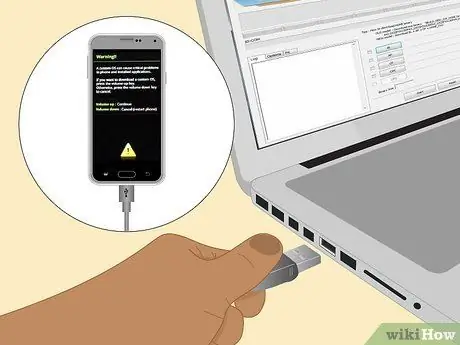
Step 9. Once Odin is open and the phone is in Download mode, connect the phone to the computer with a USB cable
Odin will display an "Added Message" message, indicating that the phone is connected.
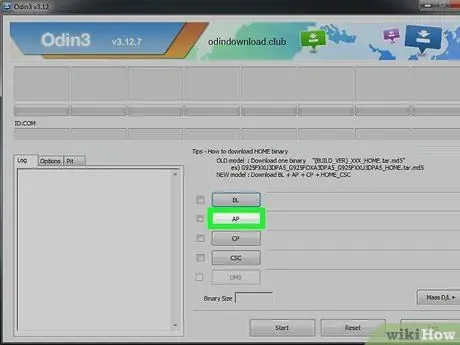
Step 10. Click "AP"
You will be asked to select a file.
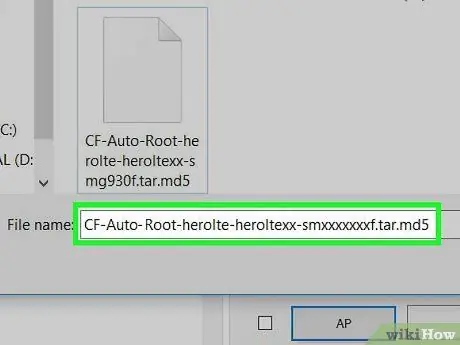
Step 11. Select the autoroot file with the extension.tar.md5
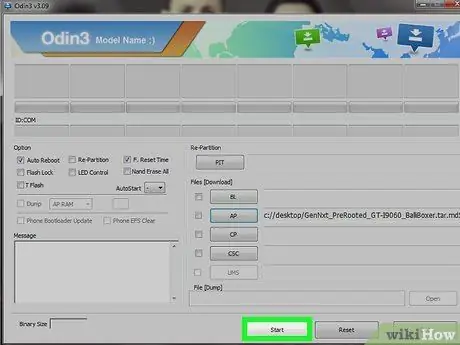
Step 12. Click Start
The rooting process will begin. Once done, the phone will restart, and log into the Android system as usual.
Method 2 of 4: Accessing Root on Nexus Phone
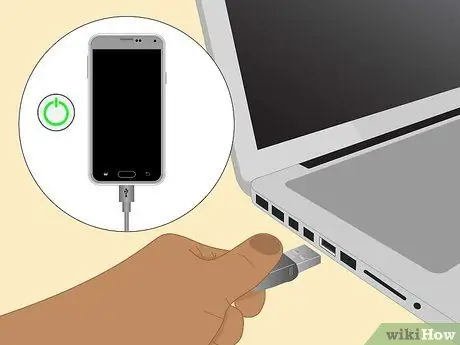
Step 1. Turn on the phone, and connect it to the computer via USB

Step 2. Install and open Nexus Root Toolkit on your computer
This program can be used to unlock the bootloader and access root on any Nexus device. When you start the program, you will be asked to select your phone type and Android version.
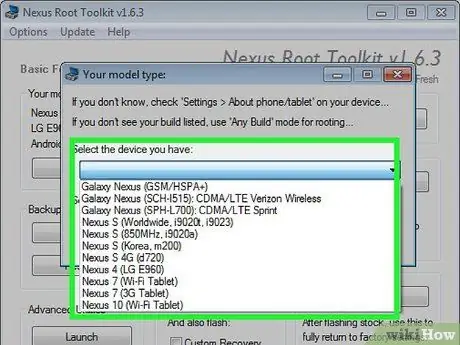
Step 3. Select the phone type from the drop-down menu
If you are not sure about the phone type, tap "Settings > About Phone". The type of phone will appear in the "Model number" column
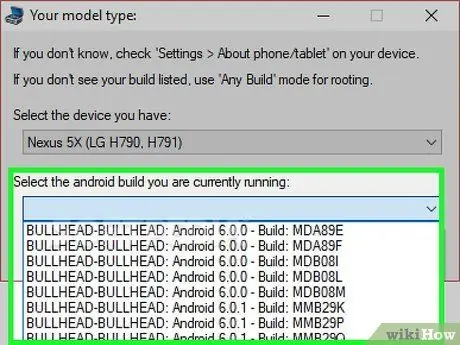
Step 4. Select the Android version used from the second drop-down menu
If you're not sure which version of Android you're using, tap "Settings > About Phone". The phone type will appear in the "Android version" and "Build Number" columns
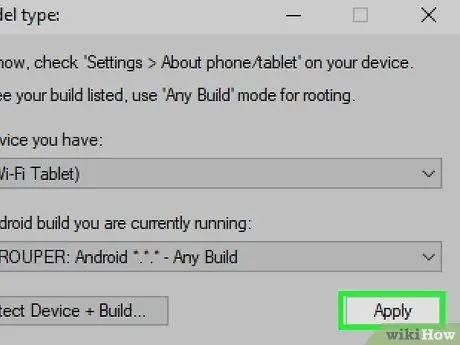
Step 5. Click Apply
You will see a detailed guide to enable USB debugging.
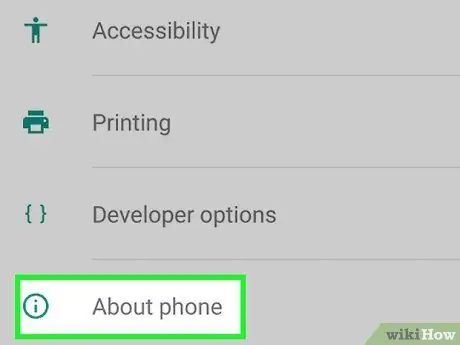
Step 6. Go to the Settings app on your device, then select "About Phone" at the bottom of the screen
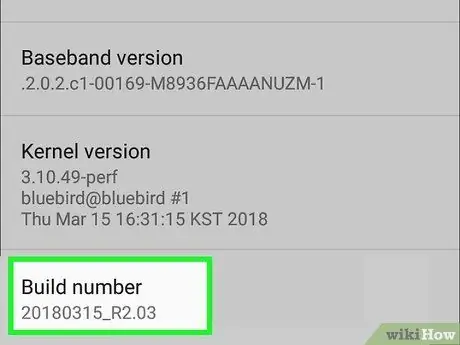
Step 7. Tap the "Build Number" entry at the bottom of the screen 7 times
After that, you will get a message that developer options have been enabled.
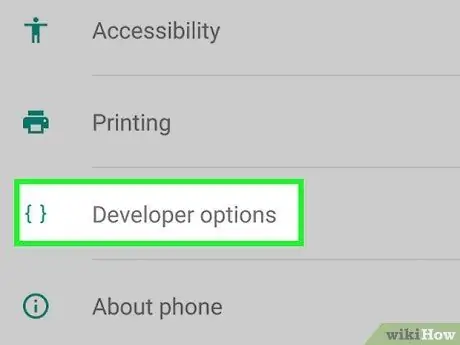
Step 8. Go back to the Settings screen, then tap "Developer"
This menu will appear after you enable developer options. Within this menu, you can access debugging functions and other development options that are generally locked.
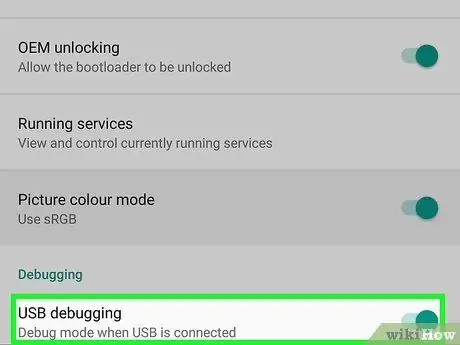
Step 9. Select "USB Debugging", then tap "OK"
You will see a window requesting debugging access from the computer.
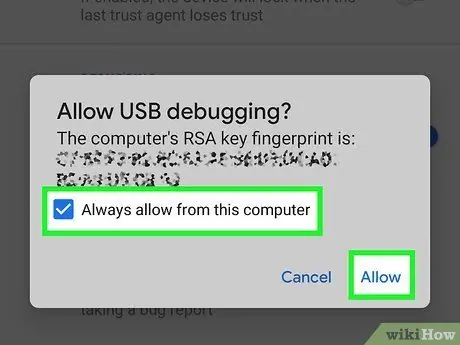
Step 10. Select “Always allow from this computer” then tap “OK”
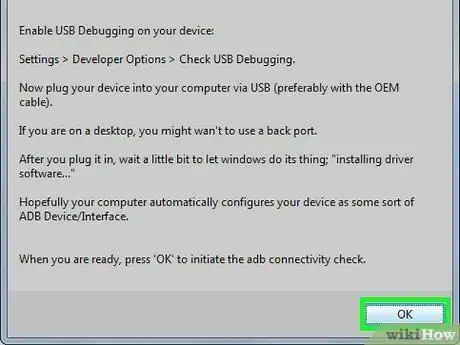
Step 11. Click "OK" on the wizard window in Nexus Root Toolkit
The program will detect the dependencies needed to unlock root access on the phone.
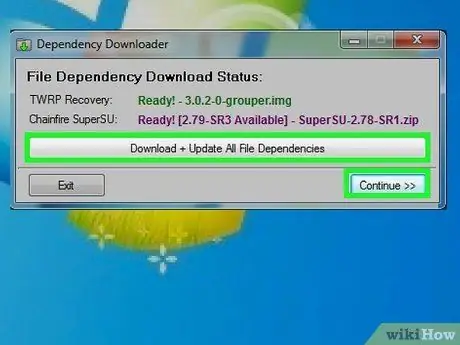
Step 12. Click “Download + Update All File Dependencies”, then click “Continue”
The required dependencies will download, and you will be taken to the main interface of the Nexus Root Toolkit.
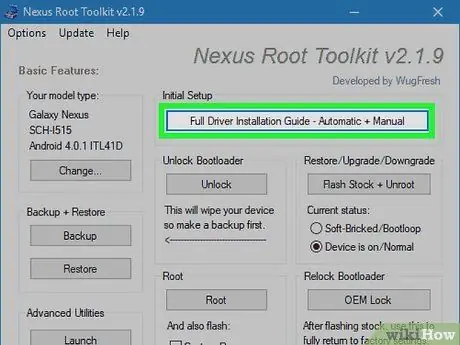
Step 13. Click “Full Driver Installation Guide” to view the driver installation guide
The steps for installing the driver will vary depending on your computer settings. You'll need to remove the old driver if you've connected another Android device to your computer before. After removing the old driver, Nexus Root Toolkit will suggest and provide the appropriate driver installation program.
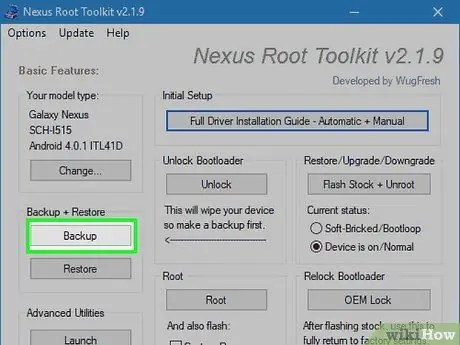
Step 14. Click "Backup" to back up data (optional)
On this screen, you will see a menu for backing up various types of data, such as contacts, SMS, and application data. After clicking each button, you'll see a specific guide for backing up that data.
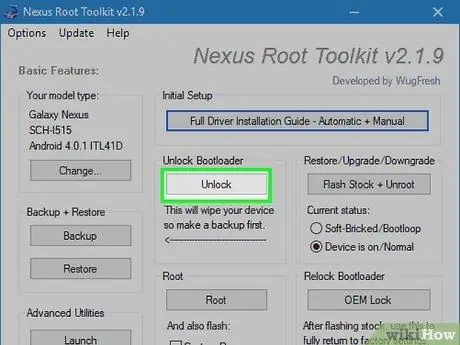
Step 15. Click "Unlock" to unlock the bootloader
Once the bootloader lock is unlocked, you can unlock root access on the phone. This step will delete the data in the phone. Therefore, you should back up your data before starting.
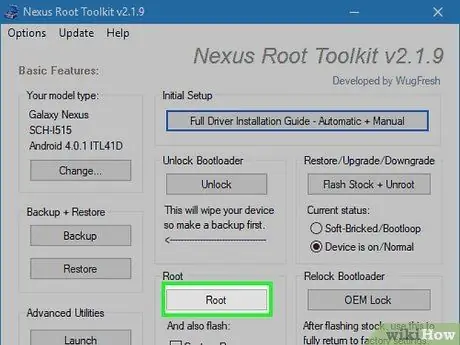
Step 16. Click "Root"
Nexus Root Toolkit will unlock root access on your device and install the SuperSU app automatically. Once this process is complete, you will be able to access the root of the phone.
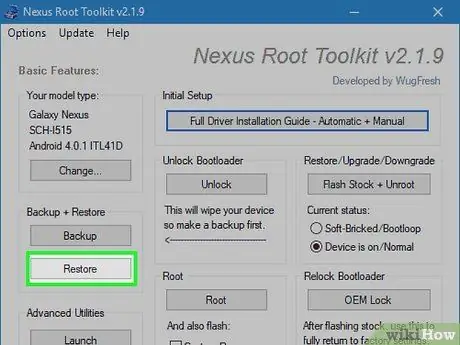
Step 17. Click "Restore"
You will see the same various data recovery options as the backup options. Click each option to restore data from the backup you made.
Method 3 of 4: Accessing Root with WinDroid Toolkit
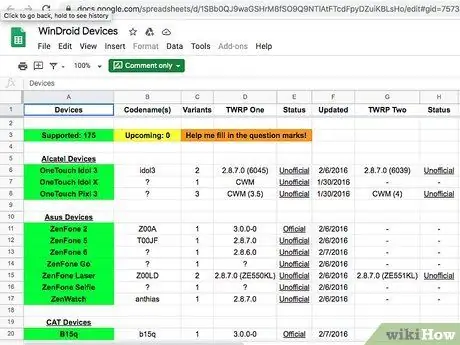
Step 1. Check gid=75731055 device compatibility list to make sure your device is compatible with WinDroid Toolkit
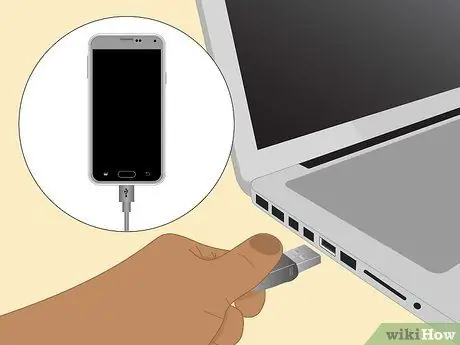
Step 2. Connect the phone to the computer via USB
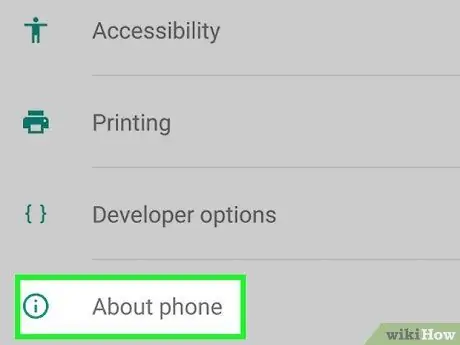
Step 3. Go to the Settings app on your device, then select "About Phone" at the bottom of the screen
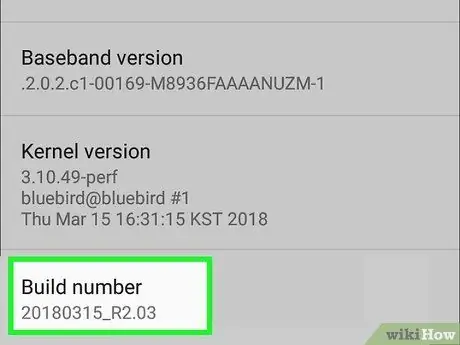
Step 4. Tap the "Build Number" entry at the bottom of the screen 7 times
After that, you will get a message that developer options have been enabled.
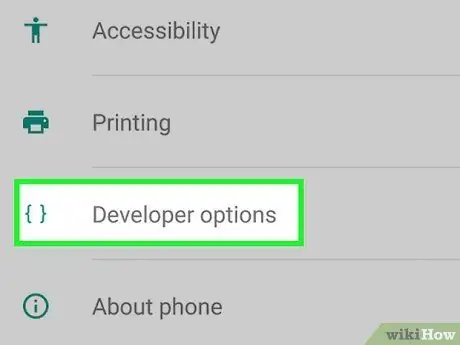
Step 5. Return to the Settings screen, then tap "Developer"
This menu will appear after you enable developer options. Within this menu, you can access debugging functions and other development options that are generally locked.
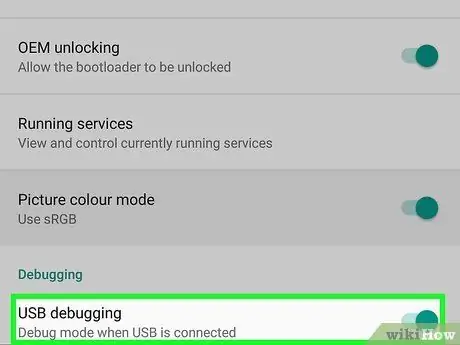
Step 6. Select "USB Debugging", then tap "OK"
You will see a window requesting debugging access from the computer.
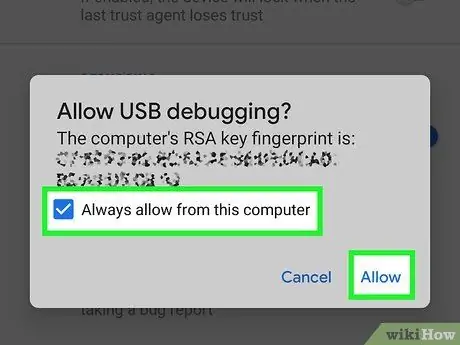
Step 7. Select “Always allow from this computer” then tap “OK”
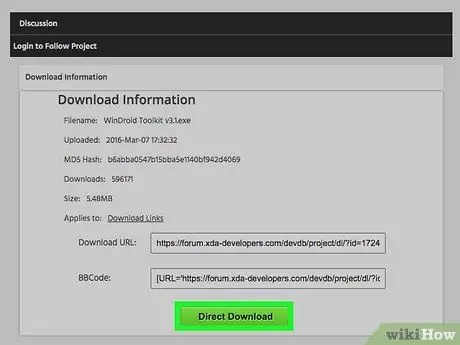
Step 8. Download and open WinDroid Toolkit to your computer
Once the program opens, you will be prompted to download ADB if ADB is not found on the computer.
Currently, WinDroid Toolkit is only available for Windows computers
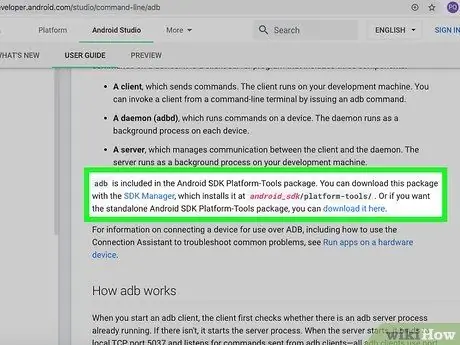
Step 9. Click to download ADB (Android Debug Bridge)
If ADB is already installed on the computer, this download request dialog box will not appear. After installing ADB, you will see a list of supported devices.
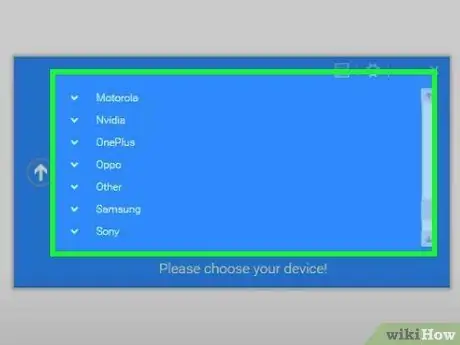
Step 10. Select the phone brand
You will see the supported phone models.
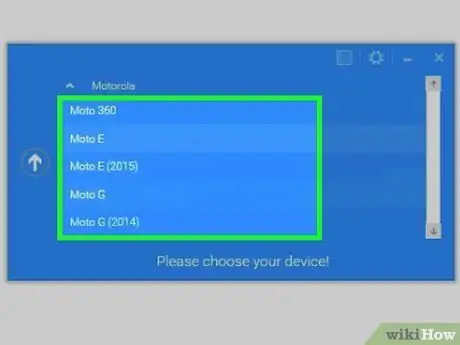
Step 11. Select your phone model
After selecting your phone model, WinDroid Toolkit will download the recovery image and autoroot file for your phone. Once the download is complete, you will be taken to the main screen of the program.
In the lower-left corner of the window, you'll see your online status. If your internet connection has problems while running the program, click "Refresh" in the lower right corner of the window to restore the connection
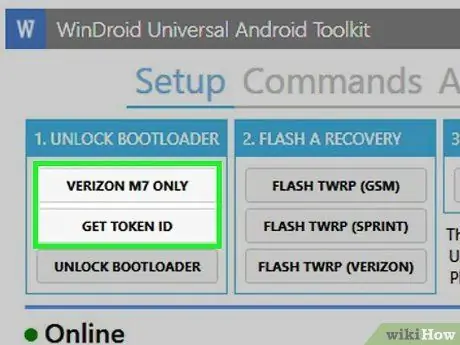
Step 12. Click the options that appear in the "Unlock Bootloader" column in order
The buttons that appear in this column will vary depending on the type of phone you have. For example, you may see a "Request Unlock" or "Get Token ID" button. WinDroid Toolkit will guide you to set up your phone's bootloader unlock.
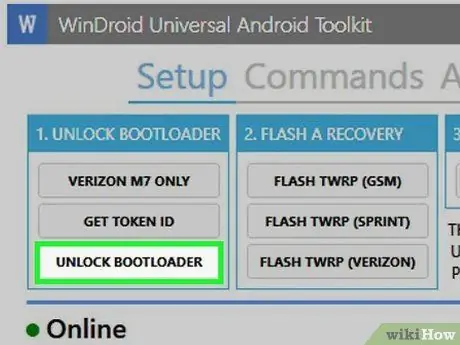
Step 13. Click the "Unlock Bootloader" button
WinDroid Toolkit will download and run a program to unlock the phone's bootloader.
This process will erase all data on the phone. Make sure you have backed up the desired data before proceeding
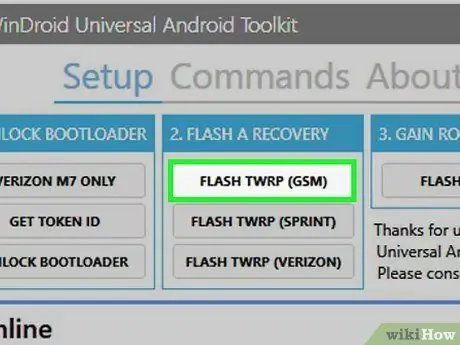
Step 14. Click the option that appears in the "Flash Recovery" section
The options that appear in this section will vary depending on your phone type. For example, you might see a "Flash TWRP" option. Your phone will restart in "fastboot" mode, and a "recovery" image will be installed on the phone. Once done, you will be asked to restart the phone.
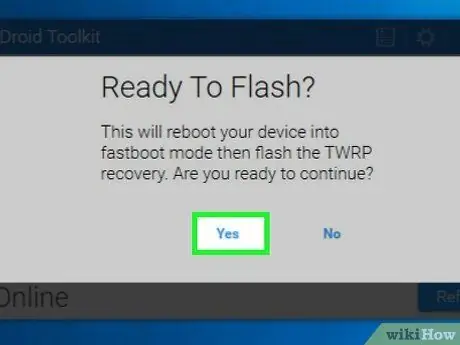
Step 15. Click "Yes" to restart the phone
WinDroid Toolkit will restart the phone via ADB.
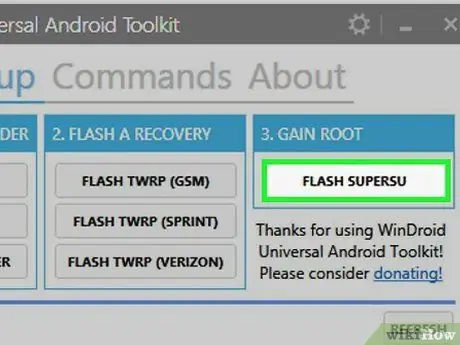
Step 16. Click "Flash SuperSU" in the "Gain Root" column
You will see a window to confirm rooting action.
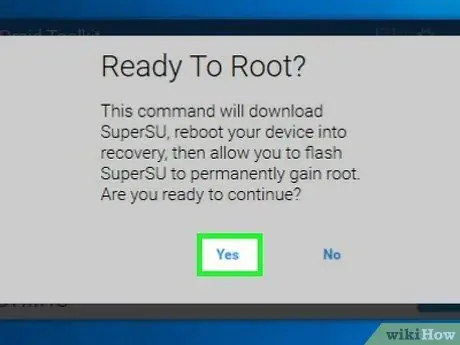
Step 17. Click "Yes"
WinRoot Toolkit will transfer the SuperSU autoroot file to your phone and activate the recovery image.
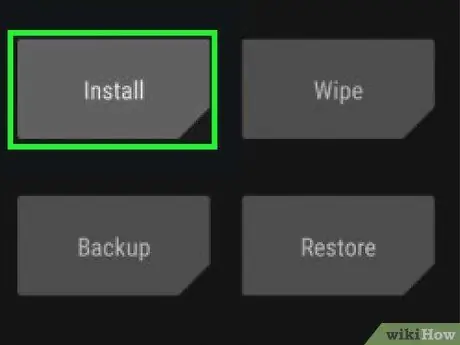
Step 18. Install SuperSU from recovery mode
The keys you should use may vary depending on the recovery image your phone is using. Once done, you will receive a success notification in WinDroid Toolkit, and you will be prompted to restart the phone.
For example, if your phone uses TWRP, press "Install", then select the SuperSU file. Slide the "Confirm Flash" button to activate SuperSU on the phone
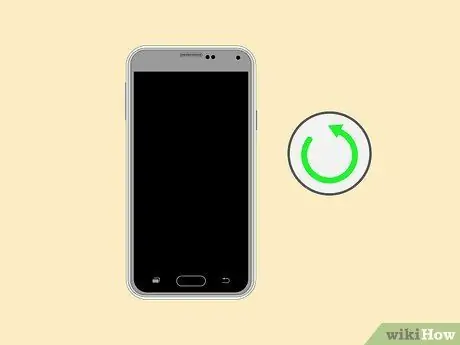
Step 19. Restart the phone
Once this process is complete, you will be able to access the root of the phone.
Method 4 of 4: Accessing Root on Another Android Phone
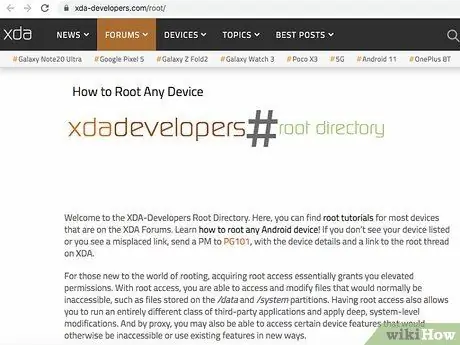
Step 1. Find your phone type on XDA forums
This forum is populated by Android developers who are always looking for ways to access root on various devices. Find the "Jump To" section on the page, then enter the make and model of your phone to find a rooting guide for that phone.

Step 2. Learn the Android SDK (Software Development Kit) and ADB (Android Debug Bridge).
This program with a text interface is required to unlock the bootloader and access root on newer phones, such as the HTC 10 or Moto X Pure.
Android SDK is also commonly used to root through Mac OS computers
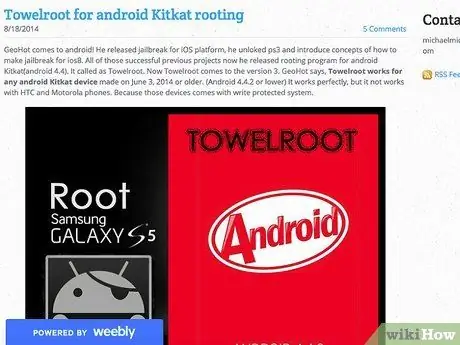
Step 3. Perform the rooting process with a one-click root program (such as Towelroot or FramaRoot) if you are using an old phone.
The application can be used to root phones with the Android 4.4 operating system and below. Check your phone's compatibility by visiting the respective app sites.
Tips
- Even if your phone is connected to a computer during the rooting process, we recommend that you charge the phone first before starting. If the phone's battery runs out during the rooting process, the phone's system may be damaged.
- Download and run the "Root Checker" application from the Play Store to ensure root access on the phone is unlocked.
Warning
- Make sure the program you are using is suitable for your phone type and version. The incompatibility of the rooting program with the type of phone can cause the rooting process to fail, and your phone may die completely because of it.
- Unlocking the bootloader and root access may void the phone's warranty.
- You may not be able to root on some phones, especially newer phones. Make sure your phone is completely rootable before trying to root it. If your phone can't be rooted and you dare to try it, apart from wasting time, your phone may also be accidentally damaged.


