- Author Jason Gerald gerald@how-what-advice.com.
- Public 2024-01-19 22:11.
- Last modified 2025-01-23 12:04.
Rooting Android provides several benefits, such as the ability to gain administrative privileges to access the Android operating system, the option to extend battery and memory life, as well as the ability to install applications that are exclusive to rooted devices. You can root your Android tablet using a third-party program made by Kingo Root, One Click Root, or Towelroot.
Step
Method 1 of 4: Using Kingo Root
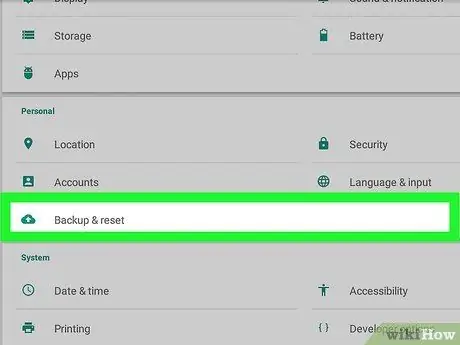
Step 1. Back up all Android data to Google server, your computer, or a third party cloud storage service
Rooting the device will delete all personal data on it, such as photos, contacts and music.
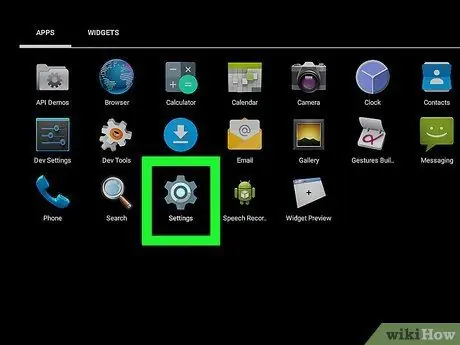
Step 2. Tap Menu, then tap "Settings" on the tablet
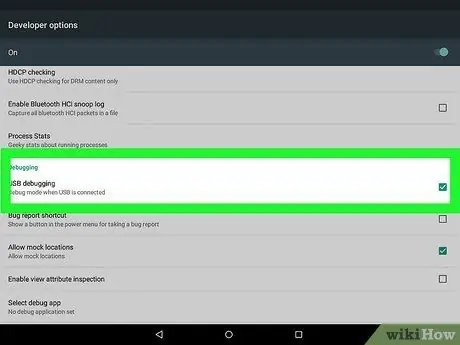
Step 3. Scroll down and tap on "Developer options", then check the box next to "USB debugging"
This process will allow the root processing program to communicate with the device.
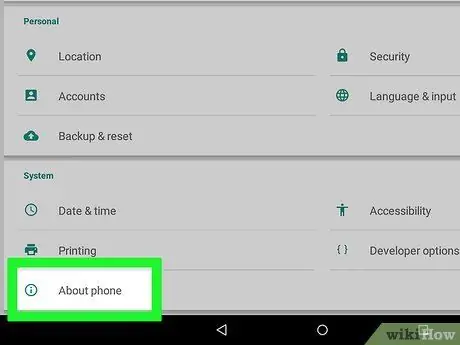
Step 4. Tap the Back button to return to Settings, then tap "About phone"
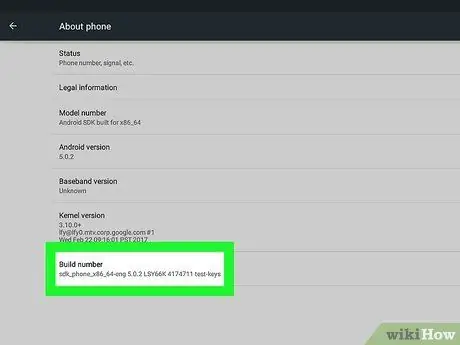
Step 5. Tap "Build number" repeatedly until a message saying "Now you are a developer" appears
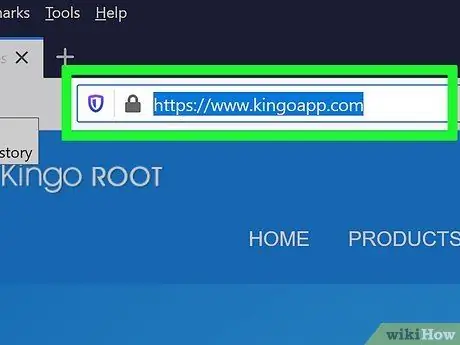
Step 6. Visit the Kingo website at
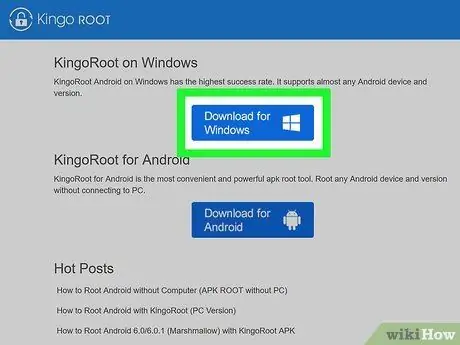
Step 7. Select the option to download the Kingo app for your computer
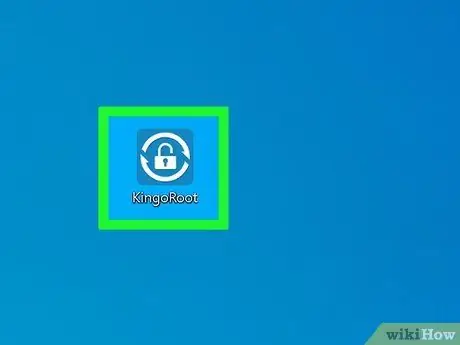
Step 8. Double-click on the Kingo installer file, then follow the on-screen prompts to install Kingo on your computer

Step 9. Connect the tablet with the computer via a USB cable
Kingo will detect the device automatically, then the latest drivers for your tablet will be installed into the computer.
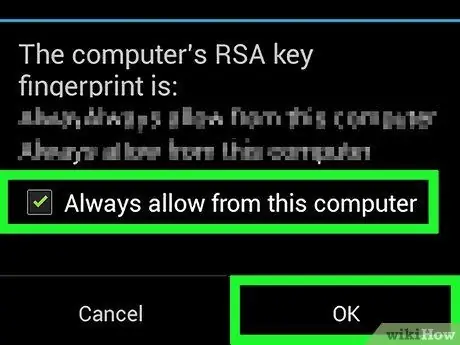
Step 10. Check the box next to "Always allow from this computer" on your tablet, then tap "OK"
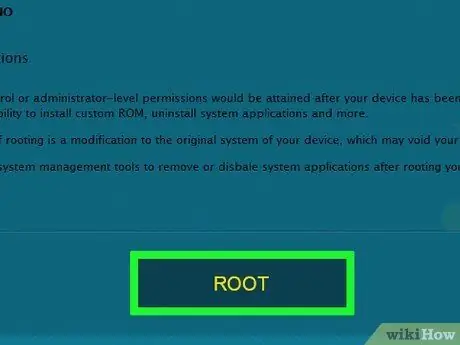
Step 11. Click "Root" on the Kingo app on your computer
Kingo will start the rooting process on your tablet, and the process may take up to a few minutes.

Step 12. Click "Finish" on Kingo when the program displays a message stating that the root process has been completed successfully
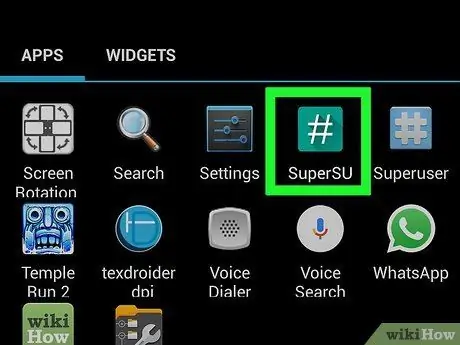
Step 13. Disconnect the tablet and computer, then restart your tablet
After the tablet restarts, the SuperSU app will appear in the app tray, then your Android should have successfully rooted.
Method 2 of 4: Using One Click Root
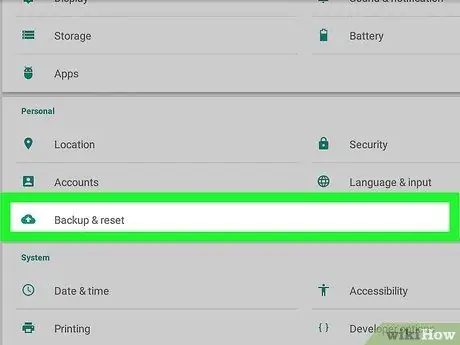
Step 1. Back up all Android data to Google server, your computer, or a third party cloud storage service
Rooting the device will erase all personal data, including photos, contacts, and music.
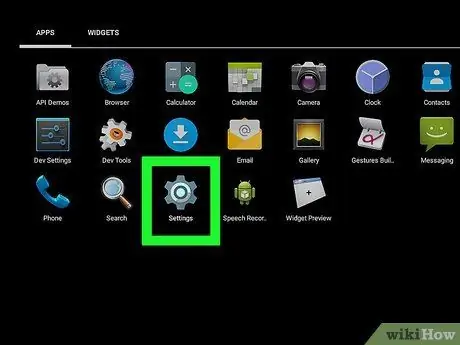
Step 2. Tap Menu, then tap "Settings" on the tablet
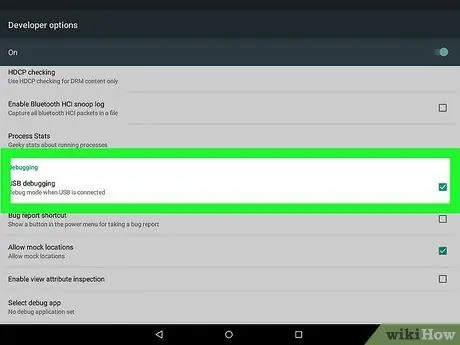
Step 3. Scroll down and tap on "Developer options", then check the box next to "USB debugging"
This process will allow the root processing program to communicate with the device.
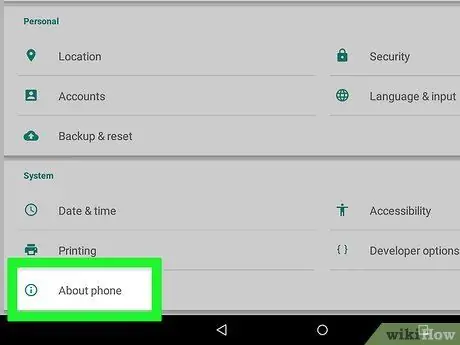
Step 4. Tap the Back button to return to Settings, then tap "About phone"
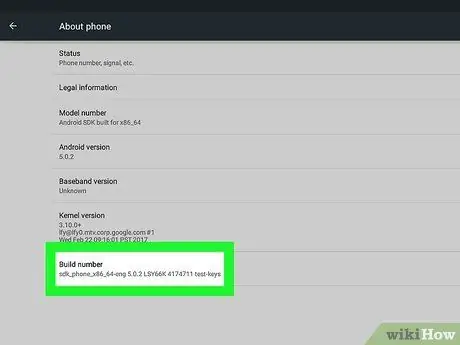
Step 5. Tap "Build number" repeatedly until a message saying "Now you are a developer" appears
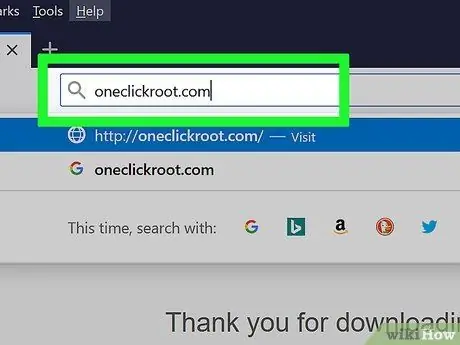
Step 6. Visit the One Click Root website at
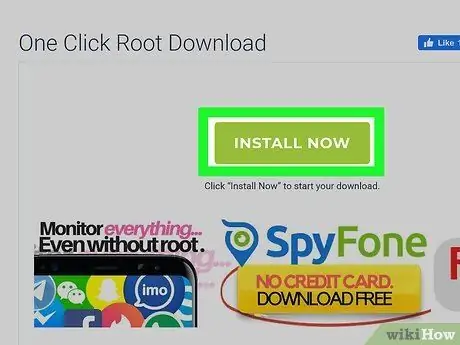
Step 7. Select the option to download the One Click Root application into your computer

Step 8. Double-click on the One Click Root program installer file, then follow the on-screen prompts to complete the process of installing the application on your computer
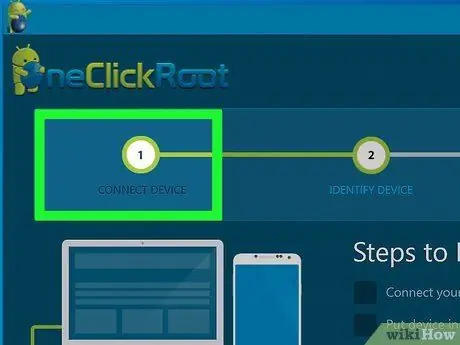
Step 9. Connect the tablet with the computer via a USB cable
One Click Root will detect your tablet automatically and install the latest drivers for your tablet on your computer.
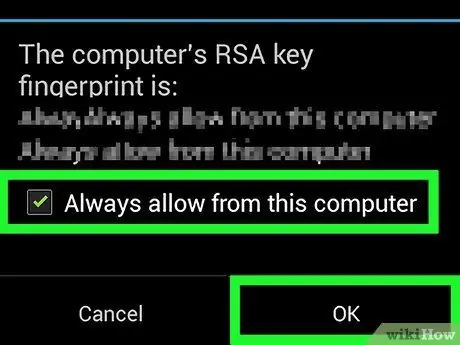
Step 10. Check the box next to "Always allow from this computer" on the tablet, then tap "OK"
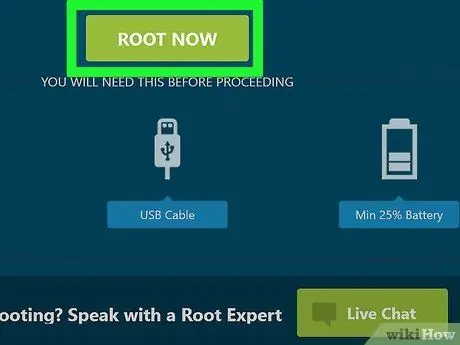
Step 11. Click "Root" inside the One Click Root app
The app will start the root process on the device, and this process may take up to a few minutes.

Step 12. Click "Finish" on One Click Root when a message stating that the root process was successful is displayed
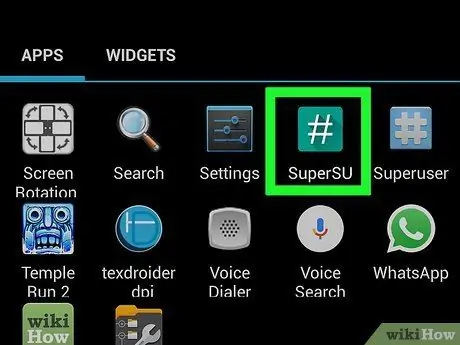
Step 13. Disconnect the tablet from the computer, then restart the device
After the tablet restarts, the SuperSU app will appear in the app tray, then your Android should have successfully rooted.
Method 3 of 4: Using Towelroot
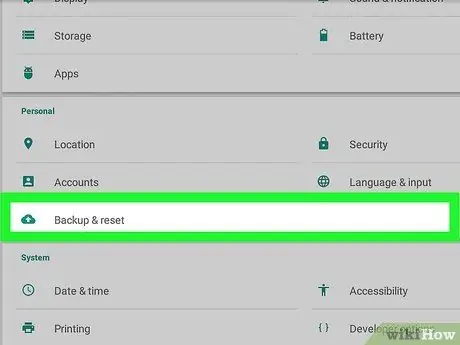
Step 1. Back up all Android data to Google server, your computer, or a third party cloud storage service
Rooting the device will erase all personal data, including photos, contacts, and music.
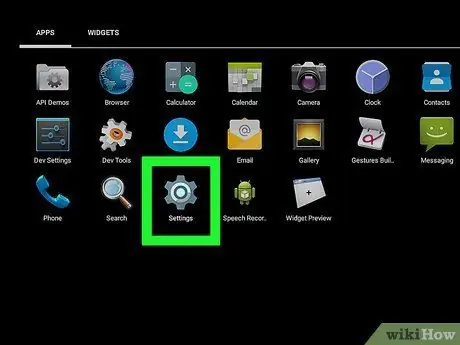
Step 2. Tap Menu, then tap "Settings" on the Android tablet
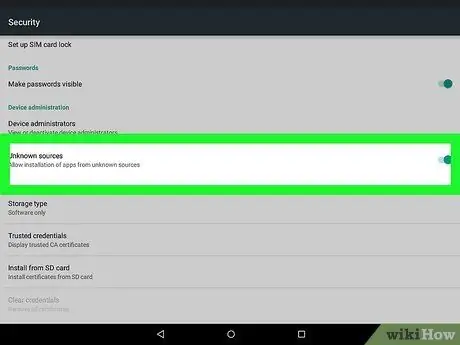
Step 3. Tap "Security", then check the box next to "Unknown sources"
This way, the tablet will be allowed to install programs originating from outside the Google Play Store.ref>https://www.digitaltrends.com/mobile/how-to-root-android/3/
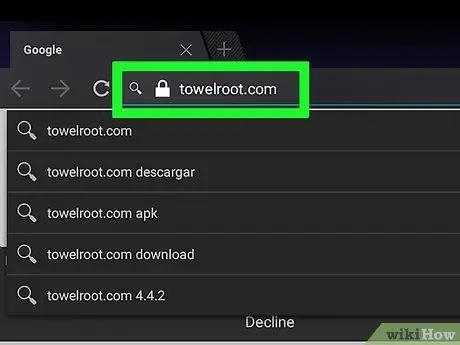
Step 4. Visit the official Towelroot website using a tablet at

Step 5. Tap the Lambda symbol, which is the red icon in the middle of the page that opens
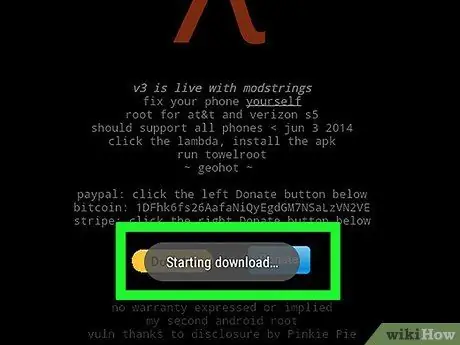
Step 6. Select the option to save the Towelroot.apk file (tr.apk) to the tablet
The file will start downloading.
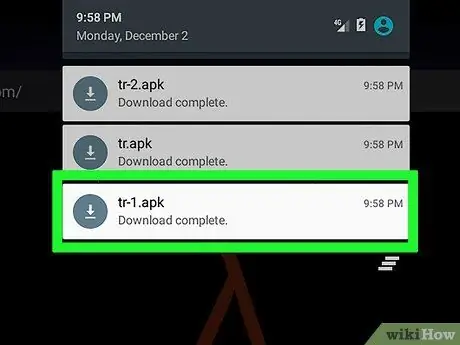
Step 7. Wait for the file to finish downloading, then drag the notification screen down from the top side of your tablet
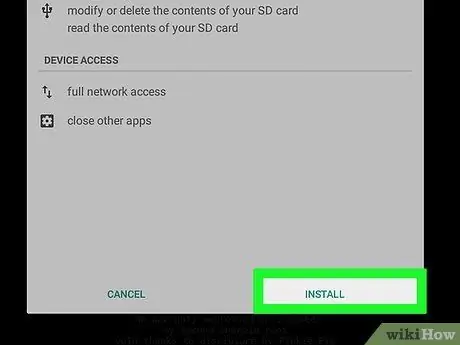
Step 8. Tap on "Download Complete", then tap on "Install"
The Towelroot application will begin installing into the tablet.

Step 9. Wait for the app to finish installing, then drag down the notification screen from the top side of the tablet
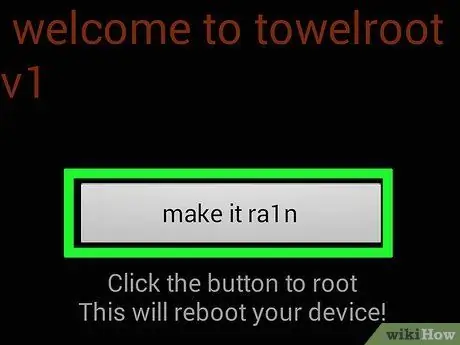
Step 10. Tap on "Installation Complete", then tap on "Make it Ra1n"
The root process will take place on your Android tablet, and this process may take up to a few minutes.
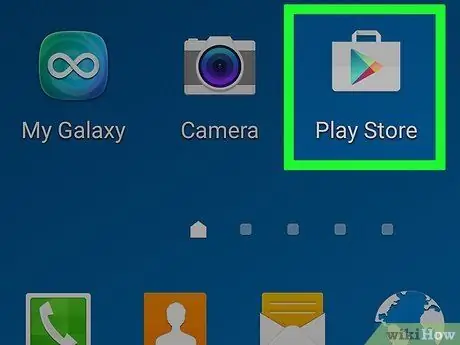
Step 11. Launch the Google Play Store app on the tablet when the root process is complete
Step 12. Look for an application named "SuperSU" by Chainfire
The superuser app will prevent unauthorized apps from applying changes to your tablet.
Step 13. Select the option to install the SuperSU app
Alternatively, you can download it via
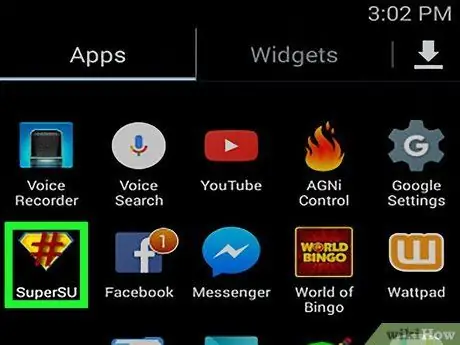
Step 14. Open SuperSU when the installation is complete
The application will set up and prepare the device to use the root-only application automatically, then the root process is complete.
Method 4 of 4: Troubleshooting Rooting
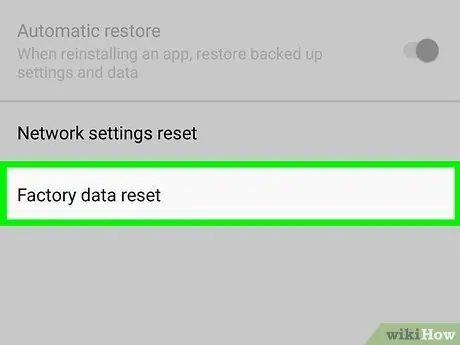
Step 1. Unbrick the Android device if the root process makes the tablet inoperable
Rooting is not supported by Android, and it may not work for all devices. By unbricking Android, usually the general program problems can be solved, then the device will be returned to factory settings.
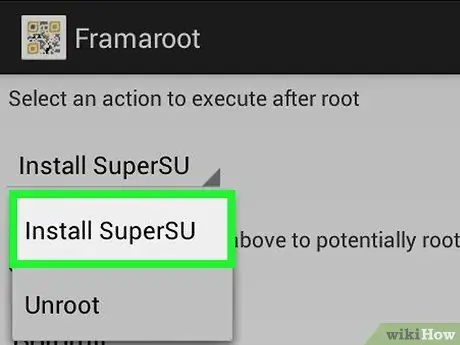
Step 2. Try using another root program if the first method of your choice doesn't work to root the device
For example, Towelroot may not work effectively for Android tablets made by HTC or Motorola. In most cases, you can visit the device manufacturer's website for the latest information on program compatibility for Android tablets.
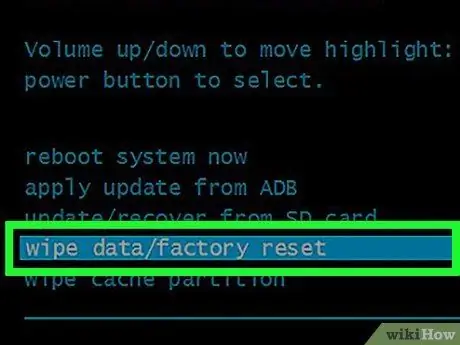
Step 3. Try to do a reset on Android if the root process fails and causes problems to the device
A reset, also known as a hard reset, can help to restore the device to factory settings.


