- Author Jason Gerald gerald@how-what-advice.com.
- Public 2024-01-19 22:11.
- Last modified 2025-06-01 06:05.
The term “fracture” at the wrist can actually refer to the distal bone of the radius and/or ulna, in addition to the other bones of the wrist (called the carpal bones). These injuries are quite common. In fact, the radius bone is the most commonly injured bone in the arm. 1 in 10 fractures in the US occur in the distal radius. A broken wrist can happen when you fall or get hit by something. People at high risk of wrist fractures include athletes who play high-intensity sports as well as people with osteoporosis (thin and brittle bones). If you are under treatment for a broken wrist, you may need to wear a cast until your wrist heals. Read on to learn some ways to deal with a broken wrist.
Step
Part 1 of 4: Seeking Care

Step 1. Visit a doctor
A broken wrist requires medical attention to heal properly. If you are not experiencing serious pain, wait until you are able to see your regular doctor. If you have any of the following symptoms, you should seek emergency medical care immediately:
- Significant pain or swelling
- Your wrist, hand or fingers are numb
- Wrist appearance changes and looks crooked
- Open cracks (i.e. bone that breaks through the skin)
- Pale fingers
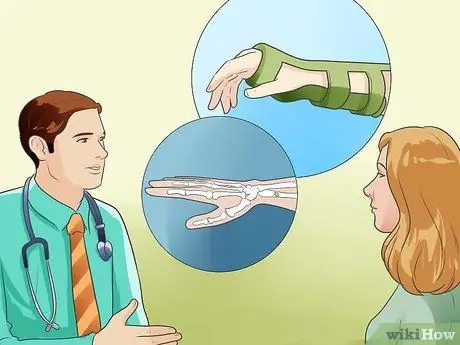
Step 2. Understand the treatment procedure
Most cases of wrist fracture are treated with a splint first. This splint is a small board made of plastic, fiberglass, or metal, and is attached to the wrist with tape or braces. A splint is usually used for a week until the swelling subsides.
- After the initial swelling has subsided, the splint will usually be replaced with a plaster or fiberglass cast within a few days or a week.
- You may need an additional cast after 2-3 weeks if the swelling subsides and the first cast becomes too loose.
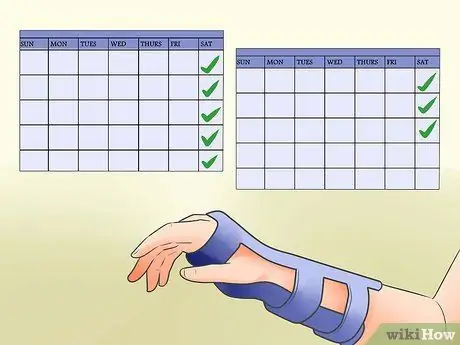
Step 3. Wait 6 to 8 weeks
Most wrist fractures heal within 6-8 weeks if treated properly. This means you may have to wear a cast for this duration.
Your doctor will usually run an x-ray during this period to make sure your wrist is healing
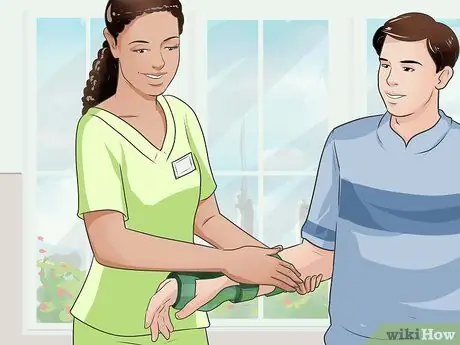
Step 4. See a physical therapist
After the cast is removed, you may be referred to a physical therapist. A physical therapist can help you gain strength and movement in your arm that was lost when you were injured.
If you don't need formal physical therapy, your doctor may teach you some exercises to do yourself at home. Make sure you follow his advice to help your wrist return to full function
Part 2 of 4: Relieve Pain and Swelling
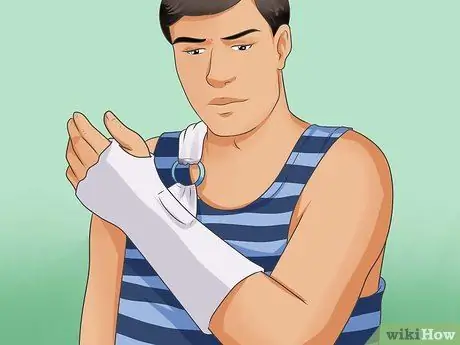
Step 1. Pinch the wrist
Supporting your wrist so that it is higher than your heart will help reduce swelling and pain. Support the wrist for at least 48-72 hours of wearing the cast. Your doctor may advise you to hold it up longer.
You may also need to keep your wrists propped up while you sleep or are active throughout the day. Try using some pillows
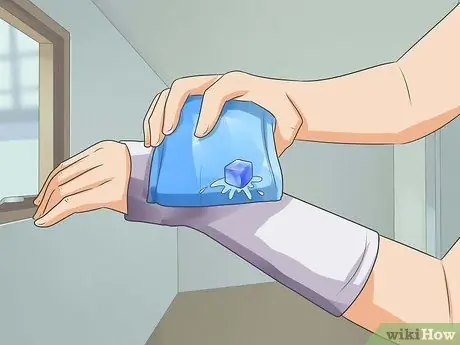
Step 2. Apply ice to the wrist
Ice can help reduce swelling and pain. Make sure the cast stays dry when you apply the ice.
- Put the ice in a resealable plastic bag. Make sure the bag is closed properly so the ice doesn't escape when it melts. Wrap the bag in a towel to make sure the condensation doesn't stick to the cast.
- You can also use a bag of frozen vegetables as an ice pack. Look for small, equal-sized vegetables, such as corn or beans (don't eat these after you've used them as an ice pack).
- Apply ice to your wrist for 15-20 minutes every 2-3 hours. Do it in the first 2-3 days, or according to doctor's advice.
- Gel-based ice packs can also be useful. Buy these compresses, which are reusable and won't melt and wet the cast. You can find them at medical supply stores and most pharmacies.
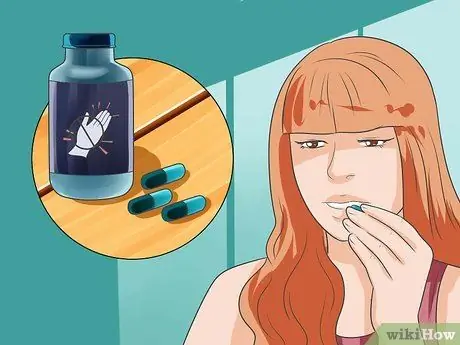
Step 3. Take over-the-counter painkillers
Most wrist pain can be treated with over-the-counter pain relievers. You can also talk to your doctor about which type of pain medication might be right for you. Your doctor may suggest a combination of ibuprofen and acetaminophen/paracetamol to relieve pain and swelling. This combination is more effective than if each drug is used separately.
- Ibuprofen is an NSAID (non-steroidal anti-inflammatory drug). Medications like these help reduce fever and swelling by blocking the body's production of prostaglandins. Some other NSAIDs include naproxen sodium and aspirin, although aspirin has a longer anti-clotting effect than other NSAIDs.
- Your doctor may not prescribe aspirin if you have a bleeding disorder, asthma, anemia, or other medical condition. Aspirin can cause negative interactions with some serious medical conditions and certain medications.
- When you give pain medication to children, make sure the formula and dosage are right for the child's age and weight. Aspirin is not recommended for children under age 18.
- There is a risk of liver damage when taking acetaminophen, so use it as your doctor recommends.
- Do not take over-the-counter pain relievers for more than 10 days (5 days in children) unless advised by a doctor. If the pain persists after 10 days, see a doctor.
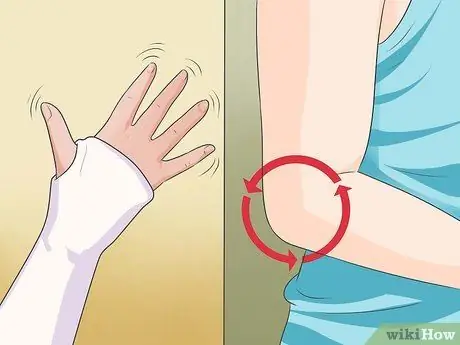
Step 4. Move your fingers and elbows
You should still practice the joint movements that are not in a cast, such as the elbow and fingers, to keep blood circulation flowing. In this way, the healing process and your movement will be helped.
If you experience pain when moving your elbow or fingers, call your doctor
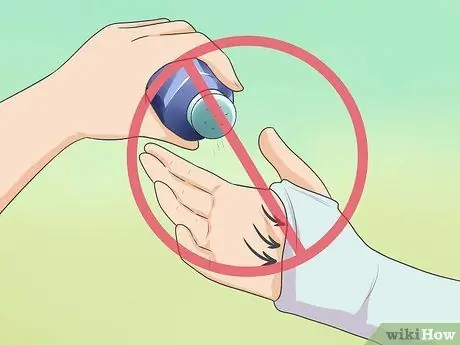
Step 5. Avoid sticking objects through the cast
The skin behind the cast can itch and you may want to scratch it. Do not! If you do this, the skin or cast may be damaged. Do not puncture anything in the cast.
- Try blocking the cast or blowing it out with a hairdryer on a “low” or “cool” setting.
- Also don't sprinkle powder behind the cast. Anti-itch powder can cause irritation when trapped under the cast.
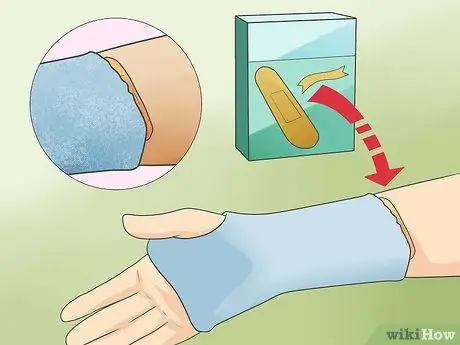
Step 6. Use moleskin to prevent scratching
The cast may accidentally scratch or irritate the skin at the edges. Use a moleskin to prevent this (a moleskin is a soft cloth with an adhesive material, which is affixed to the irritated skin). You can buy moleskin at drug stores and pharmacies.
- Use moleskin on dry and clean skin. Replace when the moleskin is dirty or no longer sticky.
- If the edges of your cast become rough, use a file to smooth the rough edges. Do not peel, cut, or scrape the edges of the cast.
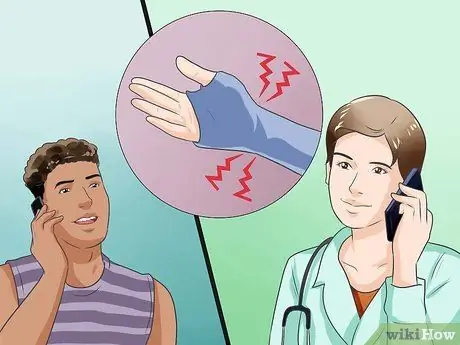
Step 7. Know when it's a good time to call your doctor
Usually, the wrist will heal within a few weeks with proper treatment. Call your doctor if you experience any of the following symptoms:
- Numbness or tingling in the hands and fingers
- The fingers are blue, feel cold, and look pale
- Pain or swelling in the area of the broken wrist after the cast is placed
- Irritated or itchy skin around the edges of the cast
- Casts that are cracked or starting to soften
- Casts that are wet, loose, or too tight
- Casts that smell bad or itch for a long time
Part 3 of 4: Doing Daily Tasks
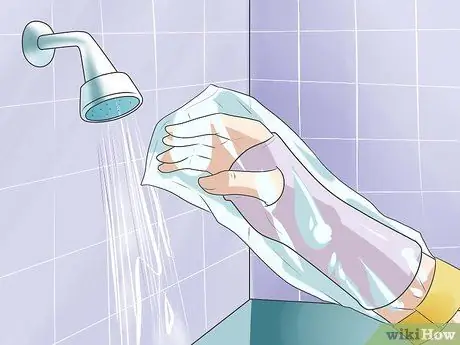
Step 1. Keep your cast from getting wet
Since many casts are made of plaster, they are easily damaged by water. Wet casts can grow mold or cause scabs on the skin. Don't let the cast get wet.
- Place a sturdy plastic bag (such as a trash bag) over the cast when you shower or bathe. Keep the cast out of the bath or shower to prevent the cast from getting wet.
- Wrap a small towel or clean cloth around the cast to keep water from getting on it.
- You may be able to purchase a waterproof plaster cast from your doctor's office or medical supply store.
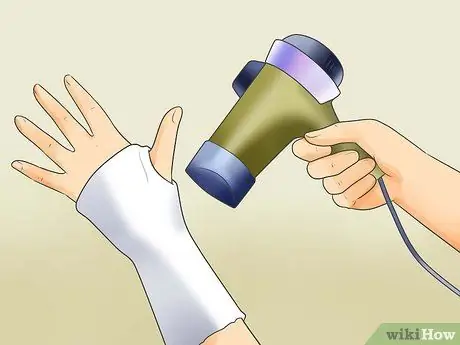
Step 2. Dry the cast immediately if it gets wet
If the cast gets wet, pat it dry with a bath towel. Then, blow your hair dryer on a “low” or “cool” setting for 15-30 minutes.
If the cast remains wet or mushy after you try to dry it, call your doctor. You may need a new cast
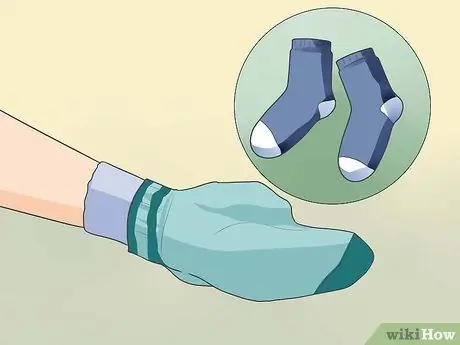
Step 3. Wrap the sock in your hand
If your fingers get cold in the cast, you may have circulation problems (or maybe it's just that the temperature in your house is low). Pile up your wrists and put socks on your hands to keep your fingers comfortable.
Moving your fingers can help restore circulation
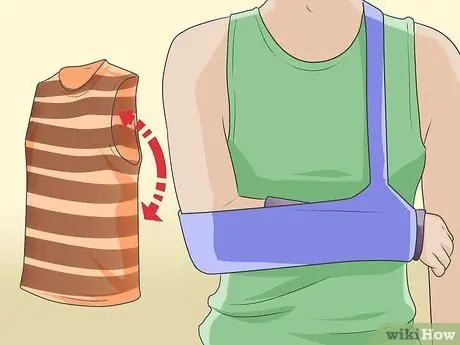
Step 4. Wear clothes that are easy to wear
Clothes with buttons or zippers may be difficult to put on if you are in a cast. Don't choose tight clothing, as these usually won't accommodate a cast.
- Choose clothes that are limp and loose. Elastic pants or skirts are a good choice because you don't have to deal with buttons or zippers.
- Short-sleeved or sleeveless shirts are also good options.
- Use your healthy arm to pass the cast on the shirt and gently pull it off. Try to minimize the use of the cast arm.
- Use a scarf or blanket to keep your hands warm. Do not choose a jacket because the jacket is more difficult to wear. A raincoat or cape can be a more practical option than an outdoor coat.
- Don't be shy about asking for help when you need it.
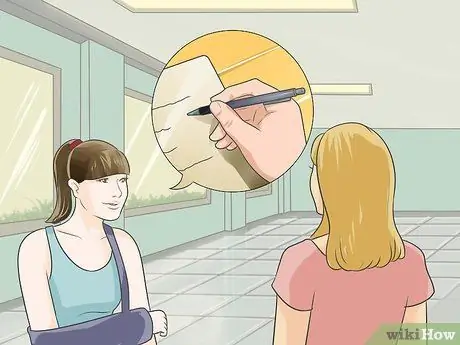
Step 5. Ask someone to help take notes in class
If you're a student and you broke your dominant wrist, ask a friend to help you take notes while you wait for the wrist to heal. Talk to your teacher or student help center so they can help you find the right person.
- If you can learn to write with your non-dominant hand, it will help you. However, be aware that this is difficult and takes a long time.
- If your non-dominant wrist is broken, use a heavy object such as a book or paperweight to hold the notebook while you write. Minimize use of the injured arm.
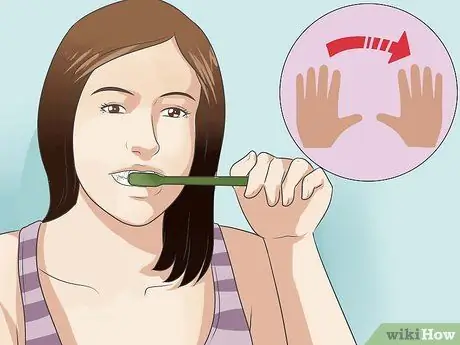
Step 6. Perform various activities with the other hand
If possible, use the uninjured arm to perform various daily tasks, such as brushing your teeth and eating. This way, the inflammation in the injured wrist will decrease.
Do not lift or carry objects with an injured wrist. This can cause extra injury or delay the healing process
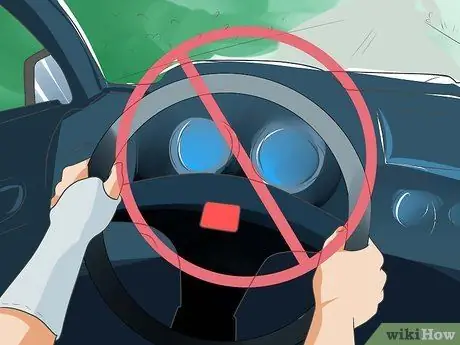
Step 7. Avoid driving or operating machinery
Driving in a cast is unsafe, especially if your dominant wrist is injured. Your doctor may advise you not to do it.
- While it's not illegal to do this, use common sense to determine when or not to drive.
- Other machines - especially those that require two hands to run - should also be avoided.
Part 4 of 4: Healing After a Broken Wrist
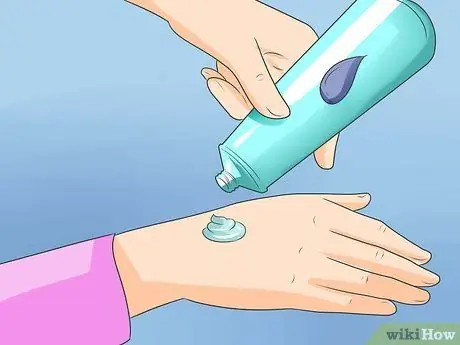
Step 1. Treat the arm and wrist after the cast is removed
The wrist may be dry and slightly swollen at this stage.
- The skin may also look cracked. Your muscles will also look smaller - this is normal.
- Soak the arm/wrist in warm water for 5-10 minutes. Gently dry the skin with a towel.
- Use a moisturizing cream on the wrists and arms to soften the skin.
- Take ibuprofen or aspirin as directed by your doctor to reduce swelling.
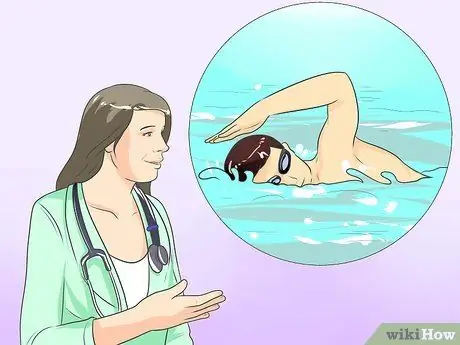
Step 2. Continue normal activities as directed by your doctor or physical therapist
You may need some time before you can resume a full routine. Generally, you should wait 1-2 months to resume light exercise, such as swimming or cardio. Strenuous exercise should not be performed before 3-6 months after you have removed your cast.
Take care to prevent further injury to the wrist. You can use a brace to prevent future injury
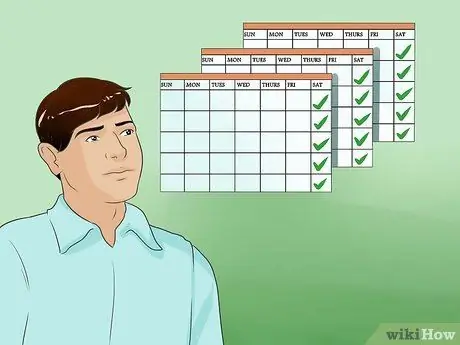
Step 3. Remember, healing takes time
Just because the cast has been removed doesn't mean you're completely healed. You may need six months or longer to heal if your fracture is severe.
- You may continue to experience pain or stiffness for months or years after a broken hand occurs.
- The healing process is also affected by your age as well as your general health. Children and adolescents tend to recover more quickly than adults. Older people as well as people with osteoporosis or osteoarthritis may not recover quickly or fully.
Tips
- Try to keep your arms higher than your heart when you are in pain. This method helps blood and fluids return to the heart, thereby reducing pain and swelling.
- Try propping your wrists up while you sleep. Lie on your back with a pillow under your wrists.
- If you need to board an airplane while in a cast, contact the airline concerned. You may not be able to travel by plane within 24-48 hours of the cast being applied.
- You can write on the plaster. Use a permanent marker to avoid ink stains on clothes or sheets.
- If you're having trouble opening the bottle or jar as usual, try pinching it with your thigh, knee, or leg, and using your non-painful hand to open it.


