- Author Jason Gerald gerald@how-what-advice.com.
- Public 2024-01-11 03:37.
- Last modified 2025-01-23 12:04.
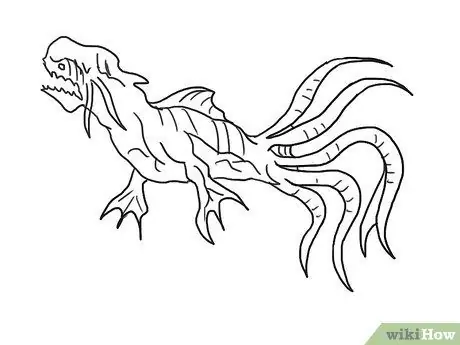
A monster is a terrifying creature usually found in scary movies and legends. This tutorial will show you how to draw a big leg monster and an eye monster.
Step
Method 1 of 4: Big Leg Monster
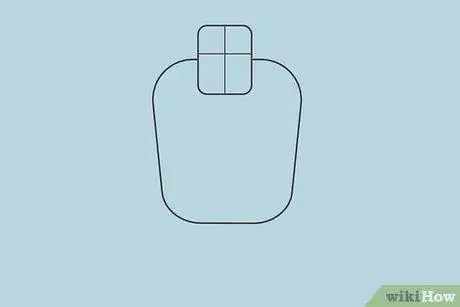
Step 1. Draw a square with curved edges, then add a cross line inside the square. Draw another square, making the top part wider than the bottom one and replacing the edges with curved lines rather than angles
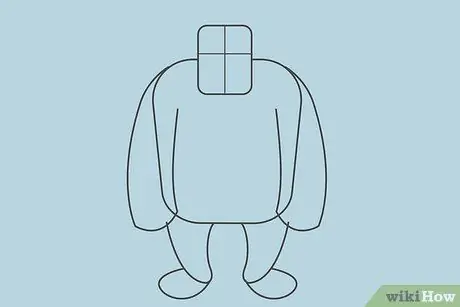
Step 2. For the arms, add two sausage shapes, one on each arm. For the legs, use curved strokes and add a C shape for the legs
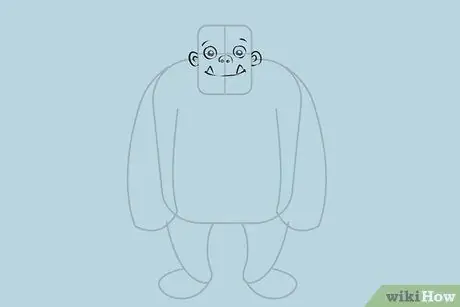
Step 3. Add details to the face. Draw two small circles for the eyes. Draw a smaller circle inside the big one and color part of the smaller circle with black. The colored part will look like a crescent moon. Add a nose. Use two small circles for the nostrils and add curved lines on each side. Draw the mouth using a horizontal line with triangles on either side for the fangs. Add ears on each side of the head using a C shape
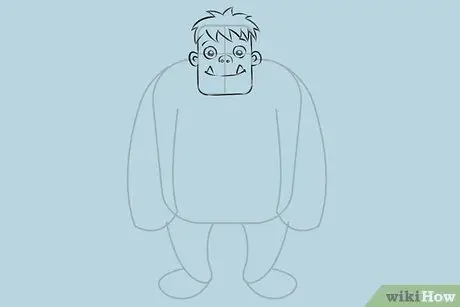
Step 4. Draw the hair using small doodles forming the corners
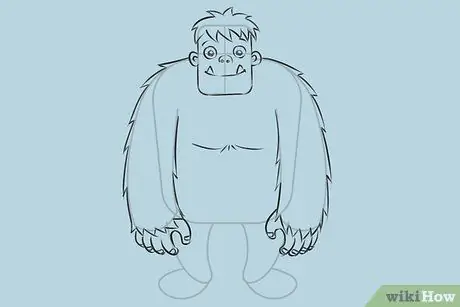
Step 5. Draw the details of the arms and hands. Use small scribbles that form an angle when you draw the arms to make them appear furry. When drawing the fingers, you can use small sausage shapes and small circles at each end for the nails. Add some horizontal and oblique strokes on the monster's chest
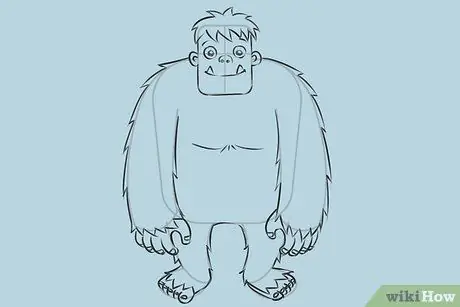
Step 6. Use the same strokes that were used on the hands when drawing the legs, to make them look hairy too. For the toes, use a shorter U-shaped arch and then add the toenails using a small circle shape
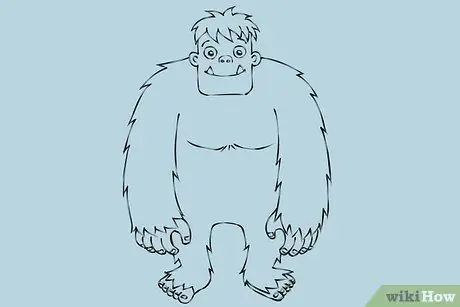
Step 7. Erase unnecessary lines
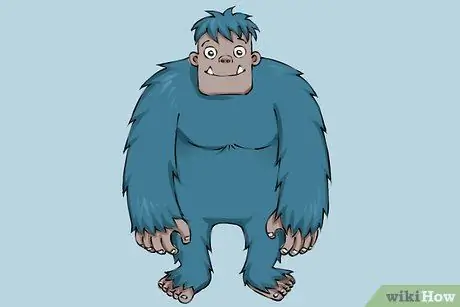
Step 8. Color your image
Method 2 of 4: Monster Eyes
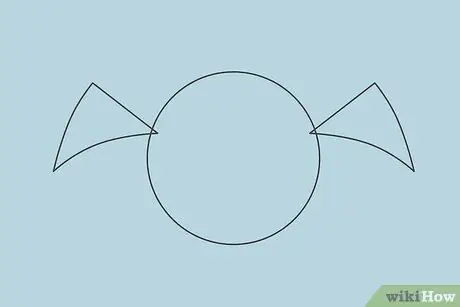
Step 1. Draw a circle. Glue the triangular shapes on both sides of the circle
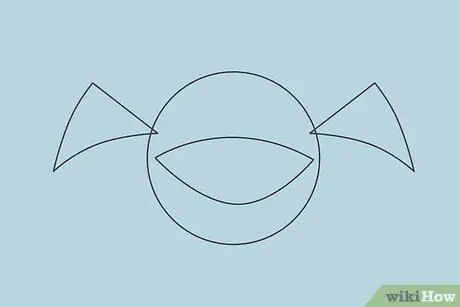
Step 2. Draw a curved line in the center of the circle and add another curved line below it to make an almond-like shape
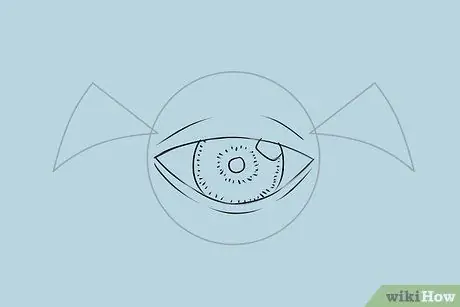
Step 3. Draw the pupil. Add a small circle inside surrounded by two layers of broken circle lines. Sketch a small shape in the upper right corner of the eye where light normally reflects. Sketch the curved doodles on the upper and lower borders of the eyes for the eyelids
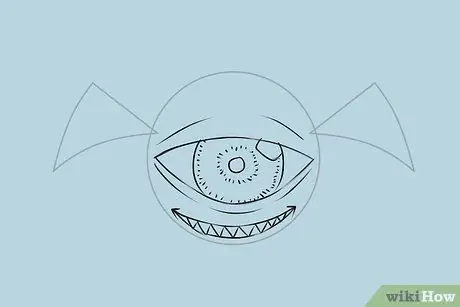
Step 4. Draw the mouth. Add a squiggly line across his mouth to make it look like a row of sharp teeth
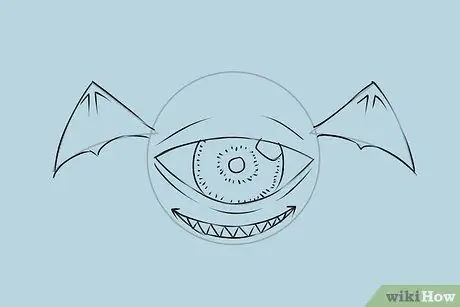
Step 5. Add details to the wing, make the top sharp and for the bottom, sketch two curved lines. Add two inverted V shapes in each curve of the wing
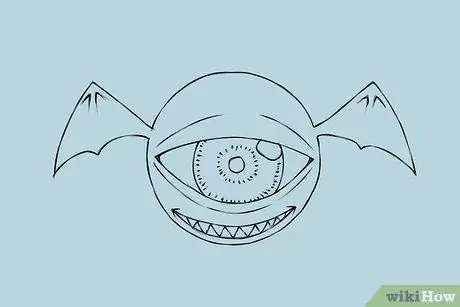
Step 6. Erase the unnecessary lines and fix the desired lines
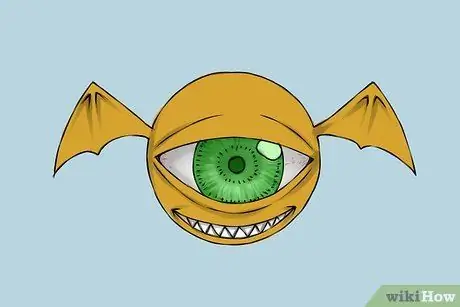
Step 7. Color your image
Method 3 of 4: Cartoon Sea Monster
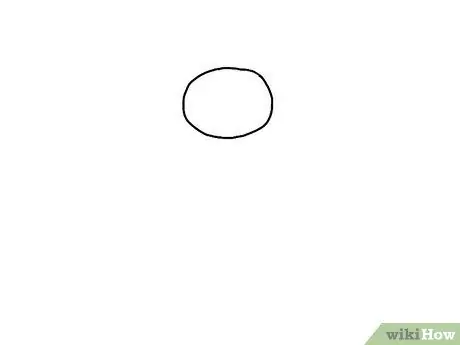
Step 1. Draw an oval for the head
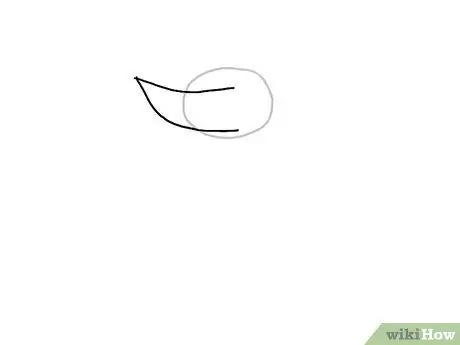
Step 2. Draw a sharp corner shape for the jaw
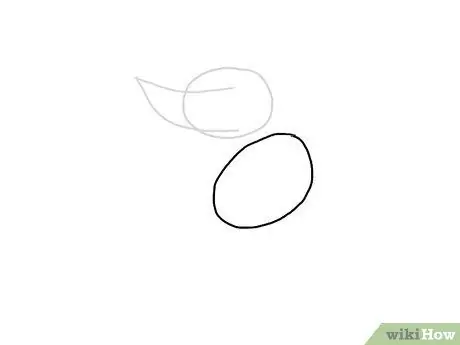
Step 3. Draw another oval for the body
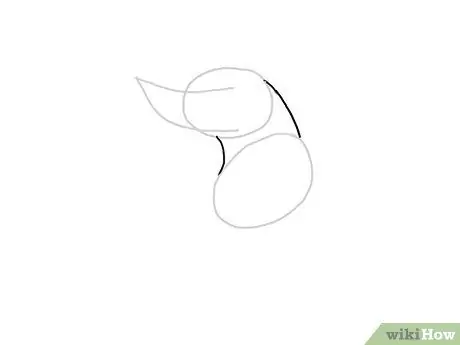
Step 4. Draw an arch connecting the body to the head
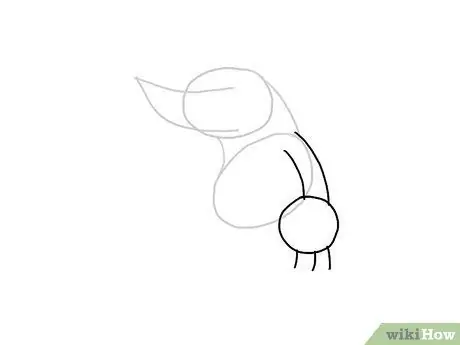
Step 5. Draw ovals for the hands and add curves for the paws and arms
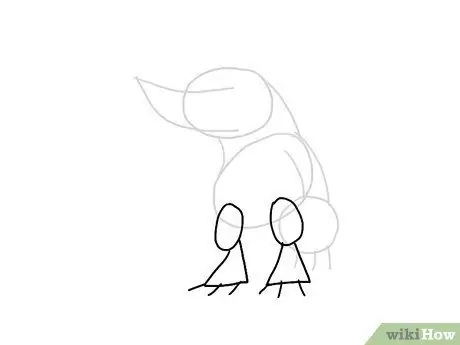
Step 6. Draw two ovals with trapezoids attached to the legs; Add curved lines for the claws
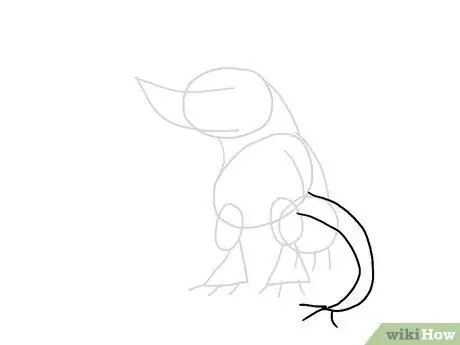
Step 7. Draw a curved line for the tail
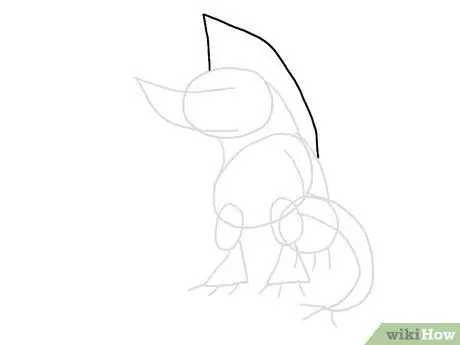
Step 8. Draw the top tassel using curved lines
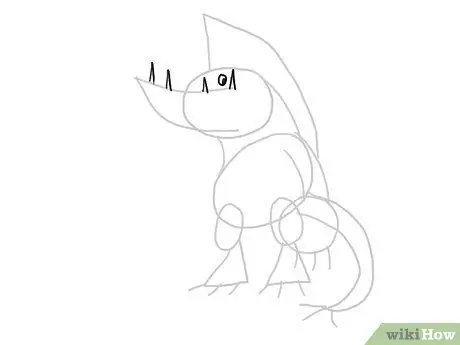
Step 9. Draw triangles for the teeth and add a circle for the eyes
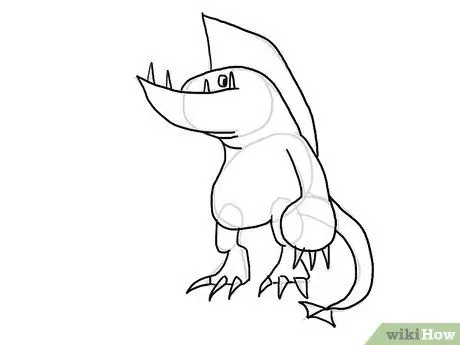
Step 10. Based on the outline, draw the main body of the monster
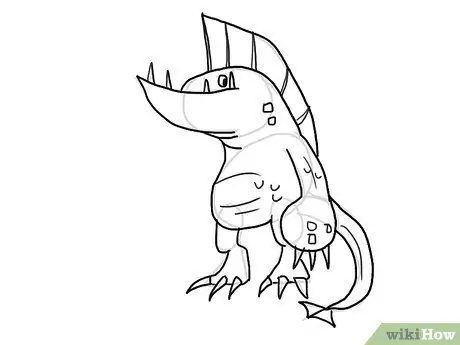
Step 11. Add details like skin texture, freckles, and tassel details
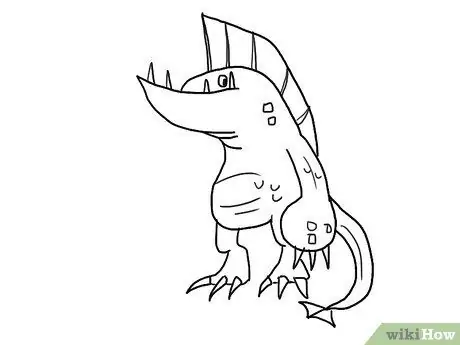
Step 12. Erase unnecessary outlines
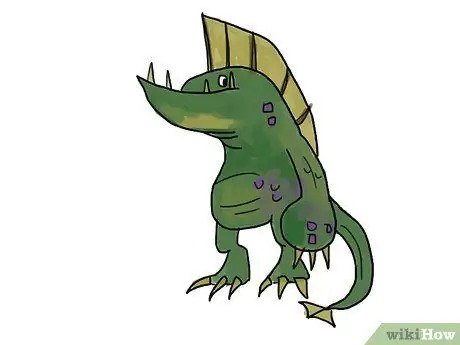
Step 13. Color your sea monster
Method 4 of 4: Realistic Sea Monster
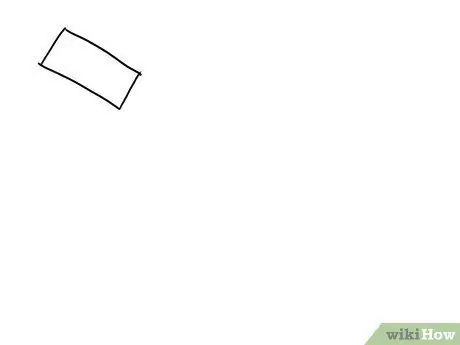
Step 1. Draw a rectangle for the head
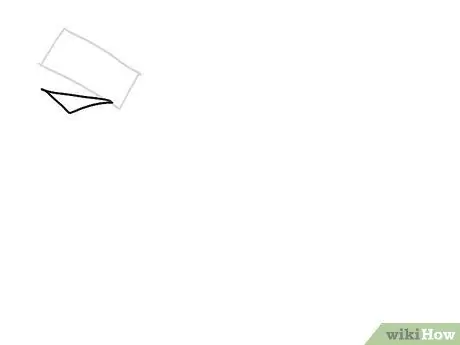
Step 2. Draw an inverted triangle for the mouth
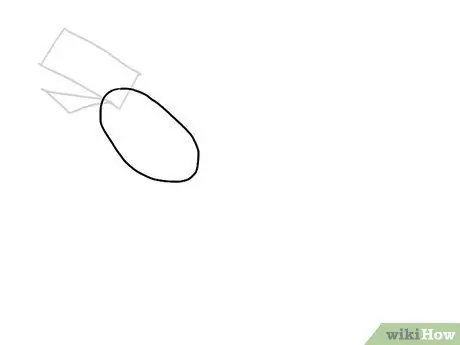
Step 3. Draw an oval for the body
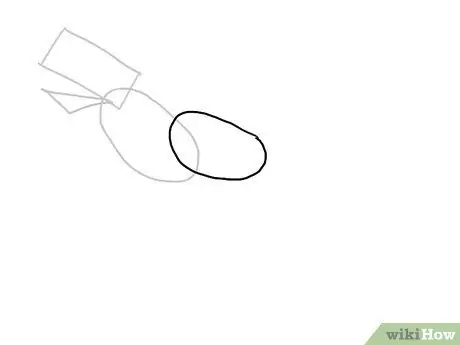
Step 4. Draw another oval for the other parts of the monster's body
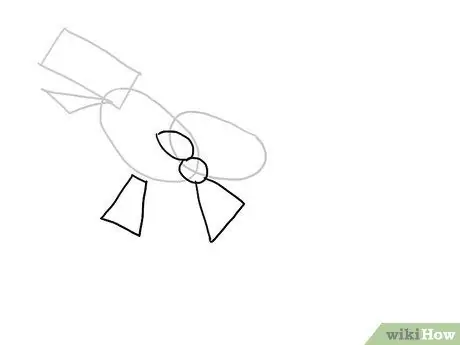
Step 5. Draw a number of ovals and trapezoids for the monster's hands
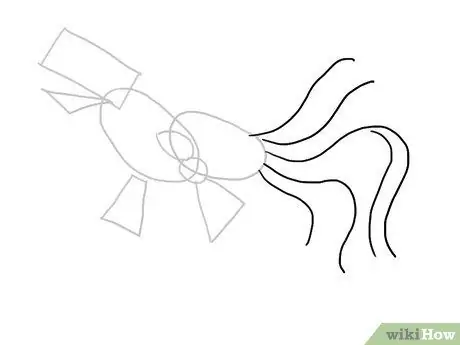
Step 6. Draw some curved lines for the tentacles
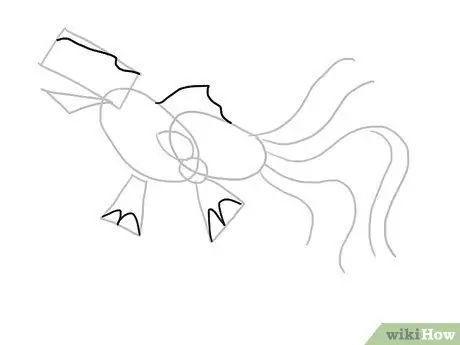
Step 7. Draw the back arch of the monster's head and arms
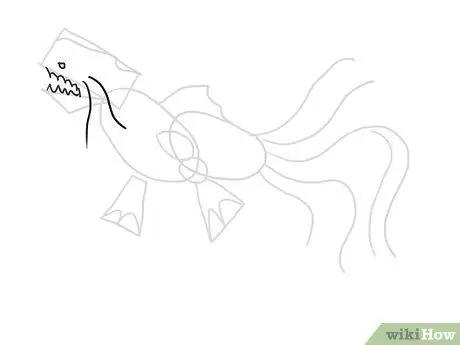
Step 8. Draw the eyes and mouth by making circles for the eyes and curves for the mouth
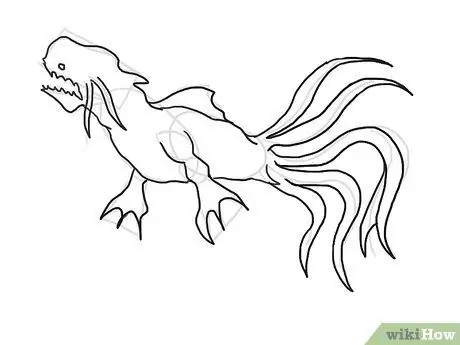
Step 9. Based on the outline, draw the sea monster
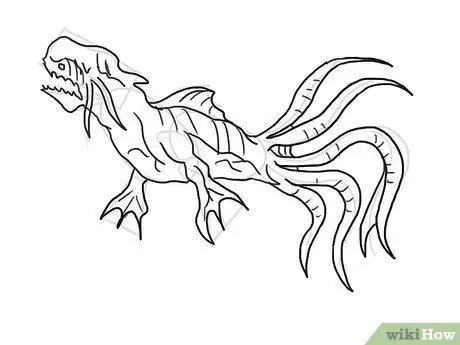
Step 10. Add the skin texture to the sea monster
