- Author Jason Gerald [email protected].
- Public 2024-01-19 22:11.
- Last modified 2025-01-23 12:04.
Carving pumpkins is a fun Halloween celebration tradition that is popular with children and adults alike. If you want to carve your own pumpkin, you'll need to buy it from a market, supermarket, or pumpkin farm first. Prepare a clean and comfortable work area. Then, make a design pattern on one side of the pumpkin before starting to carve it. Remember, you must also remove all the seeds from the pumpkin. Be sure to keep the knife out of the reach of children and supervise those who want to carve their own pumpkin.
Step
Part 1 of 4: Choosing Pumpkins
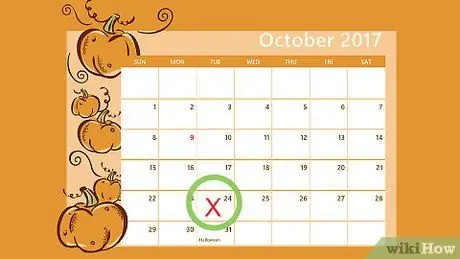
Step 1. Buy pumpkins for Halloween
Maybe the joy of Halloween has been there since early October (especially the kids), but don't buy pumpkins too early. Most pumpkins will rot and become unusable after 1-2 weeks. With this in mind, buy pumpkins about a week or less before Halloween.
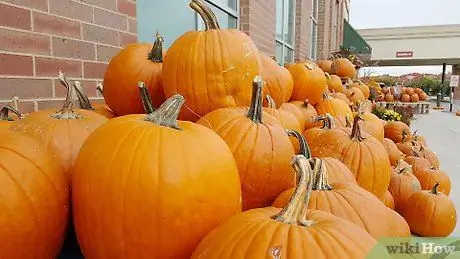
Step 2. Choose a pumpkin from the market or convenience store
There may be some shops that will sell carved pumpkins approaching Halloween. Go to the supermarket or market for a good quality pumpkin. If you live near a farmer's market, there may be a seller who will offer you pumpkin. Find a place that offers good quality pumpkins in a variety of sizes.
If you're out looking for pumpkins with the kids, a pumpkin farm might be more fun for them. Search the internet for a local pumpkin farm or research the advertisements that are usually posted in your neighborhood
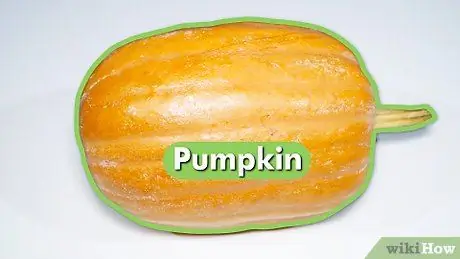
Step 3. Choose a good pumpkin
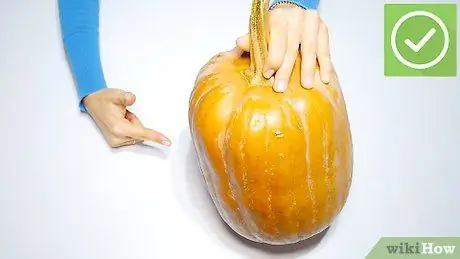
When selecting, try to choose a pumpkin that is in a smooth condition (no scratches, bruises, and cuts). Look for pumpkins with stems that are firm, don't bend easily and have a consistent color over the entire surface of the skin. Tap the surface of the pumpkin with your finger or palm as you would a melon. If you hear a hollow sound, it means the pumpkin is ripe.
- Look for pumpkins with a flat bottom. That way, it will be easier for you to display carved pumpkin lanterns on Halloween night.
- It doesn't matter if the pumpkin is clean or dirty. You can always wipe it with a cloth when you get home.
Step 4. Choose the pumpkin size as needed
If you want to make intricate carvings, a large pumpkin will give you more surface area, but it will take more work. In general, people tend to choose medium-sized round pumpkins.
If you have kids and just want to carve out faces with permanent marker, try choosing a few small to medium sized pumpkins so they can draw different designs
Part 2 of 4: Creating Design Patterns
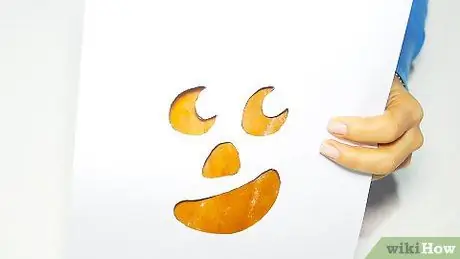
Step 1. Choose a design before you start carving
Before you start cutting the pumpkin, decide what kind of design or face you want to engrave on the last. You can carve a traditional “spooky” face plus a grin, a haunted house, or a silhouette of a cat or bat.
Many designs of jack-o'-lanterns can be found on the internet. Try to find more ideas. Or, you can go to the local library and borrow a book filled with carving ideas. You can also find various images that can inspire you to develop your own design
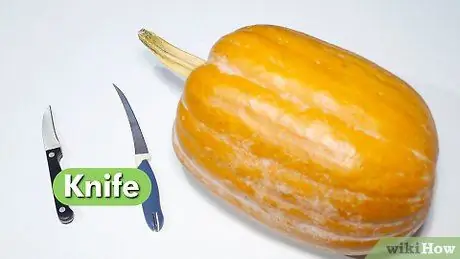
Step 2. Choose a method to engrave
A common method is to empty the pumpkin before carving it from the outside in, but there are other methods that allow the pumpkin to last longer and require less work with a knife. Here are some of the most popular methods:
- Carve out a traditional jack-o'-lantern design. You'll need to carve out the eyes, mouth, and possibly the nose. This design is the simplest and suitable for beginners.
- Carve out a silhouette. Select a shape, such as a ghost, and create "negative space" around the ghost shape. Then, measure features such as eyes or mouth. The end result is a halo around the dark shape with light details.
- Make carvings through the flesh of the fruit. To make a pumpkin lantern during the day that won't light, use a craft knife (x-acto) to scrape the skin off the pumpkin and expose the flesh. No need to carve all the way to the center of the pumpkin.
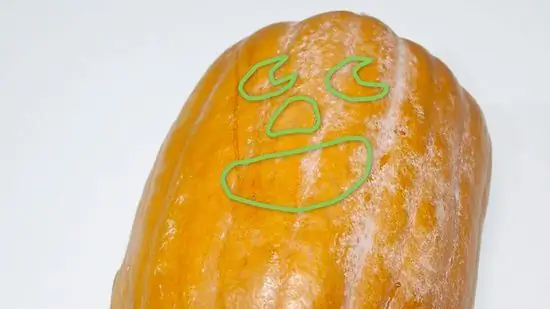
Step 3. Draw the design on the pumpkin
To create traditional carvings, silhouettes and fruit flesh, use a permanent marker or a non-permanent marker to outline the design on top of the pumpkin. Non-permanent markers can be removed if you make a mistake. If you don't want to draw your own design, you can search the internet for a design and trace it onto the pumpkin.
If you're decorating pumpkins with your kids, giving them a chance to draw designs can be a fun experience, but don't let the kids hold sharp carving knives
Part 3 of 4: Carving a Pumpkin
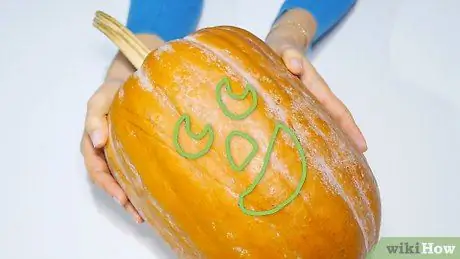
Step 1. Prepare a spacious work area
The activity of carving pumpkins can make the work area messy. So, it is better to do it on the floor or kitchen counter. Spread some newspapers or brown paper (ex-shopping bags) on a flat surface. Place utensils and bowls to contain the inside of the removed flask.
This helps protect the floor and countertops and makes it easier for you to clean them after the job is done. When you're done carving the pumpkin, you can scoop up all the newspapers and throw them in the trash
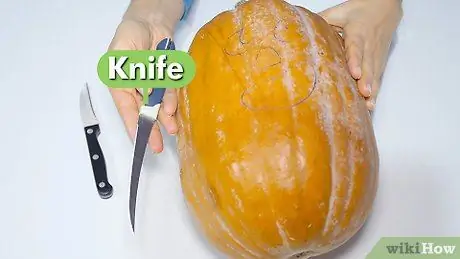
Step 2. Choose a sharp knife
To carve pumpkins effectively, use a serrated bread knife, a jab saw used for cutting gypsum, or an all-purpose knife designed for carving pumpkins. If you don't have a serrated knife, or prefer a knife with a straight blade, choose a carving knife or filet knife.
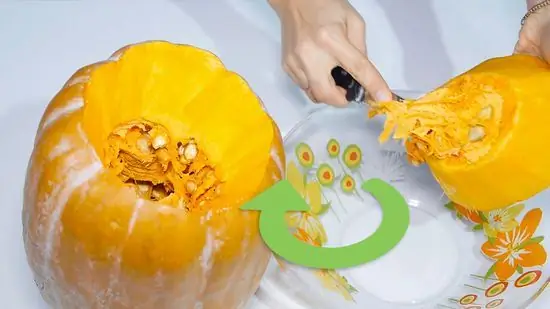
Step 3. Cut off the lid
Measure the circle with a radius of 5 cm from the rod. You will cut this part to make the lid. Don't cut vertically. Instead, position the knife at a certain angle towards the center of the circle. This way, the lid will rest on the bowl-shaped opening and prevent it from falling into the center of the pumpkin.
You don't have to make the caps round. Try making a lid in the shape of a box, star, or other shape. Just make sure you tilt the knife toward the center of the circle when carving the lids and openings on the pumpkin
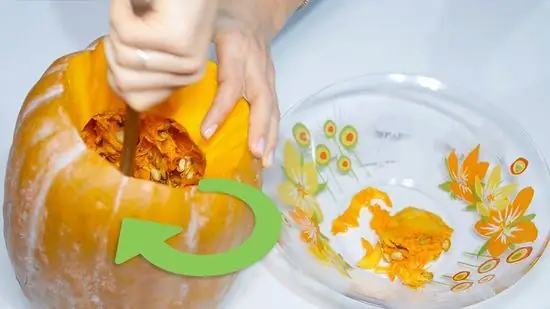
Step 4. Remove the contents of the pumpkin
Use a large spoon, ice cream shovel, or hand to pull the filaments and seeds from the inside of the pumpkin. Place the seeds, pulp, and other ingredients into the large bowl you prepared earlier. Scrape the contents of the pumpkin as much as possible so that later the light can radiate out to the maximum.
You can skip this step if you only want to carve through the flesh without intending to empty the pumpkin
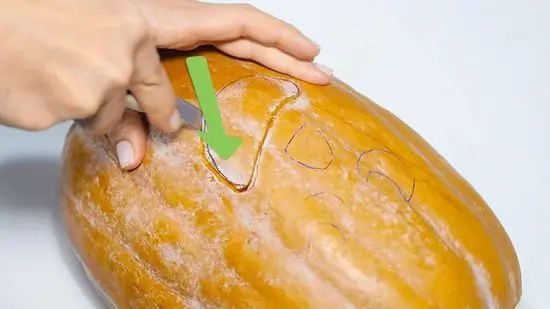
Step 5. Make the carving according to the design
Use a slow back and forth motion to cut the flesh of the fruit. Do not rush. Make sure you make the cuts accurately following the design you made on the surface of the pumpkin. Pull the blade back and forth while maintaining a steady downward pressure. Follow the design until you finish all of it.
- If you can't easily get the cut design out, try running the knife around it one more time, then pushing the piece from the inside. You may be able to use a toothpick stuck into the design piece to help pull it out.
- Be careful when using a knife. When cutting, point the knife away from you. Never pull the knife through the pumpkin toward you.
Part 4 of 4: Lighting and Displaying Pumpkins
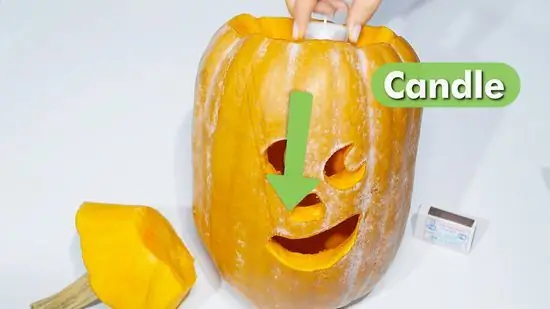
Step 1. Light the pumpkin with a candle or aromatherapy candle
Traditionally, pumpkin lanterns are lit with candles or aromatherapy candles. If you want to light a pumpkin with a candle, don't leave it burning overnight or leave it lit when you go out.
Ventilate if necessary. If you decide to use a real candle, make sure the engraving design allows the fire to get enough oxygen to keep it burning. If you make a few big holes, it shouldn't be a problem. If not, consider venting holes in the lid, or just open the lid
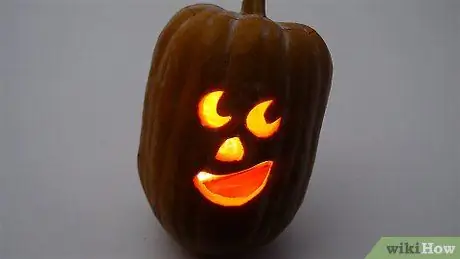
Step 2. Use the LED light to illuminate the pumpkin
If you prefer not to light the pumpkin lantern with candles, you can substitute an artificial light source for the same effect. Flashlights or flashing LED lights are popular modern choices.
LED lights and other artificial lights are safer (the chances of starting a fire are very small) and can burn through the night, unlike candles
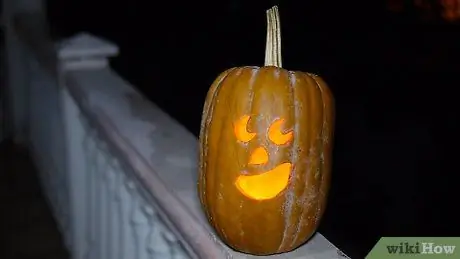
Step 3. Display the pumpkin in a safe location
If you use a candle in a flask, place it in an area away from combustible materials. For example, don't put it near a haystack or scarecrow. These materials can catch fire easily if the pumpkin is accidentally touched or dropped. In addition, you should also pay attention to the costumes of the Halloween celebration participants who are waving so as not to be caught by the candle flames.
If you use a candle to light a pumpkin and place it on top of a wooden object, place a plate underneath to catch the wax drippings and prevent the wood patio, table, or wooden steps from burning
Tips
- You can buy kits for carving pumpkins at stores.
- Keeping pumpkins outdoors in cool air will make them last longer.
- If you're an adult who loves Halloween and has the skill and time, you can use power tools to speed up the engraving process. This tool makes it easier to cut the pumpkin than using the thin saw included in the kit to carve the pumpkin. You can also use a sculpting utensil used for carving clay or a peeler and then use a smaller tool to carve a pumpkin more effectively.
- If the pumpkin begins to wilt, fill a deep sink and soak the carved pumpkin for a few hours. The squash will rehydrate and expand a bit, leaving it fresh enough to last for a few more days.
- Don't limit yourself to carving just one side of the pumpkin. Make designs across the surface of the pumpkin, such as cat footprints or flying bats, to add an eye-catching design.


