- Author Jason Gerald gerald@how-what-advice.com.
- Public 2023-12-16 10:50.
- Last modified 2025-01-23 12:04.
When it comes time to transfer files to and from FTP, there are many options available. One option, namely FileZilla can be a very interesting choice, because it can be used for free. Follow this guide to connect FileZilla to your FTP server.
Step
Method 1 of 3: Installing and Running FileZilla
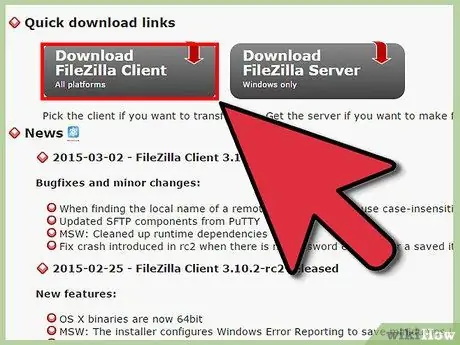
Step 1. Download the installer
You can download FileZilla for free from the official website. Only download the FileZilla installation file from the developer's site; because many copies of files downloaded from other sites contain viruses. Make sure you download the right installer for your operating system.
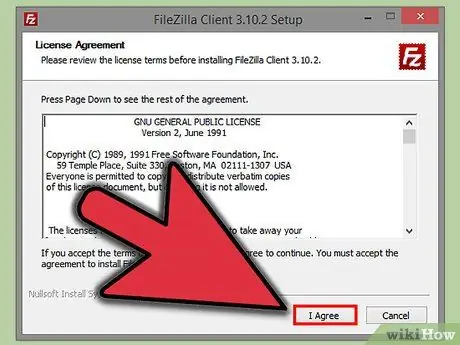
Step 2. Run the installation process
For Windows, you will need to confirm several screens before the download can proceed. It contains the license agreement, user access, some components, and the installation location. For most users, the default setting is a good choice.
For Mac OS X, download the appropriate file. Most Macs are Intel based, so try the Intel option first if you're not sure. The file will be extracted automatically when downloaded in Safari, and you can launch FileZilla by double-clicking the extracted program
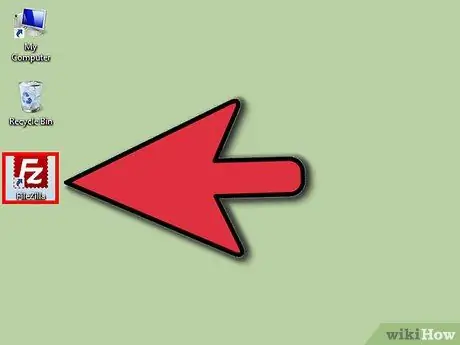
Step 3. Run FileZilla
Once the installation is complete, locate the FileZilla you just installed in the Programs list in the Start menu. The program will open with a small welcome window showing its version information. After closing the window, you can see the FileZilla interface.
- The panel at the top is the terminal window, which is used to display messages related to your connection.
- The left pane shows the contents of your computer, displayed in Windows Explorer style. The right pane shows the contents of the server you are connected to. The first time you run this program, the right pane will display the message “Not connected to any server.”
- The pane at the bottom shows the files that are scheduled to be transferred.
Method 2 of 3: Connecting to Server
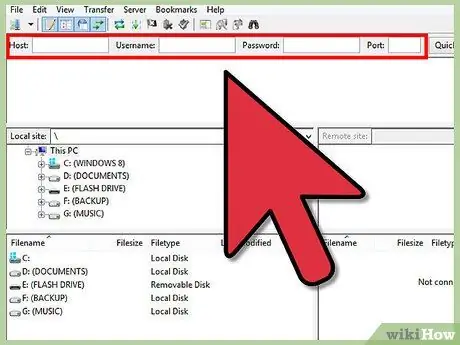
Step 1. Enter your information into the "quick connect" bar
It's just below the toolbar, and has fields for Host, Username, Password, and Port. You will need all of this information in order to connect to the server.
The base (port) can often be left empty unless the server is operating on a non-standard base which must be specified first. Otherwise, FileZilla will go to that base automatically
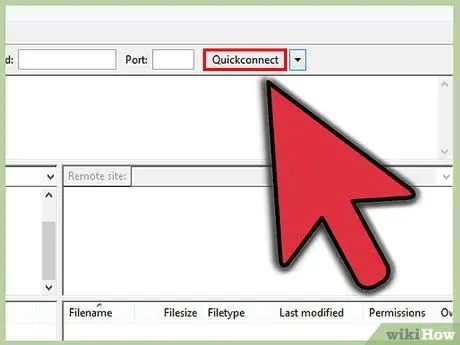
Step 2. Click Quick connect
. Once you have entered the correct information, press the Quickconnect button to start the connection process. You will see a message displayed in the top panel when the computer attempts to connect to the server.
Once you have successfully connected, you will see the file system of that server appear in the right pane
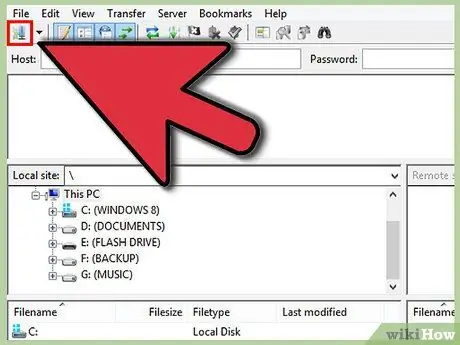
Step 3. Add the server to your Site Manager
Quickconnect settings will be deleted every time the program restarts, so to make it easier to access the server again, you must save it to the Site Manager. Once connected, click File, then select “Copy current connection to Site Manager…” This will open the Site Manager with the server details entered in the appropriate fields. Name the entry and close the window to save the site.
Method 3 of 3: Uploading and Downloading Files
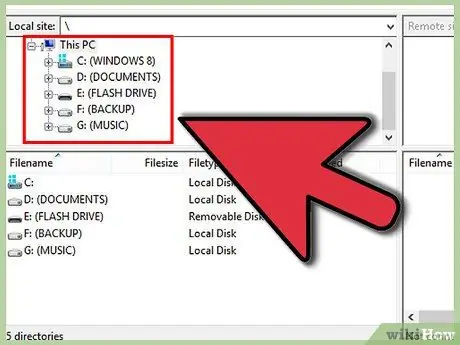
Step 1. Browse for the file you want to upload
In the left pane, navigate to the file on your computer that you want to place on the server.
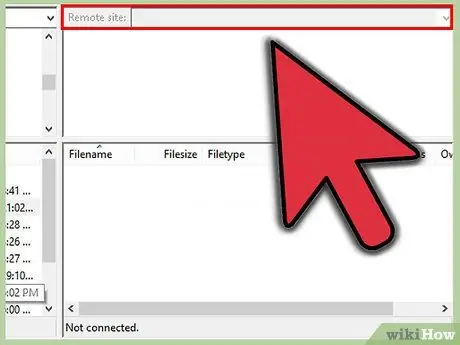
Step 2. Browse to the save location
In the right pane, navigate to the location where you want to place the file. Depending on the permissions you have, you can right-click to create a new folder.
- You can click on the directory labeled “..” to go back one level.
- Directories that have never been opened will have a question mark above their icon. This means that FileZilla cannot show whether the directory has subdirectories or not. Once you open the directory, the question mark will disappear.
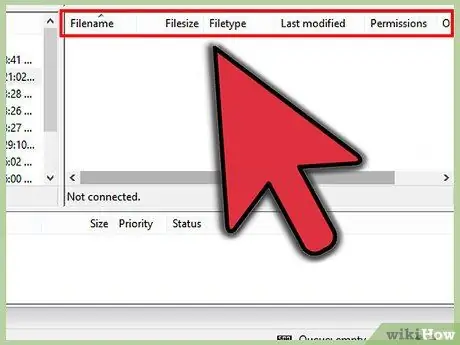
Step 3. Copy the file
To start the uploading process, simply drag the file from the left pane to its destination in the right pane. You will see in the bottom pane that the file is queued for transfer. Once the files have finished copying, you can disconnect.
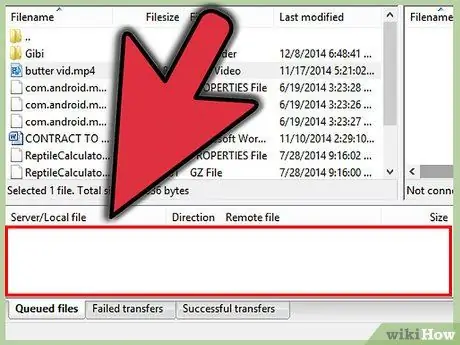
Step 4. Download the file
You can download files using the same process as above but in reverse. First find the file you want to download on the server, then navigate to the place you want to download it. Drag the file from the right pane to the left pane. The files will be added to the queue list and you can track their progress in the bottom panel.
Tips
- Make sure that you look at the bottom panel so you know if your file was uploaded successfully. FTP servers are known to cancel uploads, especially if you're uploading a large file.
- FileZilla is distributed under the terms of the GNU General Public License, which means that you can download and use the program for free.


