- Author Jason Gerald [email protected].
- Public 2023-12-16 10:50.
- Last modified 2025-01-23 12:04.
Google Docs is an online word processing application with multiple functions. With Google Docs, you can create a customized brochure, or use brochure templates to create a quick brochure. Find a template that fits your needs by browsing the thousands of templates in the Template Gallery. You can only create brochures through the Google Docs site, and brochures you create will be saved in Google Drive automatically.
Step
Method 1 of 2: Creating a Brochure Manually
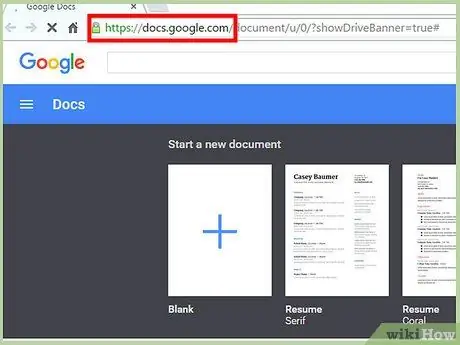
Step 1. Open a new tab in your browser and visit Google Docs
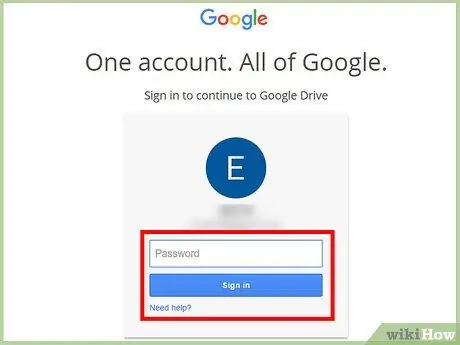
Step 2. Enter your Gmail email address and password in the Sign in field
Your Google Account can be used to access all Google services, including Google Docs. After entering your account information, click Sign in.
After logging into Google Docs, you will see the starting directory. If you've saved documents in Google Drive, you can access them on this screen
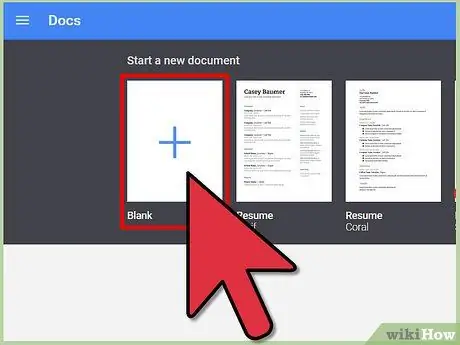
Step 3. Create a new document by clicking on the big red circle icon with a "+" sign in it
It's in the lower-right corner of the screen. A new tab or window containing the word processing interface will appear.
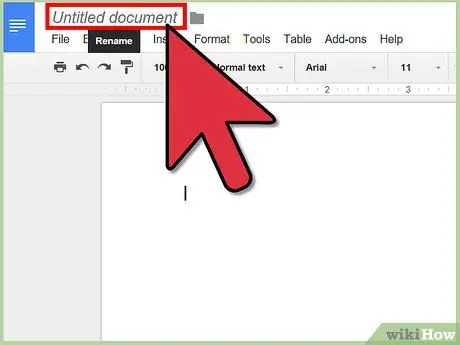
Step 4. Click the document name in the upper right corner of the screen to rename it
Enter a new name for the document in the window that appears, then click OK.
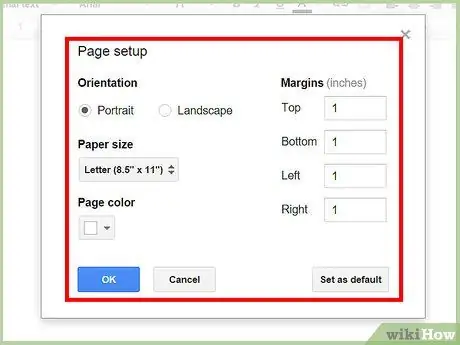
Step 5. Set the document orientation
Generally, new Google Docs documents will be portrait-oriented. If you need to create a landscape brochure, click File > Page Setup, then click the Landscape button under Orientation. After that, click OK. Now, the document will appear in landscape orientation.
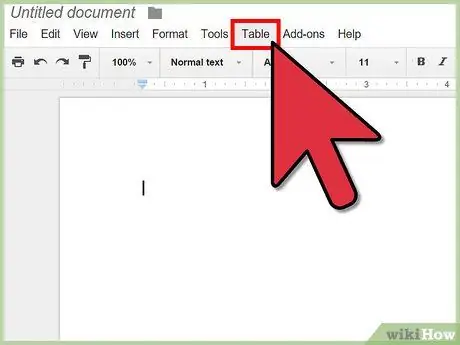
Step 6. Insert the table
Most brochures are presented folded, either doubled or tripled. To make it easier for you to organize your brochure, enter a table with the number of columns according to the number of folds. Click Table from the menu bar, then select Insert Table. Click the dimensions you need. To make a bifold brochure, enter two columns, and to make a trifold brochure, enter three columns. After that, you will see the table in the document.
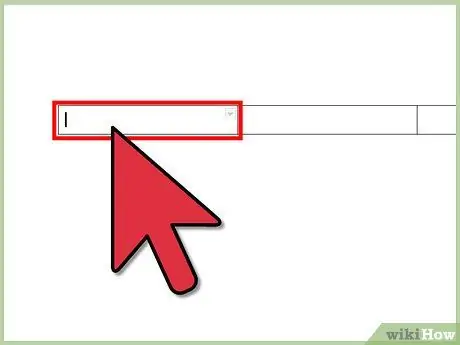
Step 7. Enter the contents of the brochure
After assembling the brochure template, you can fill it with content. Enter the required text in the appropriate location.
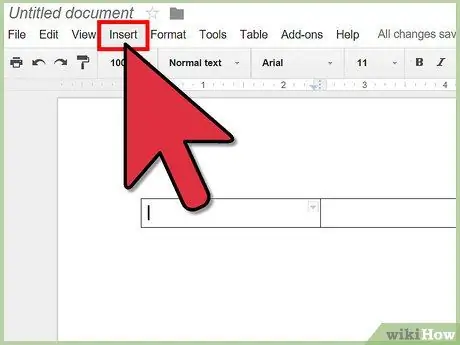
Step 8. Insert images to make your brochure more attractive
Click Insert from the menu bar, then click Image. A window for uploading images will appear. Drag the image you want to insert to upload it. Once the image is uploaded and appears in the document, you can adjust the position and size of the image.
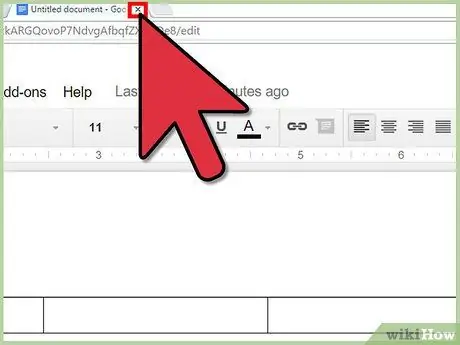
Step 9. Close the Google Docs tab or window to end the brochure creation process
Your work will be saved automatically. You can access brochure files from Google Docs or Google Drive.
Method 2 of 2: Creating a Brochure with a Template
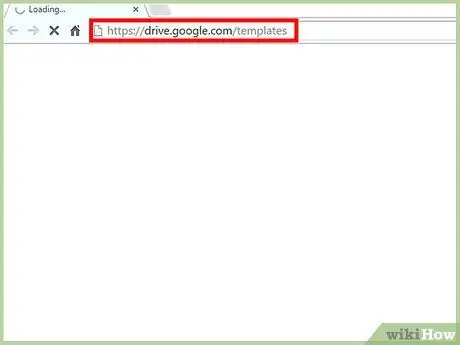
Step 1. Open a new tab in your browser and visit the Google Drive Templates page
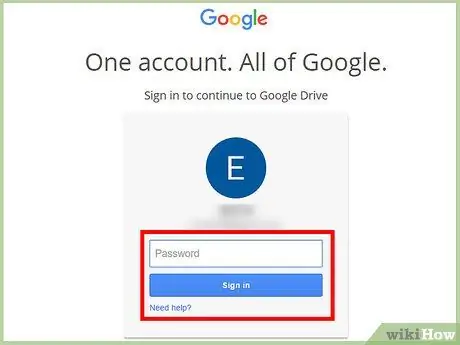
Step 2. Enter your Gmail email address and password in the Sign in field
Your Google Account can be used to access all Google services, including Google Docs. After entering your account information, click Sign in.
After signing in with your Google account, you will see all the public templates, the templates you have used, and the templates you created
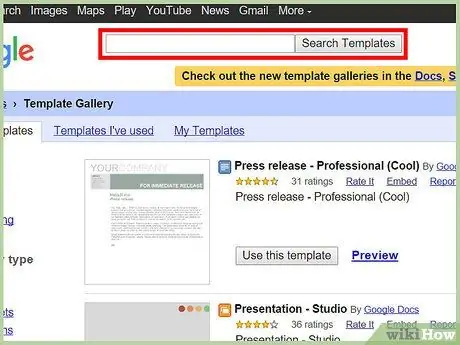
Step 3. Search for brochure templates by entering keywords in the search bar at the top of the page, then click Search Template next to the search bar
All available brochure templates will appear on the screen.
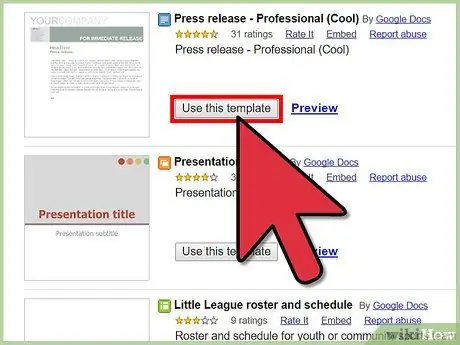
Step 4. Pay attention to the search results
You can search for templates by template name, template builder, or template brief description. To use a template, click Use this template.
The template you choose will load in Google Docs
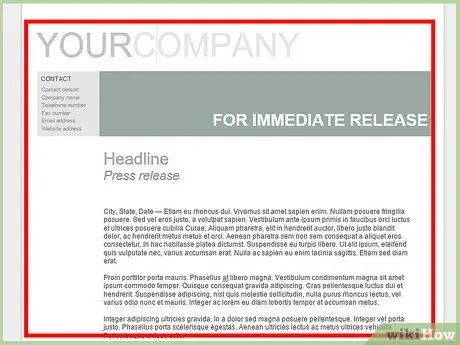
Step 5. Edit the brochure
You can't just use a template because it may have been created for a completely different purpose than your brochure. Customize the contents of the brochure to your needs. Templates are useful so you don't have to create a brochure from scratch.
Step 6. Close the Google Docs tab or window to end the brochure creation process
Your work will be saved automatically. You can access brochure files from Google Docs or Google Drive.


