- Author Jason Gerald gerald@how-what-advice.com.
- Public 2024-01-15 08:07.
- Last modified 2025-01-23 12:04.
This wikiHow teaches you how to use your iMac as a monitor for your MacBook, as well as share files and printers between the two computers.
Step
Method 1 of 2: Using an iMac as a Monitor
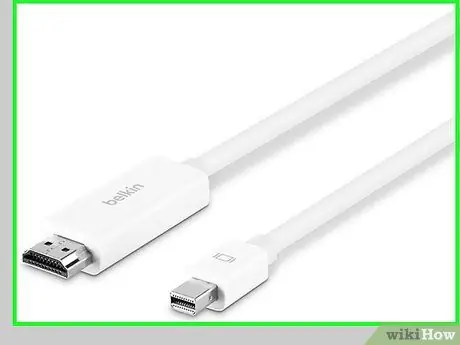
Step 1. Determine the required cable for the computer
The type of cable required differs based on the computer model:
-
27-inch iMac (2009):
Mini DisplayPort-to-Mini DisplayPort cable.
-
27-inch iMac (2010):
Mini DisplayPort-to-Mini DisplayPort cable.
-
iMac (2011 to early 2014):
Thunderbolt cable.
- Late 2014 iMacs (Retina 5K models) and later versions can't be used as secondary displays.
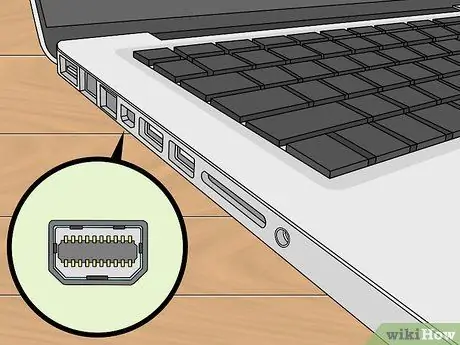
Step 2. Locate the port on the MacBook
If both your MacBook and iMac have the same port (Mini DisplayPort or Thunderbolt), you don't need to buy an additional adapter. If your MacBook has a Thunderbolt 3 (USB-C) port, you'll need a Thunderbolt 3 (USB-C)-to-Thunderbolt 2 adapter.
Read Apple's Mac ports guide to learn how to identify the ports on your computer
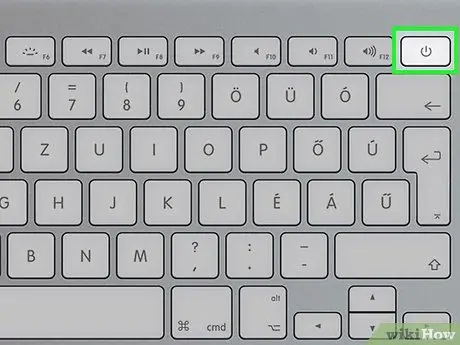
Step 3. Turn on both computers
Sign in to your account on both computers first if you haven't already.

Step 4. Connect the Mini DisplayPort or Thunderbolt cables to both computers
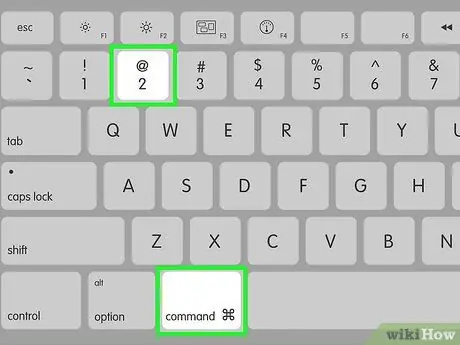
Step 5. Press Command+2 on your iMac
The iMac display will now display the MacBook screen, replacing the display of the computer itself.
Method 2 of 2: Sharing Files Between Computers

Step 1. Connect both computers to the same wireless network
If you don't have a wireless network, you can use an ethernet cable (just plug the cable into the ethernet ports on both computers, then move on to the next step). Here's how to connect both computers to a WiFi network:
-
If you see the icon
in the upper right corner of the screen, click the icon and select “ Turn Wi-Fi On ”.
-
Click
in the upper right corner of the screen.
- Select network.
- Enter the network password and click “ Join ”.

Step 2. Click menu
on your computer with the content or files you want to share.
It's in the top-left corner of the screen.
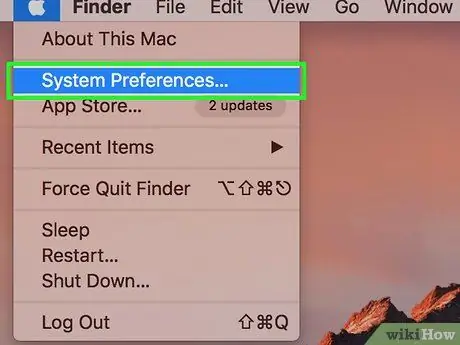
Step 3. Click System Preferences
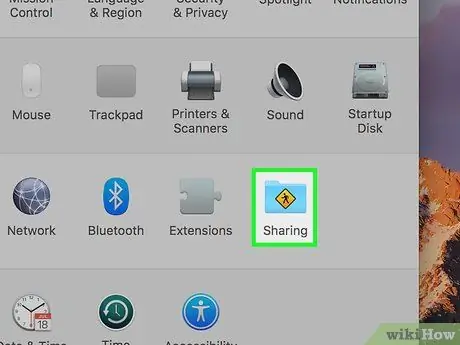
Step 4. Click Sharing
A list of sharing services will be displayed.
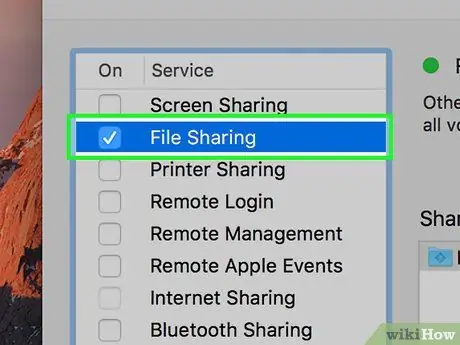
Step 5. Set up the file sharing feature
Follow these steps to allow other computer users to access files on the primary computer:
- Click " File Sharing ”.
- Click " + ” under the list of folders.
-
Select a folder and click Add ”.
- Anyone with an account on the primary Mac computer can access the computer's files from any other computer. If you want to restrict access to certain users, click “ + ” under the list of users and select who is allowed to have access.
- You can add a user with a local account (the usual login information set up on Mac computers) or an Apple ID by selecting them from the contact list.
- Take note of the IP address shown on the “Sharing” page. The IP address will look like this afp://10.0.0.1″ or smb://10.0.0.1″.
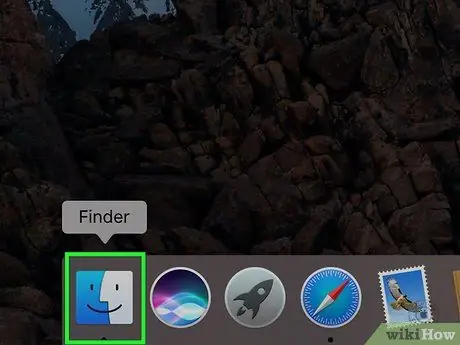
Step 6. Open Finder
on another computer (second/secondary).
The Finder appears as the first icon in the Dock which is usually at the bottom of the screen.
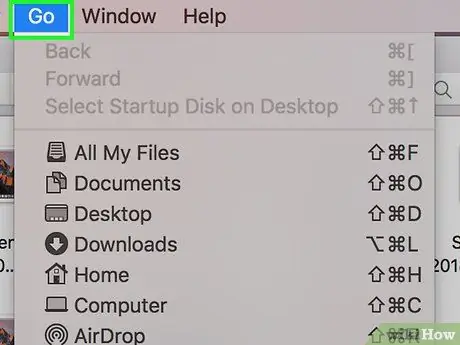
Step 7. Click the Go menu
This menu is at the top of the screen.
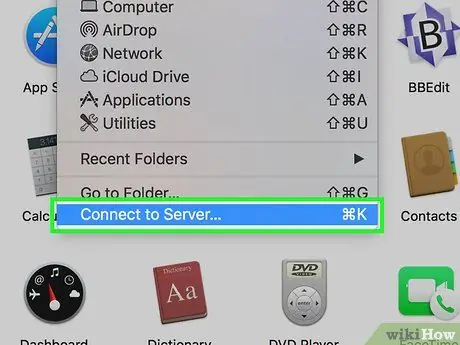
Step 8. Click Connect to Server
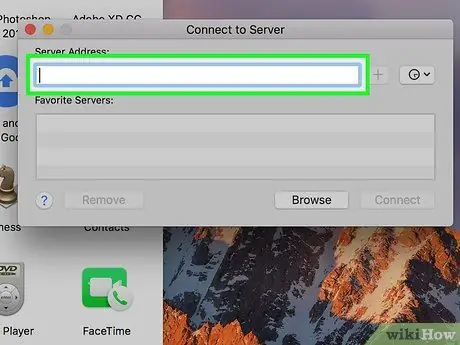
Step 9. Enter the IP address of the primary computer
This address is the address you see on the main computer/file source “Sharing” page.
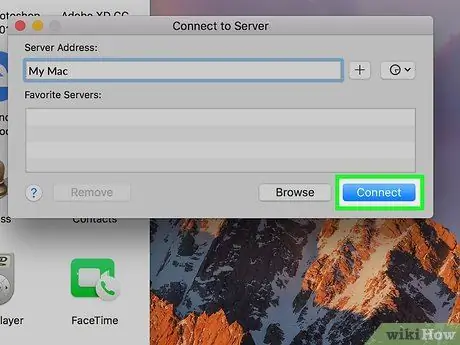
Step 10. Click Connect
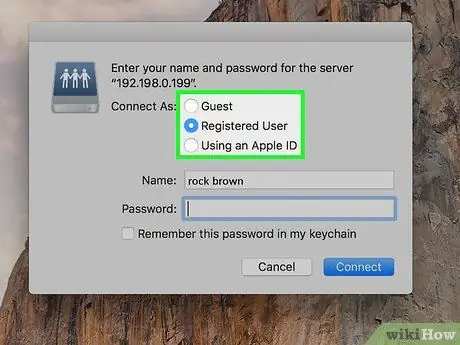
Step 11. Determine the connection method of the two computers
- Choose " Registered User ” if you want to log in to a local account on the primary computer.
- Choose " Apple ID ” to sign in using your Apple ID.
- Choose " Guest ” if the file you want to access does not require the user to be logged in to the account.
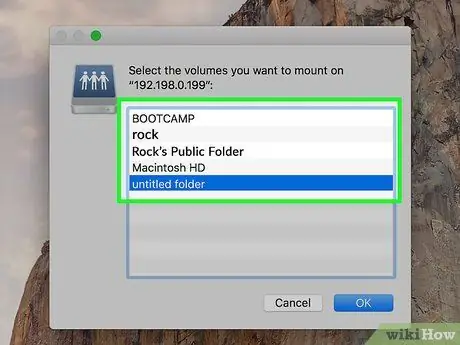
Step 12. Follow the instructions shown on the screen to sign in
Once connected to the main computer, you will be able to access the files on that computer.
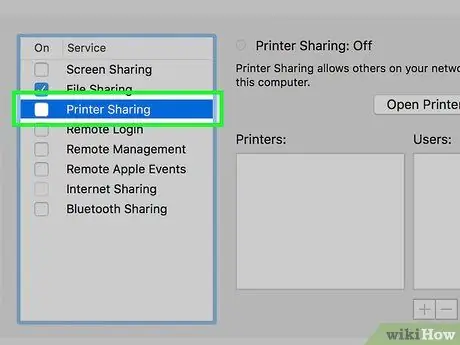
Step 13. Set up printer sharing feature (optional)
If you want to share the printer from the main computer, go back to the “Sharing” setting menu, click “ Printer Sharing, and select a printer. Once the printer is shared, you can print the document from any application on the second/secondary computer by selecting the connected printer (and logging into the account if prompted).
Anyone with an account on the main computer can usually print documents from another computer. To select a specific user, click “ + ” under the list of users, then specify who is allowed to print documents from other computers.
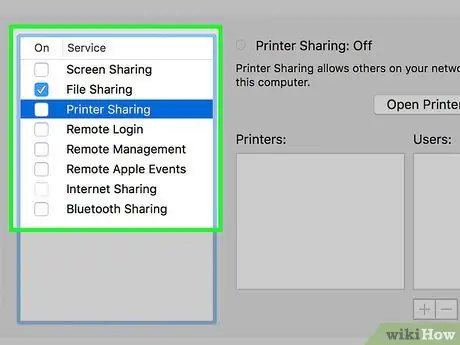
Step 14. Set up other sharing features (optional)
If you want other computer users to be able to connect to the main computer for remote administration or screen sharing purposes, select an option from the list, then follow the same instructions as you followed for file and printer sharing.


