- Author Jason Gerald [email protected].
- Public 2023-12-16 10:50.
- Last modified 2025-01-23 12:04.
If you're curious about how to make movies like Wallace and Gromit or short LEGO movies on the internet, this article will answer you. While stop-motion animation is not difficult to create, the process is very time consuming and repetitive. As long as you're patient, making stop-motion animation is an interesting hobby and might even turn into a career.
Step
Method 1 of 2: Using the Stop-Motion Program
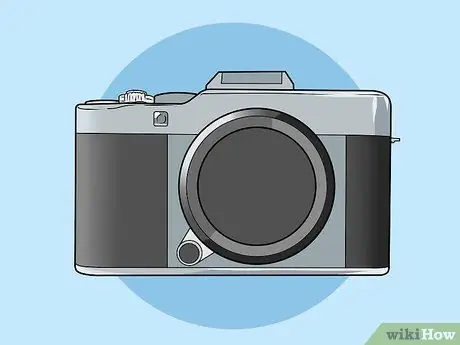
Step 1. Choose your camera
You can use a quality camera if you have one, but an inexpensive webcam will work as well. Buy a camera that has a manual focus ring, so you can adjust the focus for sharp, close-up images. The price is around IDR 100,000.
- Make sure the device can be attached to a webcam. You may need an additional cable and app to use the webcam if you are using a mobile device.
- Some of the software suggested below only works with certain webcams, or cameras. Check the suitability of the device before purchasing the software.
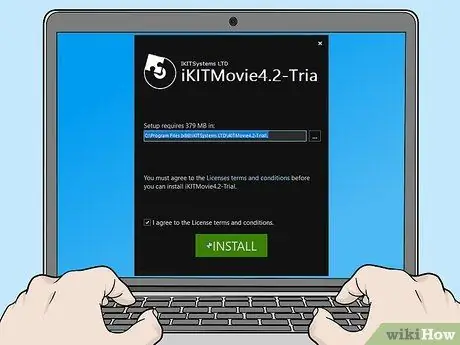
Step 2. Install the stop-motion program
You can install it on almost any device, but for easy data transfer, install it on a mobile device or laptop. Many stop-motion programs have a free trial period so you can test them before you buy them. Read the terms and conditions first, as free trials often limit access to options, or images are watermarked. Here are some suggestions from us:
- For Mac: iStopMotion, Boinx, Dragon Frame
- For Windows: I Can Animate 2 (recommended for children), iKITMovie, or Stop Motion Pro. Windows Movie Maker can also be used (and is already installed on the computer) but has fewer features.
- For iPhone or iPad: Frameographer, Stopmotion Cafe
- For Android devices: Clayframes, Stopmotion Studio

Step 3. Find objects and shapes to use in the movie
Some good choices include clay, wire, LEGO, or similar toy blocks. Free your imagination; almost any object can be used for the film to be made.
- Start with small projects, such as self-peeling oranges. A one-second film takes about 18-24 photos so you can practice a lot.
- You can also draw on a blackboard or paper, and replace the drawing slightly with each frame (frame). To do this, prepare a steady grip to hold the image so it doesn't shift accidentally.
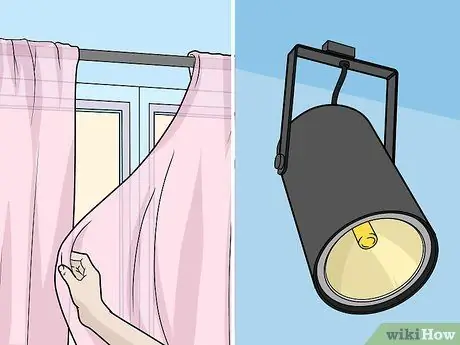
Step 4. Find consistent lighting
You can use any light, as long as it doesn't flicker or change in brightness. You may need to block out the light with blinds or curtains, if clouds or shadows change the brightness of the location.
Some bulbs need time to reach maximum brightness. Let it heat up while it's getting ready
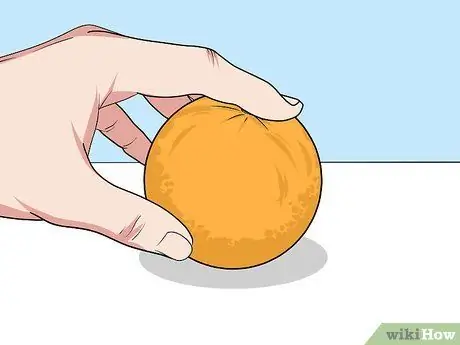
Step 5. Set the scene
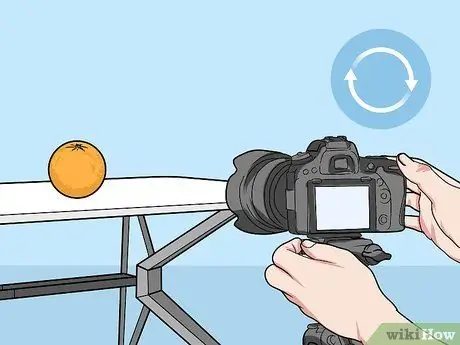
Set the first shot in an area with no wind or movement in the background. Make sure all the pieces stand on their own. If one of them fell during filming, returning it to its original position would be quite troublesome
If any of the figures are tilted or appear to be falling, tape them to the surface
Step 6. Set up your camera
Take the camera and device to the filming location. Connect a webcam or camera to the device you are using. Open the program and make sure the program is connected to the webcam image. After that, mount the camera on a tripod, or tape it so that the camera does not move. If the camera shakes when the photo is taken, the film will appear garbled and broken.
Step 7. Start taking photos
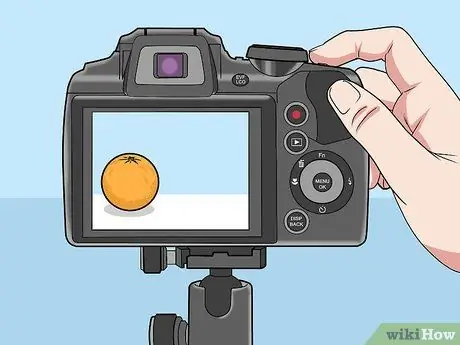
Take a photo of the object or figure in its initial position. Move the object a little at a time, and take a photo after each move. You can move one piece at a time (e.g. one arm swinging), or several moves at once (a smooth running animation requires hand and foot movements, or multiple objects moving in a busy scene). Try to keep the object moving the same distance each time.
Before taking each photo, make sure the object is in sharp focus. We recommend that you turn off the autofocus feature on the camera. If you are using a webcam, turn the focus ring by hand
Step 8. Check your software
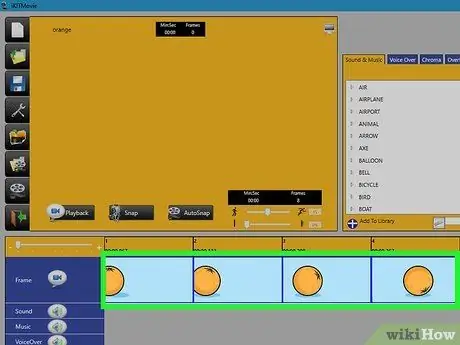
Every time you take a photo, a frame should appear in your software. These frames are lined up in rows and form a strip of film, usually at the bottom of the monitor screen. You can click on the frames or play the video to see the rough result of your movie. The end result will be much smoother.
If you make a mistake, just delete the captured frame and take a new photo
Step 9. Look for the Onion Skinning feature
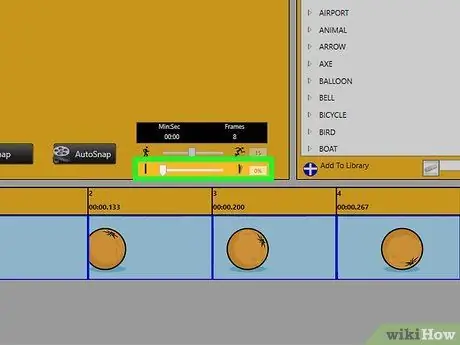
This feature is very useful and is one of the reasons to use stop-motion programs instead of free video manipulation programs. If this feature is enabled, the previous frame will appear as a blurry image on the screen and overwrite the image the camera sees. This feature allows you to accurately arrange objects and see how the motion looks exactly in the camera. If you nudge a figure down or make a mistake that requires a re-shoot, this feature makes it easy to return to an old scene by lining up the figures as a blurry image.
If you can't find this feature, look for the “Help” or “Tutorial” section, or visit the website of the developer of the program used
Step 10. Finish shooting
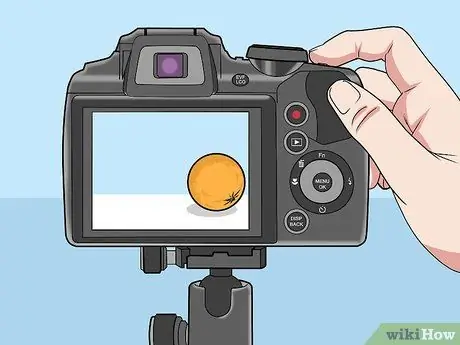
Continue moving and photographing objects and figures until the scene is complete. Save your work often. Leave the setup after you're done in case any photos need to be redone.
No need to complete one scene at a time. Take a few breaks to keep this process enjoyable
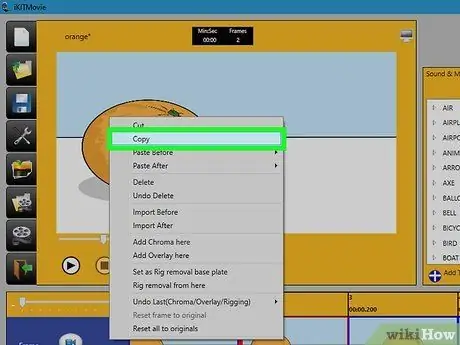
Step 11. Duplicate the frame so that the motion on the film slows down
By doubling the frame, it will stay still a little longer before moving. As a general rule, make one or two copies of each frame. Occasionally, slow down to 6-8 steps between moves so that the object stops before changing direction or starting a new motion. This method makes the movement look more natural and the resulting animation is smoother and pleasing to the eye.
If you don't know how to do this, look in the guide for the program you're using
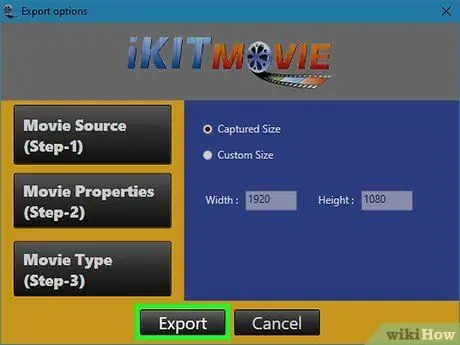
Step 12. Finish your movie
You can now create a project as a video file and show it off to your friends. If you want, feel free to add music, sound effects and special effects with a video manipulation program.
Method 2 of 2: Using a Free Video Manipulation Program
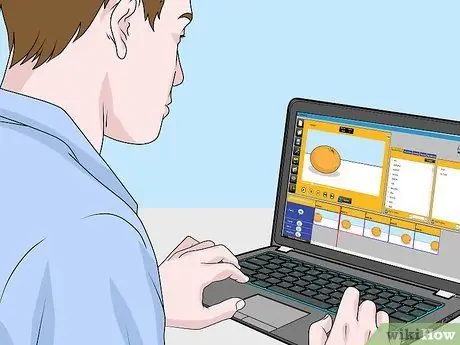
Step 1. Learn the pros and cons
You probably already have a video manipulation program built into your computer, and a camera or cell phone that can take digital photos. If true, this method can be done immediately. However, the shooting and editing process will be quite difficult to do. If you plan to make a movie that is longer than 1-2 minutes, it is highly recommended to use the method above.
This method only requires free trial software and a cheap camera
Step 2. Select your software
Most free video manipulation programs can be used. Here are some examples worth checking out:
- For Mac: iMovie (built-in on some Macs)
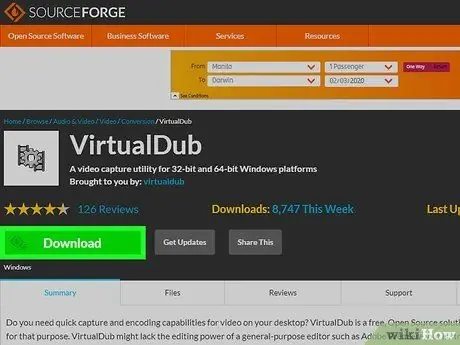
- For Windows: Virtual Dub, Windows Movie Maker (actually this program doesn't support stop-motion animation, but sometimes it can be used. It's built-in on most Windows)
Step 3. Set the filming location
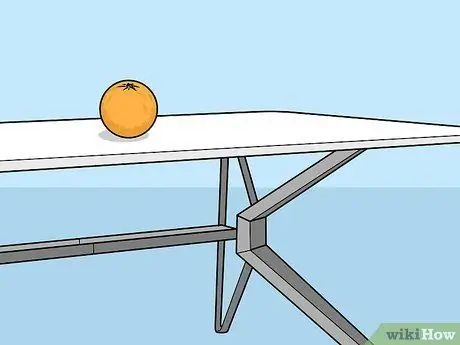
Look for areas without moving shadows, flickering lights, or motion in the background. Place the objects to be filmed and glue them with double-sided tape or masking tape.
Making stop-motion animation takes a long time. Start with short, simple ideas, like crumpling paper and jumping in the trash
Step 4. Take care not to shake the camera
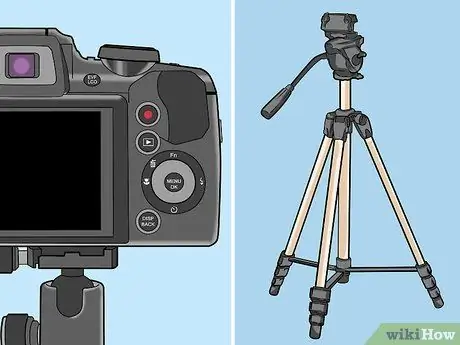
You can use any type of camera, phone, or tablet that shoots digital photos. Place it on a tripod or stand, and glue it. The camera must be completely still, so that the film doesn't look muddled and weird.
Step 5. Take a photo
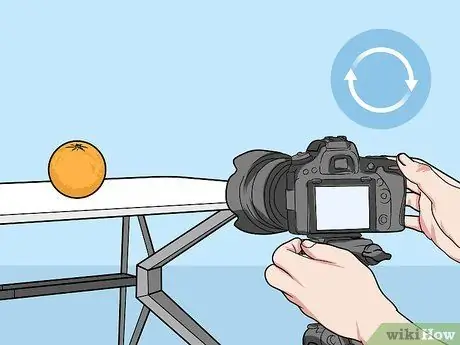
The basic idea is simple: take a photo, move the object around a bit, then take the photo again. Check the resulting image, and take it back if the result is wrong or not good. You may need to take 2-3 photos for each position, just in case.
- Make sure the object being photographed is in sharp focus. If your camera keeps adjusting the distance, turn off the autofocus feature and adjust the focus manually.
- Move the same distance each time.
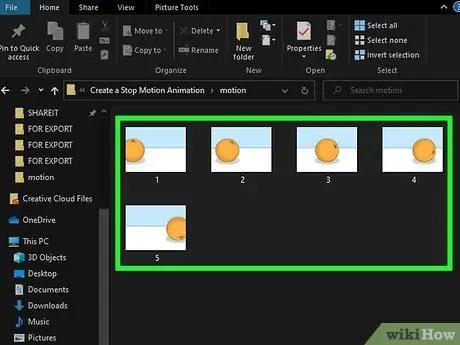
Step 6. Transfer the photos to the computer
Save the captured pictures to the computer in a location that is easy to remember. Don't change the names of the photos, you need the sequence numbers.
If you use a photo application such as iPhoto, first create a new album to separate it from other photos
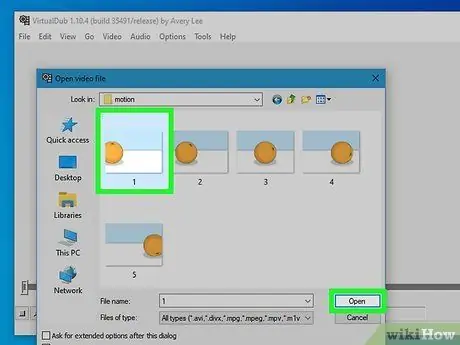
Step 7. Import the images into a video manipulation program
Open the software and import the folder containing the captured images. This option is usually in the File menu at the top of the screen, or in the following locations:
- iMovie: Make sure you are in the Timeline view. Import images by clicking the Photos button and selecting your photo album.
- Virtual Dub: File → Open → Image Sequence. Select the first image in your album and the program will automatically import all other images in numerical order (example: DCM1000, DCM1001, DCM1002).
- Windows Movie Maker: Do not import images after setting the image duration, as per the instructions below.
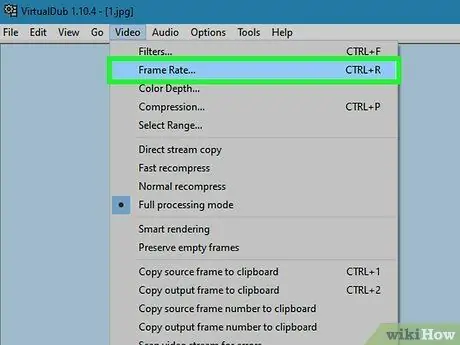
Step 8. Change the duration of the image
This option determines how long the image will appear on the screen. This process differs according to the program used:
- iMovie: When you select a photo, you are asked to fill in the length of time. Try entering 0:03 (3/100 of every second) for a smooth and fast video, or 0:10 for a jerky but more comfortable viewing speed.
- Virtual Dub: Video → Frame rate. 25 FPS (frames per second) produces smooth and fast video, while 5-10 fps moves at a slow, jerky speed.
- Windows Movie Maker: Tools → Options → Advanced → Picture Options. Enter the duration (0.03 or 0.10). You can now upload images to the storyboard.
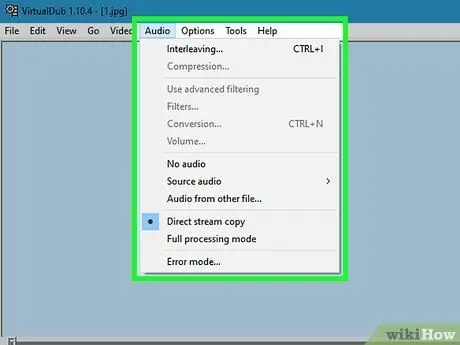
Step 9. Experiment with other features
Most video manipulation programs let you add music, titles, credits, and special effects. You can experiment to your heart's content, or skip this section and make a silent film. Save your work often.
- iMovie: Add dialogue by moving the playhead (down arrow) over a frame and clicking Audio → Record. To add music, drag a song or sound effect from iTunes to an audio track in iMovie.
- Virtual Dub has no features. After exporting, you can open the video file with another program and manipulate it there.
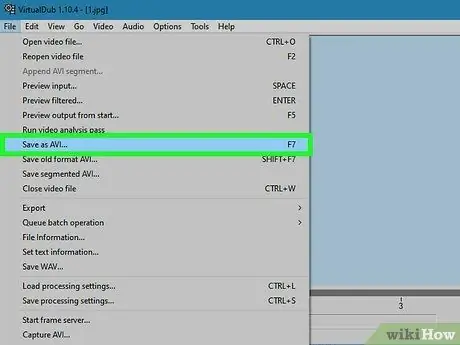
Step 10. Save your video
To watch a movie, just open the video file. Enjoy your first stop-motion animation project!
Virtual Dub: File → Save as AVI. Your image is now a series of movies ready to be edited in another program, such as Windows Movie maker, Sony Vegas, or Adobe Premiere
Tips
- The more photos you have, the smoother the video will be.
- When you're just starting out, just snap a photo of a character's face to show the expression on the line. This method speeds up the process and looks decent.
- Make sure your camera is compatible with any filmmaking program you are using. If the program can't find the photo file, you may have downloaded different software.
- If the object will move its limbs, make sure the object can stay in one position without being held. Tape it with double-sided tape or masking tape to hold your object in place.
- To create a flying object (such as a bird or toy plane), link it with transparent thread. Hold it in the air for each flying object shot. You should ask a colleague for help.
- For large projects with multiple scenes, save each scene as a separate movie. When all the scenes are complete, you can import all the scenes into the final movie.
- If you're using clay, try putting wire in it. Thus, the figure will be easier to move.
- If you're disappointed with the speed with which the program generates animations, try exporting your project as a video file, then importing it again and applying a speed effect to the video, such as double speed. Do this process before inserting audio.
- If your computer is a bit slow and you try to review the video during the editing stage, the movie may miss several frames or get stuck in one frame. When the video is saved, it should run smoothly.
- To reduce flicker and create smoother animations, set the camera's white balance and exposure settings to manual mode so they don't change with each shot.
- Set the video speed before adding audio.
Warning
- Move away from light sources or position them so they don't create distorted and distracting shadows during animation.
- This project takes a long time. Take a few breaks so you don't get bored and frustrated. Keep track of the progress of your project so you don't forget when it was later reworked.
- High-resolution cameras will produce large files and can overload the computer. If the photo was taken in high resolution, reduce the file size using Photoshop or image compression software. We recommend that the file size of the photo is around 500 kB unless you are using a professional program.


