- Author Jason Gerald [email protected].
- Public 2023-12-16 10:50.
- Last modified 2025-01-23 12:04.
You can add animation effects to text or objects contained on a slide to make your PowerPoint presentation more interesting. In addition, you can also create transitions between slides. To add an animation effect, you must first select the object you want to apply the animation effect to. After that, select the desired animation on the " Animations " tab and set the animation effect as desired. You can add transitions to slides in the “Transitions” tab. Additionally, PowerPoint allows you to add animated images or videos to slides via the "Insert" tab.
Step
Method 1 of 3: Adding Animation Effects to Text or Objects
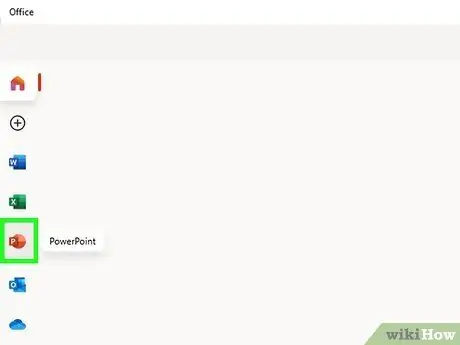
Step 1. Open PowerPoint
The method described in this article can also be used for other free software similar to PowerPoint, such as Google Slides or OpenOffice Impress. However, the layout of the buttons may vary depending on the software used.
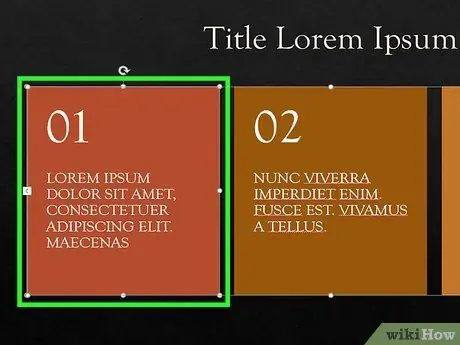
Step 2. Click the object that you want to give the animation effect
Click the text or image that you want to give the animation effect.
- To select the entire text box, click the edge of the text box. When you add animation effects to text, PowerPoint will automatically split the text separated by paragraphs or bullet breaks. For example, if the slide contains two paragraphs, each paragraph will have its own animation effect.
- If you haven't added an object to your slide yet, you'll need to create one first.
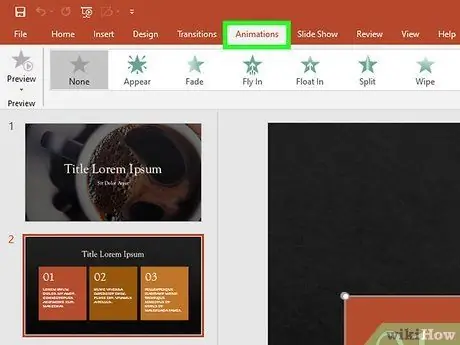
Step 3. Go to the " Animations " tab
This tab is at the top of the menu bar (the set of menus located at the top of the screen). Opening the tab will display various animation options and settings.
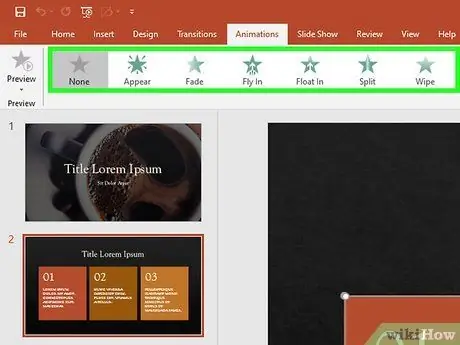
Step 4. Select the desired animation
The animations available in PowerPoint are divided into 4 categories: Entrance, Exit, Emphasis, and Motion Path. The animation that you used recently will be attached to the object and added to the animation box.
- You can click on an animation to see an example of the resulting animation. You can also view other animations by moving the animation box down using the arrow keys to the right of the box.
- The Entrance animation changes the way objects enter the slide.
- The Exit animation changes the way objects leave the slide.
- Emphasis animation will add movement to the object or highlight it. This animation can help draw the viewer's attention to the object.
- Motion Path animation determines the route of movement of objects on the slide.
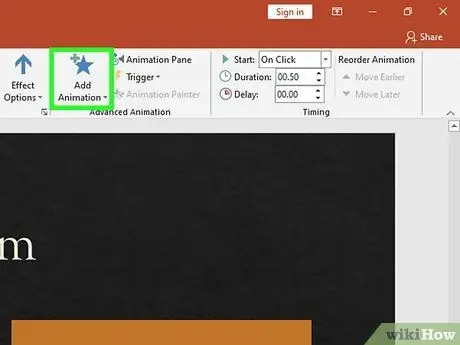
Step 5. Click “Add Animation” to add additional animation to the object
Select an animation effect from the drop-down menu. If you try to add an animation effect without clicking “Add Animation” first, instead of adding an animation effect, this will replace the animation effect that has been installed on the object with another animation effect.
This step can be repeated over and over again to add as many animations to the object as you want
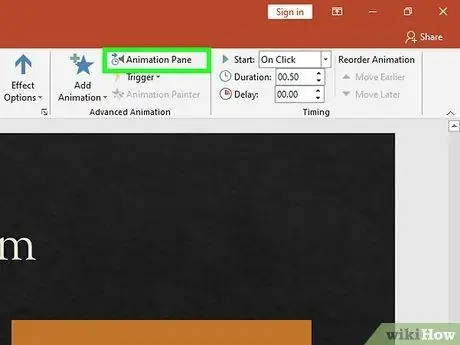
Step 6. Click the “Animation Pane” button (optional)
This button is in the “Advanced Animation” section on the “Animation” toolbar. Clicking this button will display a panel with the animation you selected on the right side of the window.
The Animation Pane can be used to tidy up the order of animations if you use a lot of animations
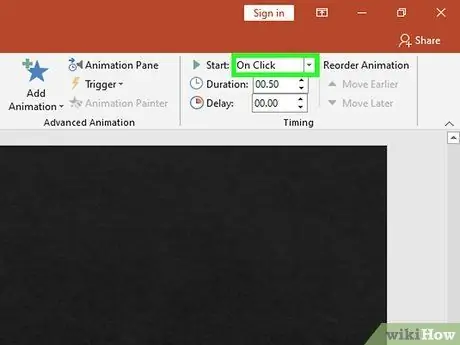
Step 7. Select the enable animation option
Select one of the options available in the “Start” drop-down menu in the “Timing” section to the right of the Animations toolbar: “On mouse click “, “After previous “or “With previous “.
- “On Mouse Click” will prevent the animation from appearing on the slide until you click the mouse button.
- “After Previous” will run the animation automatically after the previous animation is activated (or when the slide appears on the screen if the previous slide does not have animation).
- “With Previous” will run the animation at the same time as the previous animation on the same slide.
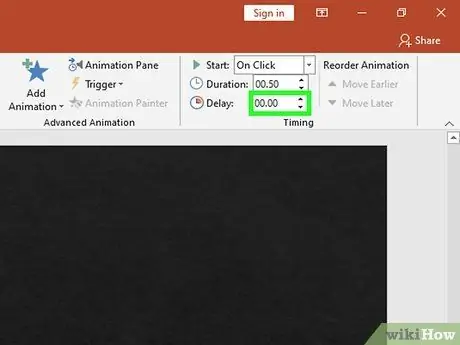
Step 8. Set how long the pause is for each animation
Click the up or down arrow button next to “Delay” in the “Timing” section to change the duration of the pause that appears before the animation starts.
The pause will start after the animation you selected is executed. If you select the “On Click” option, a pause will start when you click the mouse button
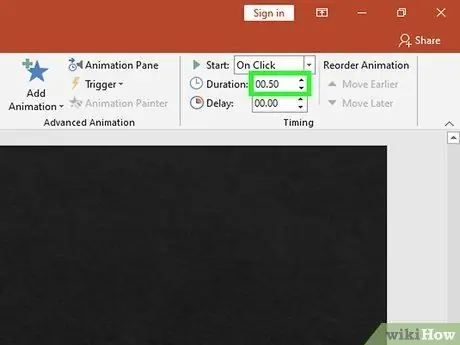
Step 9. Set the animation duration
Click the up or down arrow button next to “Duration” in the “Timing “section to change the animation speed. The longer the animation duration, the slower the animation moves.
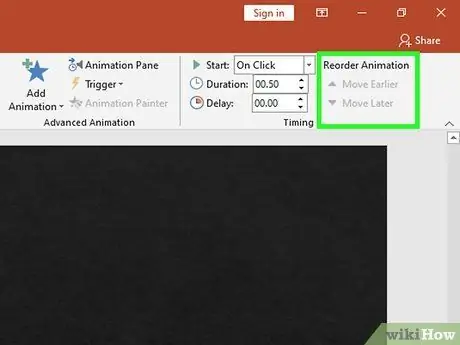
Step 10. Rearrange the animation order
Use the arrow buttons under the " Reorder Animation " heading in the " Timing " section to adjust the animation order. You can move animations that have been added to the Animation Pane column up and down. Put the animation up if you want it to run earlier or put the animation down if you want it to run later.
You can also click and drag animations in the Animation Pane column to adjust their order
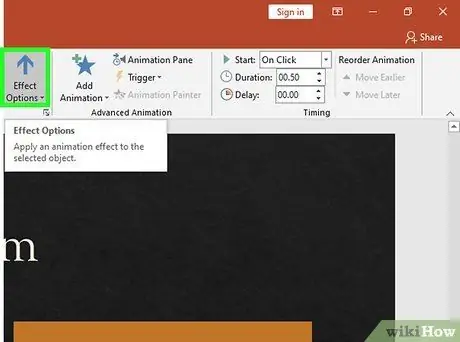
Step 11. Add sound effects to the animation
In the Animation Pane column, click the downward-facing arrow button next to the animation and select “Effect Options” from the drop-down menu. Go to the “Effect” tab in the window that appears. After that, in the menu available under " Enhancements " select a sound effect from the list or select " Other Sound… " to add a sound effect file manually.
Selecting the " Other Sound… " option will open a window that will allow you to search for files on your computer. Therefore, it's a good idea to have a sound effect file ready before adding it to PowerPoint
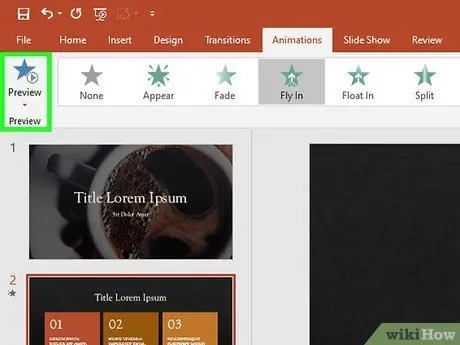
Step 12. Click “Preview”
It's to the left of the Animations tab. Clicking this button will run the selected animations on the slide.
Method 2 of 3: Adding Animation Effects to Page Transitions
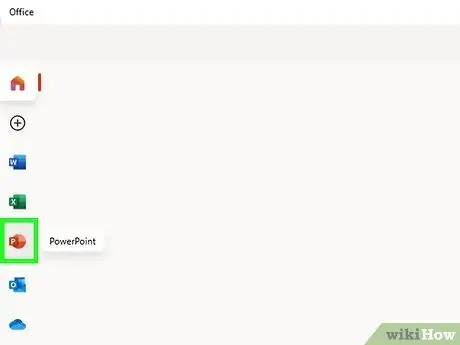
Step 1. Open PowerPoint
The method described in this article can also be used for other free software similar to PowerPoint, such as Google Slides or OpenOffice Impress. However, the layout of the buttons may vary depending on the software used.
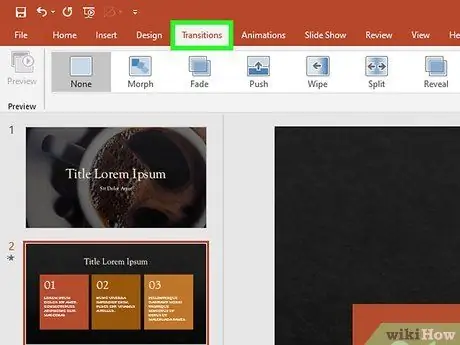
Step 2. Go to the “Transitions” tab
This tab is at the top of the menu bar. Opening the tab will display various animation options and settings.
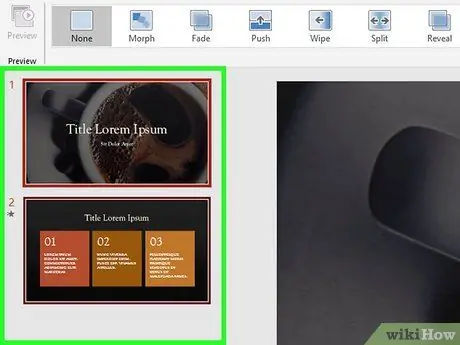
Step 3. Select the slide you want to apply the transition effect to
The slides appear in the pane on the left of the window. When you select Slide, the edge of the slide is highlighted.
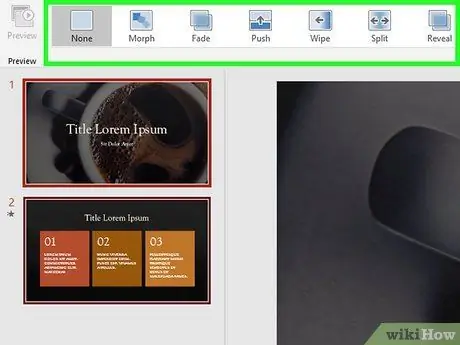
Step 4. Choose a transition effect
An example of a transition effect will be displayed on the screen when you click on it.
- Select " None " which is on the left side of the Transitions column to delete the selected transition.
- Slides can only have one transition effect at a time.
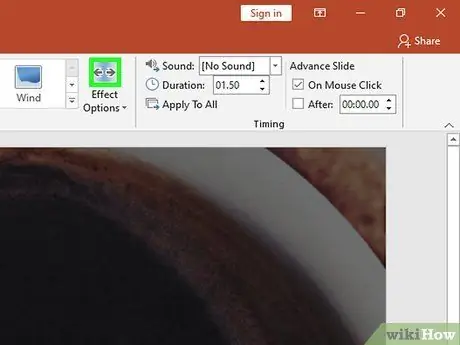
Step 5. Click “Effect Options”
It's to the right of the Transitions column. Clicking the button displays options to set how the transition effect appears on the screen, such as the angle or direction the transition effect appears.
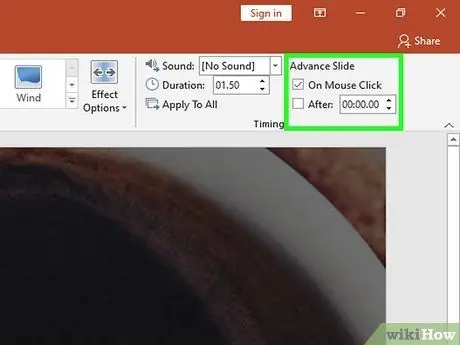
Step 6. Check or uncheck the “On Mouse Click” box
This box is in the " Timing " section to the right of the Transitions column. If you check the box, a transition effect will be displayed on the screen when you click the mouse button.
“On Mouse Click” is checked by default (default)
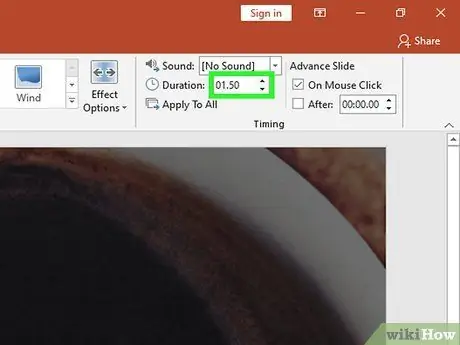
Step 7. Set the transition duration
Click the up and down arrow buttons next to “Duration” in the “Timing” section to change the duration speed.
- The higher the duration, the longer the transition duration.
- This setting only changes the duration of the transition, not the duration of the slide.
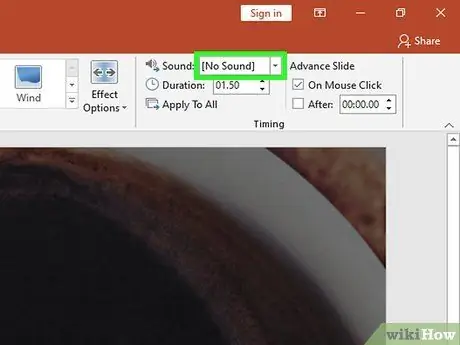
Step 8. Choose a sound effect
Click the “Sound” drop-down menu to the right of “Effect Options” to add a sound effect that will play when the transition effect appears.
Select “No Sound” in the drop-down menu to remove the added sound effect
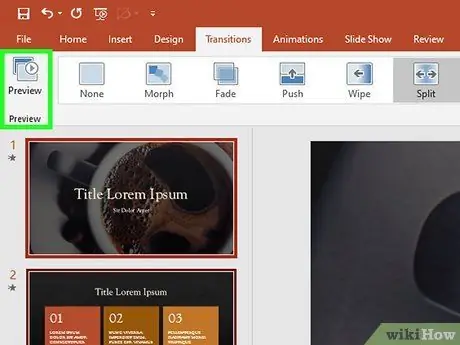
Step 9. Click “Preview”
It's to the left of the Transitions tab. Clicking this button will display transitions and other effects on the selected slide.
Method 3 of 3: Adding Animated Images and Videos to Slides
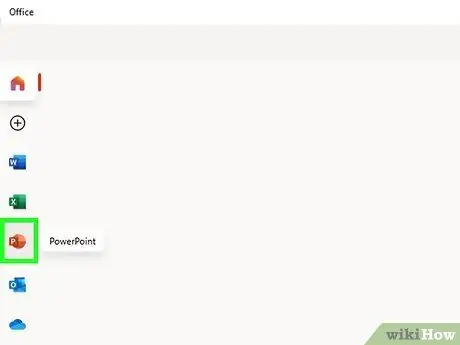
Step 1. Open PowerPoint
The methods listed in this article can be used for other free software similar to PowerPoint, such as Google Slides or OpenOffice Impress. However, the layout of the buttons may vary depending on the software used.
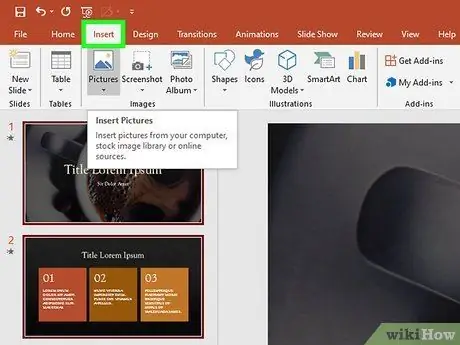
Step 2. Go to the “Insert” tab
This tab is at the top of the menu bar. Opening the tab will display various options for adding content to the slide.
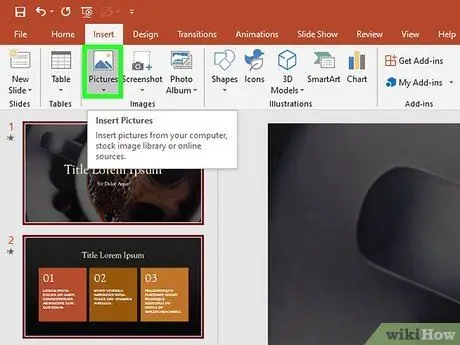
Step 3. Click “Pictures”
This button is in the “Images” section of the “Insert” toolbar. Clicking this button will open a window for searching for image files on your computer. Look for a ".gif" file or another type of animated image file.
You can click and drag an image around the slide once it's added
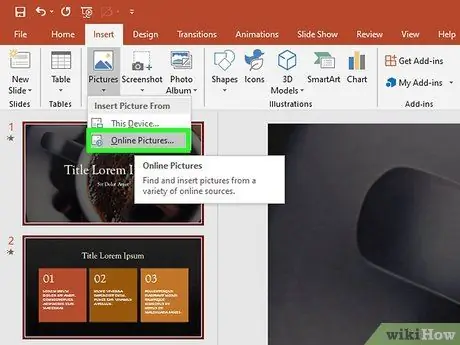
Step 4. Click “Online Pictures”
This button is in the “Images” section of the “Insert” toolbar. Clicking this button will open a window with a search field that can be used to search the internet for images.
Your computer must be connected to the internet when giving a presentation so that objects you get from the internet can be displayed on slides
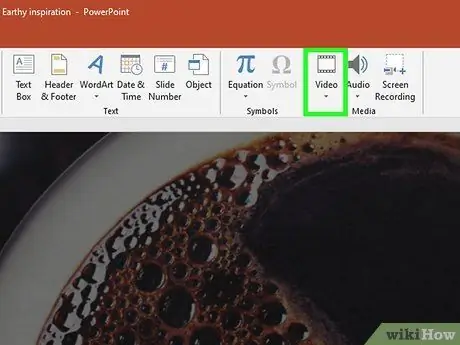
Step 5. Click on “Videos”
It's in the “Media” section of the “Insert” toolbar. Clicking this button will open a menu with options for searching for video files on your computer or on the internet.
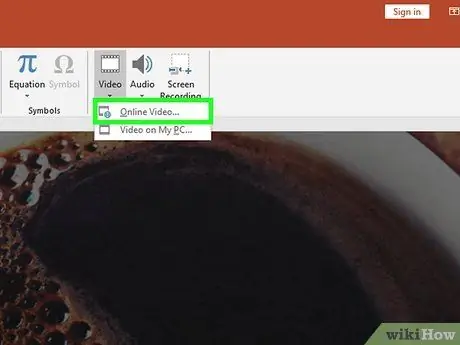
Step 6. Select “Online Videos”
After that, the "Insert Video" window will appear on the screen. The window offers two options for adding a video to the slide, namely by searching for the video on YouTube and entering the video link. Both options will add and embed the video on the slide.
Videos embedded in slides can only be played if your computer is connected to the internet when you deliver your presentation
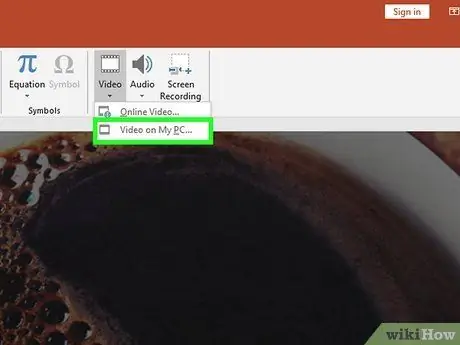
Step 7. Select “Video on my computer”
After selecting this option, a window that will allow you to search for video files stored on your computer will appear. After selecting a video, you can click and drag the video around the slide.
Tips
- Options for setting animation start, pause, and duration can be accessed in the Animation Pane. Click the downward-facing arrow next to the selected animation and select the desired option from the menu.
- Click “Apply to all” on the Transitions tab to add the desired transition effect to the entire slide.


