- Author Jason Gerald [email protected].
- Public 2023-12-16 10:50.
- Last modified 2025-01-23 12:04.
Sometimes, you need to make the background transparent to create an image ready to upload to the web, or when creating layers. While this task can be performed with an image editor such as Photoshop or another professional image editing program, not everyone can afford such a program. Luckily, you can make a transparent background easy and free.
Step
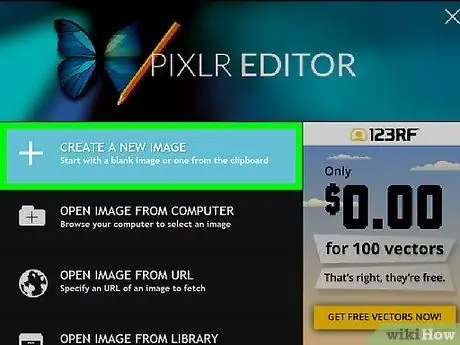
Step 1. Open the Pixlr web application, then select "Create a New Image"
Fill in the required information, and make sure you check the "Transparent" box in the lower left corner of the screen.
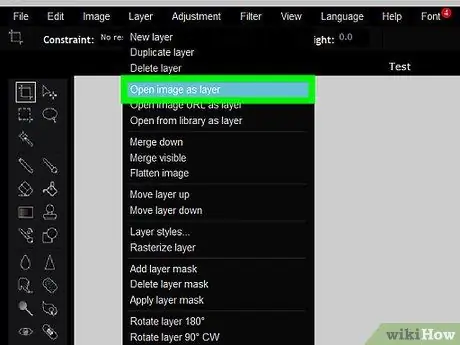
Step 2. Click "layers", then select "Open Image as a Layer" and select the image you want to use
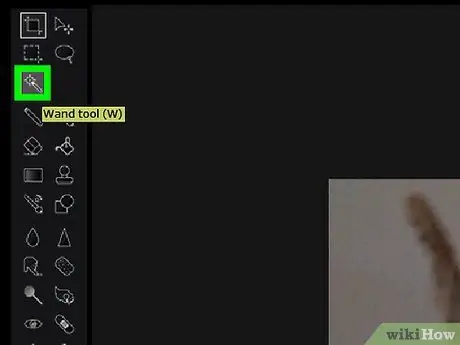
Step 3. Click the Wand tool, then select the part of the image you want to delete
You can also use the Lasso tool if the Wand tool is less accurate.
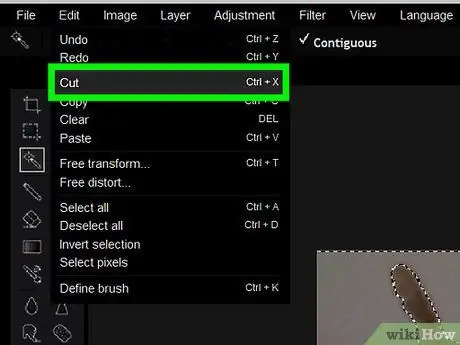
Step 4. After selecting the part of the image you want to delete, hover over "Edit", and select "Cut" to remove the selected part
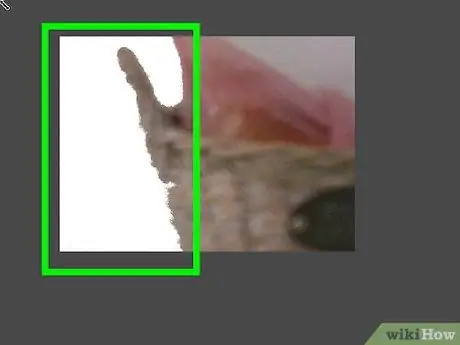
Step 5. Repeat the above steps until you finish removing the unwanted parts
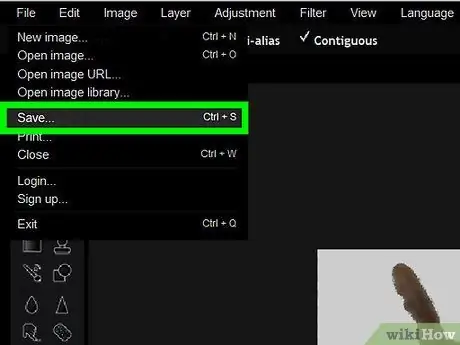
Step 6. Save the image
Make sure you save the image as PNG as that is the only format that supports transparency. If you save the image in-j.webp


