- Author Jason Gerald [email protected].
- Public 2023-12-16 10:50.
- Last modified 2025-01-23 12:04.
This wikiHow teaches you how to enable DHCP (Dynamic Host Configuration Protocol) on your router. DHCP will automatically assign a special IP address to each device on the router network. This is to ensure that no devices share the same IP address, which could cause problems with the connection.
Step
Part 1 of 2: Finding the Router Address
Windows computer
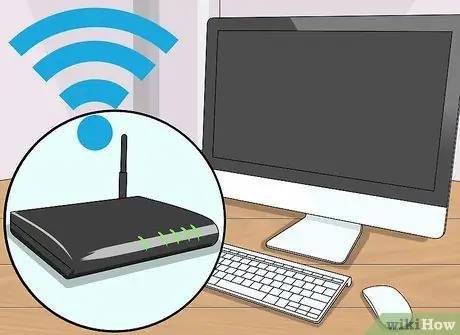
Step 1. Make sure the computer is connected to the internet
You won't be able to find out the router's address if your computer isn't connected to the internet.
You can connect your computer to the router if the wireless connection doesn't work
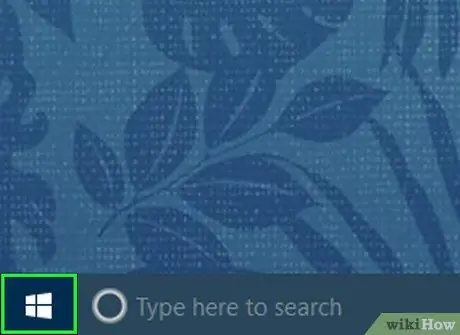
Step 2. Go to Start
Do this by clicking on the Windows logo in the lower-left corner.
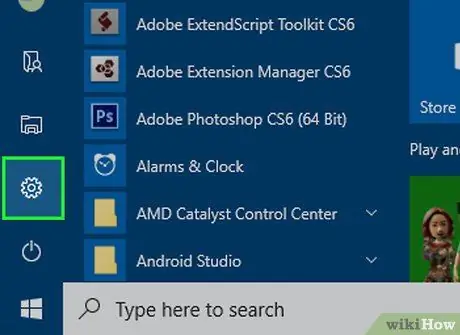
Step 3. Click Settings
This menu is in the lower left of the Start window.
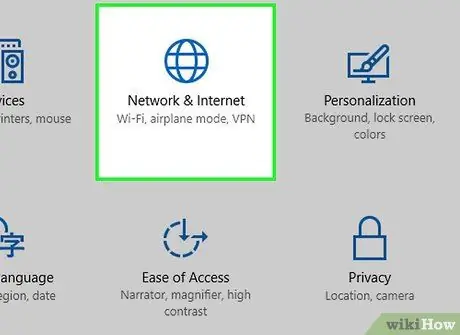
Step 4. Click Network & internet
It's a globe-shaped icon on the Settings page.
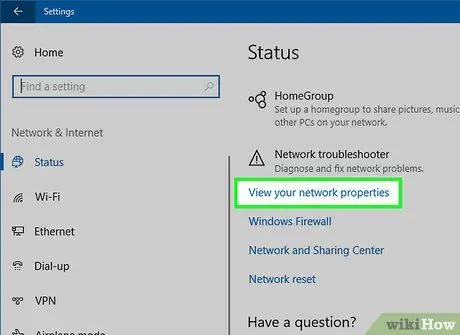
Step 5. Click View your network properties
This option is at the bottom of the page. You may have to scroll down the screen to find it.
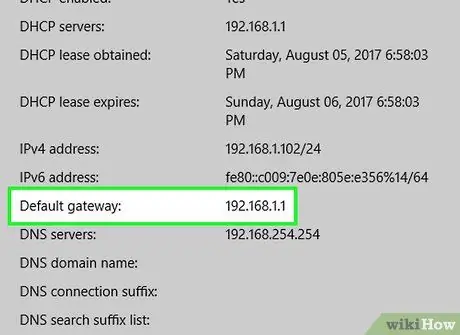
Step 6. Look for the number "Default gateway"
This is the router's address, which you will use to access the router's page. From this page, you can change the DHCP settings.
Mac computer
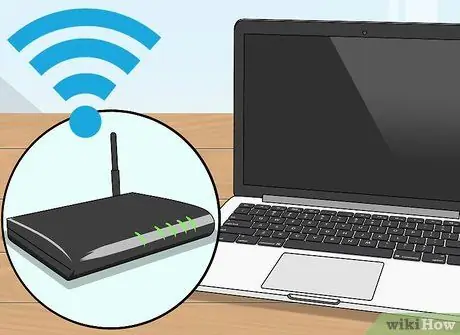
Step 1. Make sure the computer is connected to the internet
You won't be able to find out your router's address if your computer isn't connected to the internet.
You can connect your computer to your router if the wireless connection doesn't work
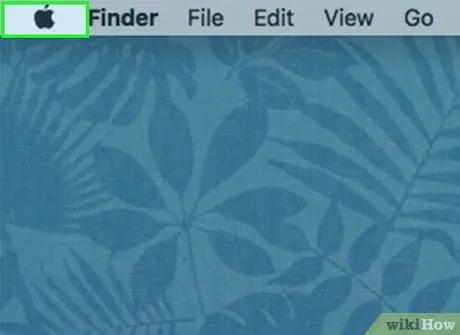
Step 2. Open Apple menu
Do this by clicking the Apple logo in the upper-left corner of your Mac's screen.
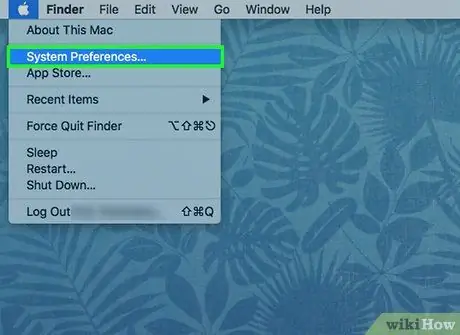
Step 3. Click System Preferences
It's at the top of Apple's drop-down menu.
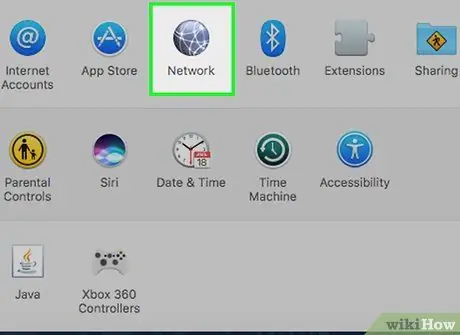
Step 4. Click Network
This globe-shaped icon is on the System Preferences page.
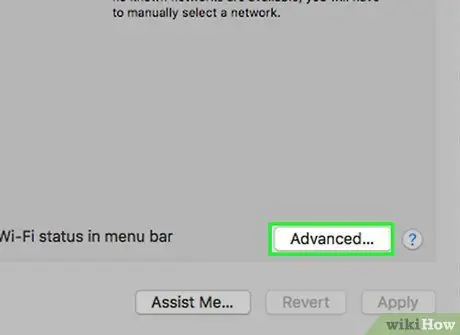
Step 5. Click on Advanced located in the middle of the page
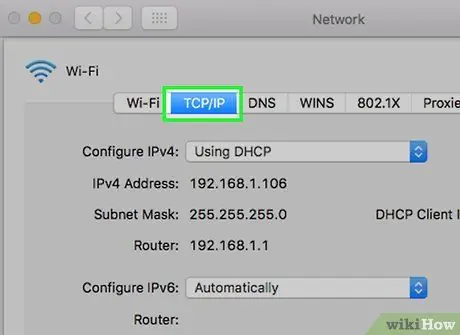
Step 6. Click the TCP/IP tab
This tab is at the top of the Advanced window.
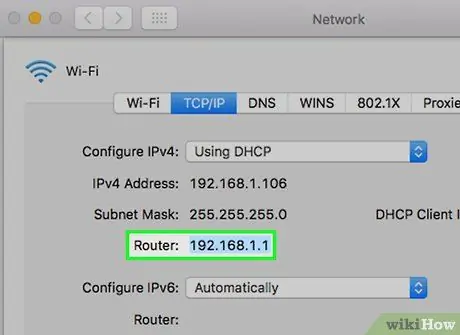
Step 7. Look for the number " Router: ". This is the address of the router, which you will use to access the router's page. From this page, you can change the DHCP settings.
Part 2 of 2: Enabling DHCP
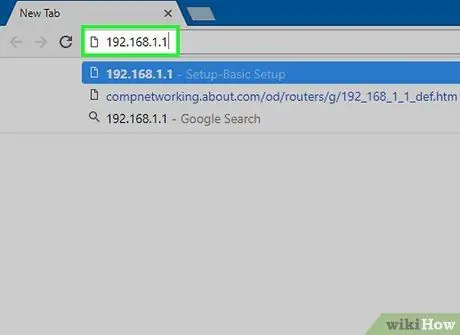
Step 1. Start a web browser, then enter the address of your router
The router page will open.
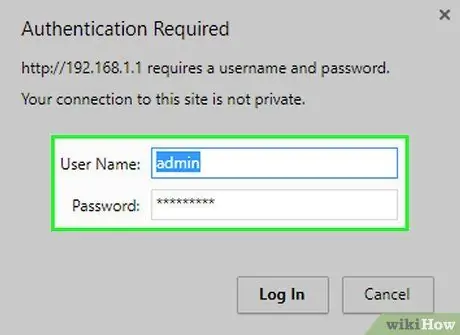
Step 2. Log in to the router page when prompted
Some routers are username and password protected. If you've never changed your router's password, try looking up the password in your router's manual.
- You can also search the model number and name of the router online to find the default username and password for that router.
- If you've ever changed your password but forgot it, reset your router to factory reset your device.
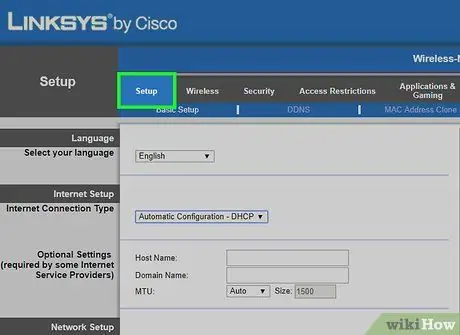
Step 3. Open router settings
Each router has a slightly different page view, but you'll most likely find a settings page there.
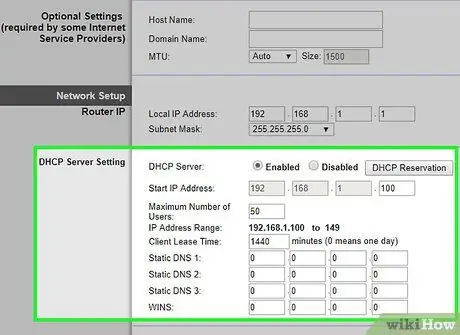
Step 4. Look for the DHCP section
This is usually located in the "Network Settings" section (or something similar). If you don't see DHCP there, look for it in "Advanced" settings, "Setup" settings, or "Local Network" settings.
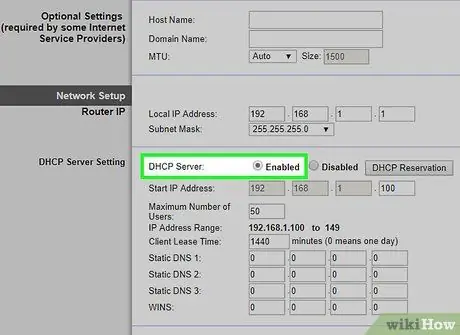
Step 5. Enable DHCP
Click the switch, checkbox, or button Enable. Sometimes, you may have to click the drop-down box Disabled, then select Enabled from the drop-down menu.
You may also be given the option to change the number of devices that can use the router. Be careful when doing this because if you allow only a few devices, some devices will not have an internet connection
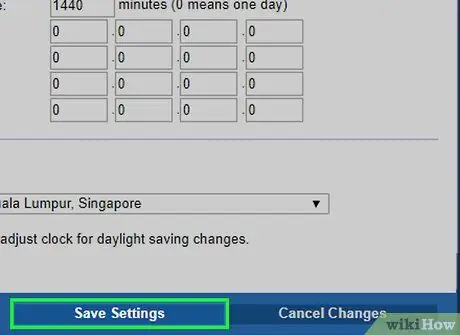
Step 6. Save your settings
Save your settings with the click of a button Save or Apply. Depending on the router you're using, you may also need to restart your router for the changes to take effect.
Tips
We recommend that you follow the instructions provided by the router manufacturer if you wish to change the settings. Each router has different settings
Warning
- Make sure you can physically access the network device in case you have to restore the device to factory settings.
- Never enable DHCP on an insecure network (without using a password).


