- Author Jason Gerald gerald@how-what-advice.com.
- Public 2023-12-16 10:50.
- Last modified 2025-01-23 12:04.
To change the font color in Adobe Illustrator, select the text with the “Selection Tool”, then choose a color from the palette. If more than one text area needs to be changed, just press-and-hold the "Shift" key while selecting additional text areas. You can also change the color of individual letters by selecting only those letters using the “Text Tool”.
Step
Method 1 of 3: Changing Object Text Color
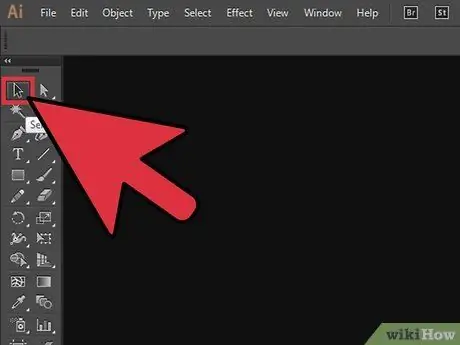
Step 1. Click the first arrow on the toolbar to use the "Selection Tool"
If you don't like the color of the text objects (text blocks) in the file, just change them easily using the "Selection Tool".

Step 2. Click to select the text area you want to change
When you click on the text you want to change, a selection box will appear around it.
- You can also select text in the "Layers" panel. Find the layer containing the text that you want to change, then click the circle at the end of the layer name to select it.
- If the "Layers" panel isn't already open, press F7 to open it now.
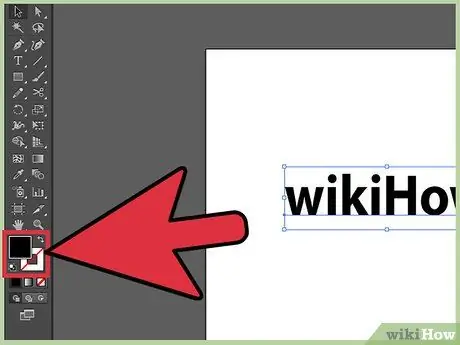
Step 3. Double-click the color palette in the toolbar
The palette is represented by a box whose color is the same as the currently used text color. A larger palette will appear, containing a variety of colors for you to choose from.
To change the "Stroke" (the outline that surrounds the text, not the text), double-click the box below it. The icon will display a red line above it (if there is no “Stroke” color currently) or it will be a box with a black outline around it
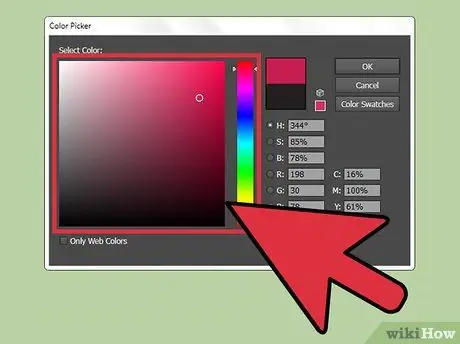
Step 4. Choose a color, then click “OK
All text that is in the lined area will now change to the color you selected.
If you're not happy with the color, press Cmd+Z (Mac) or Ctrl+Z (Windows) to undo the changes
Method 2 of 3: Changing Multiple Text Objects at Once
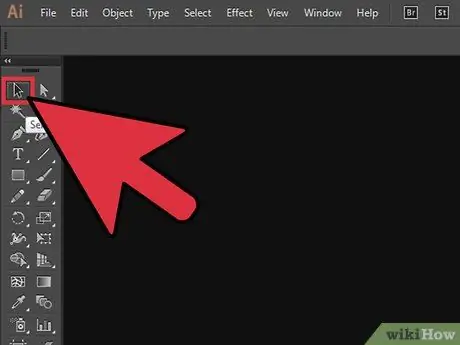
Step 1. Click the first arrow in the toolbar to use the "Selection Tool"
If there are multiple text areas in a single file that you want to convert to the same color, select the "Selection Tool".

Step 2. Click to select an area of text to change
A selection box will appear around the selected text area.
- You can also outline text by selecting it in the "Layers" panel. Find the layer containing the text you want to change, then click the circle to select it.
- If the "Layers" panel isn't already open, press F7 to open it.

Step 3. Press-and-hold the key Shift and click each additional text object
Keep pressing-and-holding the Shift key as you click each area. Now, all areas will be surrounded by a selection box.
- If you're using the "Layers" panel, select multiple layers by pressing-and-holding Shift while clicking each additional circle.
- Once all areas are selected (using the "Selection Tool" or in the "Layers" panel), release the Shift key.
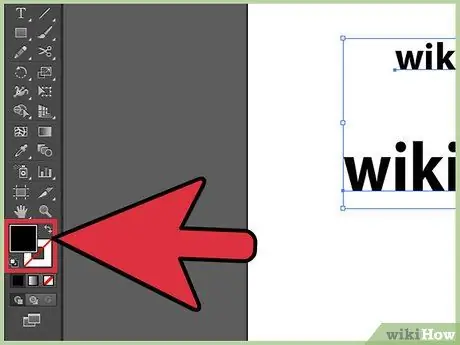
Step 4. Double-click the color palette in the toolbar
The palette is represented by a box whose color is the same as the currently used text color. A larger palette will appear, containing a variety of colors for you to choose from.
To change the "Stroke" (the outline that surrounds the text, not the text), double-click the box below it. The icon will display a red line above it (if there is no “Stroke” color currently) or it will be a box with a black outline around it
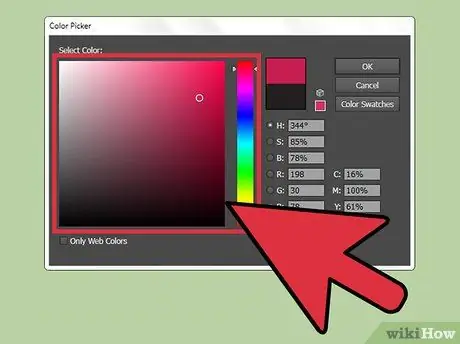
Step 5. Choose a color, then click “OK
All text that is in the lined area will now change to the color you selected.
- If you're not happy with the color, press Cmd+Z (Mac) or Ctrl+Z (Windows) to undo the changes.
- You can also change other text attributes this way, such as the font face and font size.
Method 3 of 3: Changing the Color of Certain Fonts Only
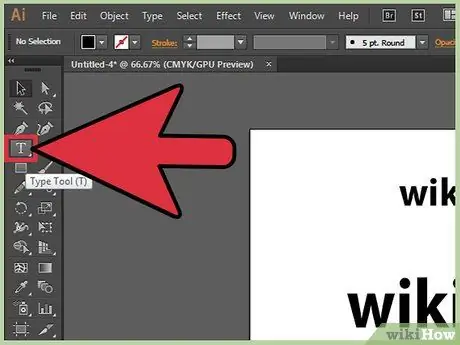
Step 1. Click the "Text Tool" (T) in the toolbar
If you want to change individual letters (or a series of letters) without changing the entire text, do so by selecting the letter(s) with the “Text Tool”.

Step 2. Select the letters you want to change
The selected letter(s) will now have an outline around them.
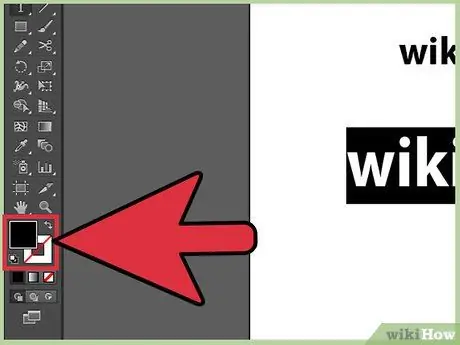
Step 3. Double-click the color palette in the toolbar
The palette is represented by a box whose color is the same as the currently used text color. A larger palette will appear, containing a variety of colors for you to choose from.
To change the "Stroke" (the outline that surrounds the text, not the text), double-click the box below it. The icon will display a red line above it (if there is no “Stroke” color currently) or it will be a box with a black outline around it
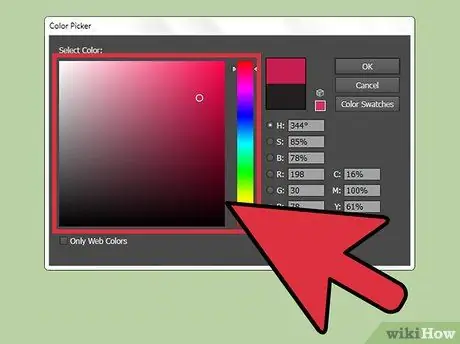
Step 4. Choose a color, then click “OK
The selected letter(s) will change to that color.
- If you're not happy with the color, press Cmd+Z (Mac) or Ctrl+Z (Windows) to undo the changes.
- You can also change the font face and font size individually using this method.
Tips
- You can configure what panels appear in the Adobe Illustrator view by selecting them in the “Window” menu.
- To change various default settings in Illustrator, go to “Edit” >> “Preferences” and find out what options are available to you.


