- Author Jason Gerald [email protected].
- Public 2023-12-16 10:50.
- Last modified 2025-01-23 12:04.
This wikiHow teaches you how to use the iPhone or iPad's built-in screen recorder to record video teleconferencing on Zoom. Before you start recording, you need to add a screen recorder feature to your control center panel (“Control Center”) and ensure that the panel is accessible via any application.
Step
Part 1 of 2: Adding the Screen Recorder Feature to the Control Center Panel
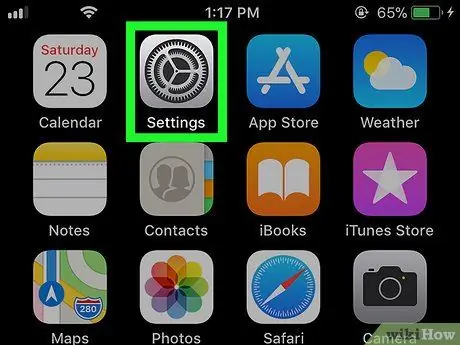
Step 1. Open
on your iPhone or iPad.
Usually, you can see this icon on the device's home screen.
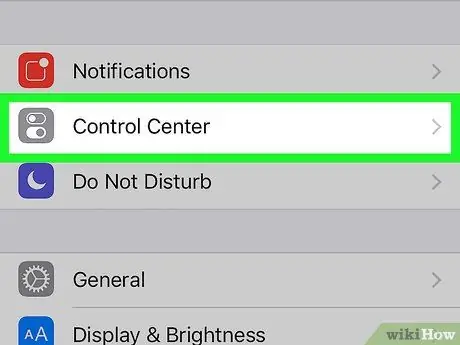
Step 2. Touch Control Center
This option is at the bottom of the screen.
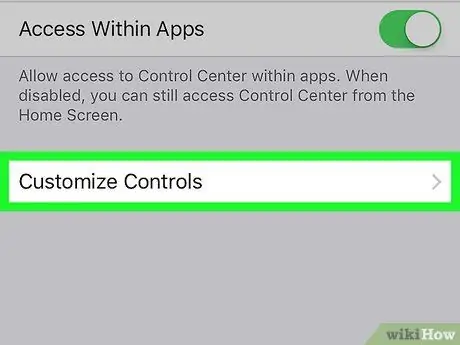
Step 3. Touch Customize Controls
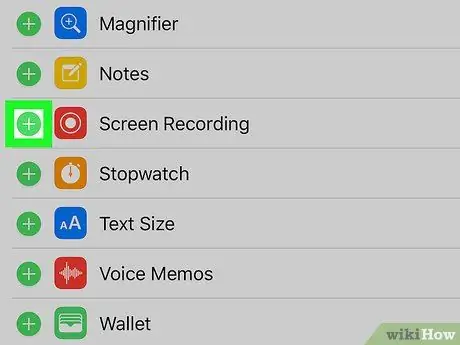
Step 4. Touch + next to “Screen Recording”
The screen recorder feature can now be used via the control center panel or “Control Center”.
If you see a red minus (“-“) symbol, the feature is already available on the panel. You don't need to make any changes
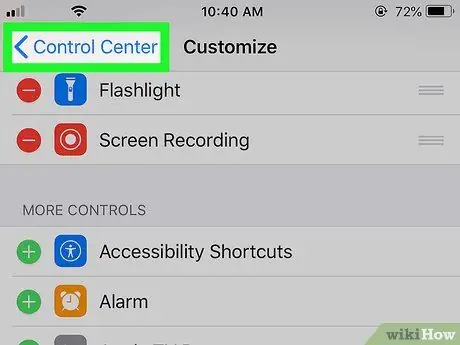
Step 5. Touch the back button
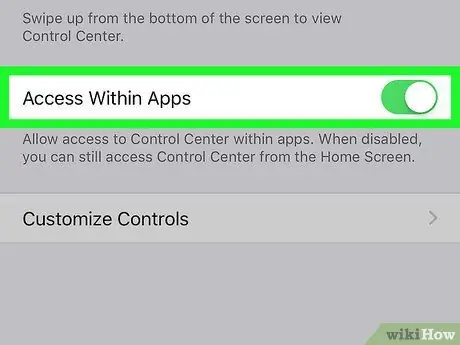
Step 6. Slide the “Access Within Apps” switch to the on or “ON” position
If the switch is green from the start, the feature is already enabled and you don't need to change any settings.
Part 2 of 2: Recording Meetings on Zoom
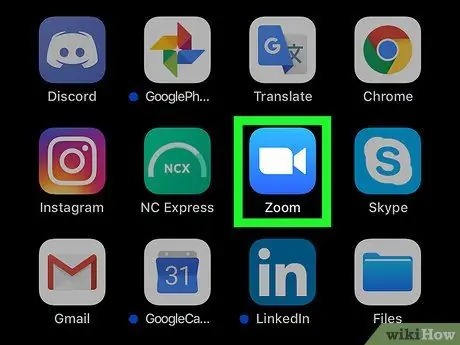
Step 1. Open Zoom on your iPhone or iPad
This app is marked by a blue icon with a white video camera image inside. You can find this icon on your device's home screen.
Sign in to your Zoom account first if you haven't already
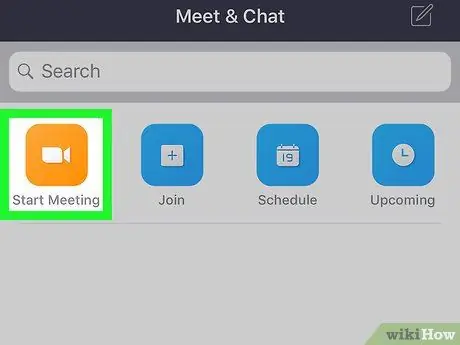
Step 2. Decide if you want to have a meeting, or join a meeting someone else is having
- Touch " Start Meeting ” if you want to hold a meeting. It's in the top-left corner of the screen. You will be taken to a new page, but do not immediately press the “Start Meeting” button at this stage.
- Touch " Join ” (blue icon with blue and white “+” in it) if you want to join a meeting someone else is holding, then enter the meeting code or ID (provided by the meeting organizer). You will be taken to a new page, but make sure you don't hit the “Join” button right away.
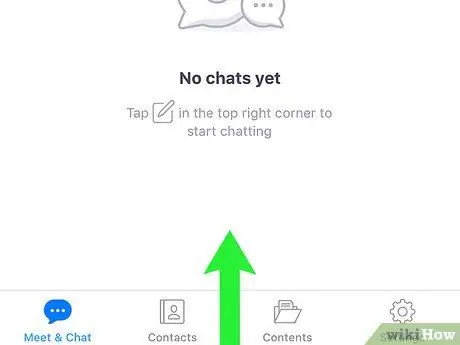
Step 3. Swipe up from the bottom of the screen
Don't swipe until you're ready to record. The control center panel or “Control Center” will be displayed.
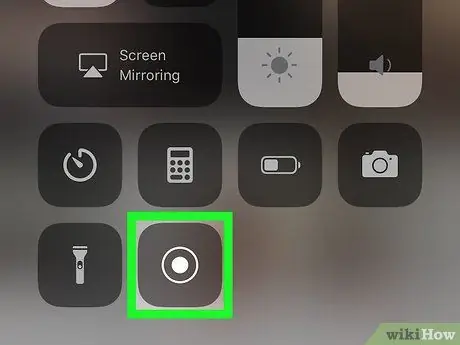
Step 4. Touch the record button
This button is a circle with another circle inside. The countdown timer will be displayed briefly, then the screen will be recorded immediately.
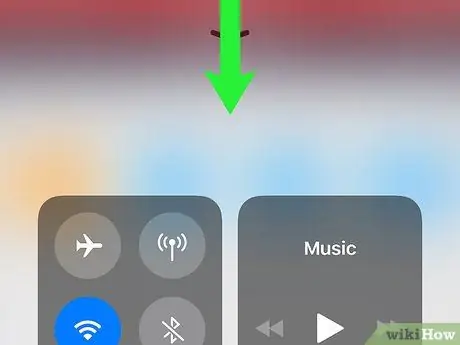
Step 5. Slide the control center panel down
You will be taken to the previous page (Zoom meeting window). The screen recording process is now in progress.
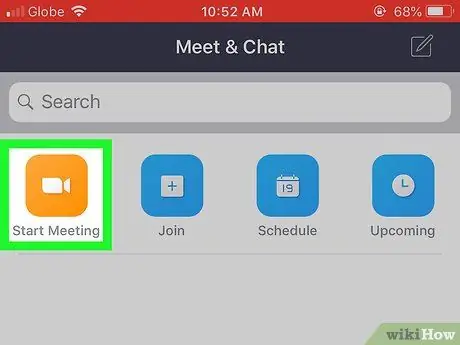
Step 6. Go back to Zoom and touch the Start a Meeting button or Join.
The button to press depends on whether you want to have a meeting or join a meeting someone else is having. The meeting will start and be recorded afterwards.
When you are ready to stop the recording process, move on to the next step
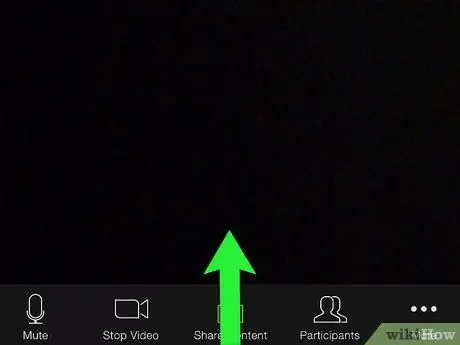
Step 7. Swipe the bottom of the screen upwards
The control center panel will be displayed.
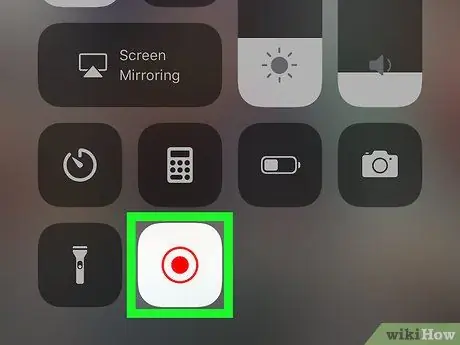
Step 8. Touch the record button
Select the same button as the button you touched earlier (but at this point, the button is shown in red). The recording process will end. You can view the recorded video in the iPhone or iPad gallery.


