- Author Jason Gerald [email protected].
- Public 2023-12-16 10:50.
- Last modified 2025-06-01 06:05.
LCD monitors have many complex components so it's not uncommon to encounter problems. Most minor physical damage can be repaired at home. Please read the user manual for your safety as some repair methods expose you to the risk of serious electric shock.
Step
Method 1 of 3: Diagnosing the Problem
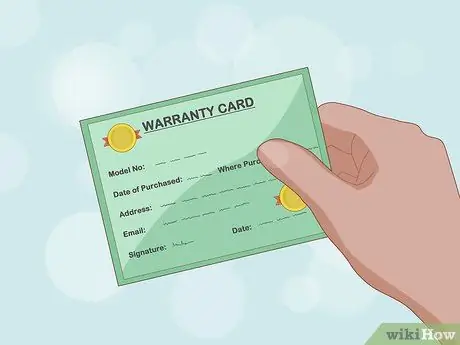
Step 1. Check the monitor warranty
Most new computers provide a warranty period of at least one year. If your warranty is still valid, contact the monitor manufacturer to have it repaired for free or at a reduced price. Your warranty will be void if you attempt to repair the monitor yourself.
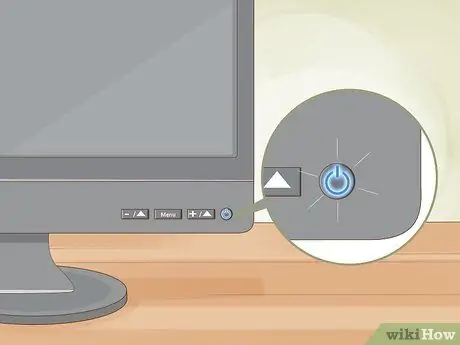
Step 2. Check the power indicator light
If the monitor does not display an image, turn it on and look at the lights on the edge of the monitor. If one or more lights on the monitor are lit, continue to the next step. If the light does not come on, the monitor's power supply (or one of the components connected to the power supply) is faulty. This is usually caused by an exploding capacitor. You can fix this yourself, but don't forget that the power supply is made up of various dangerous and high-voltage components. Take the monitor to a service center, unless you have experience in repairing electronic devices.
- Other signs of exploding capacitors are loud buzzing noises, lines on the monitor screen, and ghosting images.
- The power supply unit is one of the most expensive components in the monitor. If the problem is more serious than a blown capacitor, the repair costs will be very high. Maybe you should buy a new monitor if the old monitor is quite old.
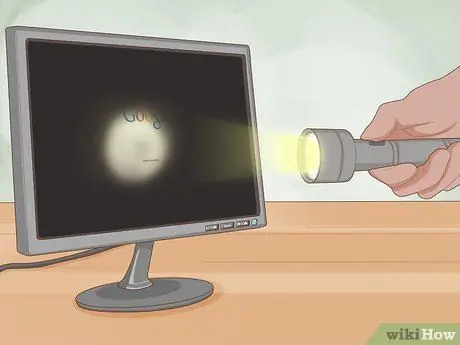
Step 3. Illuminate the monitor screen with a flashlight
Try this method if the monitor only shows a black screen, but the power indicator light is on. If you can see the image on the screen when a flashlight is shone on it, the backlight of the monitor is damaged. Read the guide below to replace it.
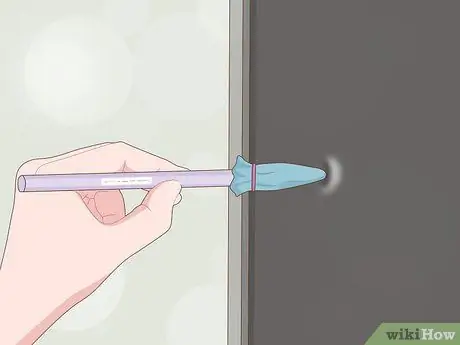
Step 4. Fix stuck pixels
If most of your monitor's screen is working but some pixels are "stuck" in one color, the fix is pretty easy. Keep the monitor on and try the following:
- Wrap the tip of a pencil (or other blunt, thin object) with a damp, non-abrasive cloth. Rub very gently on the stuck pixel panel. Don't rub too vigorously as this will make the problem worse.
- Look for pixel repair software on the internet. This program performs a quick change of color on the screen to jerk the pixels back to normal functioning.
- Buy hardware that can connect to a monitor and fix dead pixels.
- If the above methods do not work, the monitor may need to be replaced.
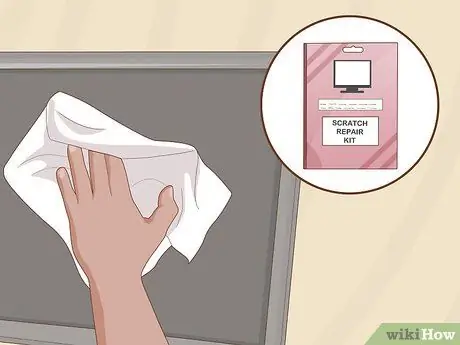
Step 5. Try repairing cobweb-like cracks or black sparks
Both are signs of physical damage. This condition of the monitor is often beyond repair, and the monitor can be damaged even more if you try to repair it. However, if your screen isn't working in its current state, it's worth trying to fix it before looking for a new monitor:
- Wipe a cloth or other soft object across the screen. If you feel any broken glass, stop wiping immediately and we recommend buying a new monitor.
- Rub a clean eraser on the screen scratches as smooth as possible. Wipe the eraser if the residue starts to build up.
- Purchase an LCD scratch repair kit.

Step 6. Replace your monitor
If you are using a standalone LCD monitor, consider buying a replacement. Buying a replacement may be more cost-effective than buying a new component for an old monitor that doesn't last long either. However, if you have a new laptop or monitor, we recommend buying a new LCD display panel. Use a professional to install it on your device.
- The serial number of the panel should appear somewhere on the device, usually on the back. Use this number to order a new panel from the monitor manufacturer.
- While you can try replacing the LCD panel yourself, the process is very difficult and you are exposed to the risk of high-voltage shock. Follow the user manual of the monitor model you have for a safe and successful repair.
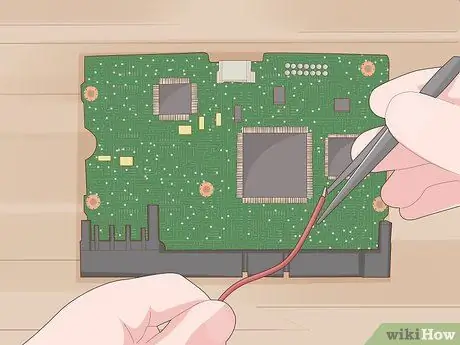
Step 7. Try another fix
There are many types of damage to LCD monitors, but the above methods have covered most of the common problems that occur with monitors. Try the corrective steps that suit your problem first. If your problem is not mentioned above, or your monitor is still not working after trying to fix it, also consider the following issues:
- If the image responds to the input but the display of the image on the monitor is not clear, for example boxes of various colors mixed together, the monitor's audio visual (AV) board may be damaged. This board is usually a rectangular circuit board that sits near the audio and visual cables. Replace the damaged part with a soldering iron, or buy a new board and carefully attach it to the same rainbow screws and wires.
- The main control buttons of the monitor may be faulty. Clean with metal cleaner, or force to connect loose joints. If necessary, locate where the strand board is attached, and re-solder any broken joints.
- Check for damage to the input cable, or other cables of the same type. If necessary, inspect the strand board to be wired, and re-solder any damaged joints.
Method 2 of 3: Replacing the Damaged Capacitor
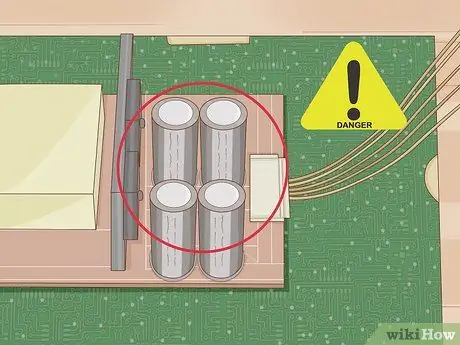
Step 1. Understand the dangers
Capacitors hold most of the electrical charge even after the power connection is disconnected. If handled carelessly, you could be exposed to dangerous and even deadly electric shocks. Follow these steps to protect yourself and your monitor components:
- Be honest with your abilities. If you have never previously replaced circuit boards or worked with electronics, seek the services of a professional. This fix should not be done by beginners.
- Wear antistatic clothing and work in a static-free environment. Keep wool, metal, paper, lint, dust, children, and pets out of your workspace.
- Avoid working in dry or wet conditions. The ideal humidity level is between 35-50%.
- Perform grounding before starting. You can do this by touching the metal chassis of the monitor while the monitor is off but connected to a grounded (earthed) electrical socket.
- Stand on a low friction surface. Use an anti-static spray on the carpet before you put the carpet to work.
- Wear rubber gloves if possible.
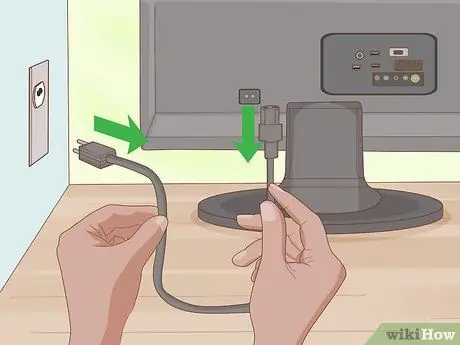
Step 2. Disconnect the power
Unplug the monitor power cable. If the monitor is connected to a laptop or other battery-powered device, remove the battery from the device. This will reduce the risk of electric shock.
- Even if the device has a “non-removable battery”, you can usually remove it after opening the device. Read the user guide on the internet according to your laptop model.
- Some components inside the laptop will continue to store charge. You should not touch any component until it is well recognized.
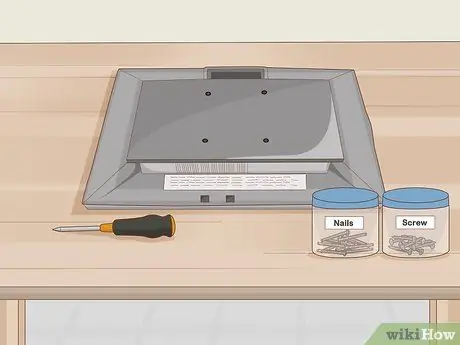
Step 3. Monitor your work closely
Work on a large, flat surface free from interference from other objects. Use a small container to store all the screws and other components. Purchase a label for each container with the name of the component it stores, or with the number of the steps in this guide.
We recommend that you take a photo of the monitor before the components are separated. This photo will later help you as you put all the components back together
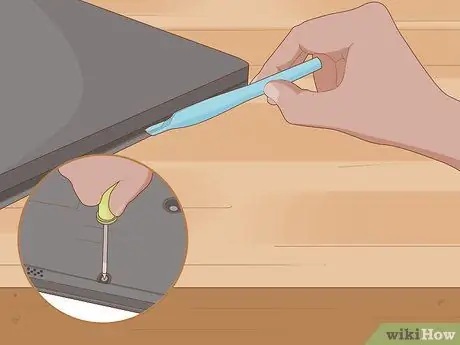
Step 4. Remove the monitor case
Unscrew all the screws in each corner of the monitor's plastic case, or any locations where screws are attached. Disassemble the monitor using a thin, flexible tool, such as a plastic putty knife.
Monitor components may break or shock you if they are disassembled with metal objects. Metal objects can still be used for this step, but don't use them for the next steps
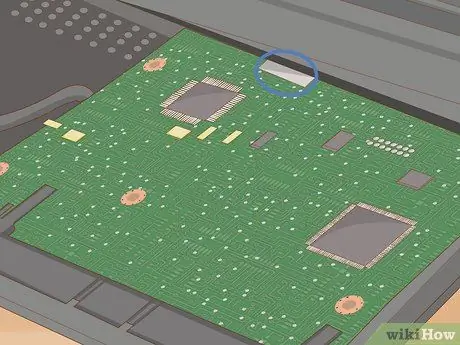
Step 5. Locate the power supply board
The strand board is usually near the power socket. You may need to open some additional panels to find them. This strand board is a board that has several cylindrical capacitors, including one large capacitor. However, these capacitors are usually on the opposite side, and are not visible until you disconnect the board.
- If you don't know where the power supply board is, look online for a picture of your monitor model for reference.
- Do not touch any metal pins on this board. You may get an electric shock.
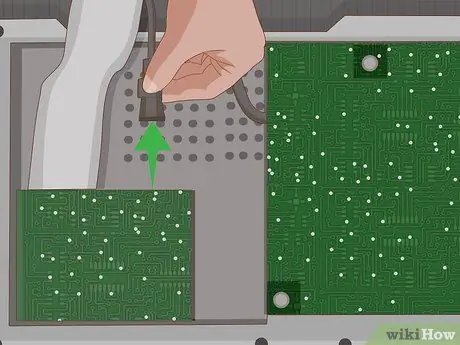
Step 6. Disconnect the strand board
Remove all screws and ribbon cables securing the strand board. Always disconnect the cable by pulling it straight from the socket. If you pull the ribbon cable vertically while the socket is horizontal, your cable could be damaged.
Some ribbon cables have a small label that you can pull out to disconnect
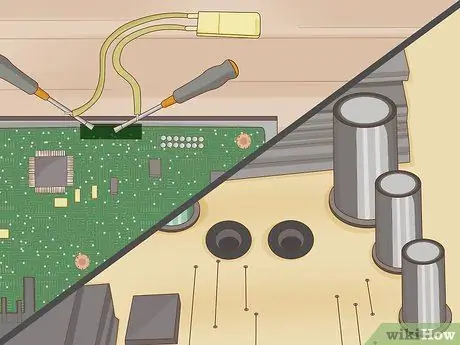
Step 7. Find and discharge the largest capacitor charge
Carefully lift the board by the edges, without touching the metal pins or any attached components. On the other side of the board, find the largest capacitor. Each capacitor is attached to the board by two pins. Discharge stored electrical charge to reduce the risk of accidents in the following ways:
- Purchase resistors in the 1.8-2.2 kΩ and 5-10 watt ranges. This method is safer than using a screwdriver, which can ignite a spark or destroy the board.
- Wear rubber gloves.
- Find the pin attached to the largest capacitor. Touch the two resistor leads to the pins for a few seconds.
- For best results, test the voltage between the pins with a multimeter. Re-use the resistor if there is still voltage left.
- Repeat with each largest capacitor. Small cylindrical capacitors are usually not very dangerous.
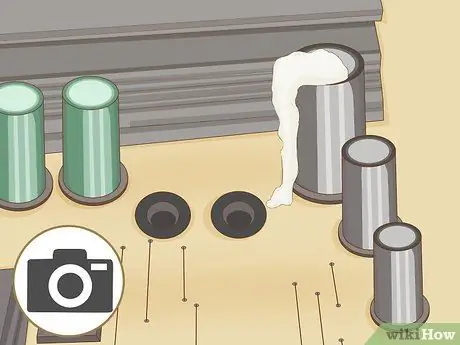
Step 8. Identify and photograph the faulty capacitor
Look for a capacitor that is domed or has a bulging top. Check each capacitor for liquid leaks, or dry, crusty liquid deposits. Photograph or record the position of each capacitor and the markings on its side before discharge. You need to know which pins are attached to the negative side of the capacitor, and which pins are attached to the positive side. If you are removing more than one type of capacitor, make sure you know where and how they are on the board.
- If none of the capacitors appear to be faulty, try one at a time with a multimeter set to resistance.
- Some capacitors are shaped like small discs instead of cylinders. These capacitors are rarely damaged, but check to make sure there are no swollen capacitors.
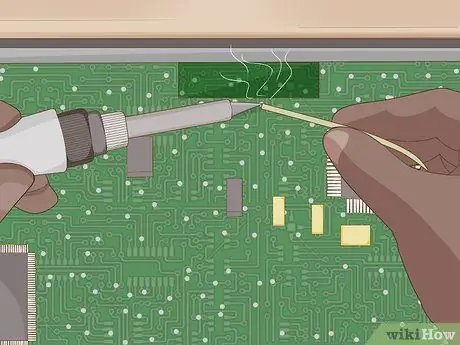
Step 9. Desolder the damaged capacitor
Use a soldering bolt and a desoldering pump to remove the pins in the damaged capacitor. Set aside the damaged capacitors.
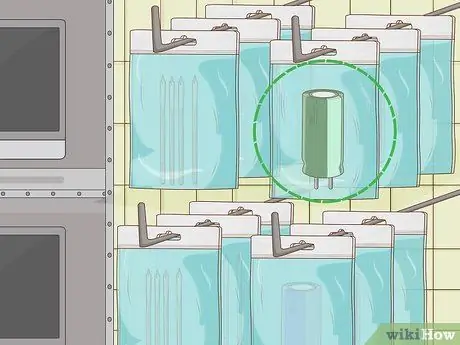
Step 10. Purchase a replacement capacitor
All electronics supply stores sell capacitors at low prices. Look for capacitors that have the following attributes:
- Size: same as old capacitor
- Voltage (V, WV, or WVDC): the same as the old capacitor or slightly higher
- Capacitance (F or F): same as old capacitor
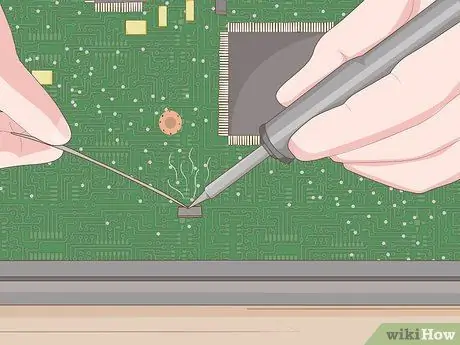
Step 11. Solder the new capacitors
Use the brazing bolts to attach the new capacitor to the strand board. Make sure you connect the negative (striped) side of each capacitor on the same pin as the pin connected to the negative side of the old capacitor. Check to make sure all joints are firmly in place.
- Use a desoldering wire suitable for electronic devices.
- If you can't figure out where the capacitor is beforehand, look online for a diagram of your power supply board model.
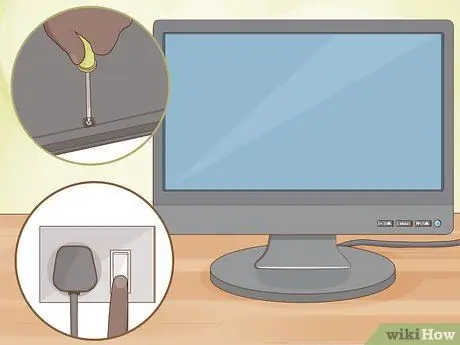
Step 12. Reassemble all monitor components and perform the test
Reinstall all cables, panels, and components exactly as they were before. You will need to test the monitor before attaching the final plastic panel, provided all other parts are attached. If it still doesn't turn on, you'll need to hire a professional or buy a new monitor.
Method 3 of 3: Replacing the Backlight
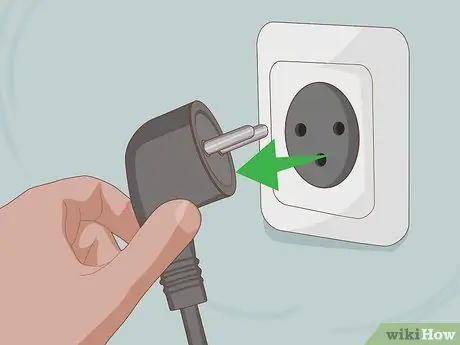
Step 1. Disconnect the power source
Unplug the monitor power cable or remove the battery from the laptop.
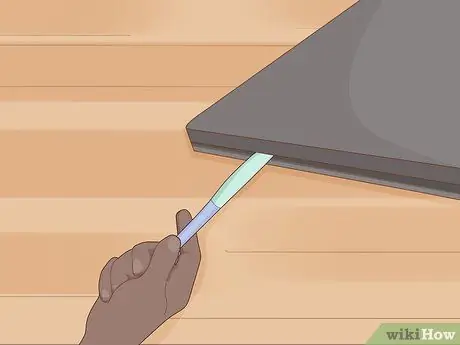
Step 2. Open the monitor
Unscrew the plastic casing on each corner of the monitor. Carefully disassemble the casing with a plastic putty knife. Take notes or photograph the location of the components before removing all components installed in the display panel.
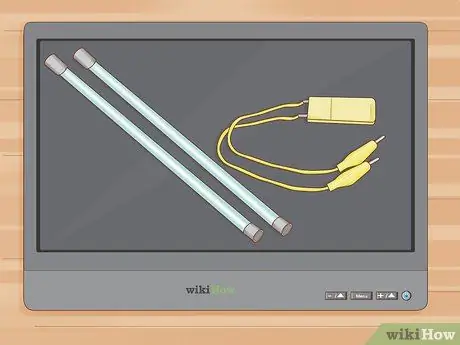
Step 3. Find the backlight
The glass light should be directly behind the glass screen. You will need to remove additional panels or gently pull the flexible cover to find the backlight.
Some components can cause dangerous electric shocks. Do not touch the strand board during your search, unless you are wearing rubber gloves
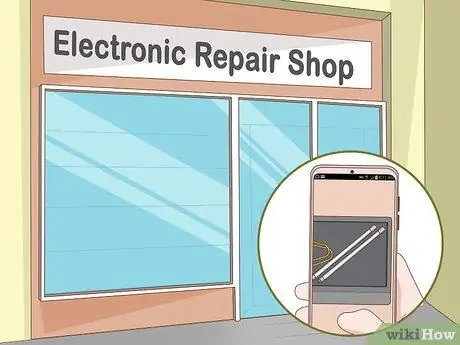
Step 4. Purchase an exact replacement at an electronics store
If you don't know what type of lamp to use, take a photo of the monitor's backlight and show it to store employees. Do not forget to measure the size of the lamp and note the model of your monitor.
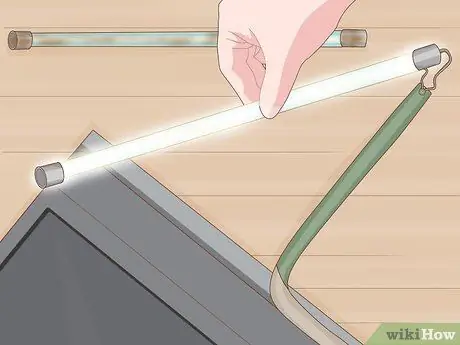
Step 5. Remove the old lamp and insert the new lamp
You have to be careful when using cold cathode fluorescent light (CCFL). This lamp contains mercury and requires a special disposal process according to local regulations.
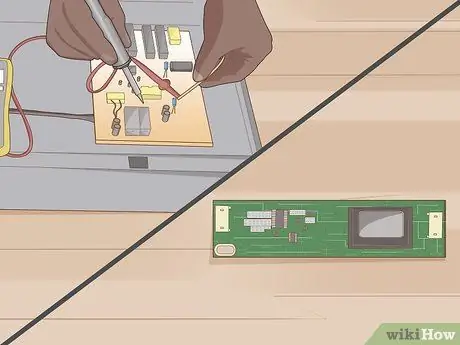
Step 6. Try additional fixes
If the monitor still doesn't turn on, the problem may be with the backlight-powered strand board. These boards are called “inverter” boards, and are usually located near the backlight, with one “cover” for each strip of light. Order a new inverter board and replace components with care. For best results and minimal risk, read the user manual that corresponds to your monitor model.
Before trying, make sure the monitor still displays the image when the screen is highlighted with a flashlight. If the image is completely off, there may be an improper connection after the lamp has been replaced. Check for loose joints carefully
Tips
- Check your local regulations before throwing away or recycling used parts.
- Replacing the monitor display panel can drastically change the display color. Recalibrate your monitor to fix it. Replace the backlight if calibration doesn't fix it.
- If none of the above methods work, on your monitor, you should check your computer's graphics card. The problem might be there.
Warning
- If any cable is broken during repair, the LCD monitor will not turn on. You can take it to a service center, but chances are your monitor is beyond repair.
- Blown fuses usually self-destruct as a result of an underlying problem, and the same thing can happen to replacement parts. If you find one, we recommend replacing the entire strand board, or buying a new monitor. Never use a fuse with a high amperage as it may destroy other components and cause a fire.


