- Author Jason Gerald gerald@how-what-advice.com.
- Public 2024-01-31 09:30.
- Last modified 2025-01-23 12:04.
Photoshop was primarily created as an advanced photo editor, but removing something from an image is possible even for beginners with minimal experience. Whether you want to temporarily remove an object, cut and paste it into another photo, or mask a flaw, there are many tools in Photoshop that you can take advantage of.
Notes:
This method works best for objects with simple backgrounds that can be easily covered. While a skilled artist can erase many objects, you'll need a background that's easy to copy for best results.
Step
Method 1 of 3: Selecting and Deleting Objects
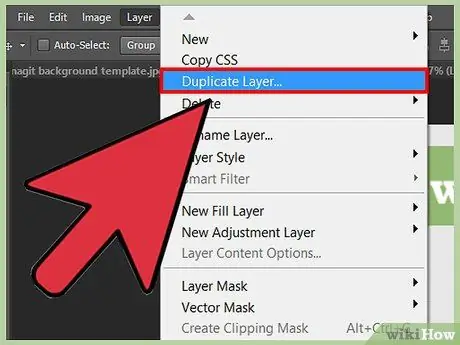
Step 1. Open and duplicate the image to prevent permanent damage to the photo
You can open the image in Photoshop and select " File " → " Save as Copy ", or click " Layer " → " Duplicate Layer " to create a backup version of the original photo. in case you make a mistake.
While you can fire up the Eraser tool (E) and start erasing, this trick should only be used as a last resort. This method is difficult and time-consuming
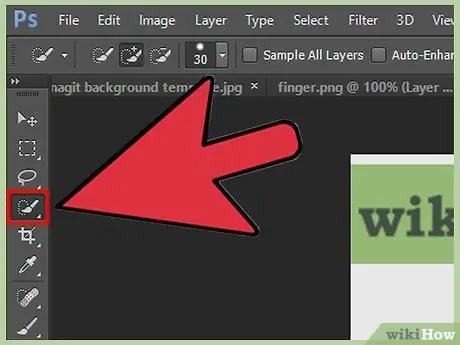
Step 2. Use the Quick Selection tool to select the object you want to remove
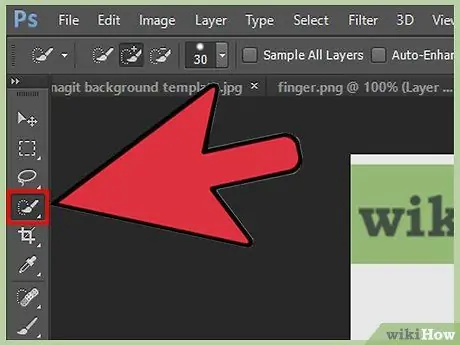
This tool has a brush icon with a dotted line near the bristles, and should be in the fourth tool from the top of the toolbar. If you don't find it, click and hold the Magic Wand button and it should appear. If you want to delete an object without covering it, press Delete to delete it.
- Use the [+] key to reduce or enlarge the brush. Small brushes are ideal for more detailed areas.
- If you make a mistake, hold down alt=""Image" (PC) or Opt (Mac) and click on an area to remove it from the selection.</li" />
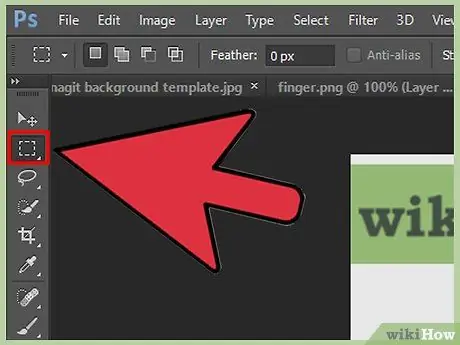
Step 3. Use another more accurate selection tool if the object is too complex for Quick Selection
You have many options available for selecting objects, depending on the level of accuracy you want. If the background behind the object is fairly simple, and the related objects are quite conspicuous (the colors are different, the lines are easy to see, etc.) the Quick Selection tool should suffice. However, if you want to cut something detailed, feel free to use the following tools:
-
Shaped Selections:
The tool is on the second icon on the toolbar, and is a basic geometric shape that can be used to make selections. Hold down the shift key while clicking to make a perfect square or circle instead of a rectangle or ellipse.
-
Lasso Tools (lasso):
This tool is used for manual selection. You can click once and then drag the mouse, and the lasso will follow the cursor. The selection will be formed when the two ends of the lasso are joined. Clicking again will set the point, which will allow you to create a pointed corner. The Polygonal Lasso tool can only create straight lines, while the Magnetic Lasso will try to follow the shape of the image.
-
Pen Tool (pen):
This icon resembles a classic ink pen. The Pen tool creates manageable "paths", meaning you can adjust the selection as it's made. You put dots to form the outline of the object's "skeleton". You can right click and select " Make Selection " to continue.
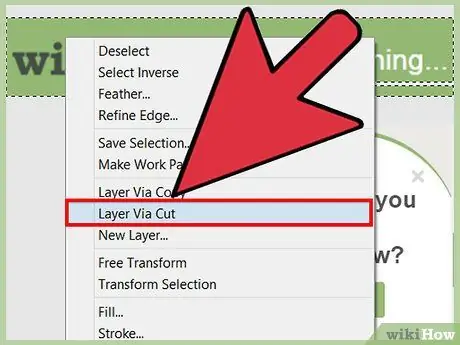
Step 4. Right-click on the selection and select "Layer via Cut" to save a copy of the deleted object
This step will remove the object from the image, but create a new layer according to your selection. If you want to keep the deleted object, simply click and drag this layer into a new Photoshop Window to isolate it, or simply enable the invisible option in the original image to make it disappear for now.
If you don't plan on masking points, or just want to work quickly, use " Select " → " Refine Edge " to make the selection as close to the object to be deleted as possible
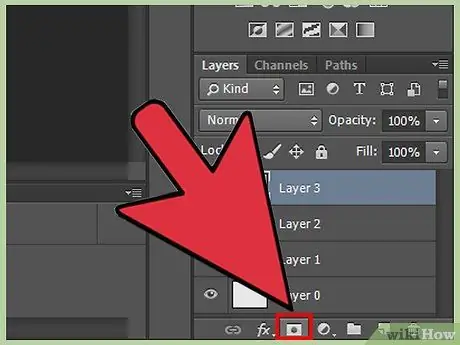
Step 5. Use a layer mask to temporarily delete the object so you can reuse it later if needed
The layer mask will remove the object while still retaining the image information (color, shadow, shape, etc.) in your Photoshop document. As long as the file is saved in.psd format, you will be able to undo anything that was deleted in the layer mask. The method:
- Click the layer that contains the object you want to delete.
- At the bottom of the Layers palette, select the square icon with a circle in the center. If you hover over this icon, it should say "Add Layer Mask" or something, depending on the version of Photoshop you're using.
- Click on the white box that appears.
- Use the Brush Tool (B) and black ink to "erase" the unwanted objects. Every time you “paint” on a layer mask, the associated image on the layer will be erased.
- Color the layer mask again with white to undo the changes.
Method 2 of 3: Using Content-Fill to Cover the Hole
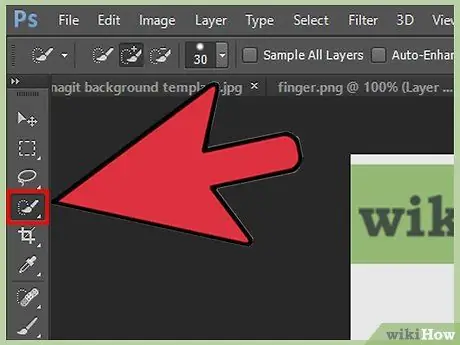
Step 1. Select the object using the Quick Selection tool
While you're free to use any tool you want, this method is usually the easiest. Don't worry about getting the perfect selection; You just need a rough outline of all the parts to be erased.
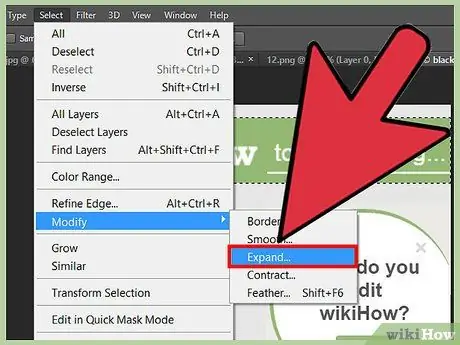
Step 2. Expand the selection so that you have 5-10 pixels on both sides of the object
Don't delete the object right away. Instead, use " Select " → " Expand " to enlarge the selection by a few pixels so that the background is clearly visible around the object.
If there aren't enough pixels around the object to expand, or if the background is uneven, you can still use the patch tool to cover the hole
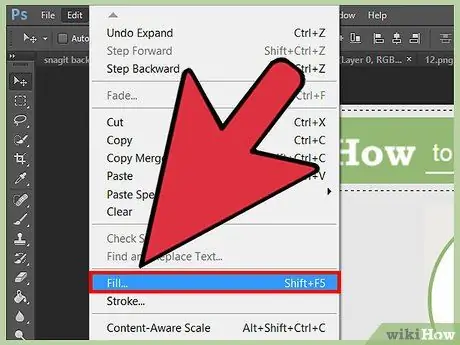
Step 3. Select " Edit ", then " Fill " from the top menu
Click to open the Fill menu, which will take your selection and fill it randomly with pixels from elsewhere in the image.
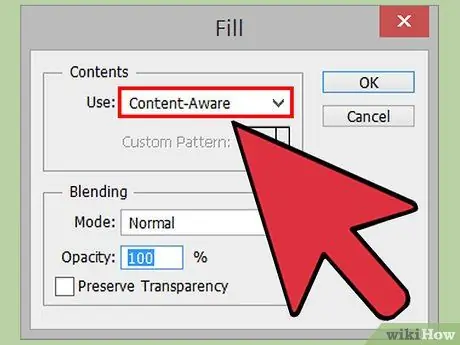
Step 4. Select "Content-Aware" from the drop-down menu
It's in the first menu of the Fill window. Make sure the " Color Adaption " option is also checked, then click "OK". Your area will be filled with nearby pixels for a smooth transition.
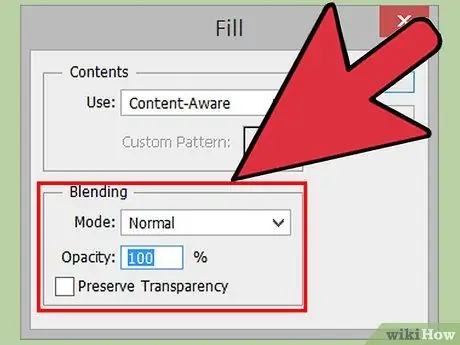
Step 5. Repeat the Fill with the new Blending and Opacity settings to fit the image
Each time you click " Okay ", Photoshop will randomly select a new pixel. So keep trying if your first try fails. While blending the settings won't have much effect, try tweaking them until you get the settings exactly how you want them.
Method 3 of 3: Using the Patch Tool to Copy the Background
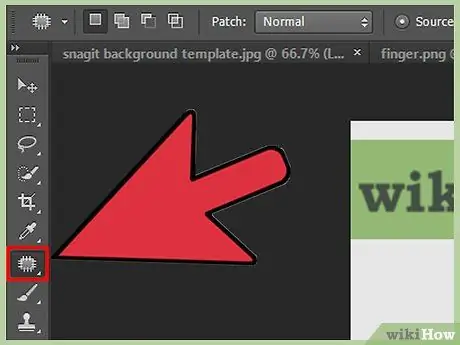
Step 1. Use the Patch tool to replace objects with backgrounds from elsewhere in the image
Even if the deleted object has a different or uneven background, you can still replace it. Imagine a picture of a person standing in front of a fence. You want to remove the person, but the fence isn't clipped and is exactly "behind" it when replaced, and not by any random pixel. This is where the Patch tool comes in handy.
Step 2. Use the selection tool to select the image as normal
You can use any tool you want. In general, your selection should be as close to the image as possible to minimize the background around the object.
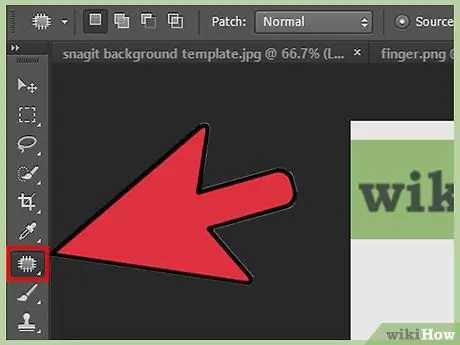
Step 3. Select the Patch tool (J) and click on the selected object
Don't let go of your click just yet. For now, find an area in the photo that resembles the photo you're looking for.
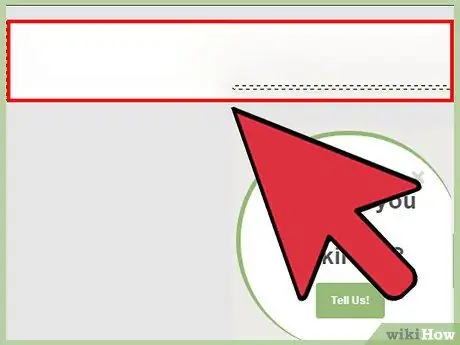
Step 4. Drag the selection to the desired area as the background and release the mouse
The Patch tool will analyze the area where you released the mouse, then copy it to the part where the previously erased object was. Try to find areas where all the main lines match and blend in perfectly.
- You can also use other layers, as long as you select "Sample All Layers" from the top bar.
- You can click and select another open Photoshop window and drag the background from another image.
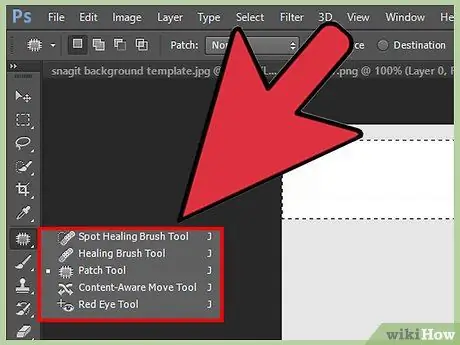
Step 5. Use another Patch tool to enhance the image after the object is removed
These tools can retouch your image perfectly after deleting objects. It's in the seventh icon from the top in the toolbar. You can also press J to browse to " Patch Kit ". When pressing the J key, notice the tool changes in the upper left corner. You have a variety of options, all designed to help you perfectly remove objects from images. While this method focuses primarily on the Patch tool, other tools are also great for tidying up your images after the objects in them are removed:
-
Spot Healing Brush Tool:
Fixed the center where you clicked with pixels from the outside. For example, you can move the brush along the power line in the snap and the brush will replace it with the blue sky around it.
-
Healing Brush Tool:
Replaces the clicked area with another shot area. To select the area you want to replace, Alt/click with the Healing Brush tool active. Now, everything where you clicked will be replaced with pixels from the Alt-clicked area.
-
Patch Tool:
Fills the area around the removed object with pixels from the selected area of the photo, or even another layer or photo.
-
Content Aware Move Tool:
Allows you to copy and paste objects into areas with a similar background (such as moving a bird image from one side of the sky to the other), and fill both halves automatically.
-
Red Eye Remover:
This option removes red eye. Enlarge image for best results.


