- Author Jason Gerald gerald@how-what-advice.com.
- Public 2024-01-19 22:11.
- Last modified 2025-01-23 12:04.
When using a Microsoft Excel spreadsheet with a lot of data, it is possible that you will find the same entries. The "Conditional Formatting" feature in Microsoft Excel can show you where the duplicate entries are, while the "Remove Duplicates" feature will remove the duplicate entries. Viewing and removing duplicates ensures the accuracy of your data and presentation.
Step
Method 1 of 2: Using Conditional Formatting
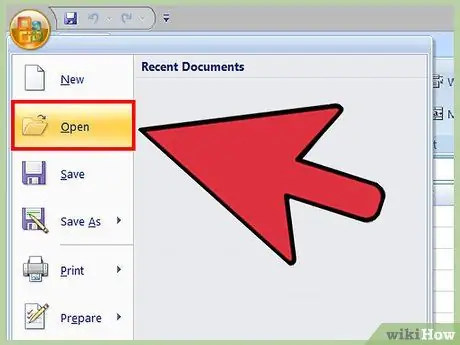
Step 1. Open the file
The first thing you should do is select all the data that you want to find duplicates of.
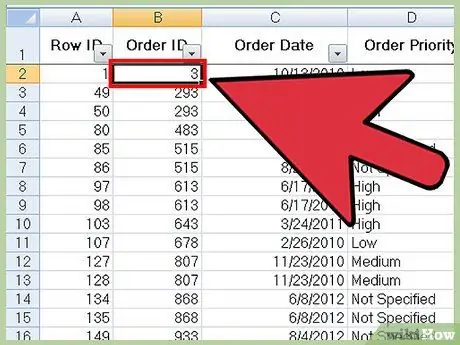
Step 2. Click the cell in the upper left corner of the data group
This starts the data selection process.

Step 3. Press and hold the Shift key, then click the last cell in the lower right corner of the data group
This will select all the data you specified.
You can do this in another order (e.g. first click the lower right corner, then highlight the next data from there)
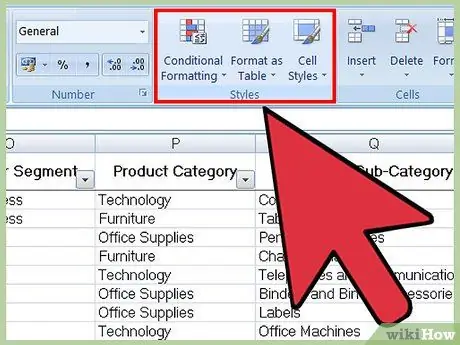
Step 4. Look for the "Styles" section in the toolbar
This area has tools for formatting documents, including a "Conditional Formatting" feature.
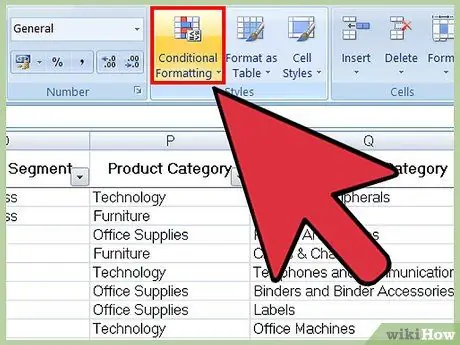
Step 5. Click on "Conditional Formatting"
This will display a drop-down menu.
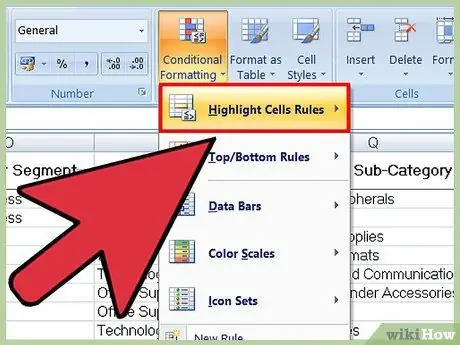
Step 6. Select "Highlight Cells Rules", then click "Duplicate Values"
Make sure your data is still highlighted when doing so. This will open a program window with a selection of settings in another drop-down menu.
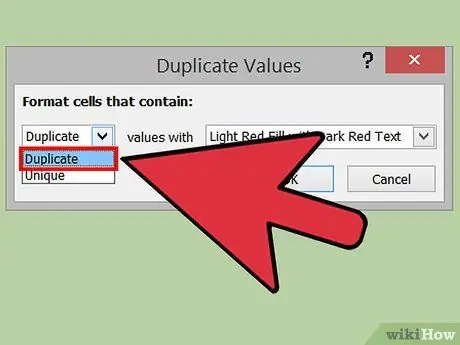
Step 7. Select "Duplicate Values" from the drop-down menu
If you want to display all values that have no duplicates, select "Unique"
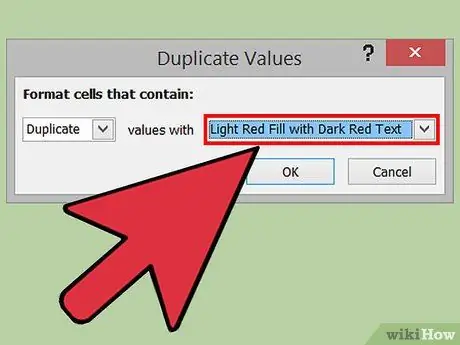
Step 8. Choose the highlight color you want
The highlight color will show the duplicates. The initial color is pink with dark red lettering.
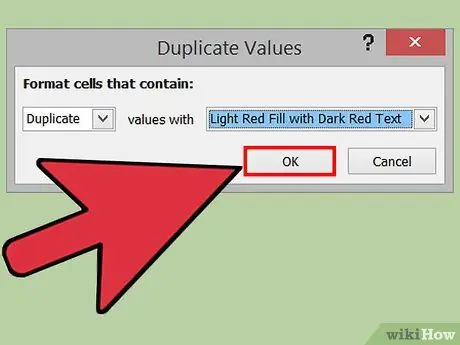
Step 9. Click "OK" to see the result
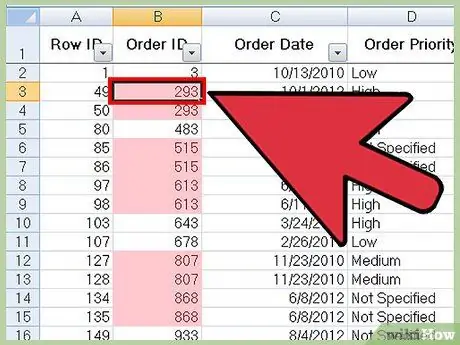
Step 10. Select a duplicate box, then press the Delete key to delete it
Maybe you don't want to remove those duplicate values if each data represents something (for example, a survey).
After deleting a duplicate, the duplicate pair loses its spotlight
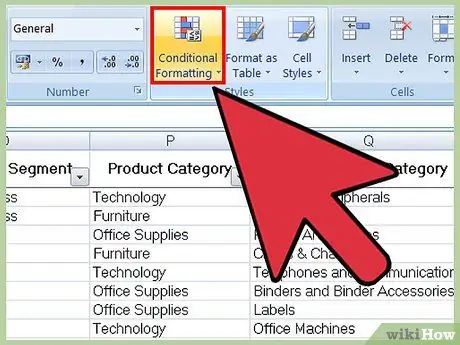
Step 11. Click on "Conditional Formatting" again
Whether you've removed the duplicates or not, you'll need to get rid of the formatting highlights before closing the document.
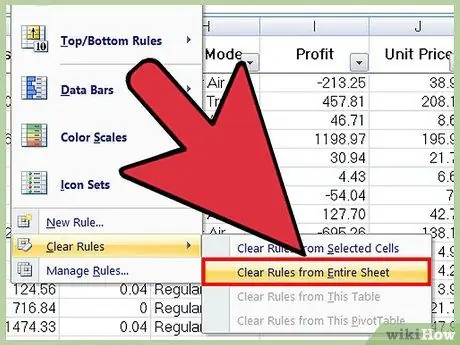
Step 12. Select "Clear Rules", then click "Clear Rules from Entire Sheet" to get rid of the formatting
This will remove the highlight on any duplicates that you didn't delete.
If there are multiple parts of the spreadsheet that are formatted, you can select specific areas and click "Clear Rules from Selected Cells" to remove the highlights
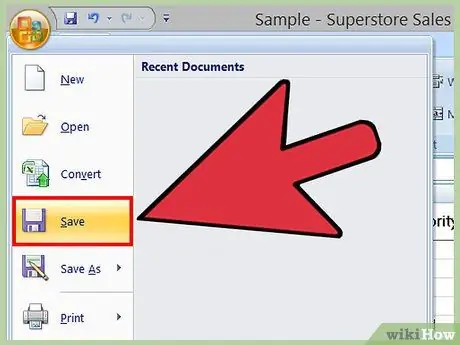
Step 13. Save the document changes
If you are satisfied with the changes, you have successfully found and removed duplicates in Excel!
Method 2 of 2: Using the Remove Duplicates Feature in Excel
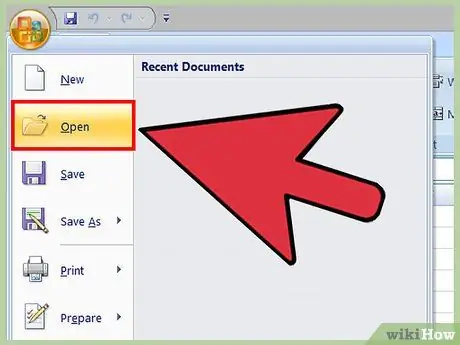
Step 1. Open the file
The first thing you should do is select all the data that you want to find duplicates of.
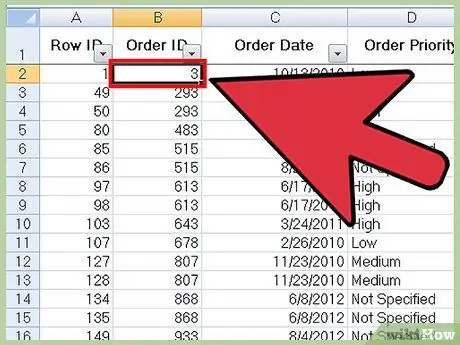
Step 2. Click the cell in the upper left corner of the data group
This starts the data selection process.

Step 3. Press and hold the Shift key, then click the last cell in the lower right corner of the data group
This will select all the data you specified.
You can do this in another order (e.g. first click the lower right corner, then highlight the next data from there)
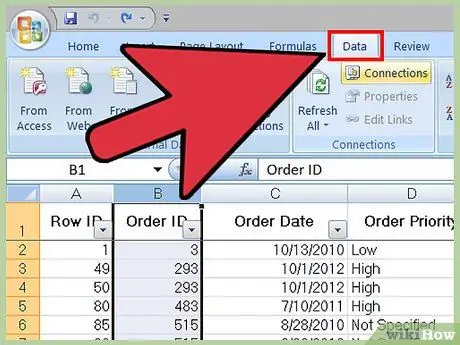
Step 4. Click the "Data" tab at the top of the screen
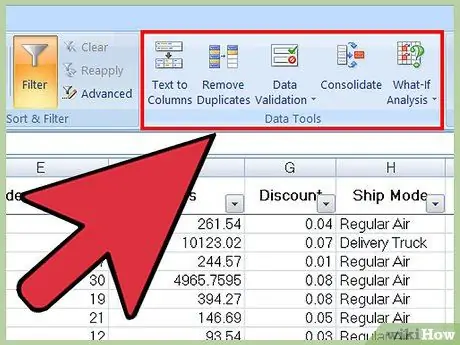
Step 5. Locate the "Data Tools" section on the toolbar
This section has tools for modifying the selected data, including a "Remove Duplicates" feature.
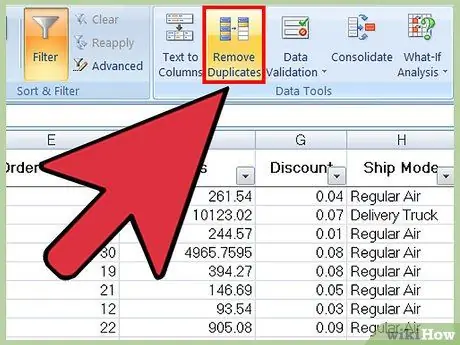
Step 6. Click "Remove Duplicates"
This will open the program settings window.
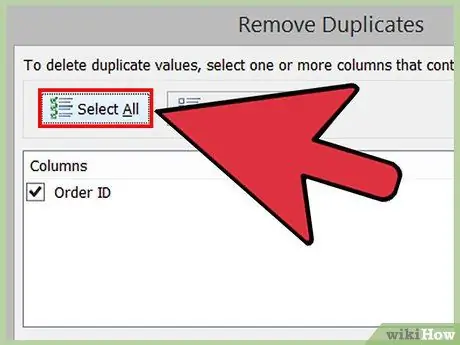
Step 7. Click "Select All" to make sure all the columns are selected
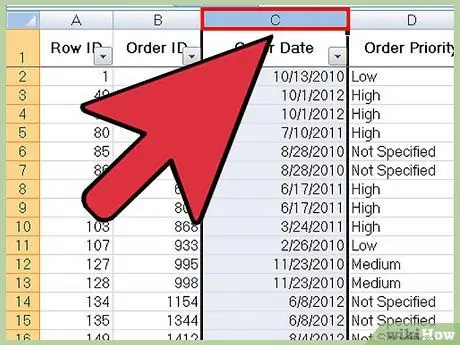
Step 8. Tick the column which you want to check using this tool
The initial setup has all columns selected.
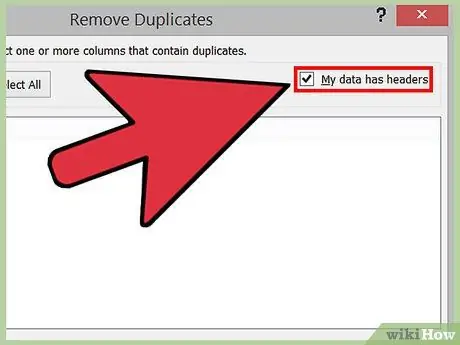
Step 9. Click the "My data has headers" option, if you are using headers
This will tell the program that the first entry in each column is a header, so those entries will be skipped from the deletion process.
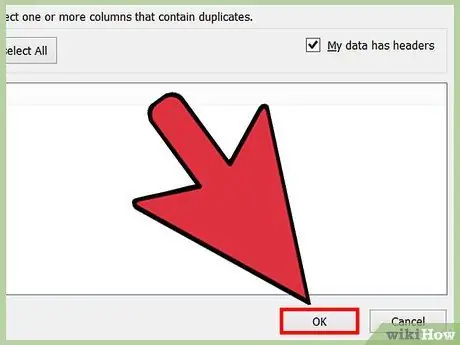
Step 10. Click "OK" once satisfied with your selection
This will automatically remove any duplicates that you have specified.
If the program tells you that duplicates were not found, especially if you know that there are, check the fields in the "Remove Duplicates" program window. Checking the columns one by one will resolve all errors in this section
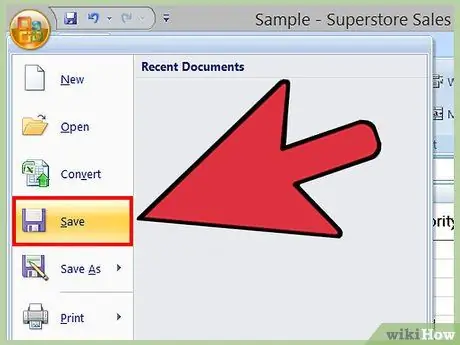
Step 11. Save the document changes
If you are satisfied with the changes, you have successfully removed the duplicates in Excel!
Tips
- You can also find duplicates by installing additional third-party tools. Some of these tools enhance Excel's "Conditional Formatting" feature so that you can use different colors to identify duplicates.
- Deleting duplicates is suitable for checking guest lists, addresses, or other similar documents.


