- Author Jason Gerald gerald@how-what-advice.com.
- Public 2024-01-19 22:11.
- Last modified 2025-01-23 12:04.
WordPress allows users to write blog entries or organize content in their own language, as long as translations for that language are available. The process for doing so varies, depending on the version of WordPress you are using. If you want to write a blog in multiple languages, installing a plugin might be the best option for you.
Step
Method 1 of 4: Changing the Default Language in WordPress 4
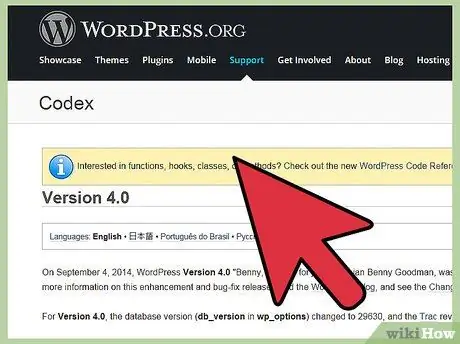
Step 1. Use this method for WordPress 4
If you updated WordPress on your site since September 4, 2014, your site is already running WordPress 4 or later. Older versions of WordPress require a different and more difficult method, which is described in a special section of this article. Also, this method is for blogs that use the WordPress software, but are on a third-party server. If your blog has a ".wordpress.com" link, read the "WordPress.com" section below.
If you can't remember the last time you updated WordPress, go to (sitename).com/readme.html and look for the WordPress version number around the top of the page
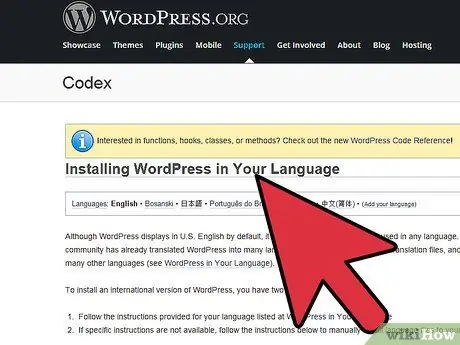
Step 2. Download the WordPress language files
WordPress has been translated into multiple languages. Each translation has a file with the extension ".mo". You can get translation files by finding your language in this list, clicking "More" on the same line, and clicking "Download language pack." If the download link is not available, the translation may be incomplete or not updated for WordPress v4.
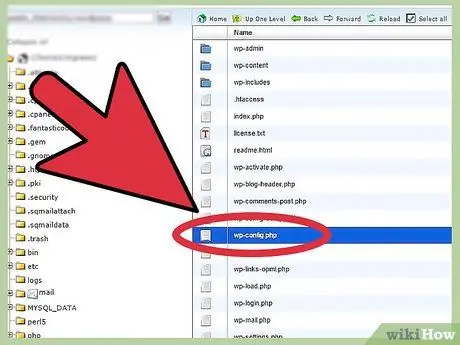
Step 3. Find the right file
If the language pack has multiple ".mo" files, find the language code, and the country code if the language is spoken in multiple countries. The file name will always follow the format languagecode.mo or languagecode_COUNTRYCODE.mo.
For example, "en.mo" is a generic English translation file, and "en_GB.mo" is an English translation file with British spelling
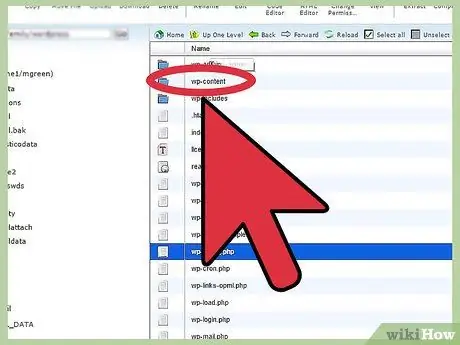
Step 4. Find or create a "/languages" directory on your site
Go to the "/wp-content" directory on your WordPress site's server, and if there isn't a directory named "/languages" yet, create a directory with that name.
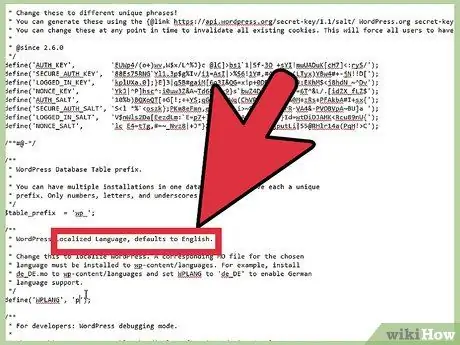
Step 5. Upload the ".mo" file corresponding to your preferred language to the "/languages" directory
If you have never uploaded files to a server before, you will need to use an FTP client or file manager program provided by your hosting service. WordPress recommends FileZilla for Windows, or CyberDuck or Mac.
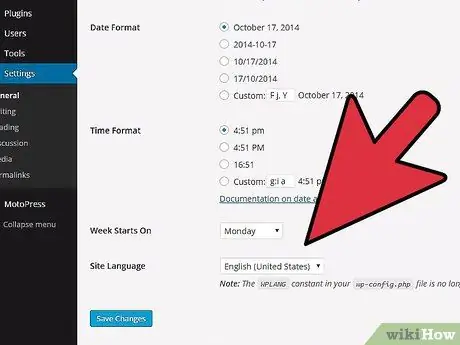
Step 6. Change the language on the administration page
Log in to your site as an administrator, then click Settings→general→Site Language. Select the appropriate language option for the ".mo" file you just uploaded. The language of your choice is now the default language of the site.
Method 2 of 4: Changing the Default Language in WordPress 3.9.2 or Older
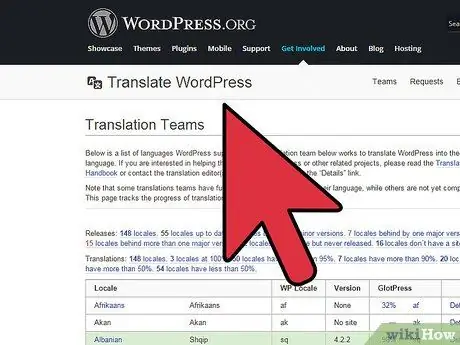
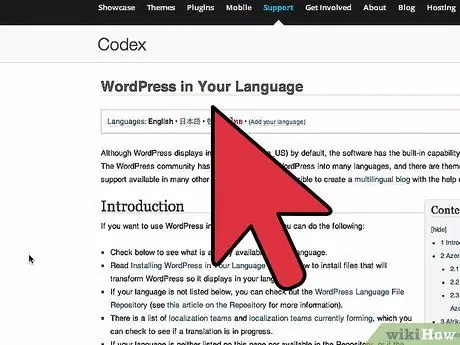
Step 1. Download the language file from the WordPress in Your Language page
Language files will be saved with names like example: fr_FR.mo.
The first two lowercase characters ("fr" for French) are written according to the ISO-639 language code, followed by the two uppercase characters according to the ISO-3166 country code ("_FR" for France). So the ".mo" file for French will have the name fr_FR.mo
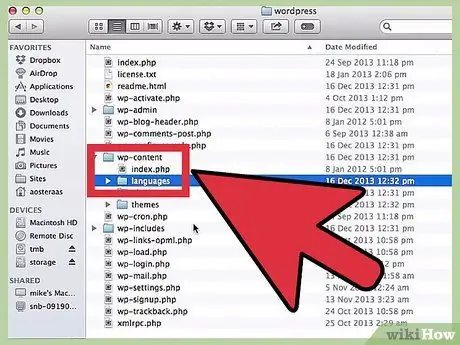
Step 2. Copy the language files to your WordPress installation
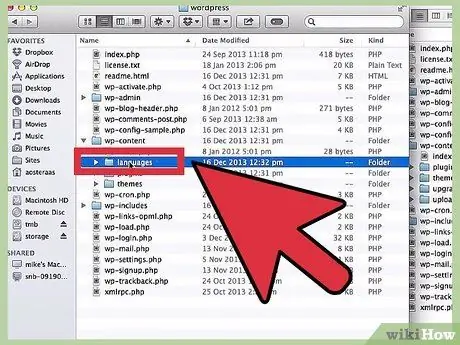
Once you have downloaded the proper ".mo" file to your computer, copy the file to the server, in the "wp-content/languages" directory. If you installed WordPress in English, you may need to create a "languages" directory.
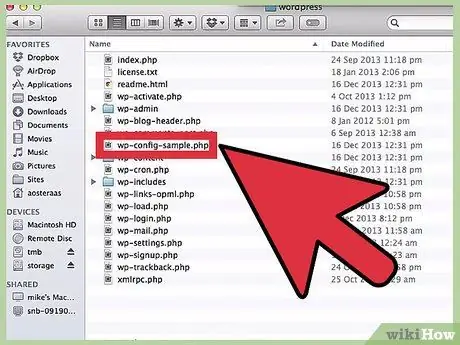
Step 3. Modify the "wp.config.php" file
In the top directory of your WordPress installation, there is a file called "wp.config.php" which contains the database connection settings and a few other settings. Download the file and open it in a text editor.
Step 4. Change the line related to the language
In the above file, you will see the line:
-
define('WPLANG',);
You'll need to change that line to point to the file you just uploaded to the server. For example, for French, edit the line above to be:
-
define('WPLANG', 'fr_FR');
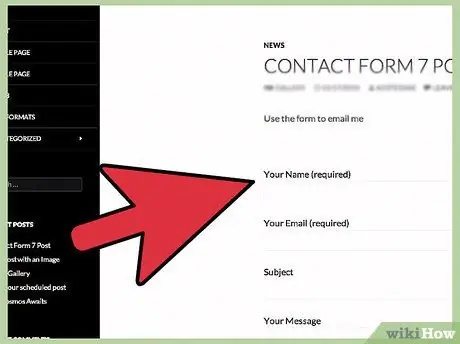
Step 5. Visit the site administration page with your web browser
Your blog will now be displayed in the language you want.
Method 3 of 4: Using Plugins for New Language Settings
Step 1. Learn how to install a plugin
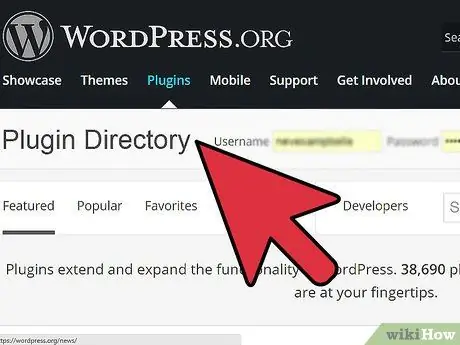
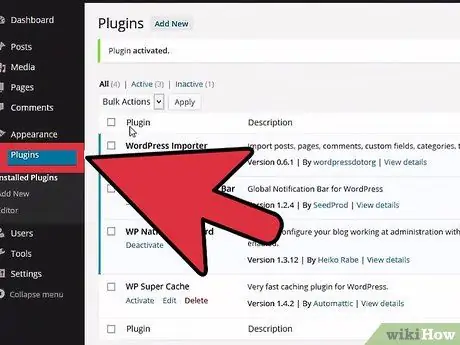
Plugins in WordPress can change your site beyond the default settings, and must be downloaded from the WordPress plugin directory. Most plugins can be installed directly from that directory, but you can also install them manually by uploading the plugin to the directory /wp-content/plugins/ on your server. Once the plugin is uploaded, you can activate it via the Plugins menu on your WordPress site.
Make sure you extract the plugin once it's downloaded, otherwise your browser doesn't extract it automatically
Step 2. Use a plugin to install a new language
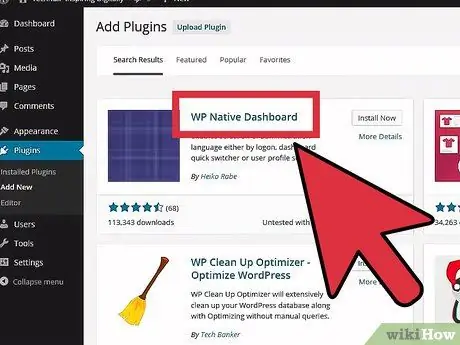
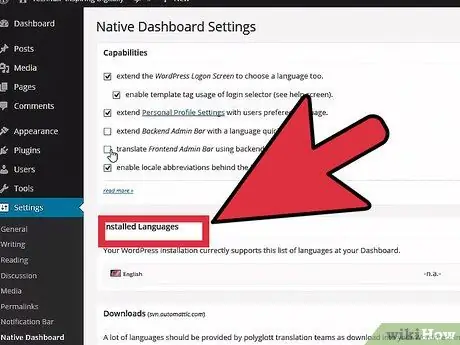
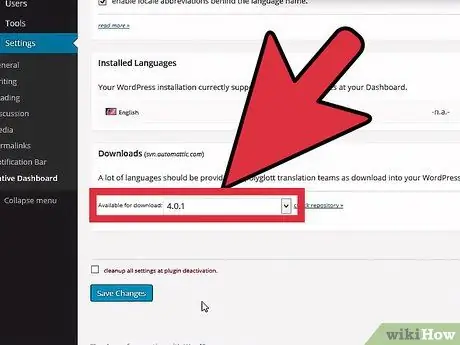
WP Native Dashboard allows you to download new language files and install them through a simple interface, but this plugin only works with WordPress 2.7 - 3.61. The file download interface may also require direct write access on the server, which is not supported by some hosting providers.
Step 3. Install a multilingual plugin for WordPress
If you want to blog in more than one language, a multilingual plugin can make the process easier. However, since multilingual plugins are changing how blogging works, you may need to learn how to use them first so you can use them without breaking your site. For learning and testing purposes, it is recommended that you create a new site. The following are some examples of multilingual plugins for WordPress:
- Bogo or Polylang is a free multilingual plugin. They both have different interfaces, so if you don't like one, just turn it off, and try another plugin.
- WPML is a paid multilingual plugin, but includes full support.
Step 4. Look for other plugin options
There are thousands of plugins for WordPress, so you can find the one that fits your needs. This directory of plugins may be useful if you are looking for a specific plugin with options or functions according to your language, for example to convert one typeface/script to another.
Method 4 of 4: Changing Language on WordPress.com Blog
Step 1. Use this method to blog on WordPress.com
If your blog's link is (blogname).wordpress.com, it means that your blog uses WordPress, which is run on a WordPress server. Changing the language on a WordPress.com blog is very easy, as explained in the following steps:
Step 2. Change the writing language
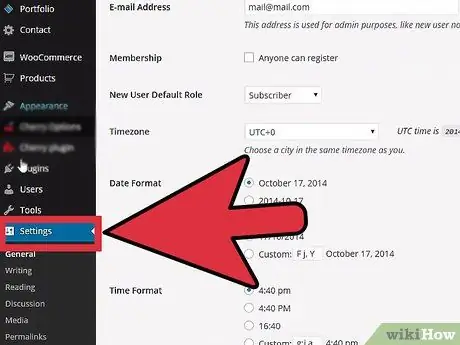
Log in to your WordPress account, then visit the blog dashboard. Click Settings in the left pane, then select the language you will use to write in the available menu.
If you don't know how to access the dashboard, or can't find the Settings button, log into your WordPress account and visit (blogname).wordpress.com/wp-admin/options-general.php
Step 3. Change the interface language
If you want to change the language of settings, reminders, and other interfaces, click Users in the left pane, then click Personal Settings in the list below. Find the "Interface language" option, then select your language in the menu.


