- Author Jason Gerald gerald@how-what-advice.com.
- Public 2023-12-16 10:50.
- Last modified 2025-01-23 12:04.
Have you ever tried to fill out a form in the available fields in a Word document, but the entered text makes the fields move and breaks the document's formatting? There are ways you can try to work around this! This wikiHow teaches you how to add fillable fields in Microsoft Word on a PC or Mac computer. However, you will need to set up Word on your computer first before starting.
Step
Method 1 of 2: On PC
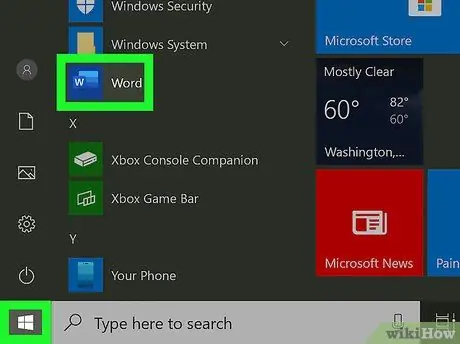
Step 1. Open Microsoft Word
You can find this program in the “Start” menu.
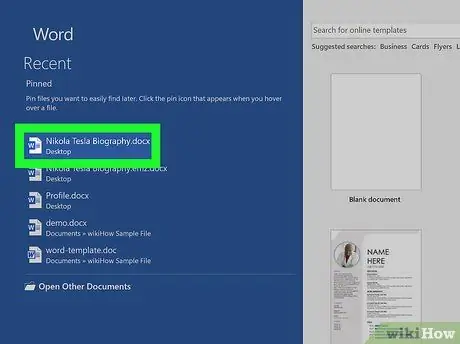
Step 2. Open the desired document
You can open a new document, create a document from a template, or open an existing document.
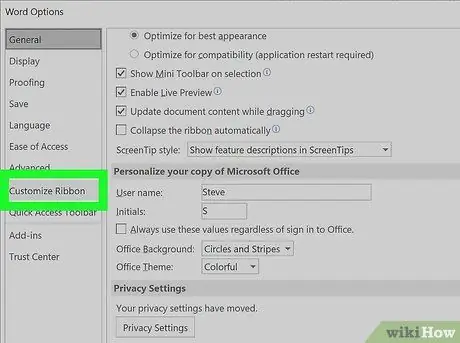
Step 3. Click Options and Customize Ribbon on the “File” menu
It's at the top of the program window.
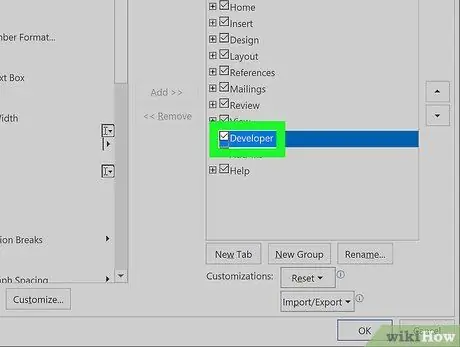
Step 4. Check the “Developer” box on the “Customize Ribbon” panel
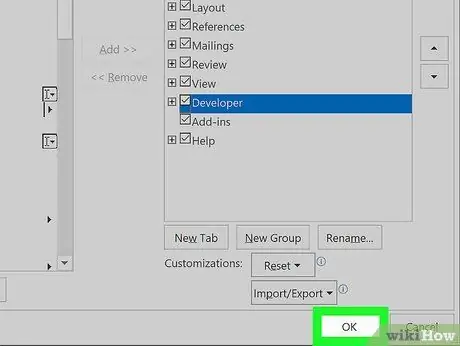
Step 5. Click Ok
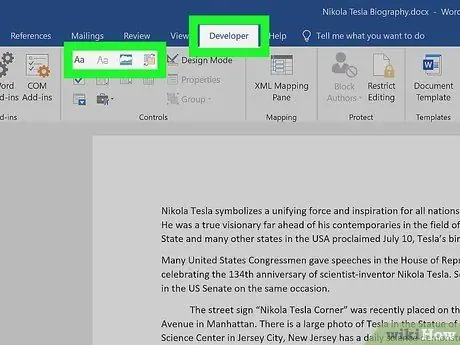
Step 6. Click the icons next to Design Mode on the Developer tab
These icons look like “Aa” symbols, checkboxes, and tables.
- The first “Aa” icon on the right side of the panel displays the “Rich Text Content Control” label when you hover over the icon. This button serves to add empty fields that can be filled with images, videos, text, and other content to the document.
- The second “Aa” icon displays the “Plain Text Content Control” label. This button is used to add empty fields that can be filled with text only by the user to the document.
- The “Combo Box Content Control” icon is next to the checkbox icon and serves to add a drop-down menu to the document. The Properties button opens options allowing you to add more options to the drop-down menu.
- The “Date-Picker” icon looks like a calendar and serves to add an empty column that will load the calendar so that the user can select a specific date. The Properties button will display options so you can choose the format and appearance of the calendar grid.
- The checkbox icon is used to add a checkbox to the document.
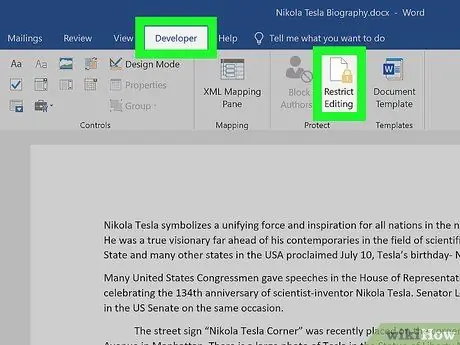
Step 7. Click Restrict Editing on the Developer tab
The pane will appear on the right side of the Word window.
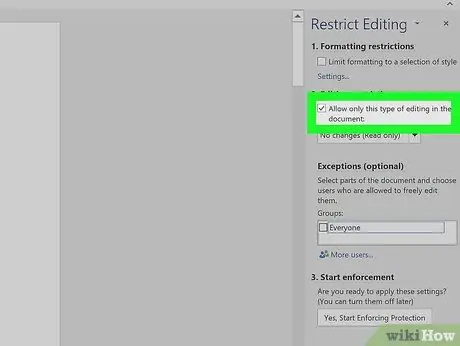
Step 8. Check the box next to “Editing Restrictions”
The document will be locked so that other people cannot change the text in the text field.
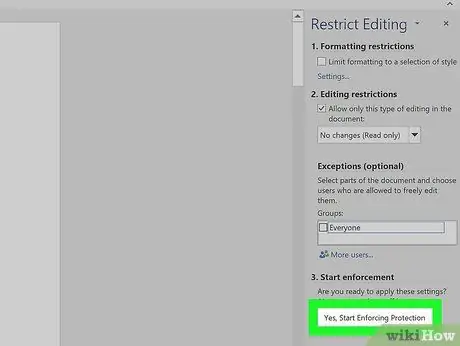
Step 9. Click Yes, Start Enforcing Protection
A pop-up box will appear asking you to enter a password. You can type in the password if you want someone else who has it to be able to edit the document.
Method 2 of 2: On Mac
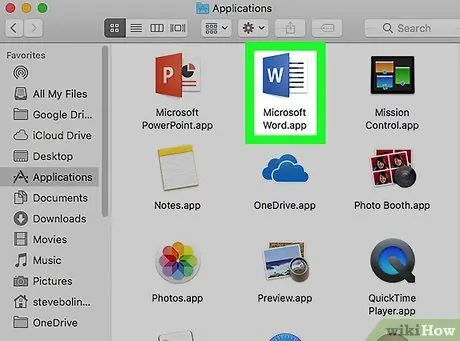
Step 1. Open Microsoft Word
You can find this program in the “Applications” folder.
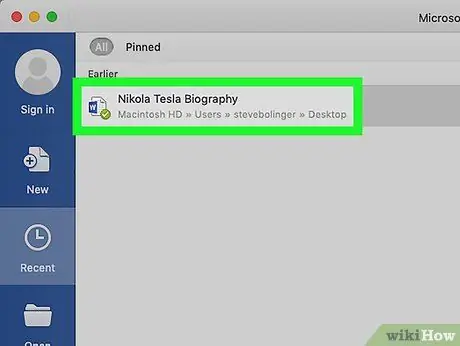
Step 2. Open the document
You can open a new document, create a document from a template, or open an existing document.
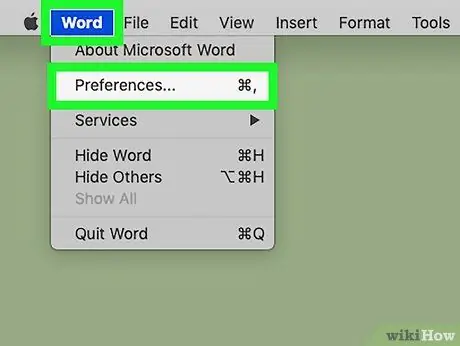
Step 3. Click the Preferences tab under “Word”, at the top of the screen
You can see this option next to the Apple icon

. A new pop-up window will load.
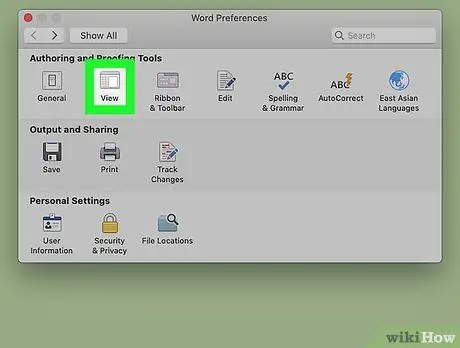
Step 4. Click View under the “Authoring and Proofing Tools” heading
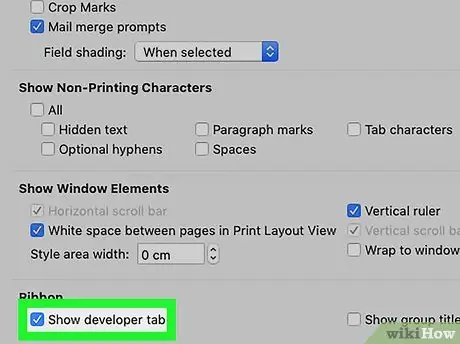
Step 5. Check the “Show developer tab” box under the “Ribbon” segment
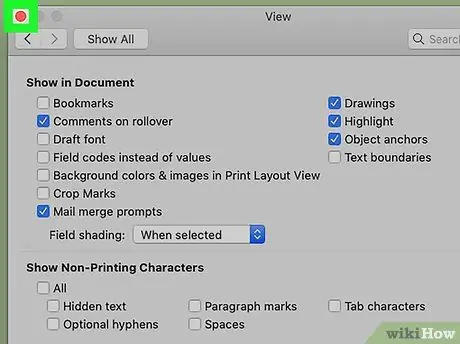
Step 6. Click Ok
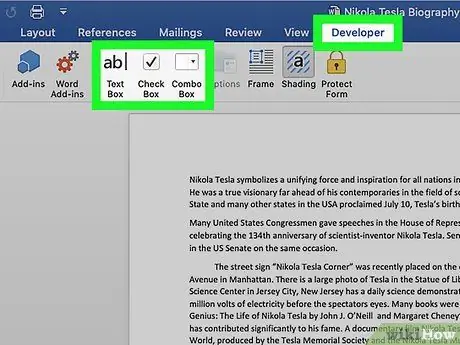
Step 7. Click “Text Box”, “Check Box”, or “Combo Box” on the Developer tab
Fillable blank fields will be added to the document.
- The "Combo Box" option serves to create a kind of drop-down menu. Click the “Options” icon next to the “Combo Box” icon to access the options if you want to turn the combo box into a drop-down menu.
- The “Check Box” option serves to create a box that can be marked.
- The “Text Box” option adds a fillable field, with a customizable display of text on the form. For example, instead of a document line with a Name:_ segment that risks formatting or cluttering the line of text when filled in by other users, you can use a fillable text field to define the text entry area and how it will appear. You can click on the “Options” icon to open the options box and select the input type. For example, if you have a text field, but want to create a date column, select Date under the “Type” heading.
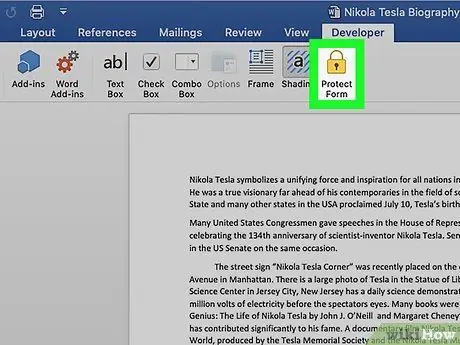
Step 8. Click Protect Form
With this option, you cannot edit the columns that have already been created. However, the fields will be enabled so that they can be used or filled.


