- Author Jason Gerald [email protected].
- Public 2023-12-16 10:50.
- Last modified 2025-01-23 12:04.
In this article, you will be guided to easily create a table using Adobe Illustrator.
Step
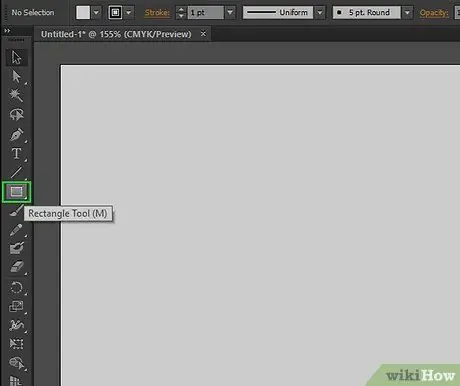
Step 1. Select the Rectangle Tool in the Tool Palette.
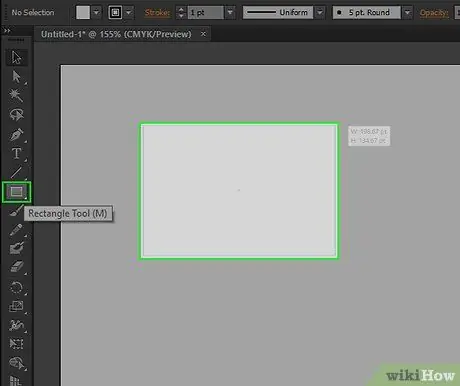
Step 2. Click and drag the cursor on the document to create a box
Adjust the dimensions of the box as desired. After creating the box, you can change its dimensions with the Scale Tool.
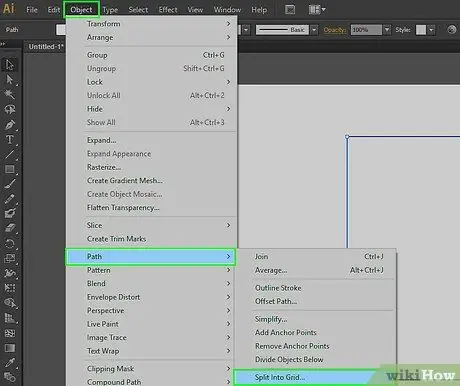
Step 3. Select the box you just created
Click Object > Path > Split into Grid… If you click on any part of the document outside the box, the command will not be available, and you cannot continue.
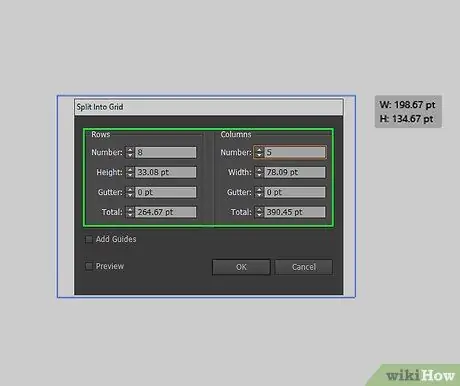
Step 4. Set up your table
Click the Preview check box to view the changes as you make them. After that, enter the number of columns and rows you want in the Rows & Columns box. To remove the distance between cells, set the Gutter value to 0.
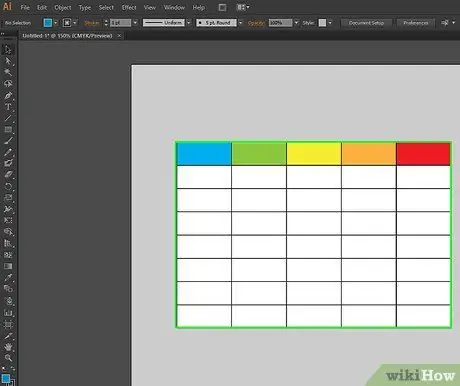
Step 5. Once you have entered the required information, Adobe Illustrator will create a table according to that information
You can change the color and outline, or add text to each box.


