- Author Jason Gerald gerald@how-what-advice.com.
- Public 2023-12-16 10:50.
- Last modified 2025-01-23 12:04.
If you're tired of the marimba melody that your iPhone plays when someone calls you, try choosing a new ringtone from the wide selection of default ringtones available. However, ringtone customization doesn't end there; You can set a different ringtone for each contact or, if you want to tinker a bit, you can turn your favorite iTunes song into a ringtone. Setting new ringtones for iPhone is a simple and creative way to set your phone apart from others.
Step
Method 1 of 4: Choosing a Default Ringtone
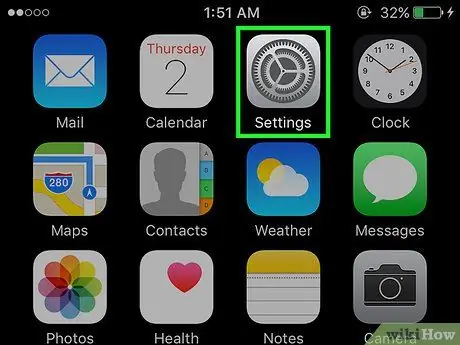
Step 1. Touch the “Settings” icon on the homescreen
After that, the settings menu (control panel) will be displayed.
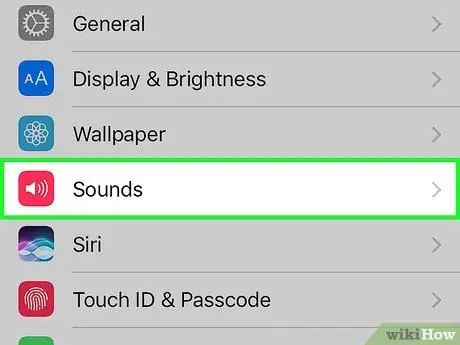
Step 2. Touch the “Sounds” option
After entering the control panel, you can see several options for customizing sound settings.
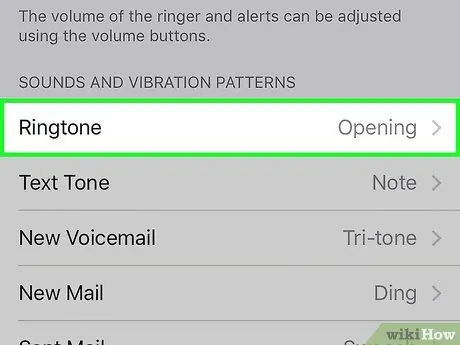
Step 3. View the currently used ringtone
Next to the “Ringtone” label, you can see the title of the ringtone (eg “Marimba”) indicating that the ringtone is the ringtone in use. Touch a ringtone name to view other ringtone options.
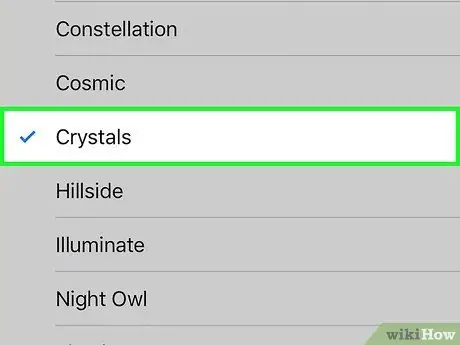
Step 4. Select a ringtone from the list of available default ringtones
To listen to a sample of each ringtone, all you have to do is touch the title. Mark the selected ringtone to be used as the primary ringtone.
Method 2 of 4: Downloading Ringtones from iPhone
Step 1. Get to know the available options
There are various sites and applications that can be used to download ringtones. However, often these sites or apps contain spyware, viruses and copyrighted music that can actually get you into trouble. The safest option for downloading ringtones is to use the iTunes Store directly from the phone. If you're using another searched and trusted app or site, the download instructions are more or less the same as the method described in this article.
Step 2. Open iTunes Store via mobile
Touch the “iTunes” icon.
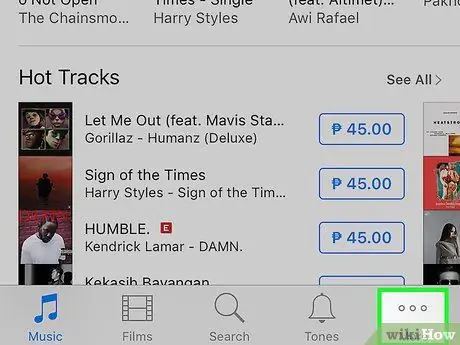
Step 3. Check the ringtones available for download
Tap on the “More” option at the bottom of the screen and select “Tones”. Now, you can search ringtones by genre, top 10 rated list or recommended picks. Touch each ringtone to hear an example.
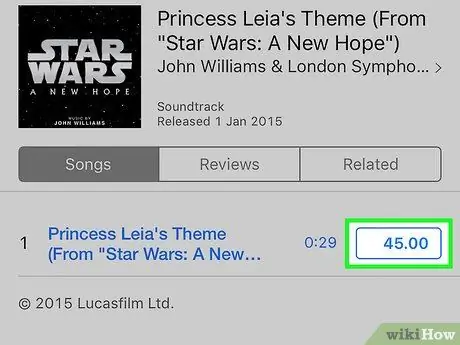
Step 4. Download the desired ringtone
Touch the ringtone price to download it to your phone. After you agree to buy, you will be asked to determine the next steps.
- Tap the “Set as Default Ringtone” option to set the new ringtone as the primary ringtone for all incoming calls.
- Touch “Assign to a Contact” to set the ringtone as the ringtone for a specific contact. This means that every time the contact calls you, the ringtone will sound. However, for other calls, the main ringtone will still be played.
- Touch “Done” to simply download the ringtone without changing the current ringtone. If you choose this option and want to change the ringtone at a later time, open the settings menu and select “Sounds”, then select “Ringtone”. New ringtones that have been downloaded will be shown in the ringtone options. Touch the ringtone to set it as a cell phone ringtone.
Method 3 of 4: Creating iPhone Ringtones in iTunes
Step 1. Open iTunes via the computer you normally use to sync your iPhone to iTunes
You can't create ringtones on your iPhone, so you'll need to use a computer. You can follow these creation steps on a PC (Windows) or Mac, as long as you have music in your iTunes library.
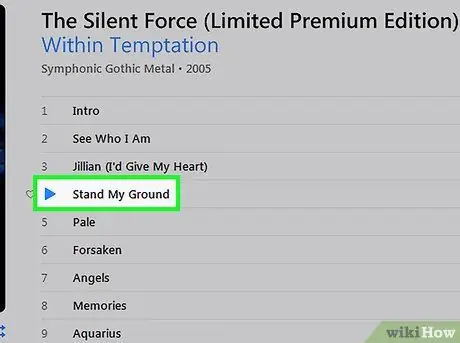
Step 2. Listen to the song you want to set as your ringtone
The maximum length of the ringtone is 30 seconds so you should really choose the most interesting segment of the song, according to your taste.
- Once you find a segment of a song that interests you, write down (either on paper or in another program window) the time or starting point of the segment. The time will appear just below the song information listed at the top of the iTunes window. For example, if a segment of a song you like starts when the timer shows 1:40, then that's the number you need to write down.
- After that, specify the time or endpoint of the segment. Start the song at the time you previously wrote, then press the pause button at the end of the desired segment. When determining the end of a segment, keep in mind that the maximum duration of a ringtone that can be created is 30 seconds. After that, write down the time or endpoint of the segment. For example, if you want the segment to end in the second minute and fifth second, write 2:05.
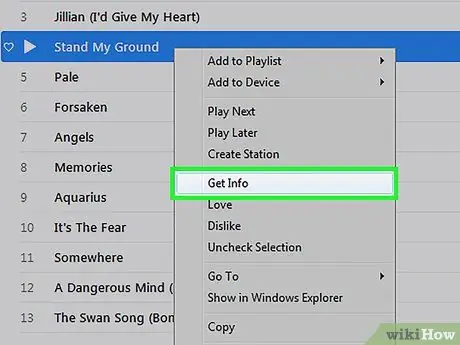
Step 3. Review the detailed song information
Press Cmd while clicking the song (for Windows computers, just right click the song) and select “Get Info”.
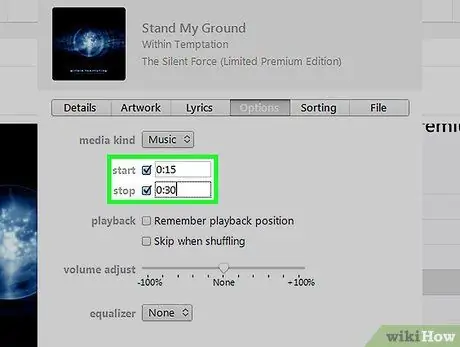
Step 4. Enter the start and end times of the previously recorded segment
Click the “Options” tab and type the start time of the segment in the column labeled “Start”, and the end time of the segment in the column labeled “Stop”. Make sure the two boxes next to the number are marked. Click “OK” to create a ringtone.
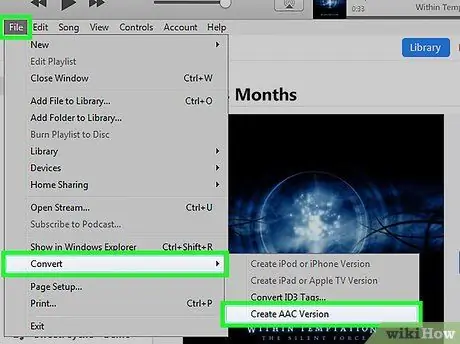
Step 5. Convert the segments into a file with a format suitable for ringtones
Press Cmd while clicking the song (for Windows computers, just right click the song) and select “Create AAC version”. After that, a new version of the song containing only the predefined segments will be created. The version will appear as a duplicate of the song in your iTunes library, just above or below the original song. However, the difference lies in the length of the song; the new version made of course has a much shorter duration.
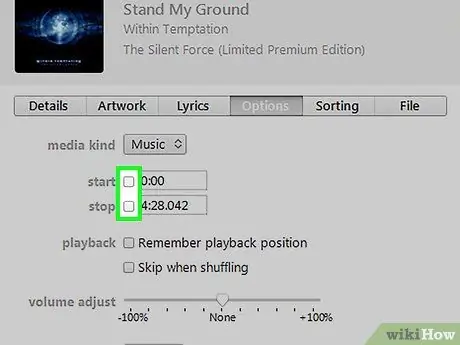
Step 6. Eliminate the start and end times of the song
Press Cmd while clicking the song (for Windows computers, just right click the song) and select “Get Info”. Go back to the “Options” tab and unmark the boxes and numbers in the “Start” and “Stop” columns.
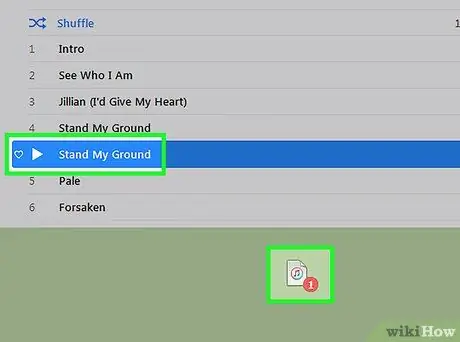
Step 7. Drag the new (shorter) version of the song to the desktop
Click and drag a song from your iTunes library to the desktop. You can perform this drag on both Mac and PC (Windows) computers.
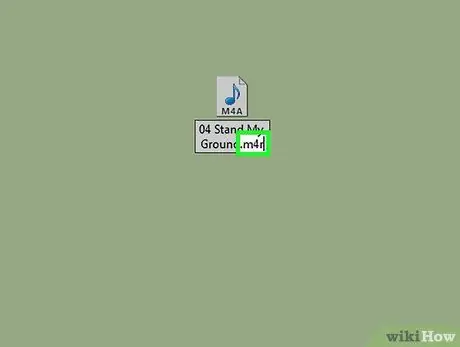
Step 8. Rename the file
Press Cmd while clicking on the file (for Windows computers, just right click the file) and select “Rename”. After that, rename the file; type in the title of the song (or whatever you prefer), followed by.m4r. For example, you could type “PenPineappleApplePen.m4r” if the title of the song is “Pen Pineapple Apple Pen”. The included.m4r extension will automatically convert the file format to ringtone format.
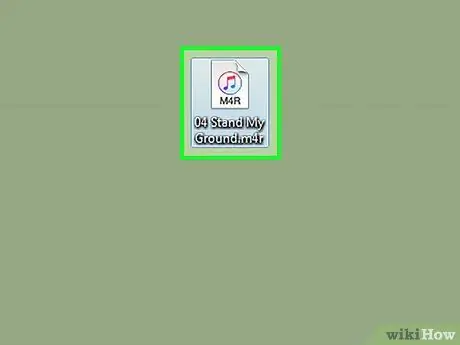
Step 9. Add the files back to iTunes library
Double-click the.m4r file to add it to your iTunes library as a ringtone. If you're using iTunes version 11 or earlier, click the “Tones” button at the top right of the iTunes window and make sure “Sync Tones” and “All Tones” are selected as well. After that, click the “Apply” button.
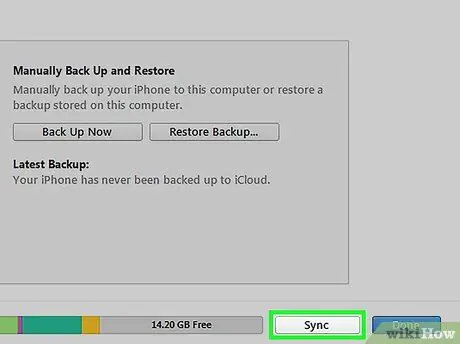
Step 10. Sync the ringtones that have been created
The process will vary slightly, depending on the version of iTunes you're using.
- If you're using iTunes version 11 or earlier, click the “Tones” button at the top right of the iTunes window and make sure “Sync Tones” and “All Tones” are selected as well. After that, click the “Apply” button to start the synchronization process.
- If you're using iTunes version 12, click the “Tones” button in the upper-left side of the iTunes window, and drag a ringtone to your iPhone that's displayed in the iTunes window to sync it.
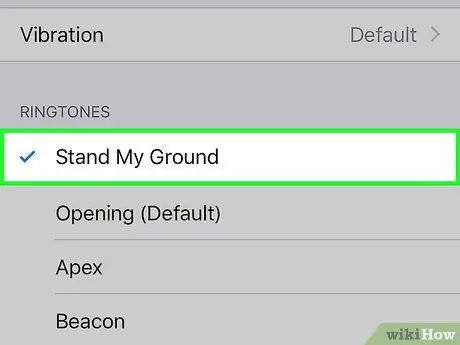
Step 11. Set your iPhone ringtone
On iPhone, open the settings menu and select “Sounds”. Tap the “Ringtone” option and choose the name or title of the ringtone you created. Now, you can enjoy the new ringtones for your iPhone.
Method 4 of 4: Setting a Ringtone for a Specific Caller or Contact
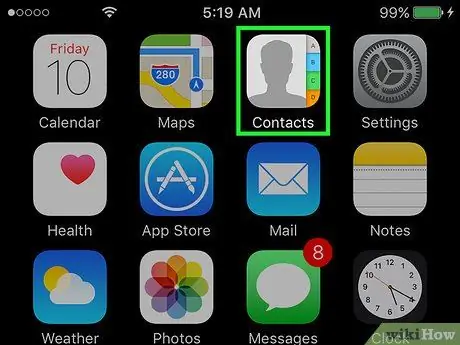
Step 1. View the list of existing contacts
Find the contact icon or menu on the homescreen, and touch the icon to access it.
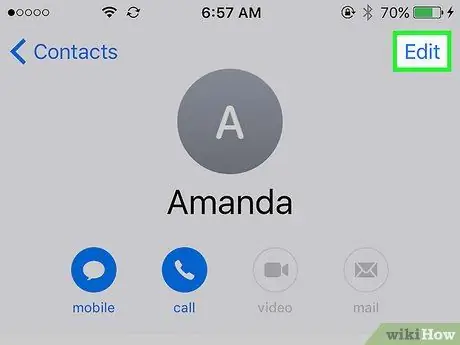
Step 2. Select the contact you want to associate with a different ringtone from other contacts
Click the contact's name in the contact list, then tap the "Edit" button in the upper right corner of the screen.
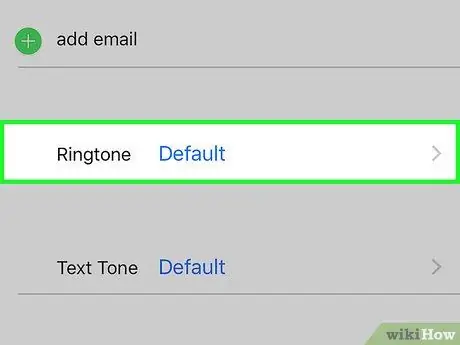
Step 3. Edit contact settings
Swipe up until you find a button labeled “Default Ringtone”. After that, touch the button.
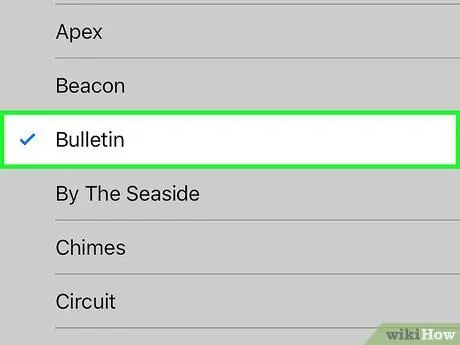
Step 4. Assign a ringtone for the contact
Select a ringtone and set it for the contact. You can choose any ringtone, including downloaded or custom made ringtones. Downloaded or custom made ringtones will be displayed after the default ringtone selection.
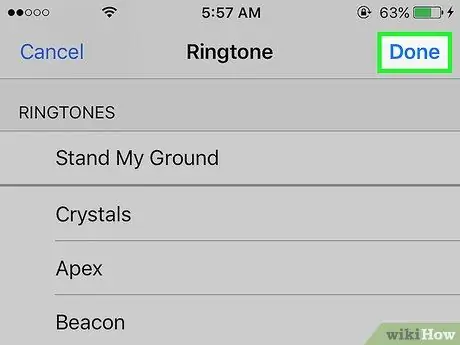
Step 5. Save the changes made
Tap the " Done " button in the upper right corner of the ringtone window, then click " Done " in the upper right corner of the contact page. Now, an individual ringtone for that contact has been assigned.
Tips
- The ringtone must have a duration of 30 seconds (or less). This is why you can't choose any song from your phone to use as a ringtone.
- You can listen to and change other notification tones, such as short message notification tones, by opening the settings panel/menu and selecting “Sound”. After that, touch the notification tone setting that you want to change.


